Is it possible to make a beautiful, stylish, exclusive something from improvised means in 30 minutes? An ultra-modern grimoire on hand made every day is updated with new letters about how to create unique interior items with your own hands. We offer 15 ideas for the transformation of things of ordinary life into a design project. Experimental creativity for home decoration for beginners and masters. Our hands are not for boredom. Join now!
- Heavy fabric, preferably water repellent;
- cardboard;
- scissors, safety pins;
- fabric paint, or markers for drawing on the fabric (Krylon handles).
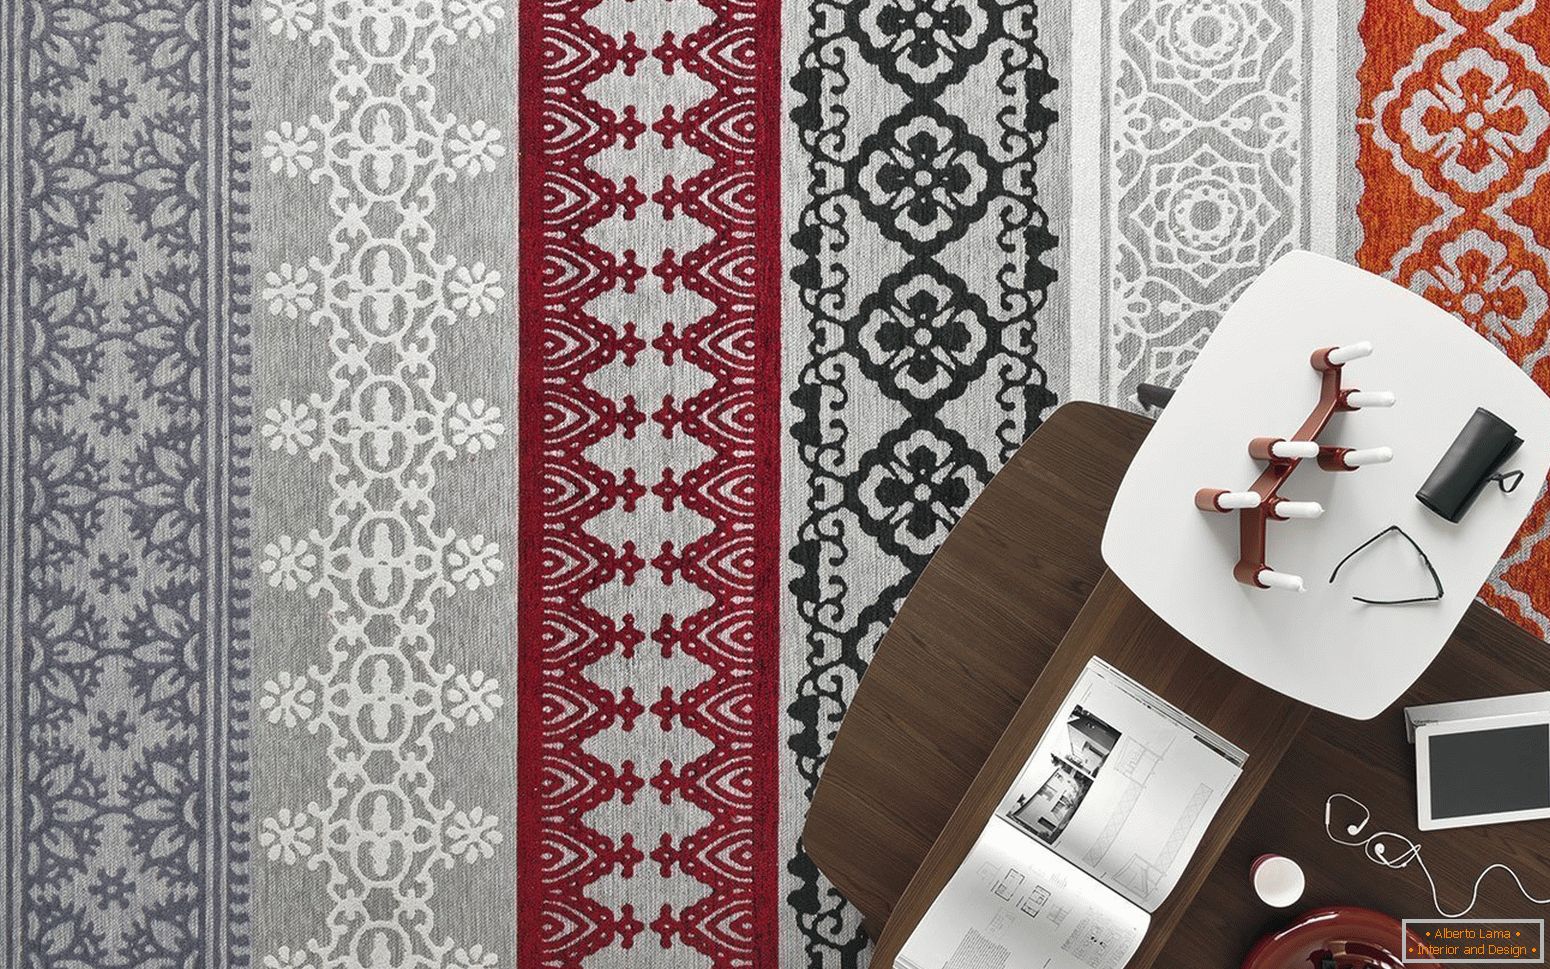
Wide cardboard is needed for the stencil. Draw out the contours of the future carpet. Do not strive for the correctness of the lines, your "author's style" is more suitable for crafts. Stripe the animal or flower in thick lines. Cut them in cardboard, and then transfer them to the fabric through a stencil, fixed with needles. Dock the strips if necessary. As soon as the paint has dried, fix the part of the rug under the furniture. Be prepared to accept the compliments of the guests!
Beautiful effect of marble
A heavy marble stone does not fit every apartment. A marble hand maid is an easy effect of a noble texture.
Collect:
- nail polish, 2-3 colors + transparent;
- transparent glasses;
- capacity;
- acetone;
- toothpicks;
- painting tape.



Limit the area of coloring with scotch tape. Next, prepare to act very swiftly, as the varnish freezes quickly. Pour water into the container, open the varnish and drip on a little bit each, one on top of another. With a toothpick, sweep 5-6 times over the resulting spot to blend the shades. Lower a piece of glass to it, a place prepared for drawing a pattern.
Once the lacquer grasps the surface, carefully, but firmly pull it out. Wait until the object dries and fix what it turned out, transparent enamel, and wipe off unnecessary with acetone. So you can collect a whole service!
Decoration with photos on the substrate
Large forms with real images will transform the hall, the hallway, the kitchen into an art space. You need a little imagination and:
- photo of good quality (resolution from 300 dpi);
- plastic base;
- wall hooks;
- adhesive tape both sides.
Choose a photo with meaning. Black-and-white or colored does not really matter. Determine the size, add to it on all sides about 5 cm on the folds. Print a picture. Wrap the light plastic (allow a thin foam) of the desired area, fix the edges with adhesive tape. You can use glue, but choose transparent. Add fasteners to the inside. Now the happy moment of your life will be repeated again when you look at the canvas.

Note to the photographer: effective phototriptes will be obtained if one picture is divided into three parts and processed on separate substrates.
Interior garden of living plants
Modified hedge for urban housing from succulents. This is a small plant with a special structure of tissues, which stores water for a long time. The combinations of many species look futuristic. Therefore, designers like "fat people".
Read also: How to decorate a mirror with your own handsTake:
- plants;
- metal mesh;
- горшечную capacity;
- nails;
- soil, drainage
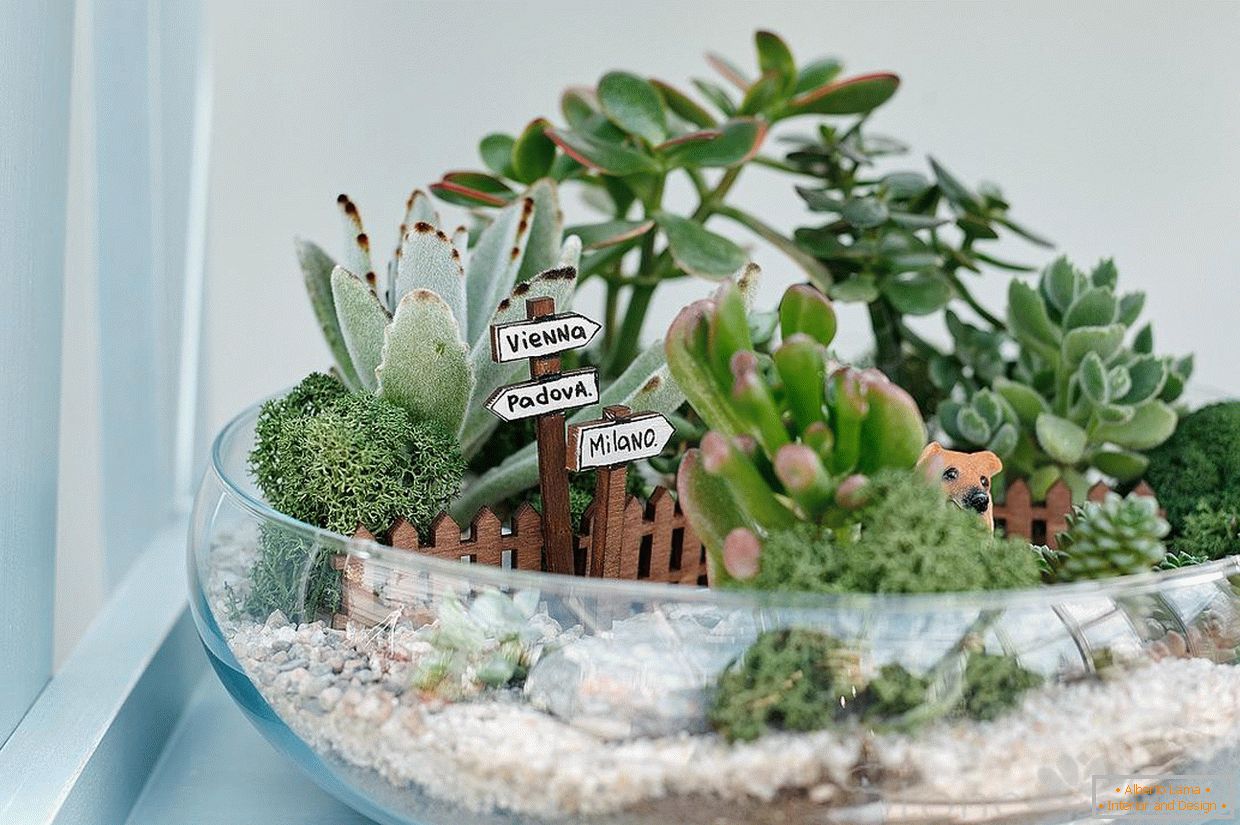

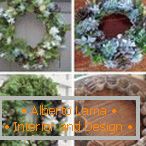
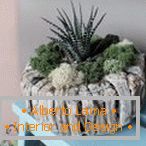
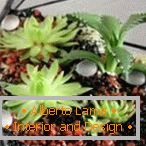

Those who have ever planted any flowers, no difficulties should arise. Drain the drainage (preferably for cacti) in a pot, or specially allocated capacity in furniture, soil, from above lay the net. Fasten it from above with brackets, nails or a frame of wood if you need beautiful edges of the pot. Plant the succulents close to each other so that there is no empty space between them. Water abundantly, but on completely dried ground, spray with a fine spray, enjoy the eco-interior!
Improvised Fruit Basket
Glassware - a universal transformer for assembling new models of utensils.
Find for the Transfiguration:
- 2 cups;
- 3 plates of different diameters from 20 cm;
- glue waterproof.
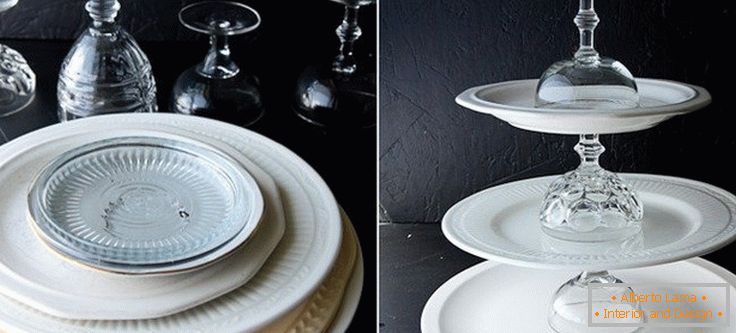
Wash all the components with the glass cleaning agent, allow to dry, wipe off the wadded disk with alcohol or vodka, especially carefully going through the places of fastening. Pedantically apply a particularly strong binding compound to the edges of the glass, not missing a millimeter. Place the glass strictly in the center of the plate, press firmly. For a three-story fruit car repeat the operation 2 times. Try not to go beyond the edge and do not get your fingers dirty. If necessary, remove the excess with anti-glue. Use can be done immediately after the product has dried completely. In addition to fruit, berries, suitable for tartlets with caviar or jam. Wash like ordinary dishes.
Time Lord
Often from the sea leave you bring pebbles to memory. There is nowhere to store them, but it can be done to make them useful.
Take:
- mechanism of wall clocks;
- Stones are monophonic, with smooth sides, 12 pcs. up to 3 cm, 12 pcs. - 1-2 cm;
- cardboard;
- second gel "Moment";
- paints;
- Scissors, ruler, pencil, marker;
- paper (kraft).
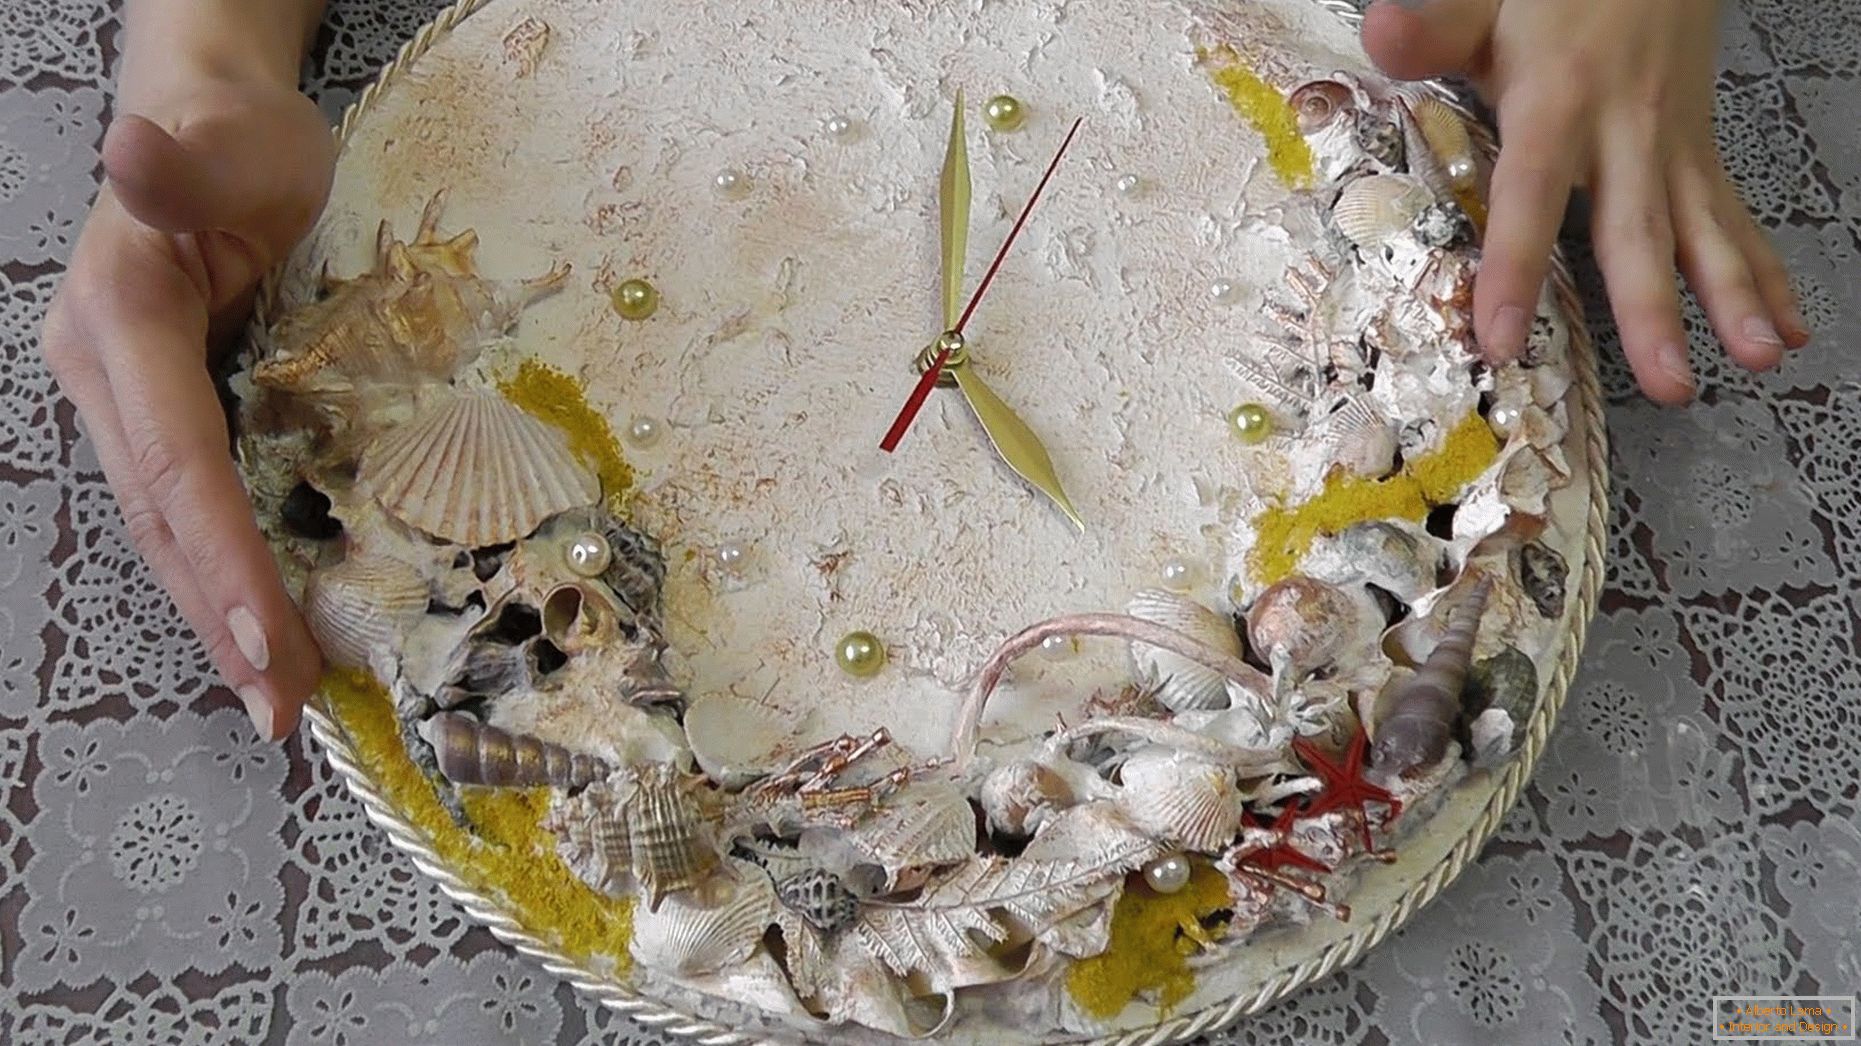


First, paint the stones to get two identical colors, small and large. From the cardboard, cut out the square by the measure of future hours, wrap it with a craft. Fasten from behind. Mark the dial around the perimeter. Use the contrast marker on the large stones to draw the digits for the clock, for small ones - minutes from 00 to 55 in increments of 5. Make sure that the pairs match the color and the score. Attach them to the dial for marking, then fasten the arrows and batteries. Now it's more pleasant to count every hour until your next vacation!
Funny Sink
Did someone have a big party? But among the gifts there was no rug in the bathroom. No problem!
Prepare for:
- rubberized cloth (old mat);
- waterproof glue;
- wine corks from 100 pcs .;
- the sharpest knife;
- sandpaper.
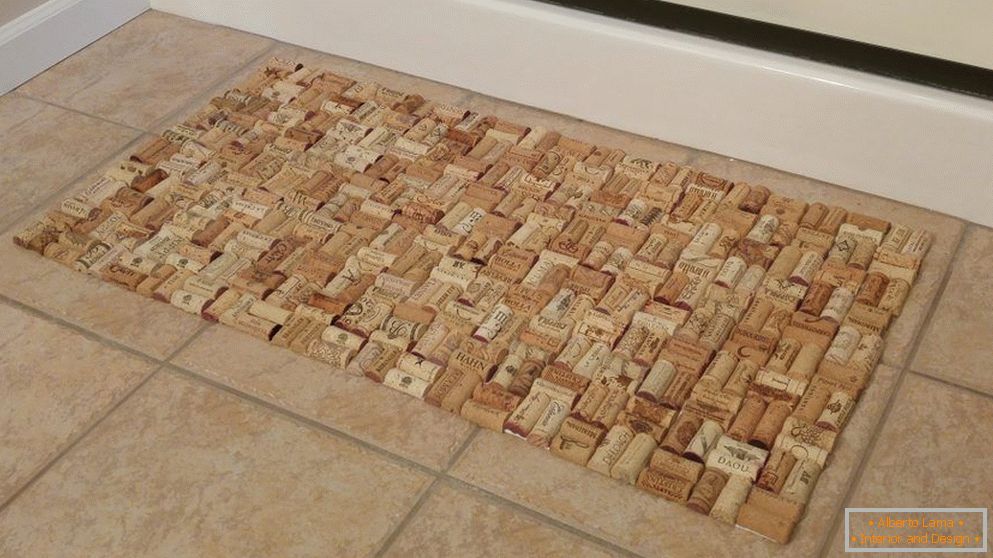
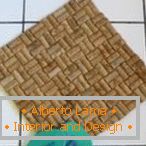

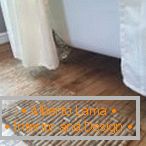
Examine the plugs. From red wine, soak in the bleach to even the color. Dry it. Cut each stopper along into equal parts. If the knife was not sharp enough, treat the edges of the material with sandpaper. Halves should be the same size. Carry out the workout: lay the elements around the perimeter of the base from the upper left corner. If the frame has converged at the entry point, start gluing the halves. When finished, put a new mat under the press for leveling. Keep so while it dries, check with the instruction on the time. The original thing for the bathroom is ready!
Musical wall
Decorating the interior with objects that are far from the word design emphasizes the non-ordinary thinking of the owner of the room.
See also: Decorative panel on the wall with your own hands +75 photoYou will need:
- sheet music A4, 30-35 pieces;
- coffee, boiling water;
- double sided tape;
- scissors;
- ladder.
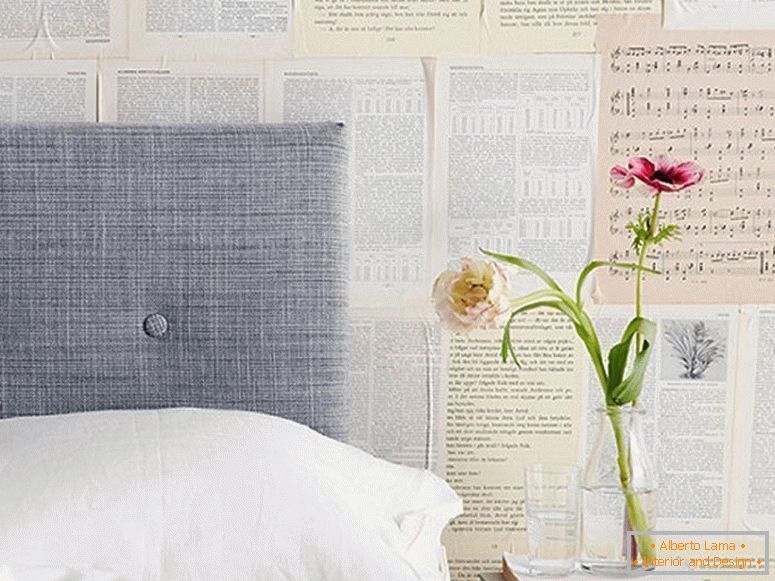
For the basis take the old collection. Or print notes from the Internet, making sure that there are no logos. First you need to "grow old" 6-8 sheets. Brew 2 tsp. coffee in a large container, fold notes, lay out coffee beans for individual spots. After 5-10 minutes, take out two sheets and iron through gauze. Remove two more sheets in 6-7 minutes, treat with iron. Also do with the third party. It should be 3 shades of brown. The time is approximate, depends on the susceptibility of the paper. Old notes will absorb color faster than from a new pack for the printer. Make markings on the wall, taking into account additional accessories in the form of frames, etc. Attach notes with tape, placing it crisscrosswise along the height of the paper. Turn Mozart, it seems, he will be welcome!
Book treasure
Back in the world of dreams immediately to the right page is doubly pleasant with an exclusive bookmark handmade. Creating a stylish thing with your own hands will distract from the twists and turns of the literary plot for only a few minutes.
Looking for:
- tape;
- beads;
- ribbon clip for decoration;
- compound for tissue connection;
- игла, нитки, scissors;
- nippers.
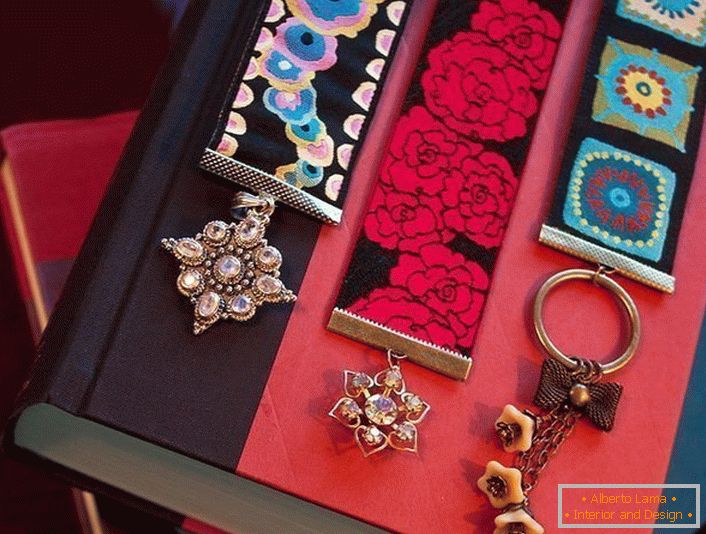
Choose a tape with a width of 2 cm. It can be a shiny satin, very dense opaque lace, thin velvet. Measure out the format of the book, fold the tape in half, properly glue with the glue for the fabric. Carefully attach the parts, noting the accuracy of the connection. This is especially important for the atlas, it slips. And lace, where you need to observe the pattern combination. Attach the tape clip to the ends. Decorate the bookmark can be any pre-assembled pendants that match the color. Do not hang too heavy beads, they can pull the fabric, deforming it.
Note to students: Decorated bookmarks even a textbook make attractive!
Wall-mounted holder for decorations in the royal style
The idea of boudoir design combines practicality and luxury.
The following are involved:
- a wooden or plastic frame in the Rococo style;
- glue;
- lace;
- scissors;
- drill.
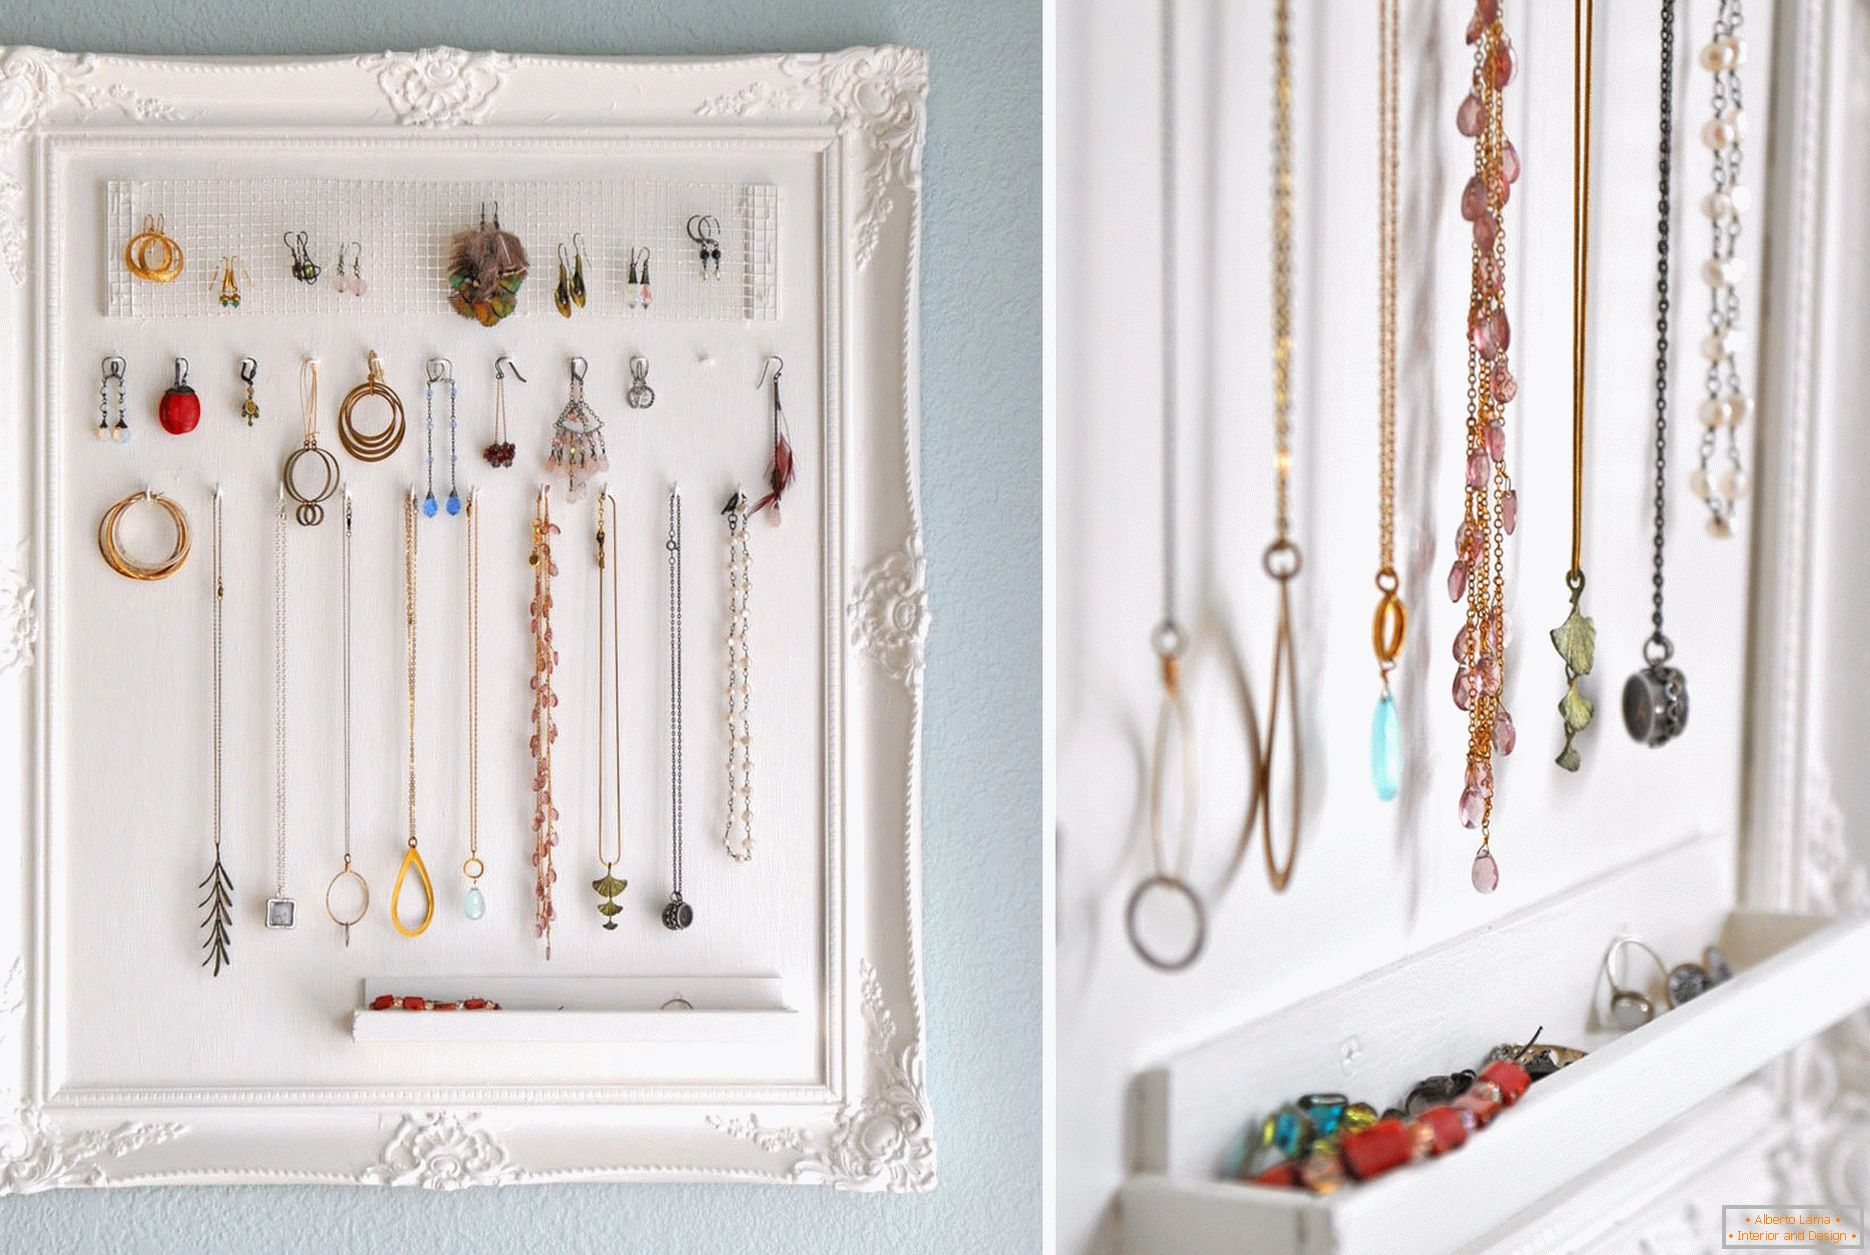
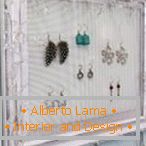
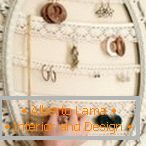


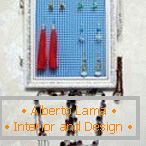
Выберете 2-3 вида кружева разной ширины, учитывая, что между полосками должно оставаться не менее 4 см пустого пространства. Нарежьте по размеру рамы. Аккуратно прикрепите с внутренней стороны оправы, воспользовавшись суперклеем. Если есть строительный степлер можно поработать им. Место, где будет висеть держатель, должно быть доступным на уровне руки, а если в доме есть маленькие дети или любопытные животные, огороженным от их внезапного интереса. Вмонтируйте крепеж, используя drill. Прикрепите раму, развесив на лентах серьги, бусы, цепочки в хаотичном порядке.
Felt pictures
Composite stories or recognizable images of felt in the simplicity of performance are in the first place.
Prepare:
- knitwear;
- felt;
- scissors;
- base of plastic or wood;
- a needle, a thread;
- threads for knitting;
- beads 4 pcs .;
- Blank sheet;
- double sided tape.
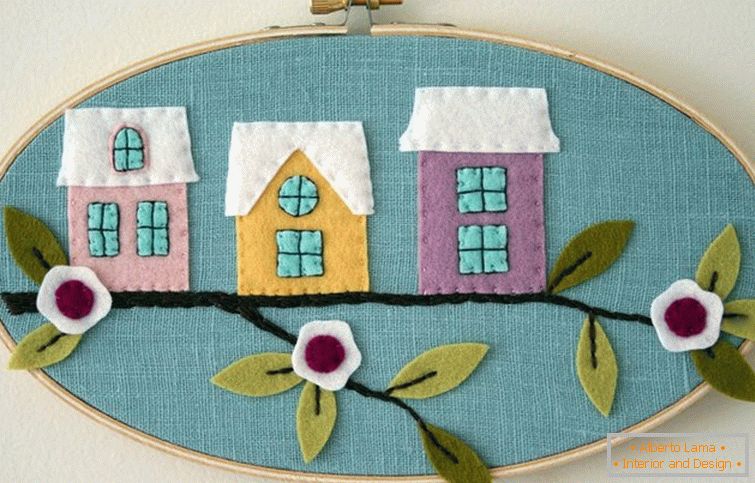
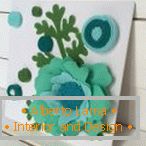

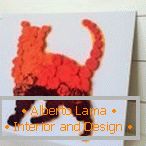

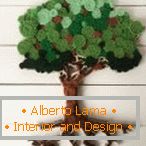
Draw on paper or print outlines, for example, kittens. Place scotch on the inside. Cut out all the details, fix the stencil on the felt with scotch tape, once again scissor. On the basis, stretch the fabric, connect the back thread with a weave. Watch for a uniform tension. Stick the parts of the felt to the canvas, having previously unplugged the scotch. Add a frame around the perimeter of the knitting threads, in the corners, sew beads. Close the back of the picture with a sheet of paper to hide the working stitches. Smile at the kittens, m-m-moor!
Read also: Decor of paper: ideas and master classesTree of joy for the beads
Convenient, because you can see everything at once. The more adornments, the larger the tree is to grow. The wider should be the base.
Harvest:
- wire (0.7 mm);
- paint + gilding;
- gypsum + cup for him;
- PVA;
- white paper napkins;
- tap-tape.
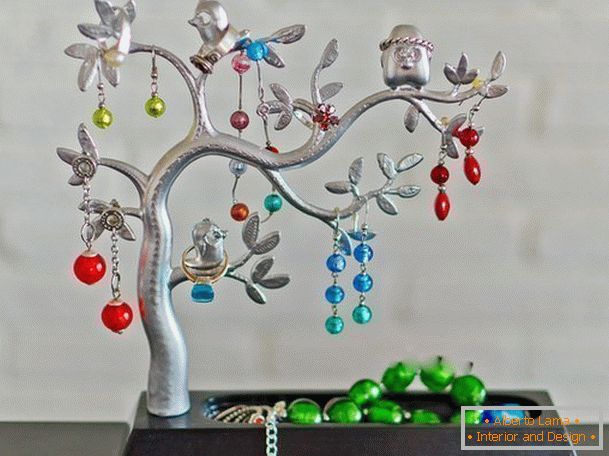
From a double wire to construct a skeleton of a tree. Each branch "break" several times, then the number of places for things will increase. Wrap the result with tape. According to the instructions, dilute the mixture for gypsum, insert the frame into the center of the bowl. When the gypsum withers, soak the napkins in a glue and glue the branches and trunk together with pieces. Interrupt for a few hours, until it dries. Then cover with paint, put a golden tone in the dents. Dry it. Besides beads, the tree is suitable for storing earrings, bracelets. Get your treasures from the box, hang on branches in a convenient order.
Monetizing the picture
Decorating money is a "luxury" task. They really like everyone. But if you include fantasy, then the financial gift will be presented with a piece of elegance.
Take:
- cardboard 2 eyes;
- Cork leaf;
- 15-20 rubles in small coins;
- PVA;
- can. knife;
- ruler, pencil.
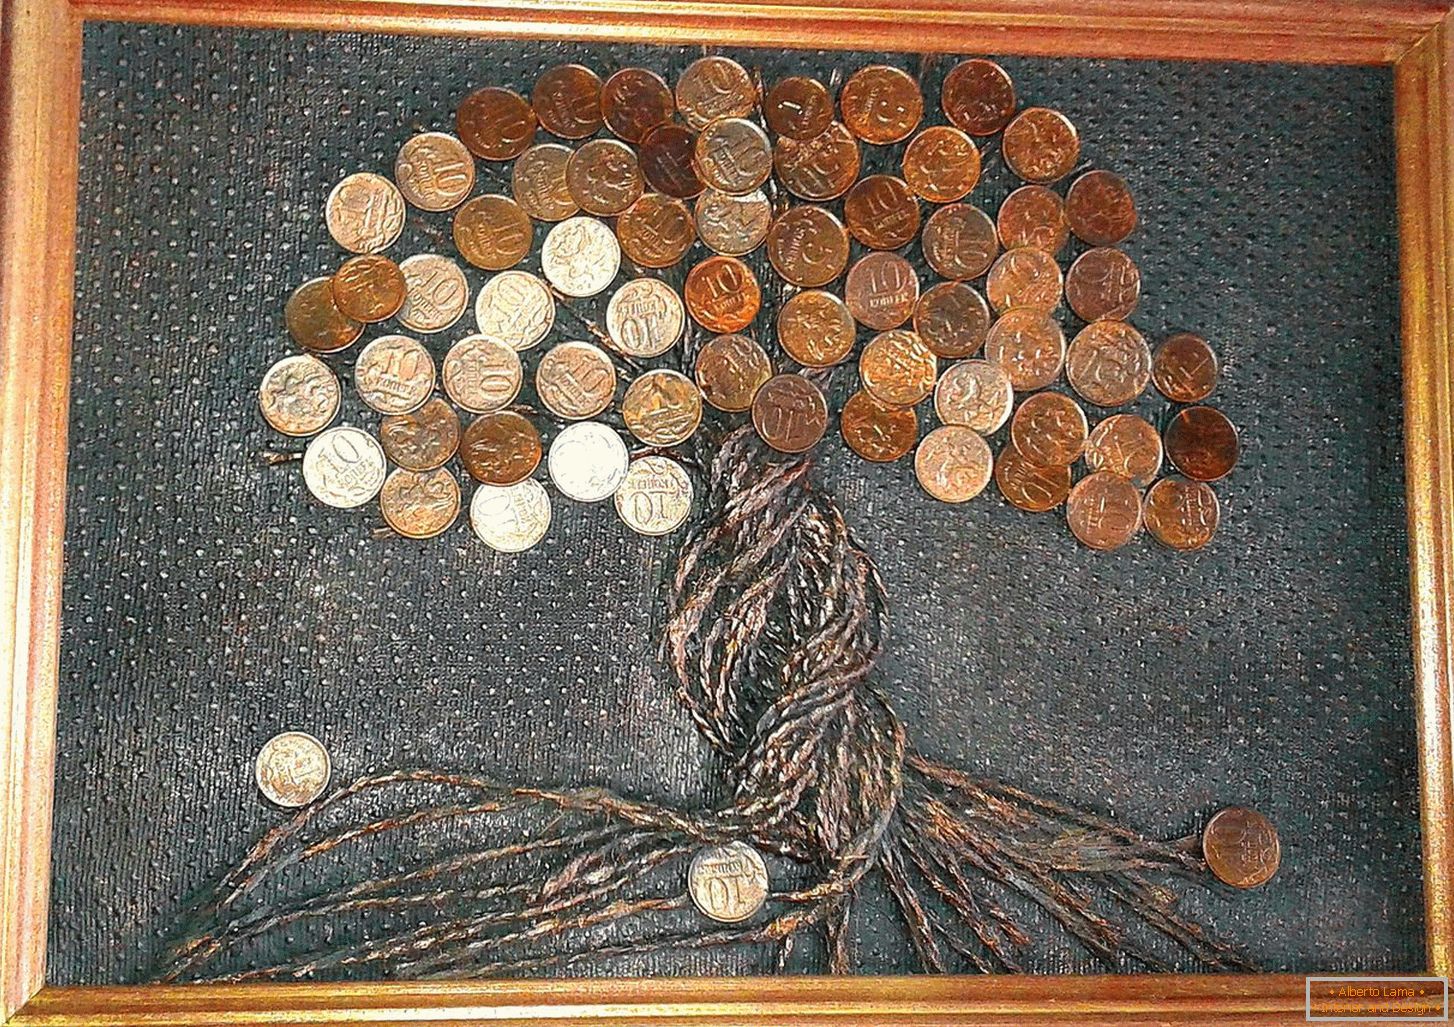
Cut cardboard and a sheet of cork in a single size. Focus on the A4 standard. Glued both parts, put under gravity, wait a couple of hours. Cut out the outline of the tree trunk, glue it to the main background. To disassemble coins into 3 groups: pennies, 10 and 50 kopecks. Rubles will come in handy later. Gradually glue one at a time, starting with a larger diameter, forming a beautiful money crown. Stick to the chess layout. Finish under the "ruble" grass. At the back, attach the envelope, put the money, give it to a good friend!
Portraits of sequins and beads
A feature of the canvas in its minimalism. Only two components: a local white background with a sketch of black lines, but the soul touches.
Equipment:
- any kind of glass beads + shiny sequins;
- glue;
- polystyrene + wrapping;
- pencil, scissors, tweezers.
First of all, prepare the canvas on which you will create. Align the edges of the foam, glue it, you can with a monophonic wallpaper or with a small vintage rib, the main thing is that they are matte, not glossy or satin. Then the most important moment.
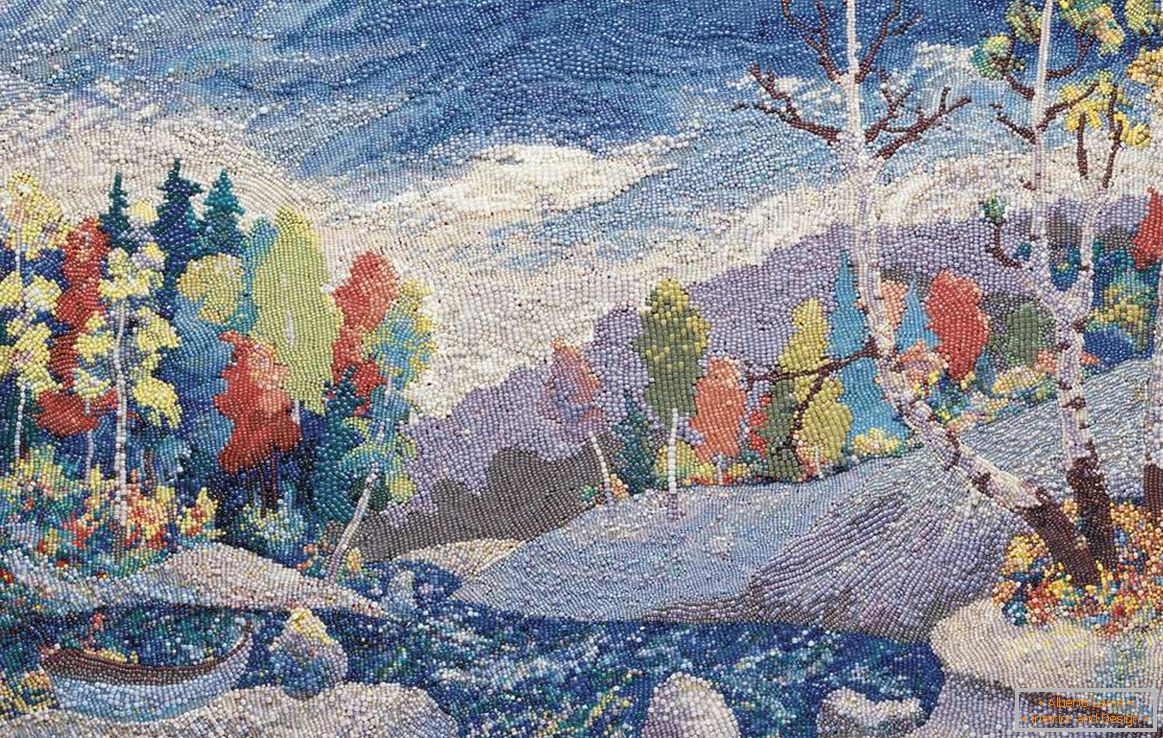
Draw a portrait in wide single lines. Inspire with your thoughts, look in open sources, maybe you'll get your own version of famous masterpieces of world artists. And then already on these lines start to paste beads, sequins, spreading them with tweezers, starting from the left side of the canvas.
His Majesty "Decoupage"
One of the basic techniques of hand maid as a magic wand transforms everything that the napkin touches.
It is necessary:
- lamp with abrasion;
- napkins with floral print;
- glue wallpaper;
- brush;
- sponge.
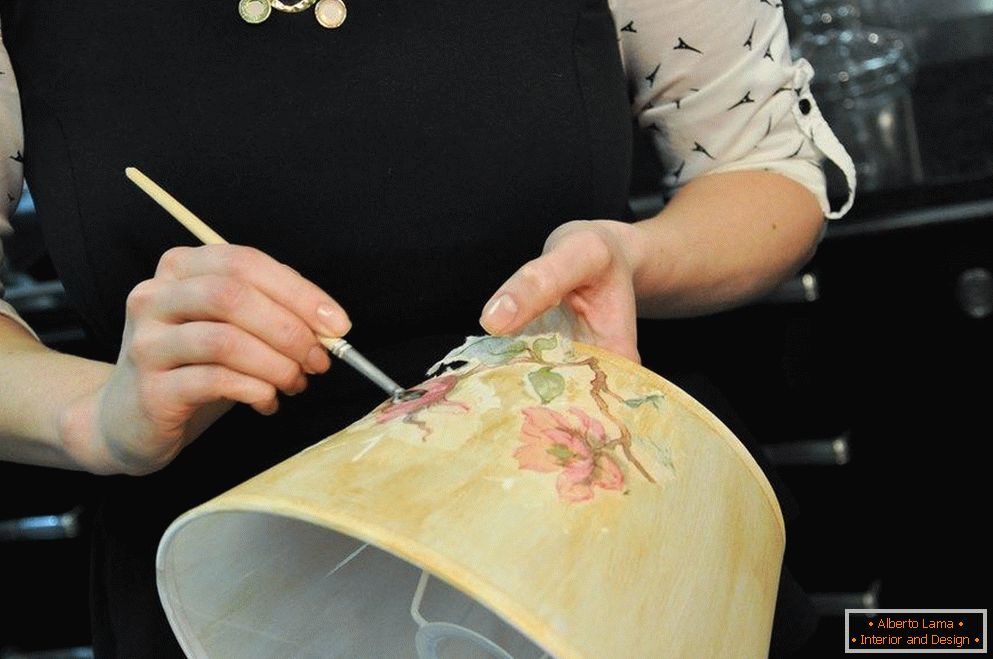

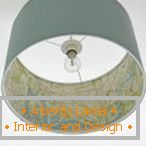
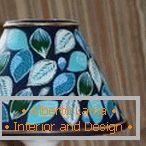
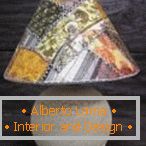
If the lamp was damaged, then before the operation "decoupage" will have to conduct a rapid resuscitation. Putty to repair unevenness, sanding. Turn on the lamp, apply one more layer, trying to cover it without lumens. Dry, walk through nazhdachkoy.
Dye a layer of gray paint, apply strokes in one direction. Now it's time for decoupage. Separate the working layer of napkins, iron it with an iron, cut out the composition. Lubricate the lampshade with plenty of glue, lay the napkins on it, smoothing it. Work the entire circle. Finish the edges, apply the final adhesive layer. Wait until it is dry, decorate the bottom of the lamp with tape. May the light be with you!

