Probably everyone thought about the fact that you need to make the tiling of the floor and walls in the bathroom. But many do not imagine that this will not require much effort. How to lay tiles in the bathroom, you can read in the instructions given.
Now, almost all decorate their bathrooms with tiles. Therefore, she now has no competitors. The popularity of tiles is explained by its variety of sizes and colors. Also the price allows tiles to remain the most used material in the finish, but in the shops and in the market there is expensive tile, which due to its cost may not be available to everyone.
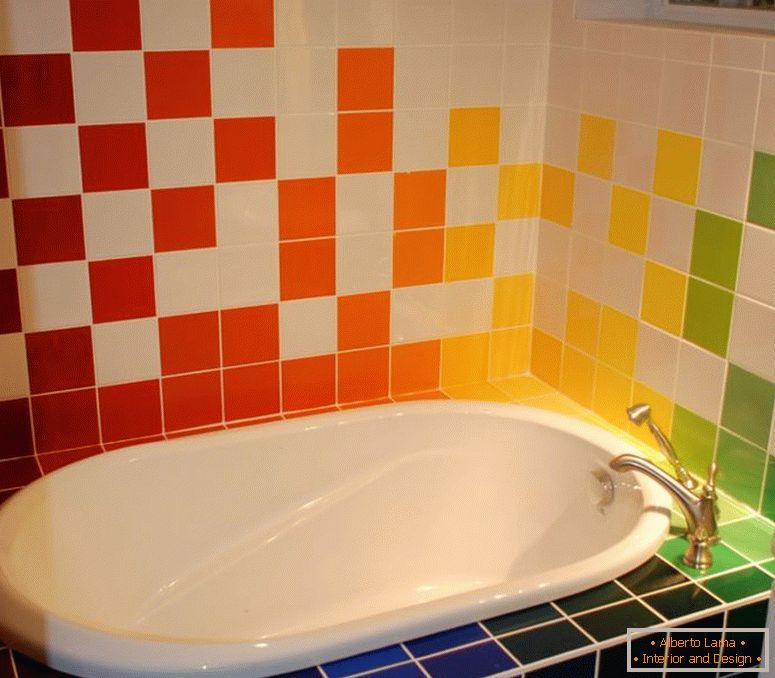
Table of contents of the article:
- A difficult way to choose - how not to make the mistake of choosing a tile
- Tools and materials for laying tiles
- Laying tiles on the wall in the bathroom
- Floor preparation
- Floor marking
- Laying tiles on the floor
- Example of determining the demand for materials
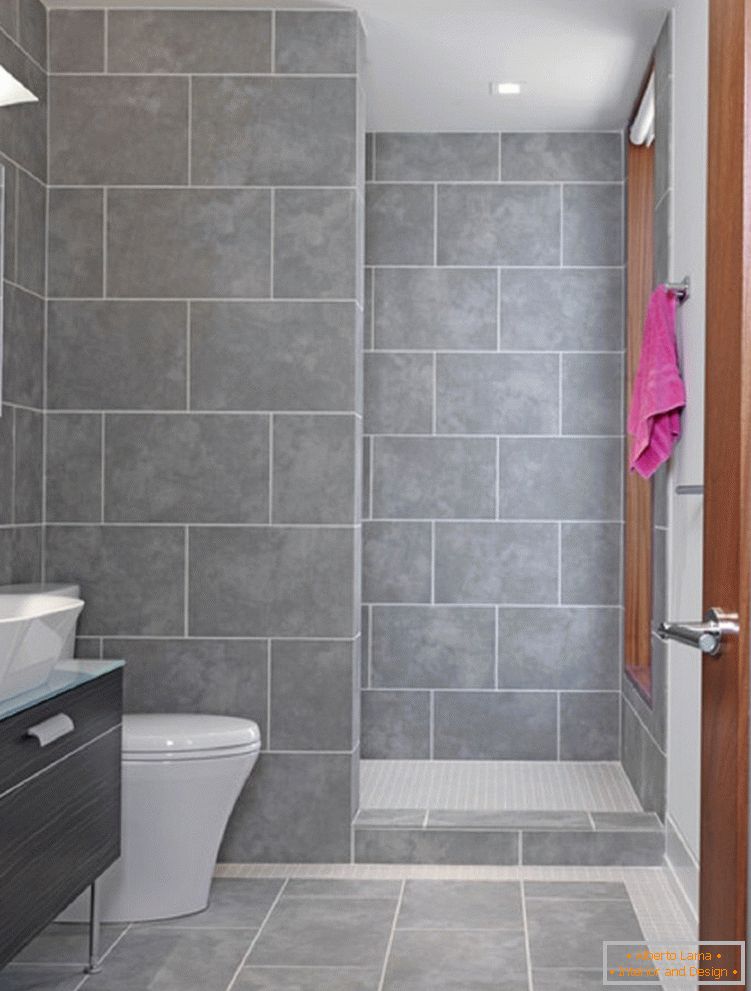
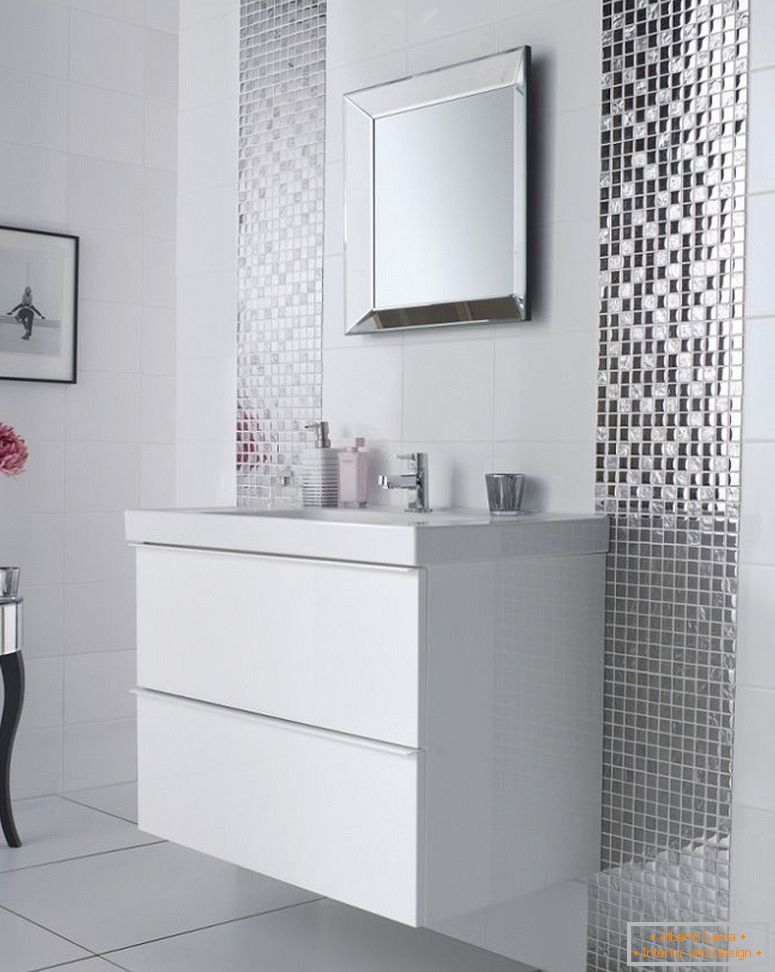
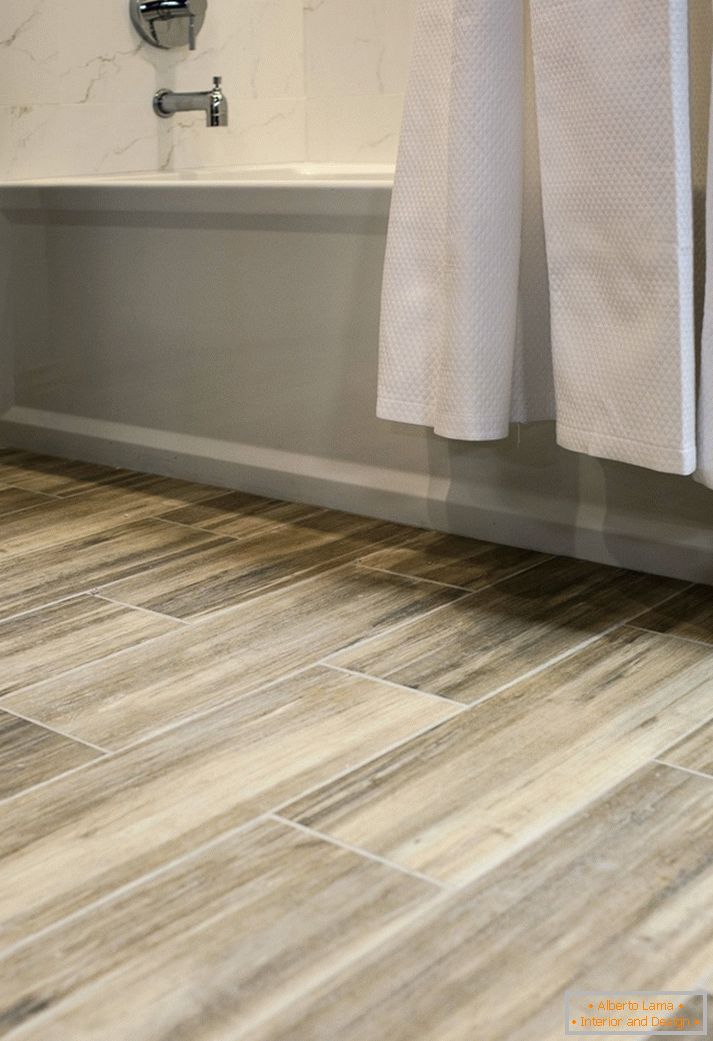
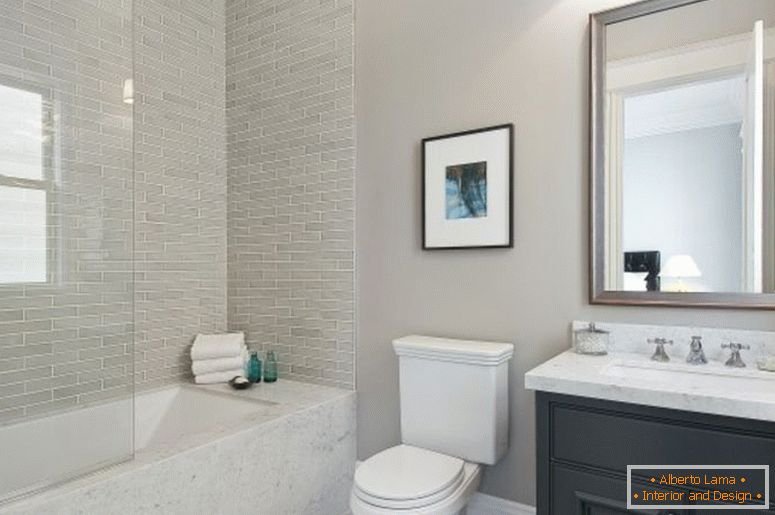
- Photo of quality tiling in the bathroom
A difficult way to choose - how not to make the mistake of choosing a tile
If you think so, then what is the difficulty of choosing a tile. It would seem that it is easier than just to come to the market, shop, there to choose your favorite tile. And this is the most difficult in finishing the bathroom.
Criteria for selecting tiles:
- price
- gauge
- aesthetics
- technical and operational qualities
By marking it will be possible to find out whether it is suitable for a bathroom. Of particular importance here is the resistance to the effects of various chemicals, but frost resistance, most likely will not make any difference. Also, when choosing a tile, you need to understand that it should not be slippery when exposed to moisture, because the fracture in the bathroom will look ridiculous.
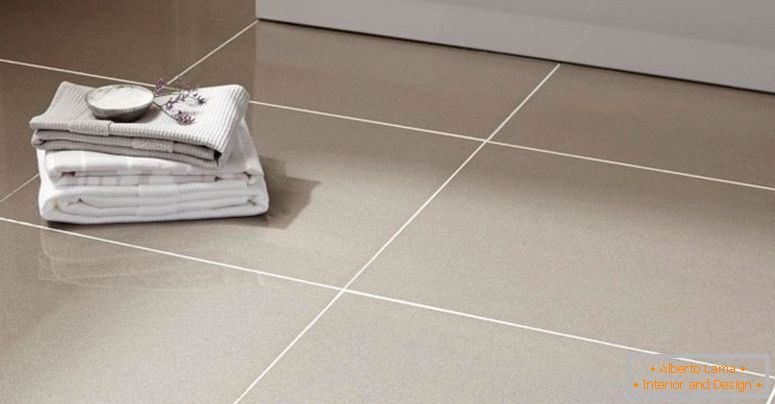
Necessarily the sizes of a tile should coincide with the size of a room. If the bathroom is not spacious, then the use of large tiles is not allowed. After all, if you use a large tile, this can lead to a visual reduction of an already small space.
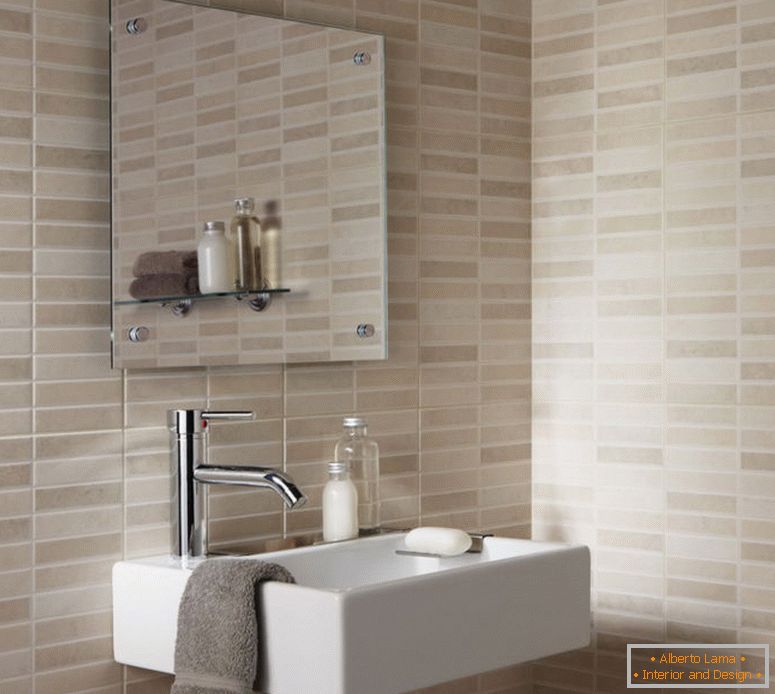
The best solution in this situation is the use of small tiles. This solution will also help to facilitate the laying of tiles, because the smaller the tiles, the less it will have to be cut.
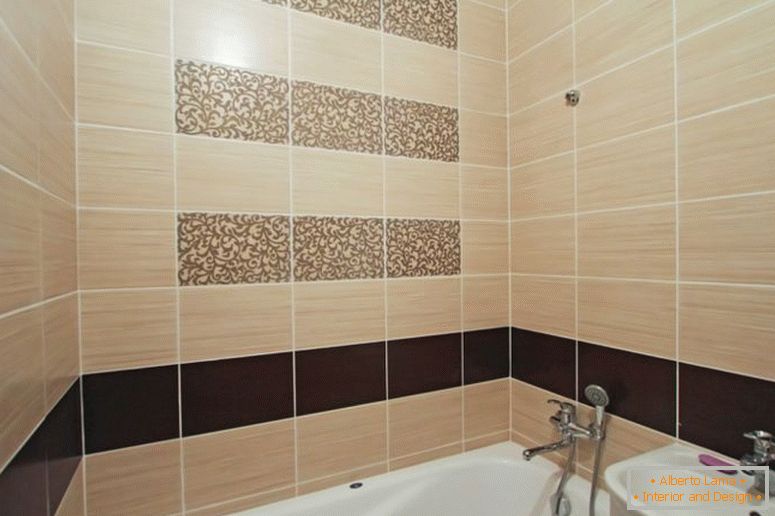
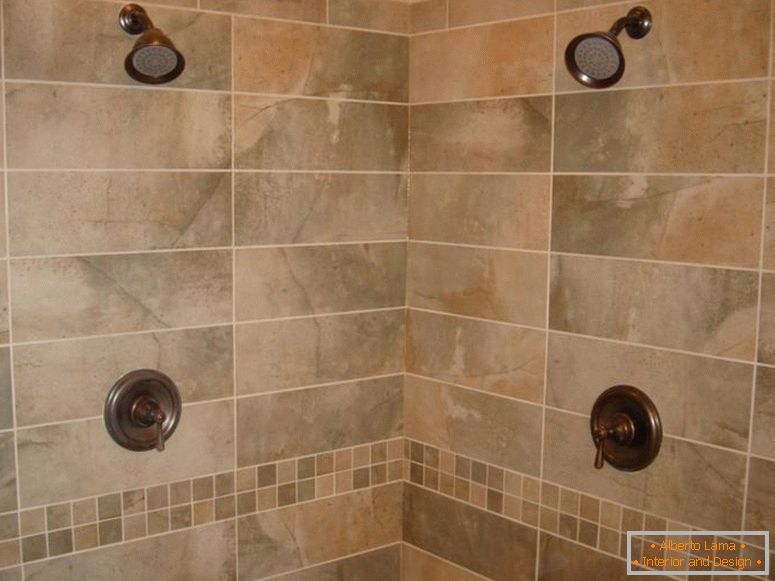
Also, the correct selection of the shade is very important, but here everything will depend on the personal preferences of each person. Those who love heat, will be more suitable for yellow and pink shades, and those who prefer cold weather will be able to choose a blue or green shade for themselves.
Also distributed in the bathroom is a patterned tile. But here you need to understand that the execution of the pattern will increase the consumption of the material. Experience is also important, especially when creating a full-scale picture.
Tools and materials for laying tiles
In order to properly lay the tile, you need the following tools and materials:
- specialized glue for tiles
- materials for grouting joints
- primer
- cushion
- notched trowel
- Bulgarian
- ballerina nozzle
- measuring instruments
- grouting tool
- directly tile
- Soft rags for wiping the remnants of the solution from the surface of the tile
- Crosses made of plastic to maintain a constant distance between individual tiles

The glue for gluing the tiles is sold in ready-made form, for use it remains only to fill with water and stir. This can be done manually, but much faster will use a nozzle in the form of a mixer for a drill.
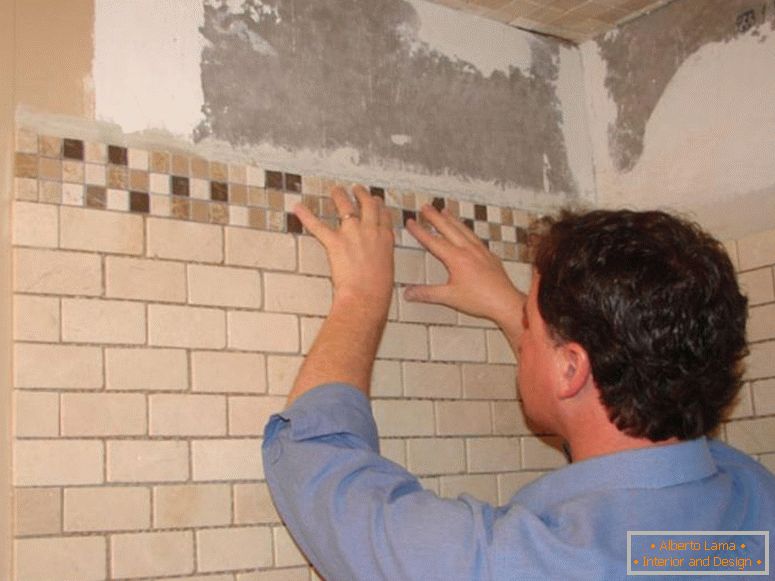
Laying tiles on the wall in the bathroom
On the one hand, this is a complex process, but it can be divided into 3 simple steps:
- wall preparation
- marking of future laying
- directly laying tiles
1) In fact, the first stage is the leveling of the walls, which should be even and strong. If the wall does not have large irregularities, but there are small defects, it is possible to use plaster, but you need to take into account that you need to take a break from several days to several weeks. As an alternative to building materials, plasterboard can be considered. But you only need to use a moisture resistant gypsum board (it will differ in green tint).

If there are areas with dust, dirt or paint on the wall, then they need to be removed. Here you need to understand that the glue for the tiles will not stick to the paint. When removing the old tiles, it can be seen that the tiles move away from the wall with a solid plate, this indicates that there is poor adhesion to the base. Plumbing should also be dismantled when laying tiles.
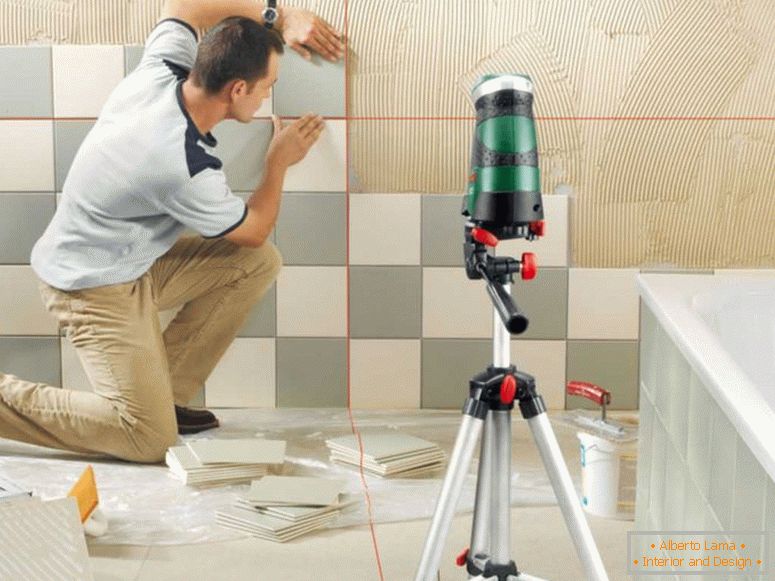
2) The correct tiling in the bathroom begins with planning and marking. It will be logical to lay the tiles, starting with the level of the floor, but it will be better to skip 1-2 rows. The main reason here is not a perfectly flat base, which will have to be leveled. Also in the lower part of the most often pass the communication.
The main requirement at this stage is the planning and placement of horizontal and vertical rows so that the tile needs to be cut less. But there can be exceptions, so sometimes the size of the tiles does not allow you to lay it without cutting, in this case it is desirable to keep the symmetry.
 Small bathroom 3 m²: 70 photos, ideas for lay-out and design
 Interior of a small bathroom - 115 photos of an ideally designed design
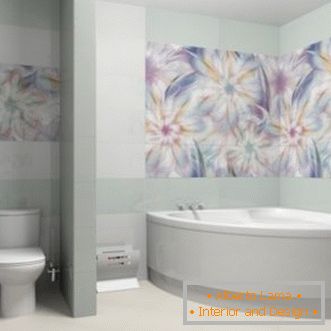 Tile for the bathroom - photos of the best bathroom decoration ideas (115 ideas)
3) Before you start, you must ensure that the initial edge is bound to the horizontal line. You can use both conventional level and laser to mark the initial lines on the walls.
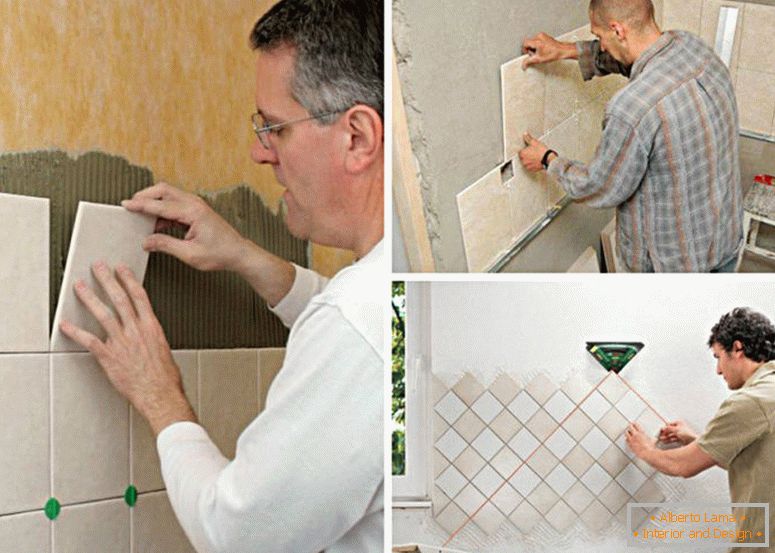
Since it will be necessary to retreat to a certain distance, the tile without additional support will creep under the action of gravity. Therefore, the next stage is the installation of the stop along the marked line. You can fix the rest with the help of the cuts themselves, by placing a wooden rail on them.
The further order is as follows:
- The wall needs to be treated with soil so that the glue is not rubbed into the plaster, if this happens, the tile may fall off over time.
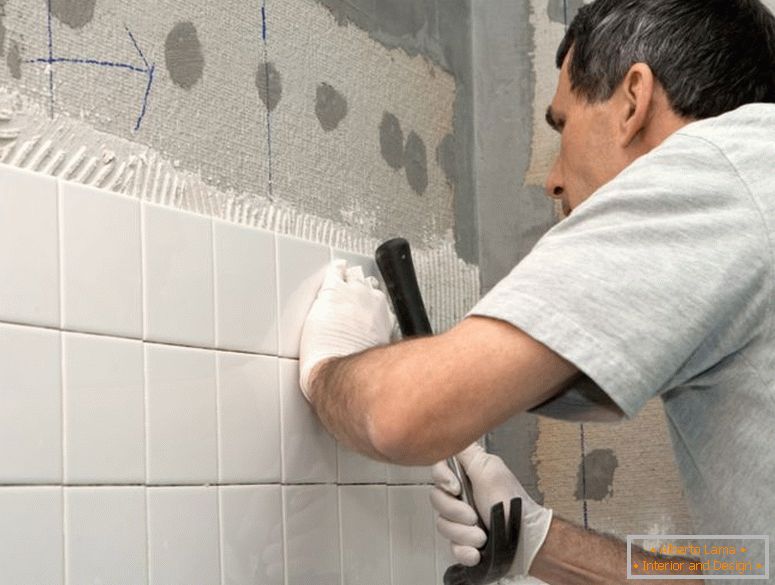
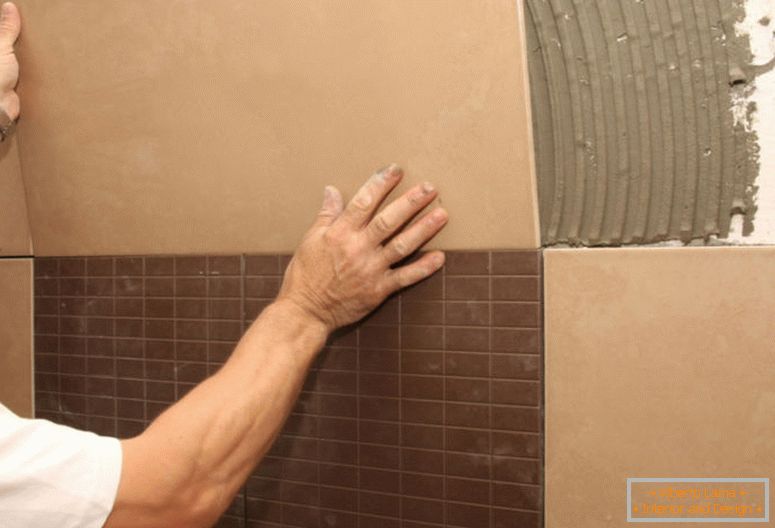
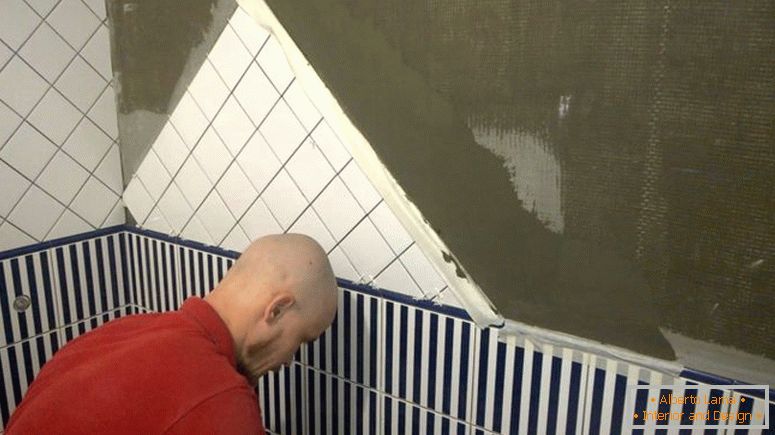
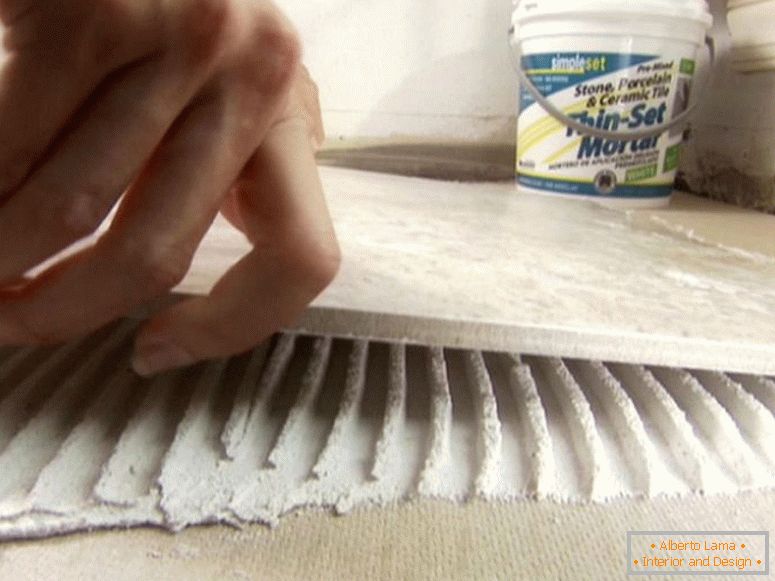
- Focusing on the layout, you need to stack the first row. Toothed spatula should be applied to the back side, glue mixture. Then you need to attach the tile to the wall and press it.
- Because the first row is very important, you need to constantly check the horizontality, and also that all the tiles are in the same plane. Excess solutions should be removed immediately. If you do not do this immediately, then the solution will be difficult to remove.
- Between the tiles should remain the same distance.
- Grout grouting will be the final stage. Grout should be selected in the tone of the tile, then rubbed into the seams between the tiles with a special tool. After the grout has hardened, it will become almost waterproof.
If you want to cut a narrow strip, then gently bite it with pliers, and if a round hole is to be made in the tile, a special drill bit is used.
The glue must be applied to both the tile and the base. Also, you do not need to spread the entire mixture on the tile. First, a thin layer should be distributed on the base, and then on the tile.

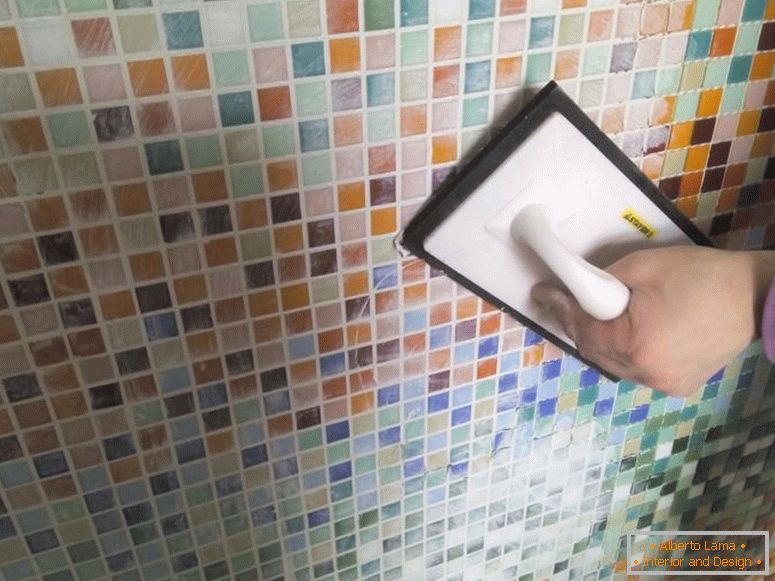
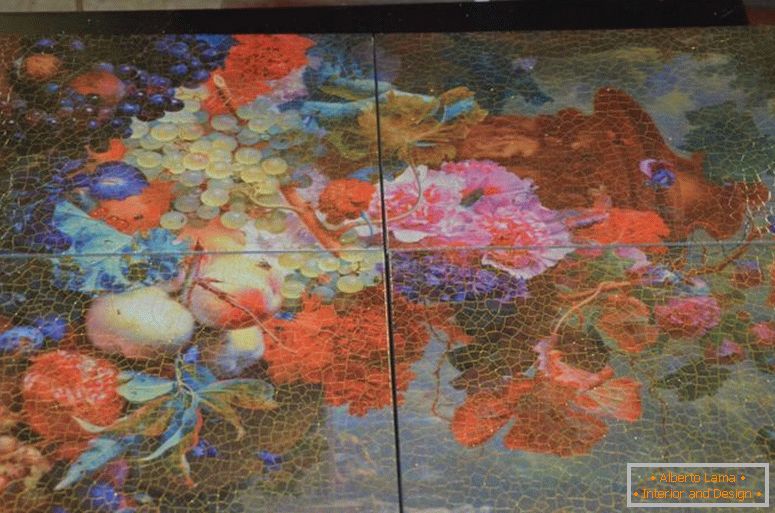
 Mosaic for a bathroom - 100 photos of ideas how to decorate a bathroom with mosaic
 Bath room Khrushchev - how to decorate a beautiful interior? 80 photos of ideas
 Suspended ceilings in the bathroom - 130 photo ideas of beautiful ceilings in the bathroom
If the tile was cut, then by the place of the cut you need to go through a file or rough sandpaper. This will help smooth out the sharp edge of the fault.
How to lay the tile on the floor yourself, as well as the facing of the wall, when laying the tiles on the floor you will need to prepare the base, and also think about the advantageous placement of the tile and perform its laying.
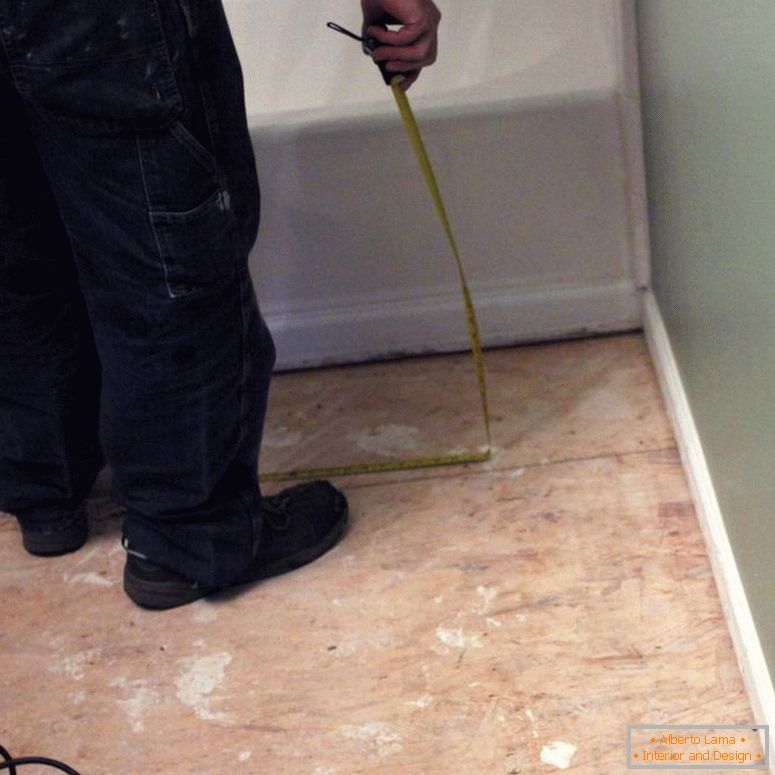
Floor preparation
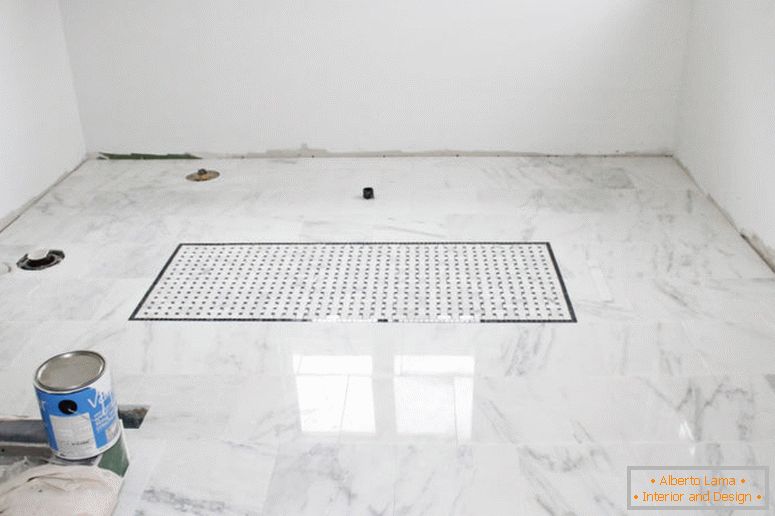
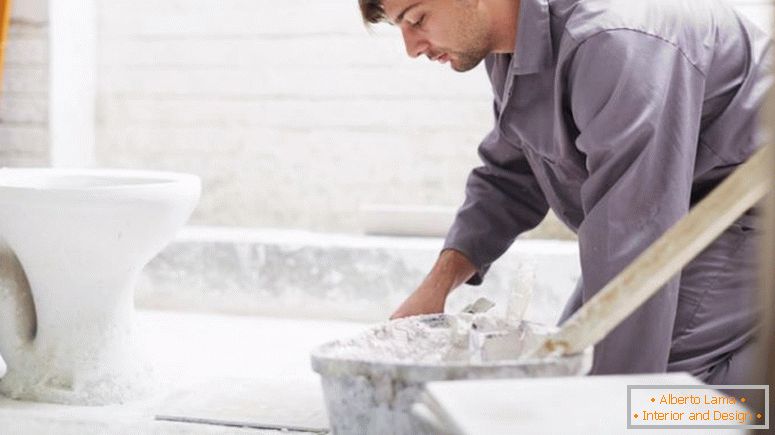
The floor in the bathroom, like the walls, should be perfectly flat, and also not have any prominent defects. The only exception is the shower room, where the floor has a slope for water drainage. In any case, a thin layer of screed is required to remove defects. It will also be necessary to dismantle plumbing without fail.
Depending on the experience and budget, you can use both a conventional solution and the self-leveling mixture. The thickness of the fill is 10-15 mm., It all depends on the base. Also for leveling the floor, you can use a conventional screed, but then the drying time of the layer will increase.
Floor marking
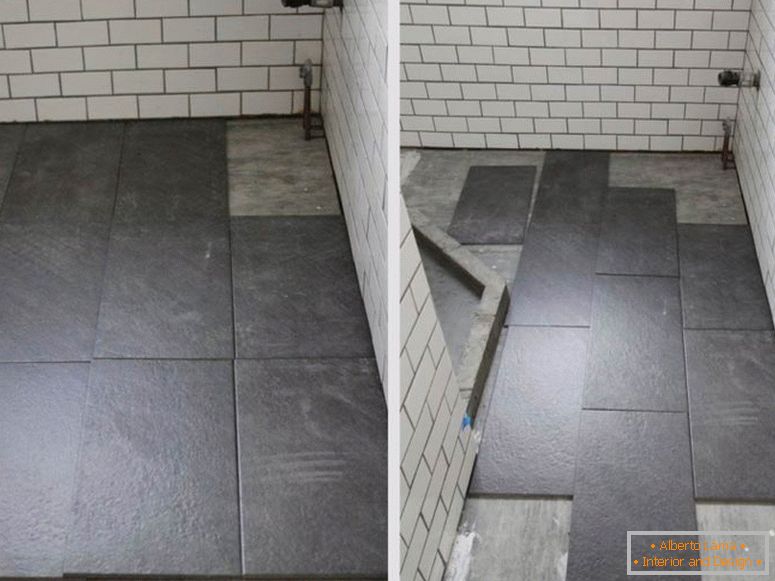
Unlike walls, sex does not require the same careful markup. Most likely the tile will need to be cut, so you need to avoid asymmetry, otherwise it will affect the impression of the cladding. In the rest everything is simple - the wall with which the tiling begins begins is selected. After that, you can draw a contour of rows that do not need cutting.
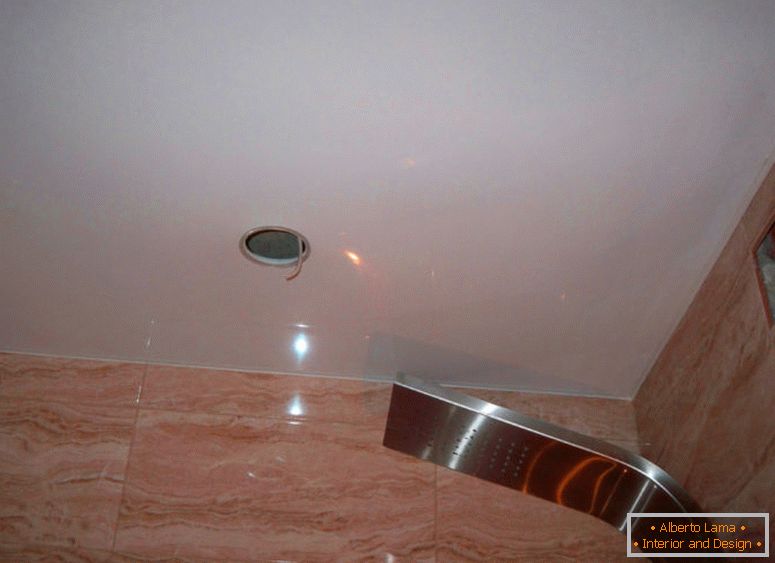 Stretch ceiling in the bathroom - expert advice, a review of species, photo examples.
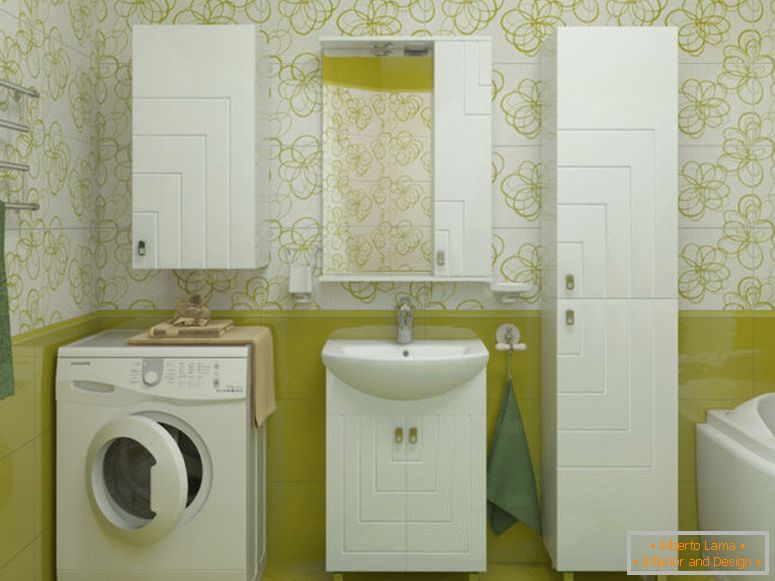 Bathroom furniture - 110 photo ideas of beautiful furniture in the bathroom interior
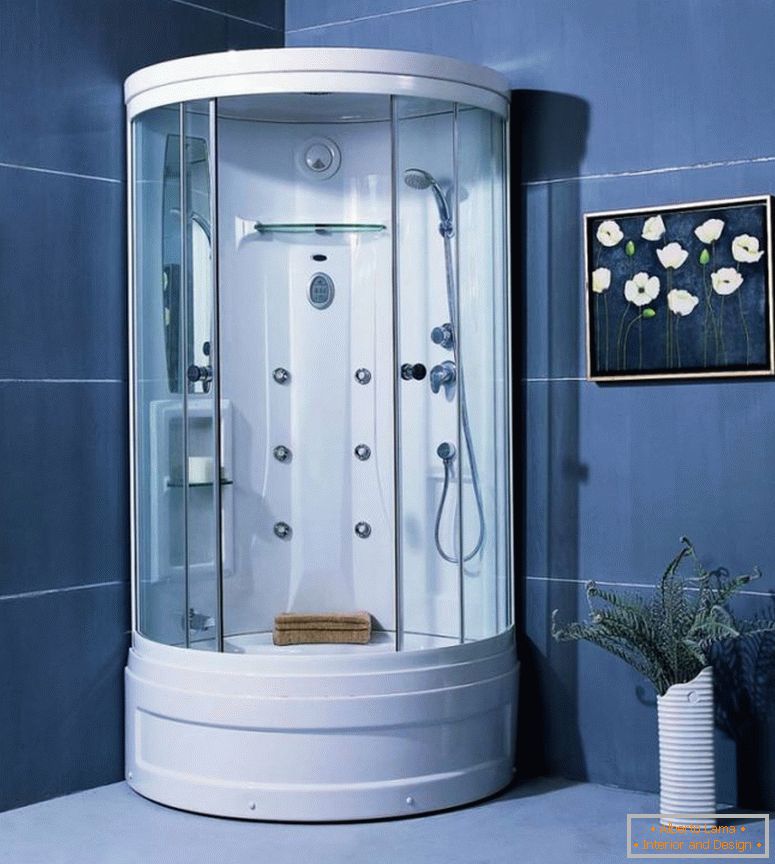 Shower cabins - 80 photos of the best bathroom design with a shower room
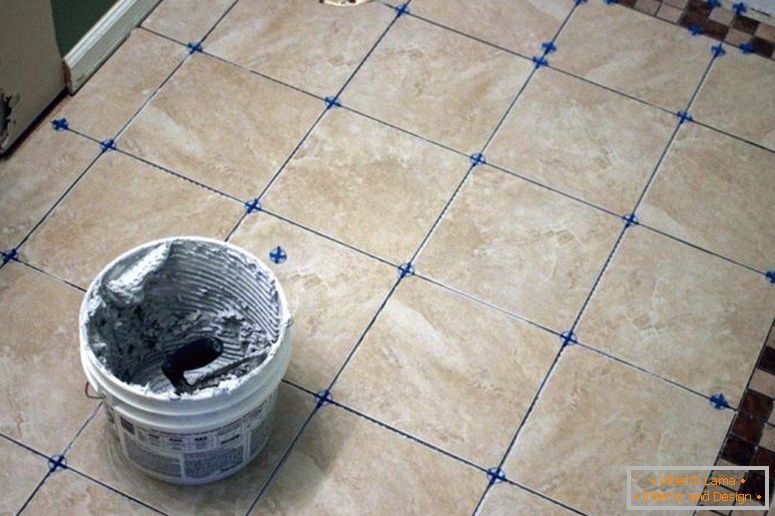
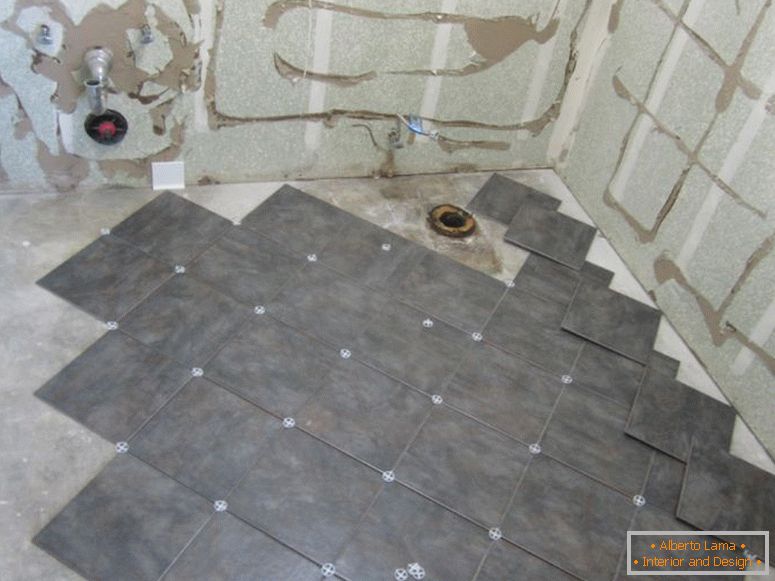
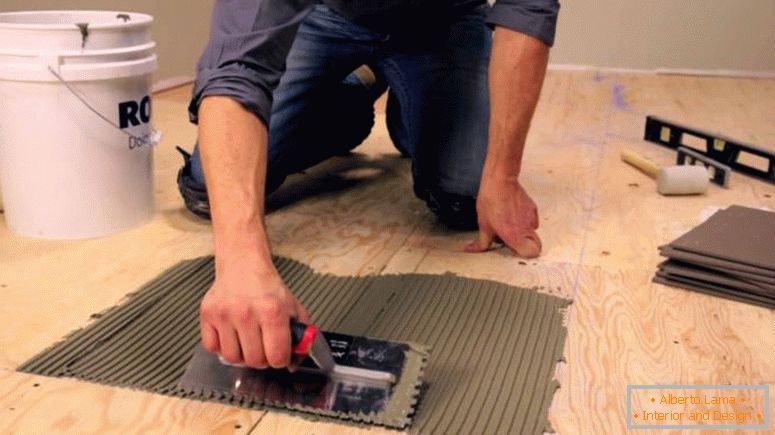
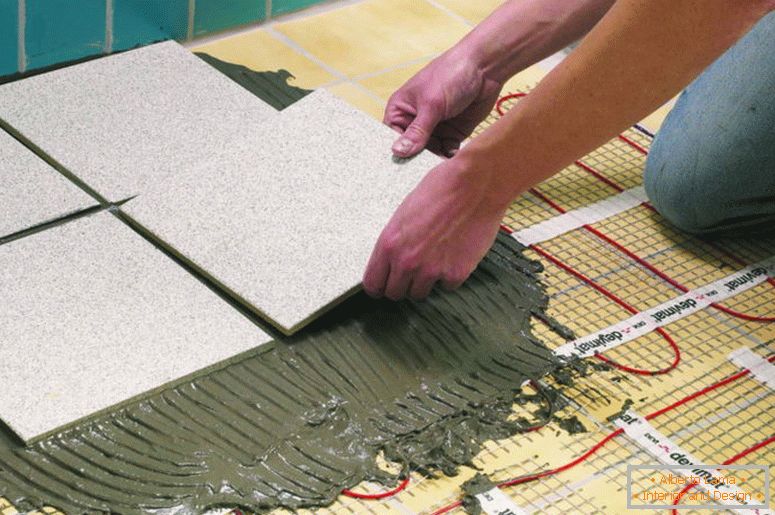
Laying tiles on the floor
Laying tiles on the floor, будет схожа с укладкой плитки на стены. Отличие будет в том, что плитке будет некуда сползать, поэтому первый ряд фиксировать нет нужды. Работа будет выполняться в следующей последовательности:
- base is primed
- there is a marking of the floor (It should try to ensure that the tile practically does not need to be cut).
- The adhesive is applied to the tile with a notched trowel, and afterwards the tiles are lightly pressed with hands. (If the tile is to be put up after laying, then it can be "put in place" with a kyanki.)
- The constant size of the gap will be achieved with the help of plastic crosses.
Removal of surplus solution from the front surface should not be left for later, after being laid, you should immediately wipe it with a damp cloth. Grout joints should be made as well as when facing the walls.
The only point that should be taken into account when doing the flooring is the concealment of the space directly underneath the bathroom. To do this, it is necessary to build small walls, for example, of brick, but if you do not plan to use the load on the walls, it is possible to use drywall or any other material that is resistant to moisture. Due to this, the floor area will decrease, which means that the material consumption will also decrease. This fact should be taken into account when calculating and planning the requirements of materials.
If the walls that hide the space under the bathroom can be faced both before and after the flooring, then the walls themselves must be taken up necessarily.
When laying the tiles, it is necessary to control 2 parameters: the parallelism of the rows (they should not bend on the floor area of the entire floor), and the overall flatness of the floor, which means that each tile surface will be in the same plane as the rest. This can be checked by the usual building level.
Example of determining the demand for materials
As an example, an absolutely ordinary bathroom is used. This room has a rectangular outline, its dimensions are 2.5x4.0 meters, and the ceiling height is 2.9 meters.
In this room is planned to install a bathtub with a length of 1.9, and a height of 0.8 meters and a width of 0.9 meters.

It is worth mentioning that the selection of the required volume of tiles can be performed on the Internet using a special calculator. But here you need to take into account that all possible variants can be calculated manually, and calculators are suitable to make an approximate calculation.
If there is a desire, you can complicate everything and calculate the thickness of the joints when calculating the number of tiles, but this will not make any sense. After all, the exact number will not interest anyone, because in the final result will be laid about 10-15% of the battle when cutting and transporting.
The total area of the walls is 37.7 m2. But you need to consider that the space under the bathroom will be closed with small walls, because of this you need to take into account the area of 2 side walls, as a result, the total area is 39.5 m2. When determining the floor area, it is necessary to take into account the area that the walls will hide under the bathroom. The total area is 7.9 m2.
Tiles with the dimensions of 0.25x0.4 will be used for facing the walls, 8 tiles are contained in one bundle. Considering the total area of the walls, about 50 packages will be needed for the cladding, but you need to create a stock in the form of 1 package, the final figure is 51 packages. For a floor the size of a tile will make 0,3х0,3 meters., In a pack of 10 tiles. Therefore, you have to buy 9 packs.
Consumption of glue will be the thickness of the adhesive layer, as well as the size of the used spatula, as well as the angle of its tilt and the force of pressing when applying the solution. Manufacturers also can not accurately answer this question. On average, the primer consumption will be from 100 to 200-250 ml / m2. The required amount of grouting can be determined using a special table.
If you take into account the size of the room and the area of the walls and floor, you may need 13.28 kg. grout or 7 buckets of 2 kg.
The floor was leveled by pouring the self-leveling screed 10 mm thick. The screed volume was 0.1 m3. Given the area of the room 10m2, you need 6 bags of 25 kg or 138 kg.
Нужно учесть, что в данном примере была использована очень недорогая плитка, а её price является определяющей во всей стоимости ремонта. При этом многие используют плитку, которая имеет сложный узор или предпочитают использовать диагональную укладку, что в сильной мере влияет на конечную стоимость.
The final cost of materials will be about 21775 rubles, which is not a great price for a great view of the bathroom.
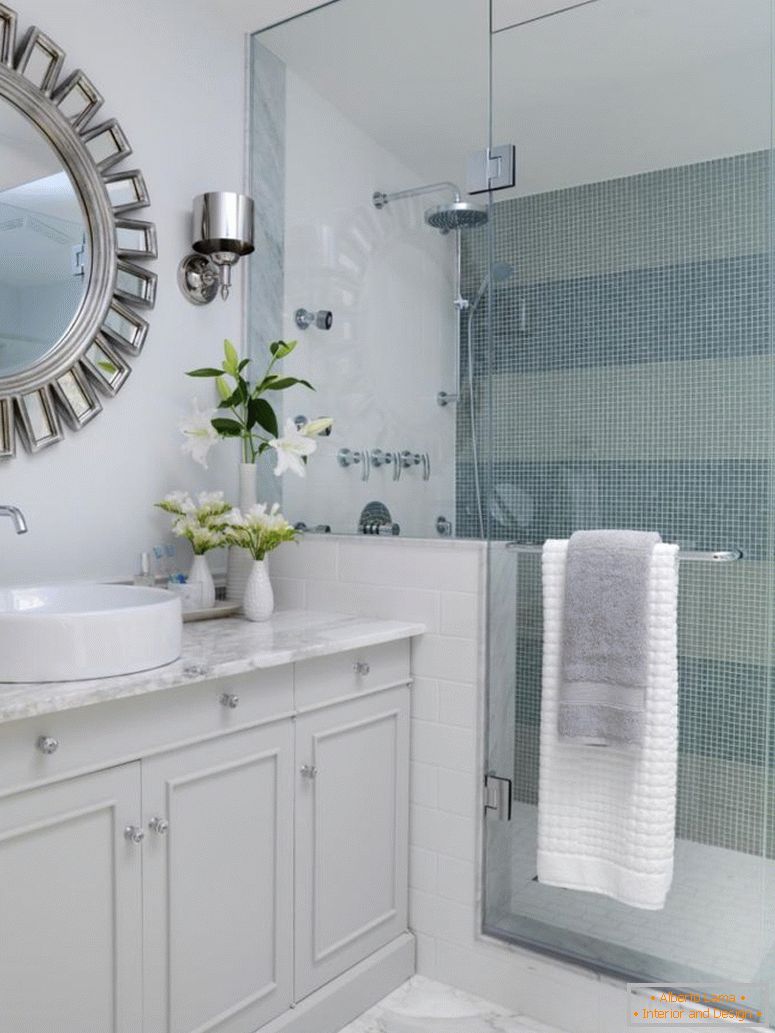
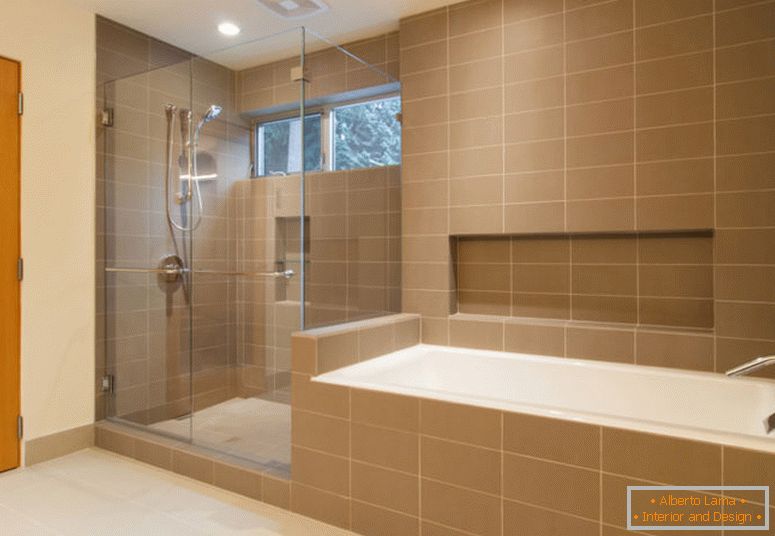
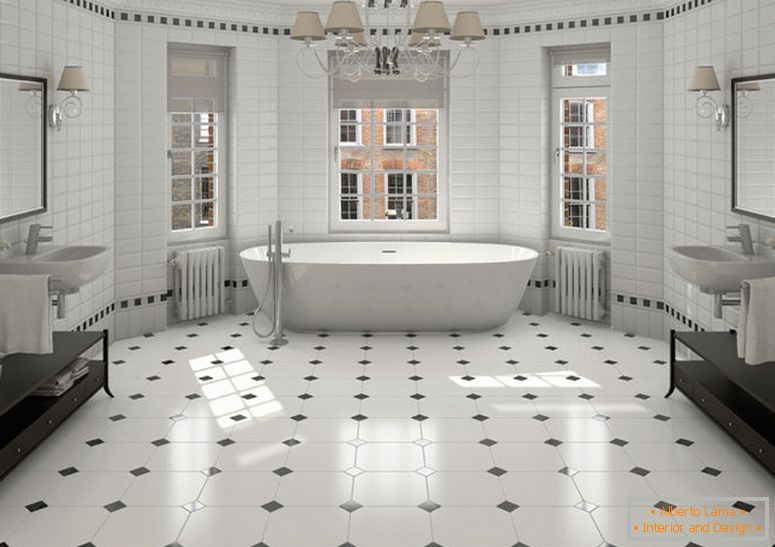
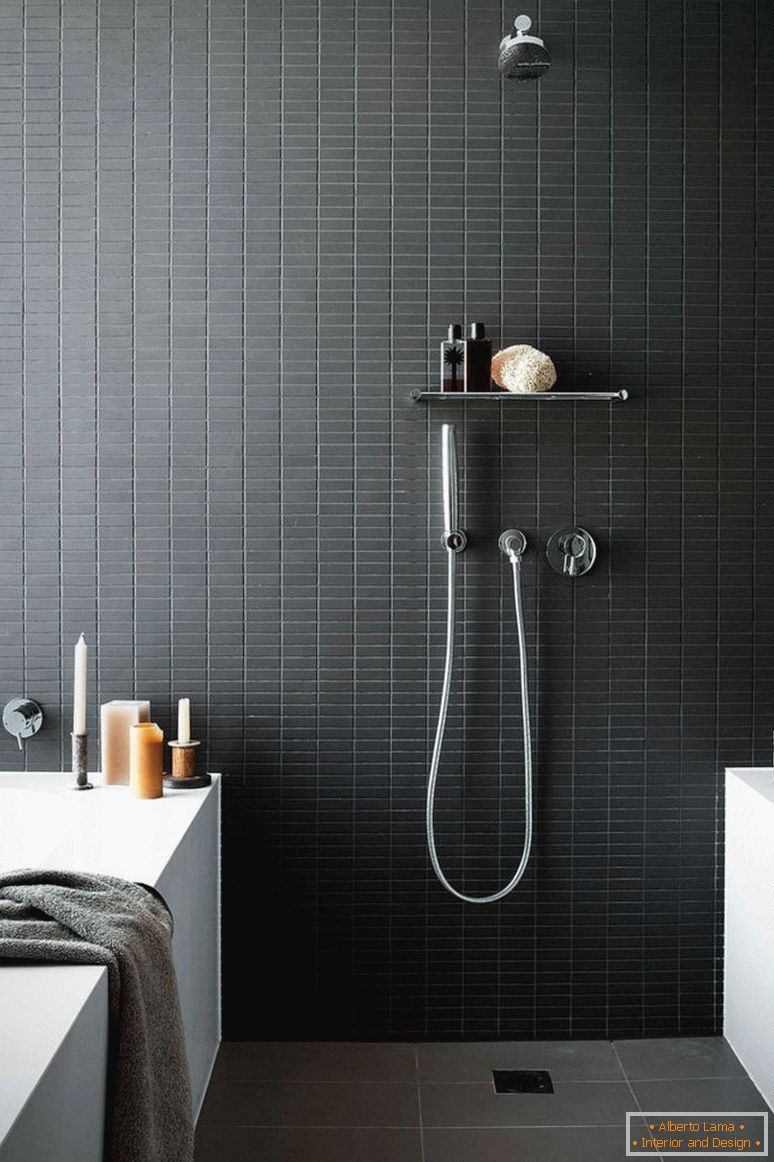
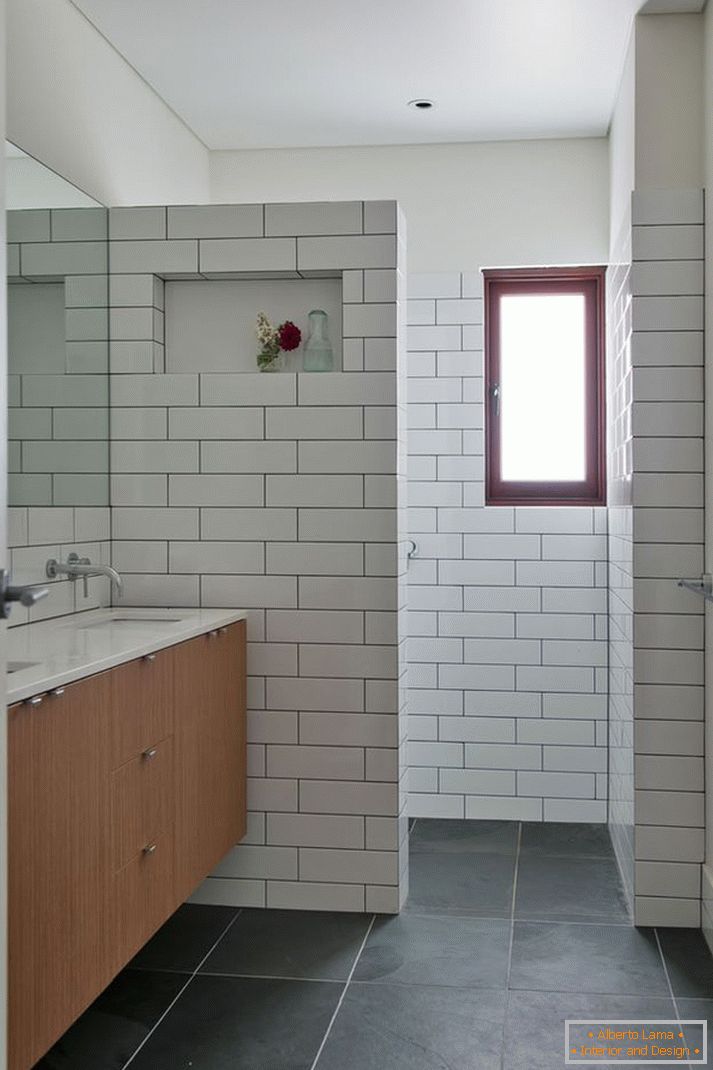
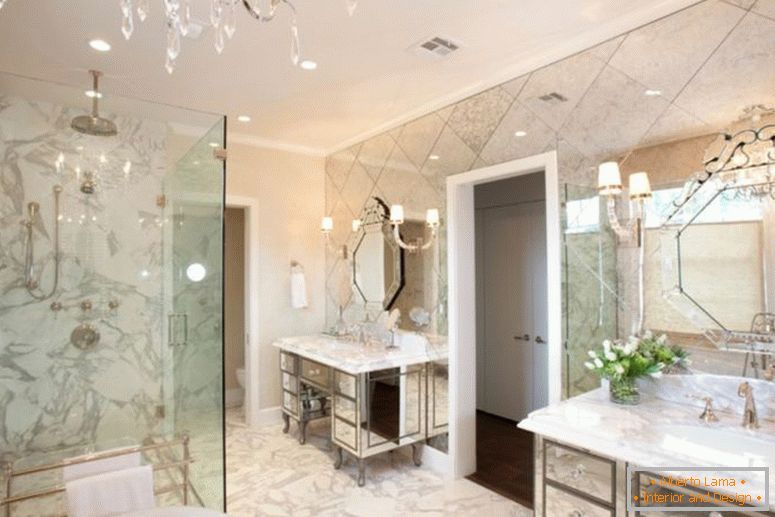
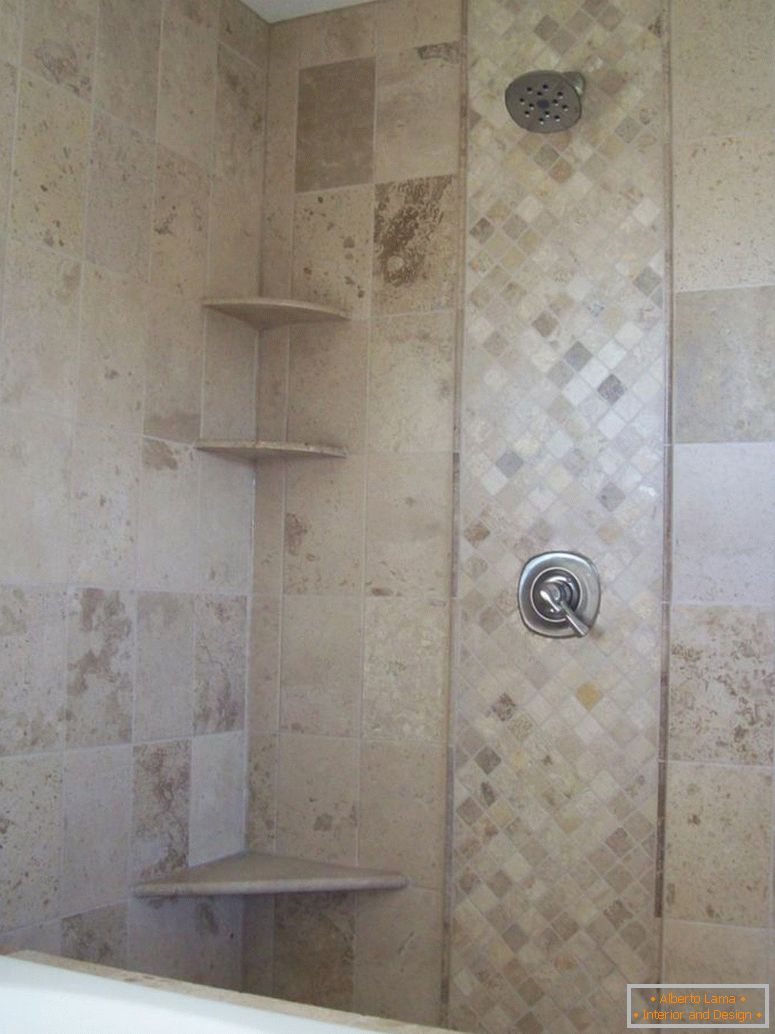
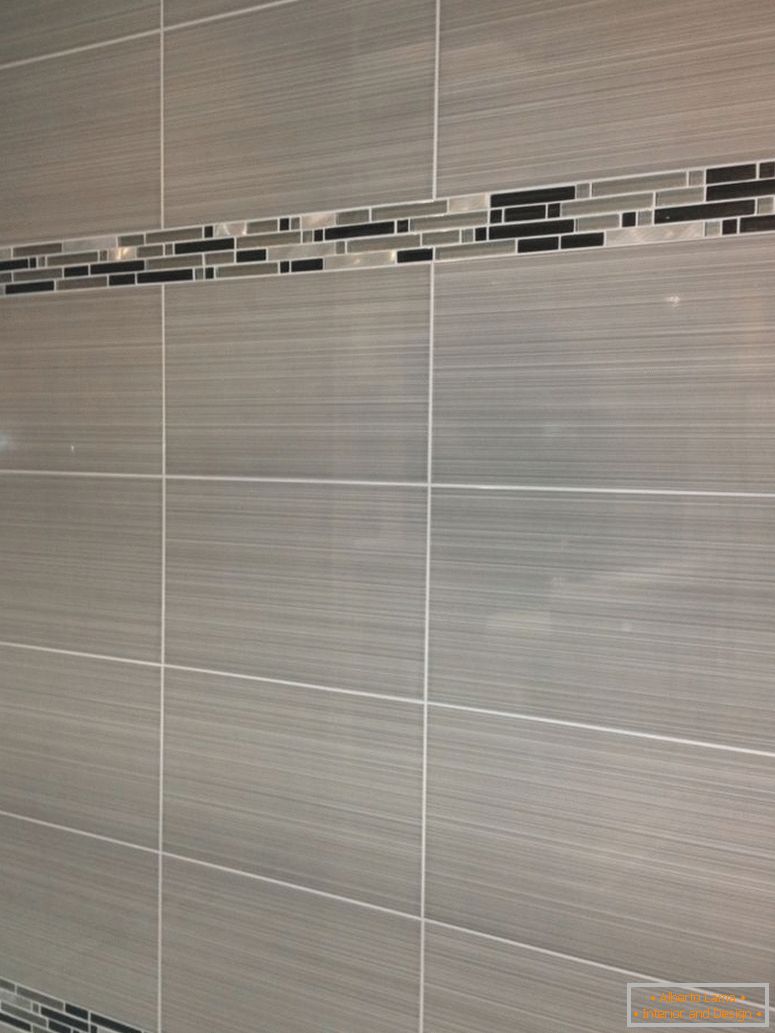
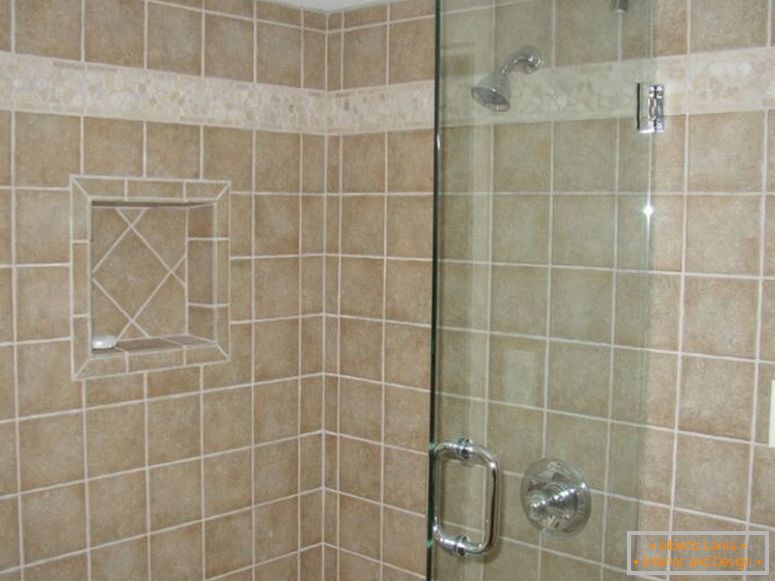
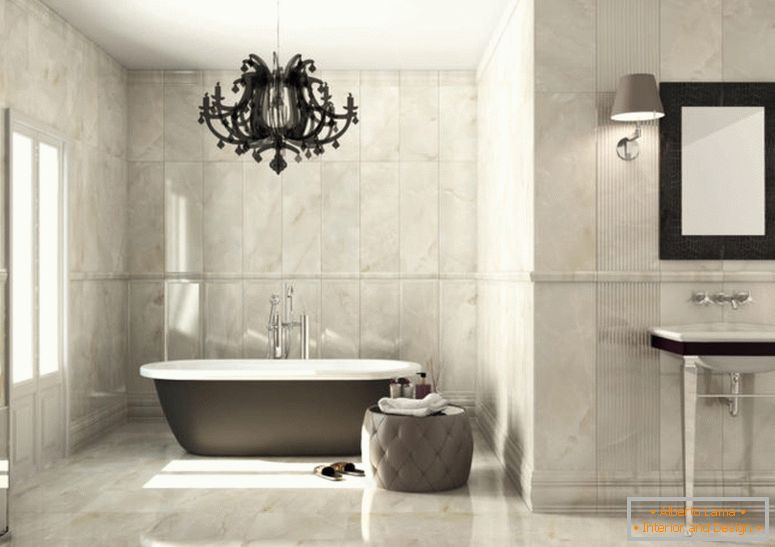
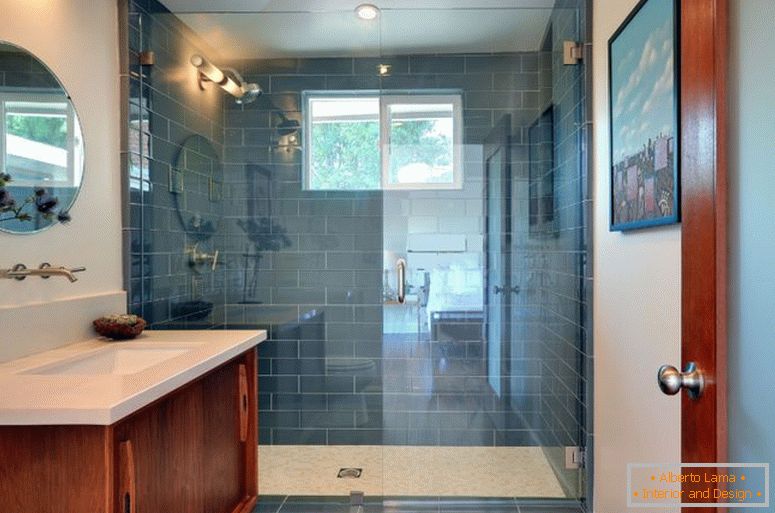
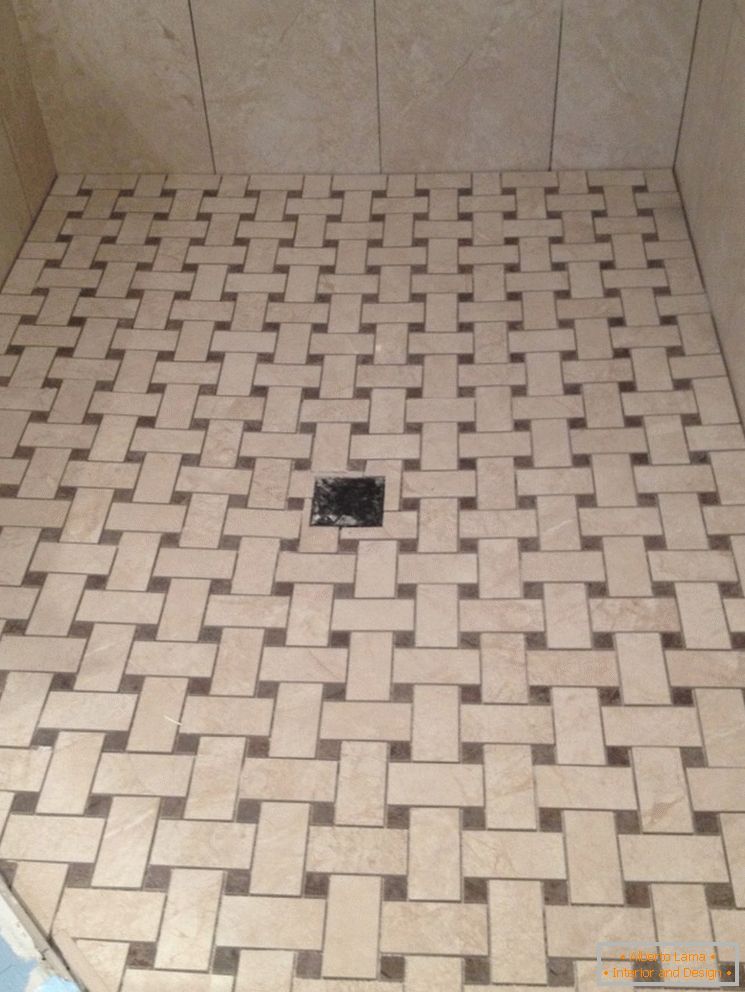
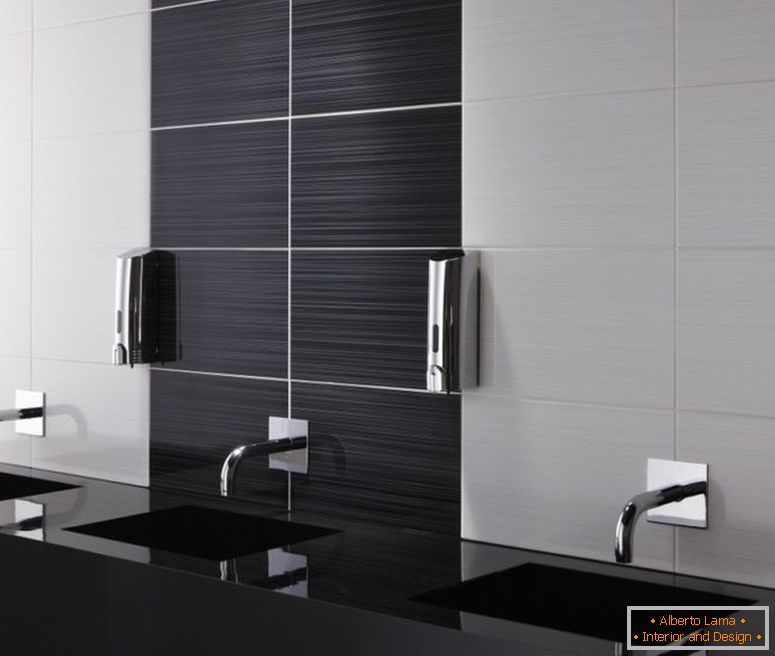
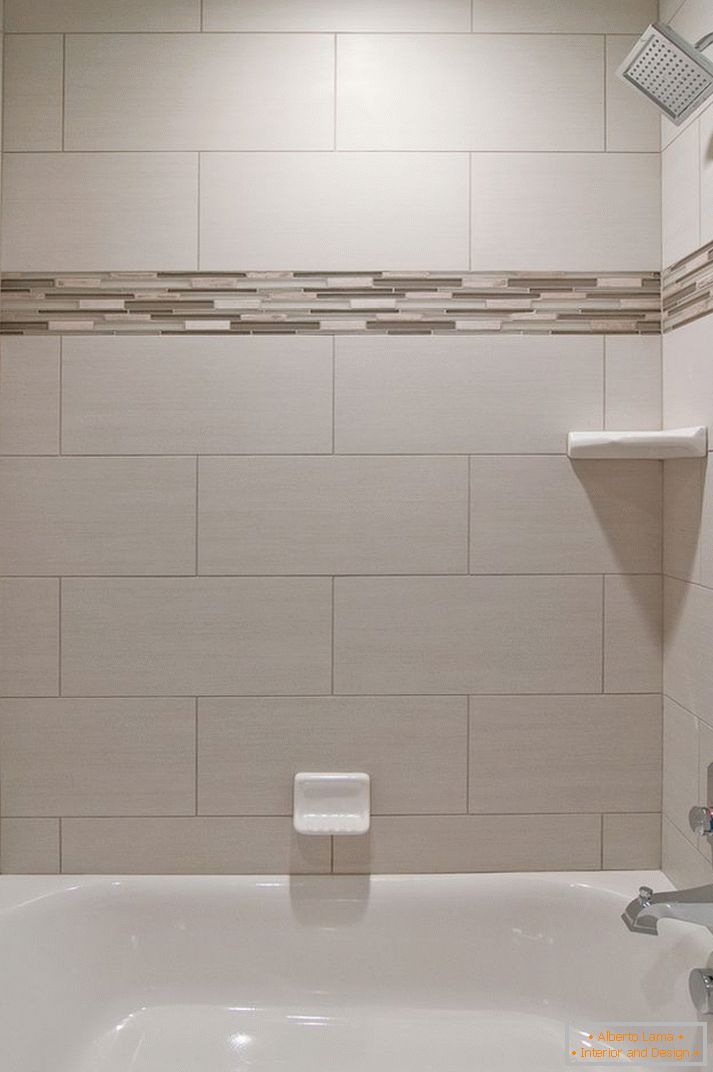
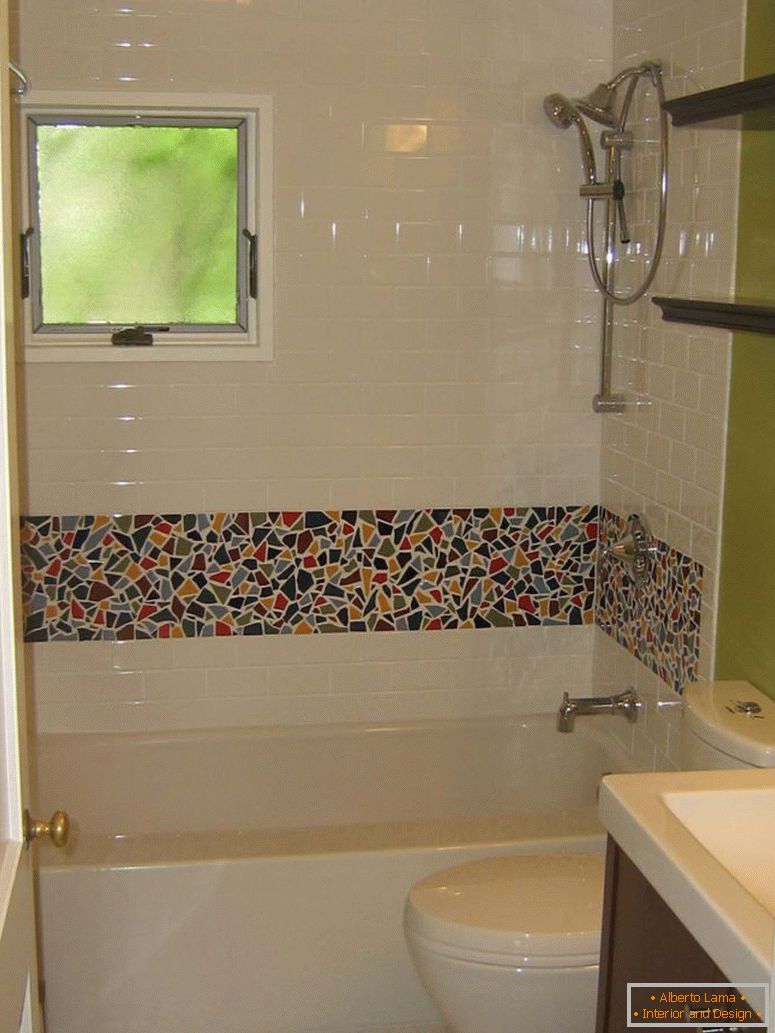
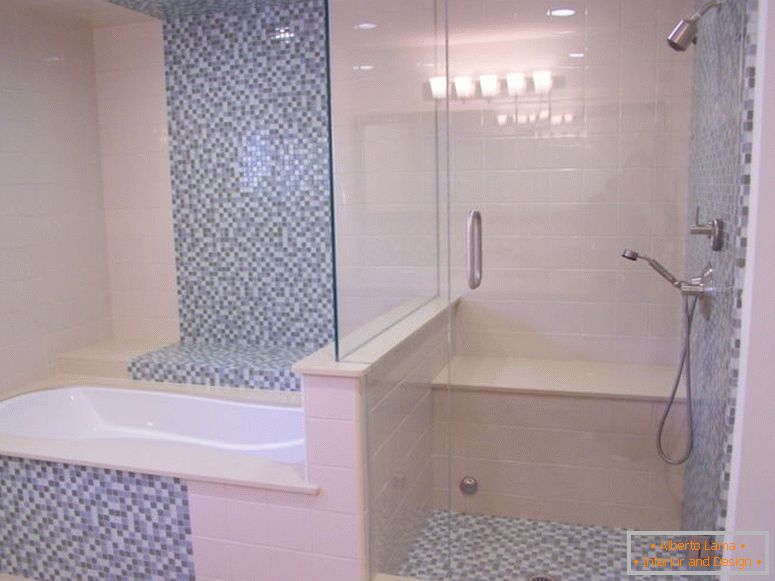
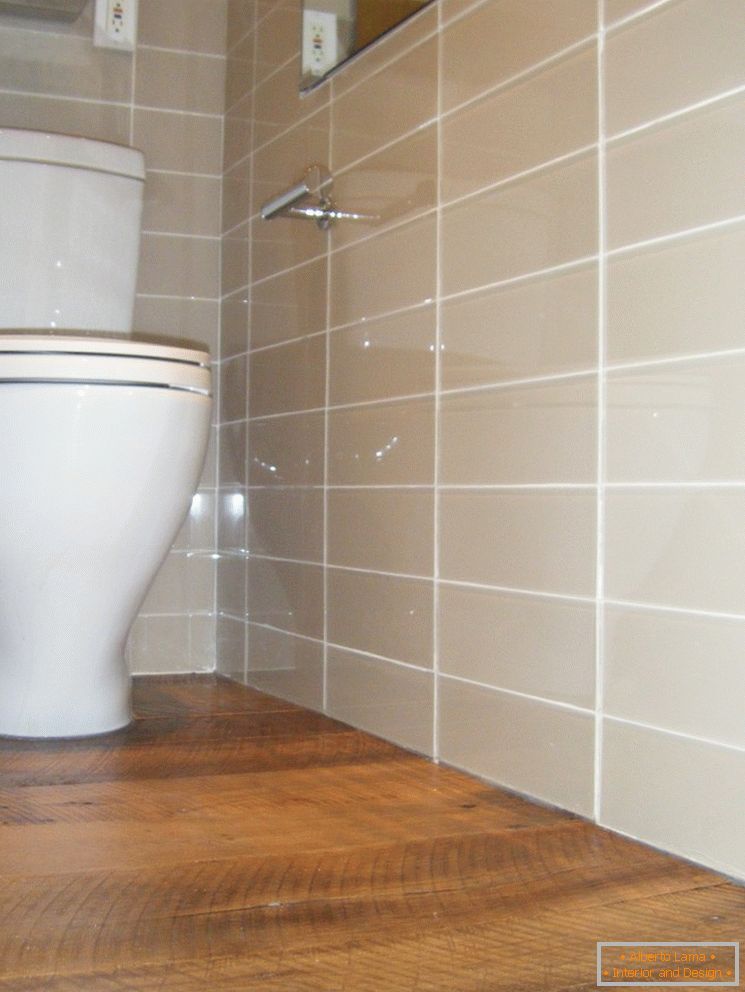
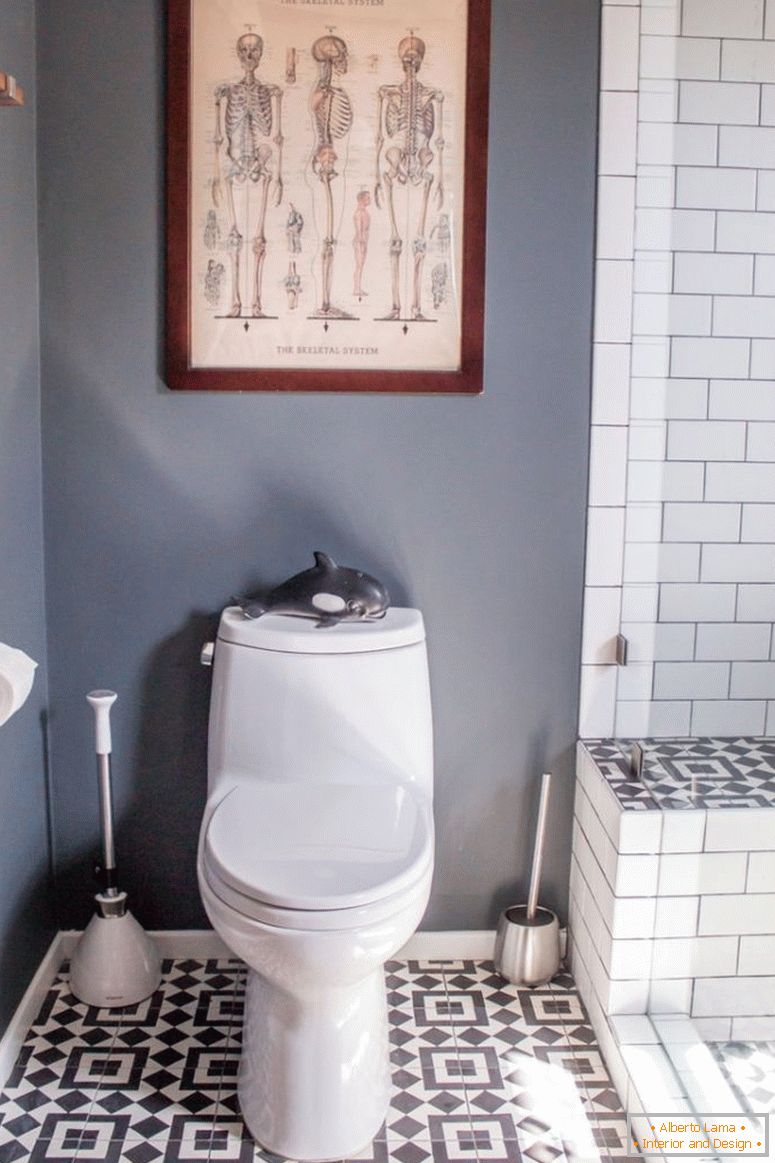
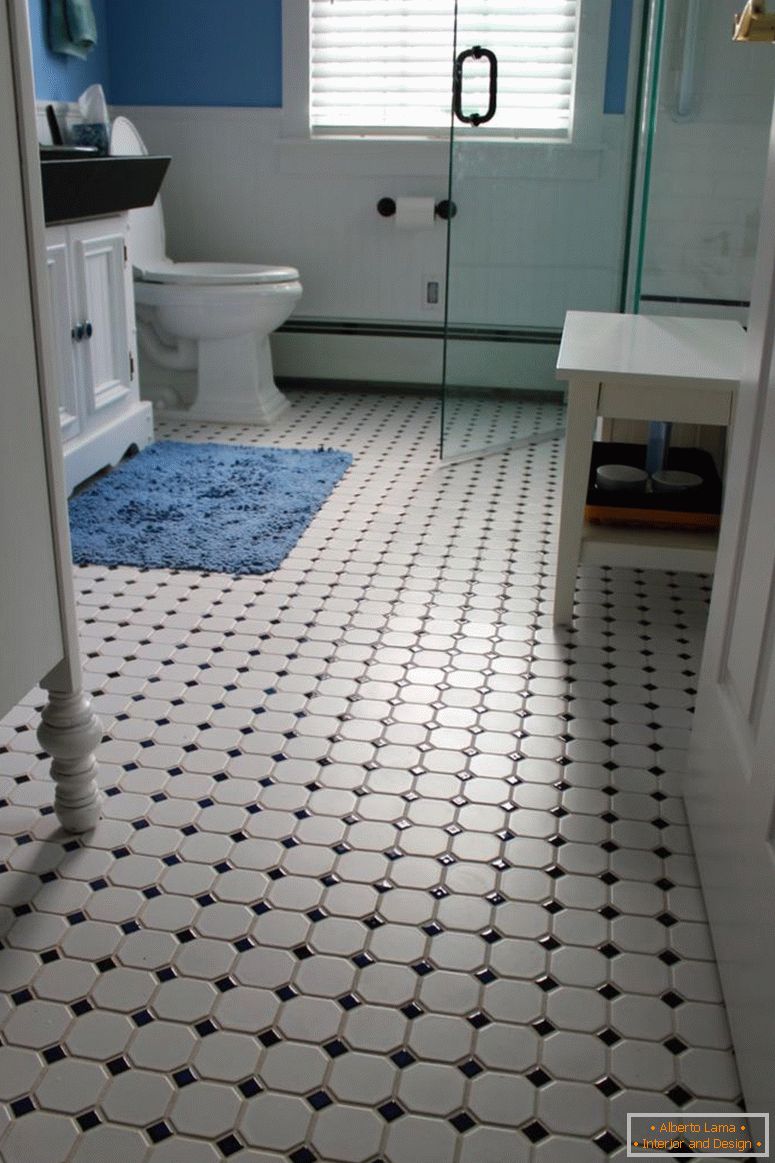
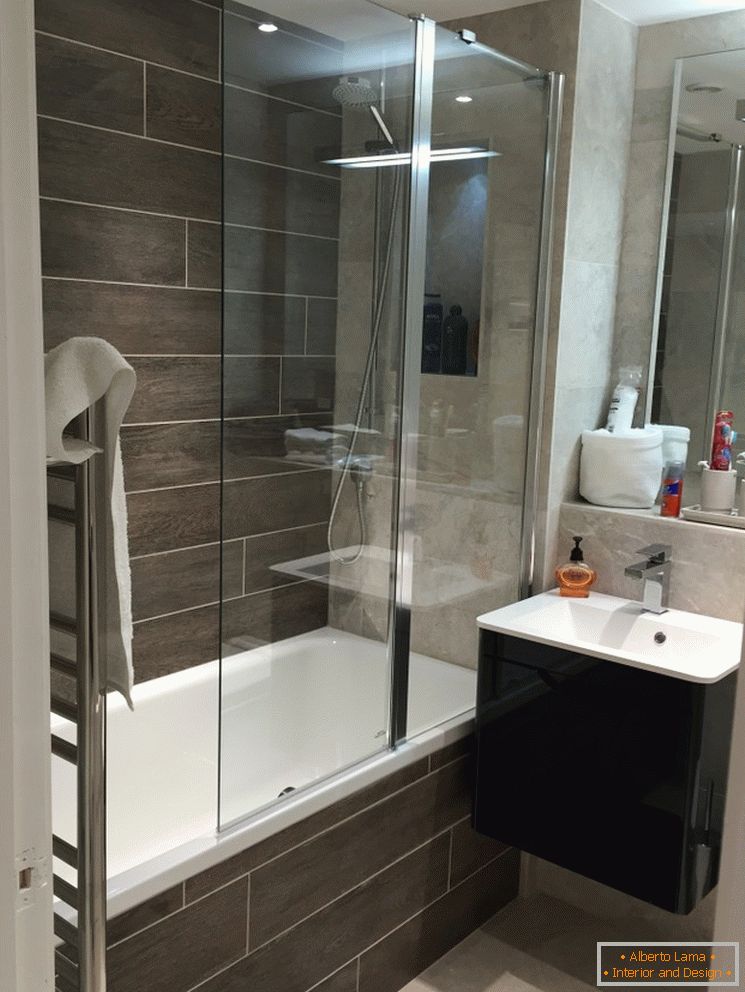
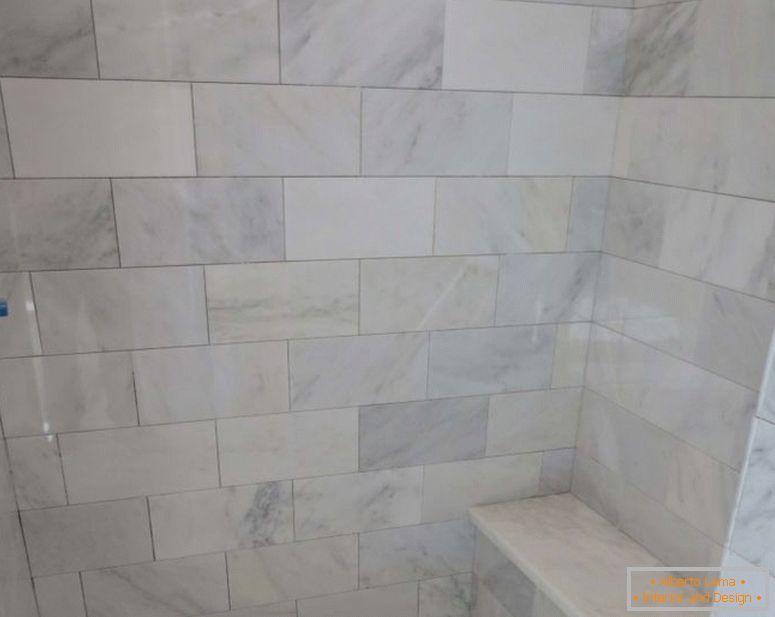
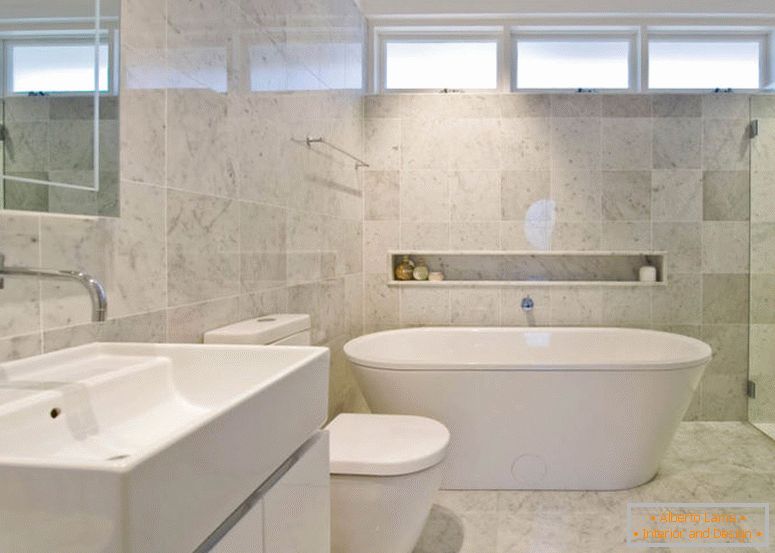
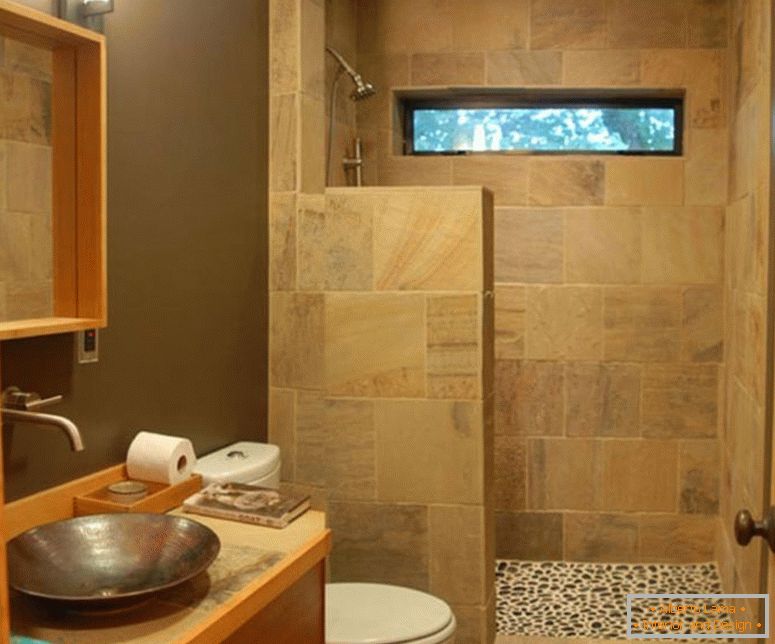
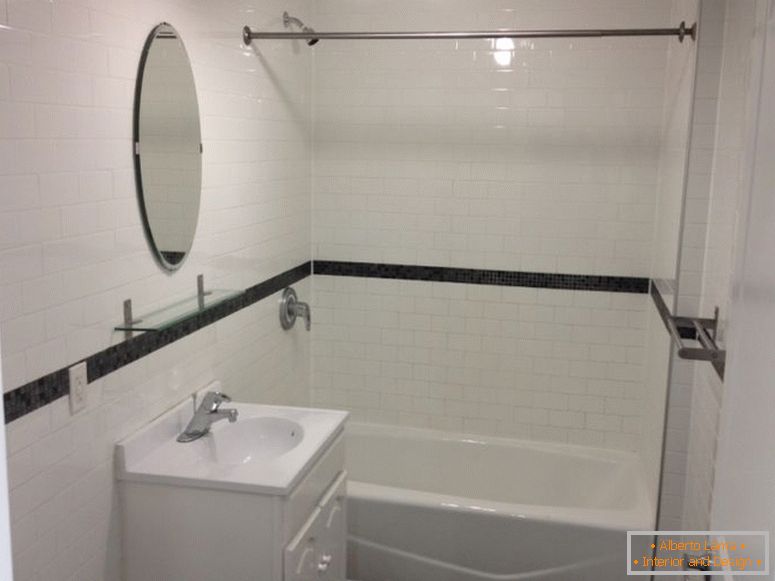
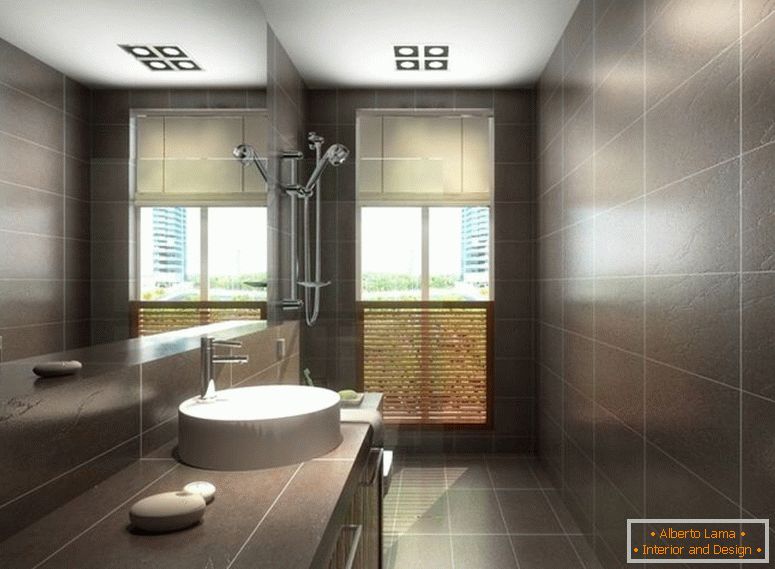
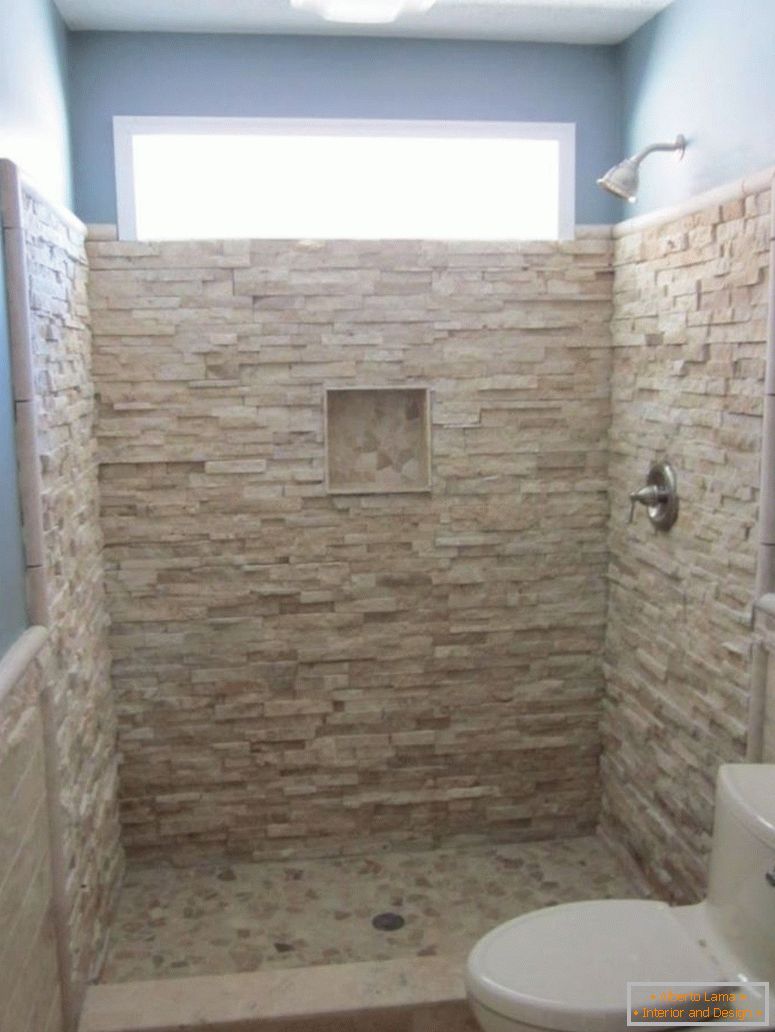
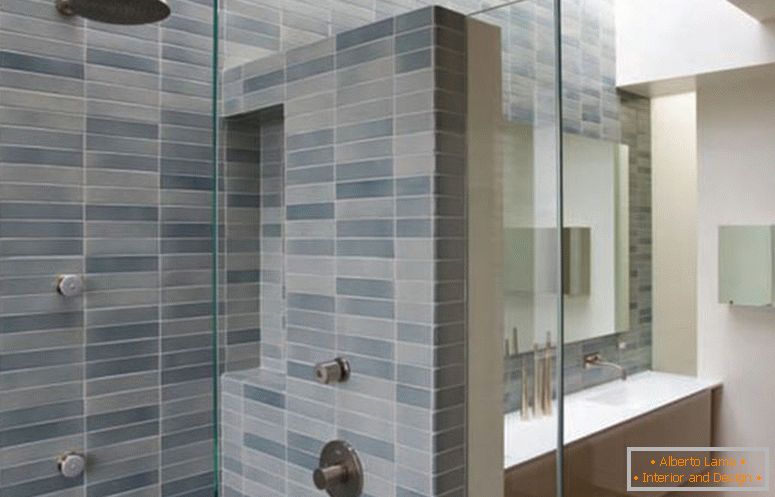
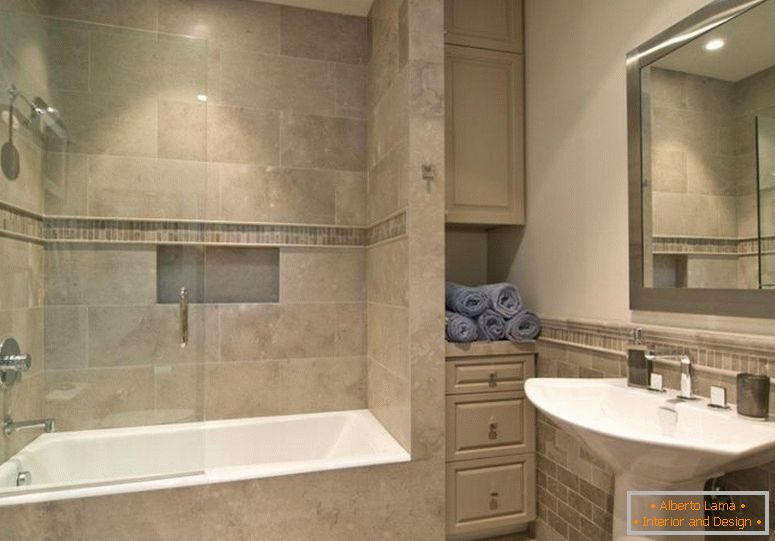
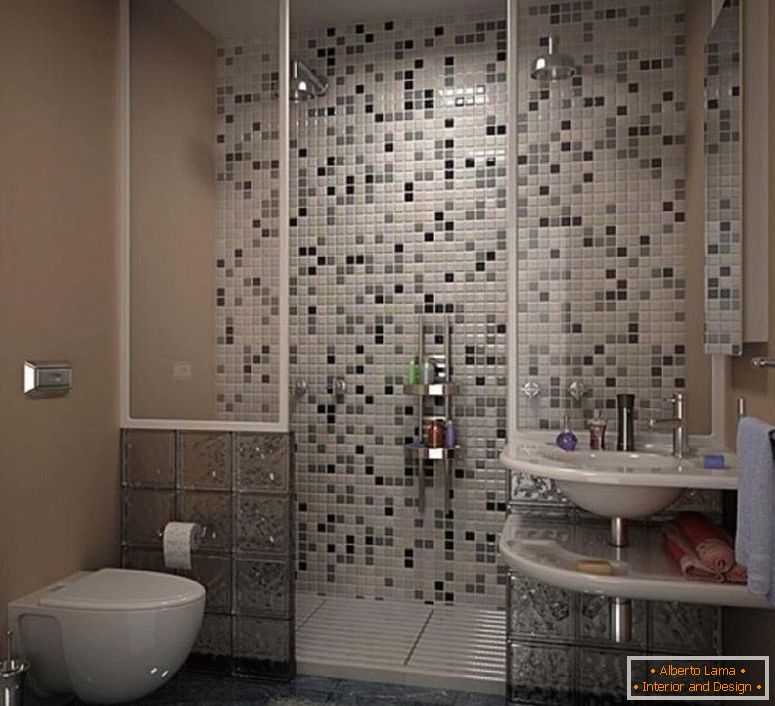
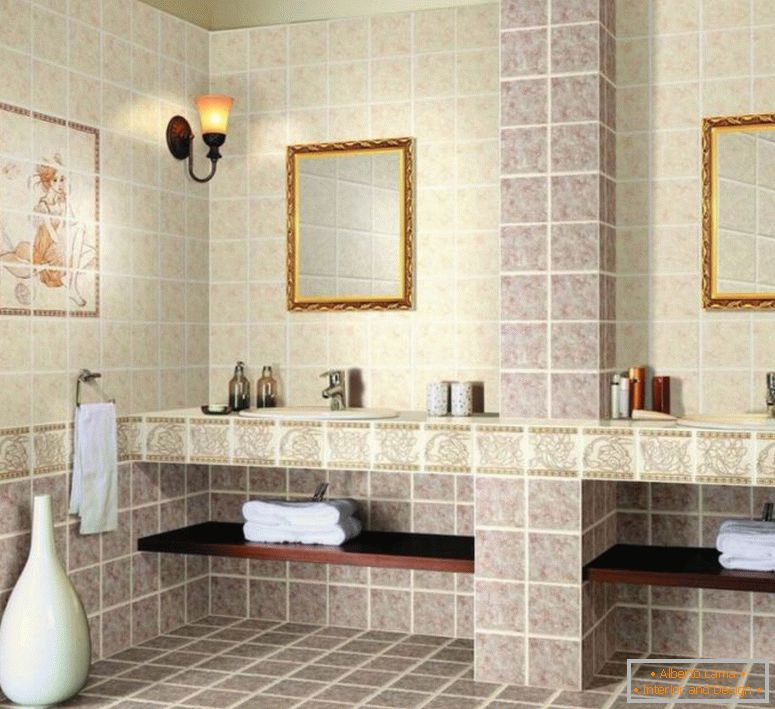
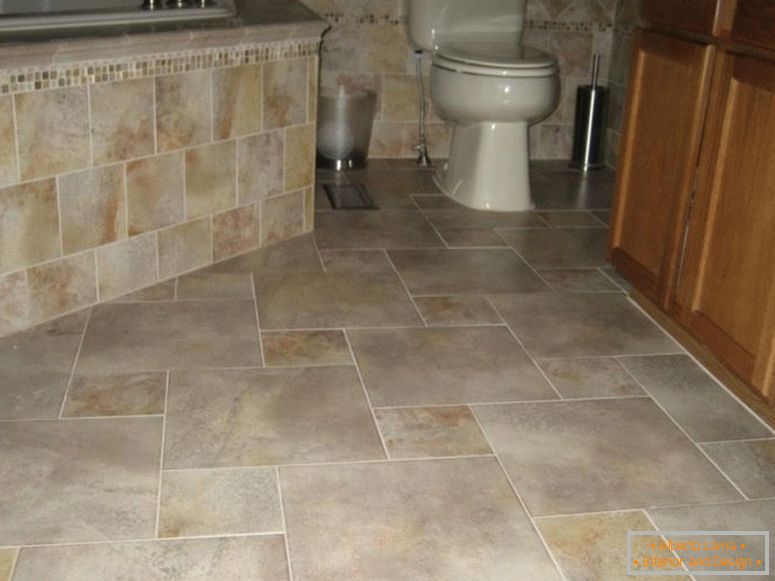
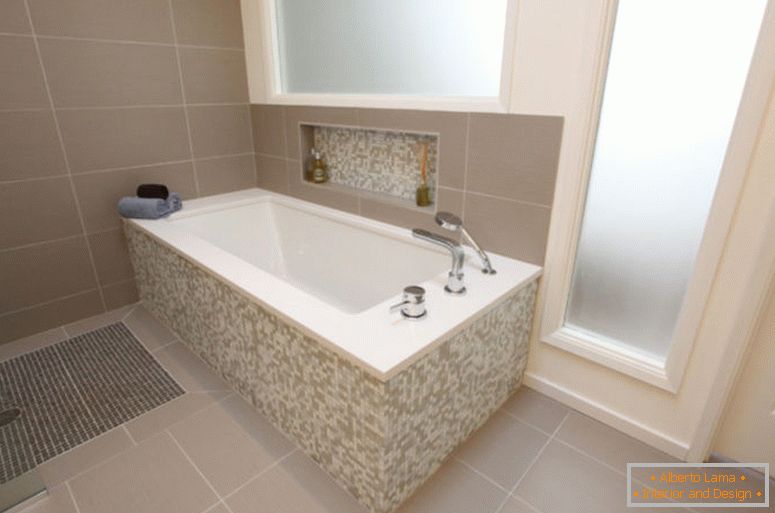
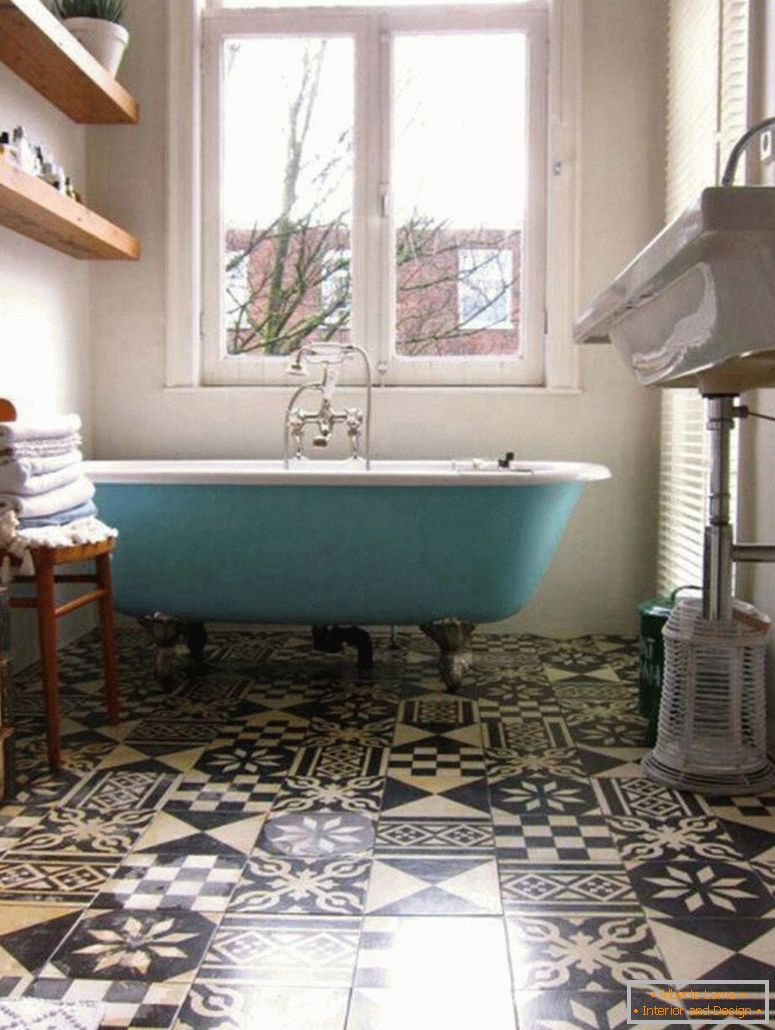
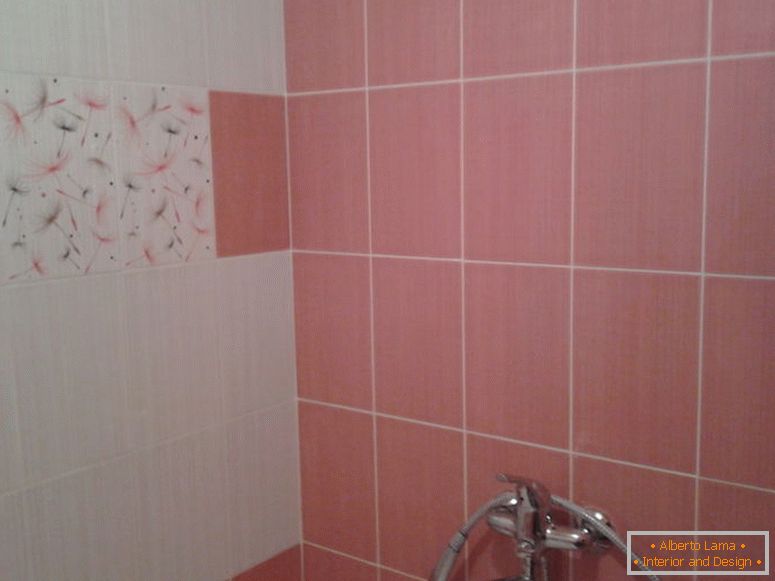
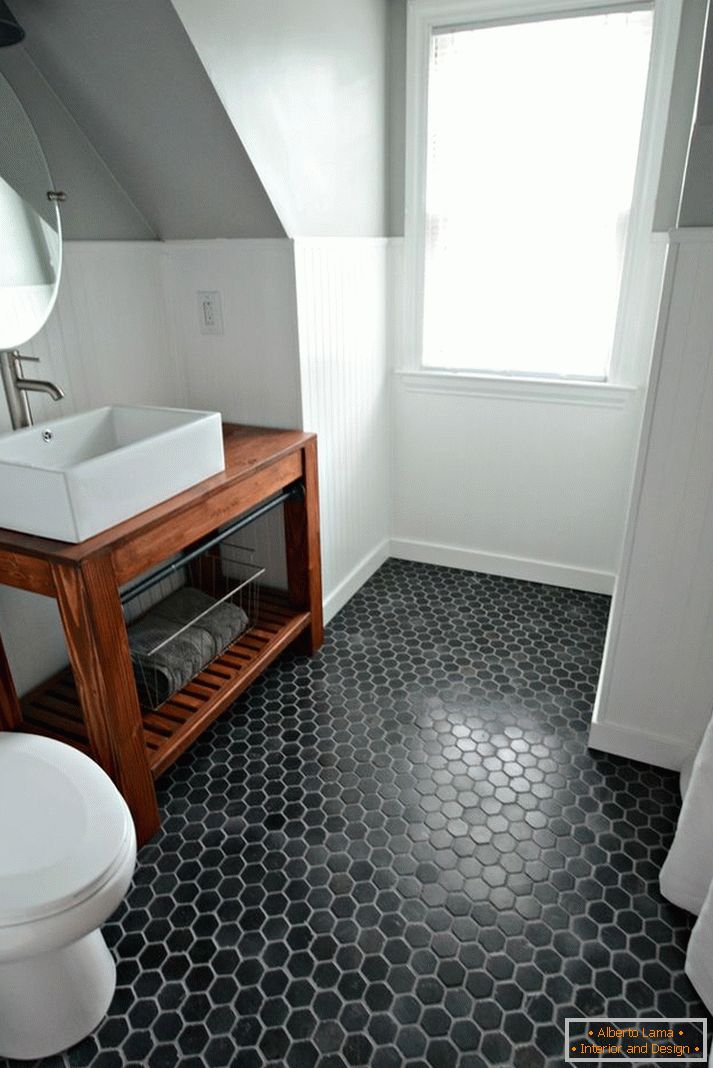
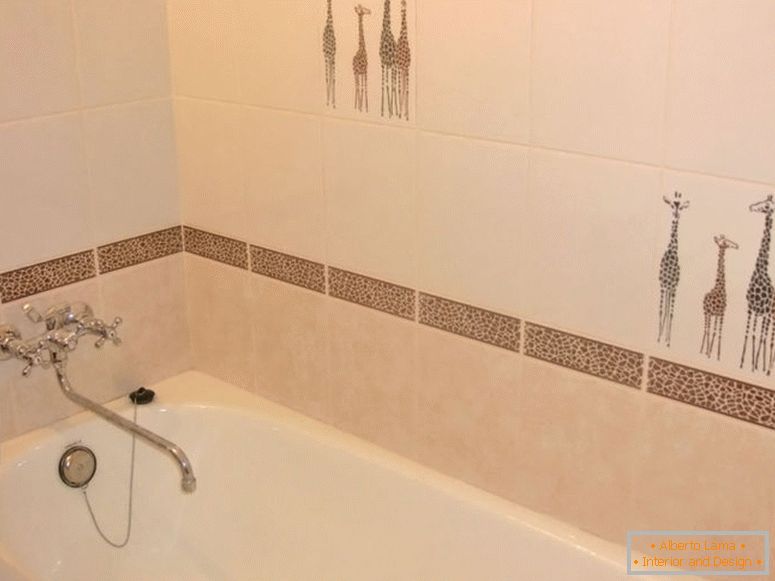
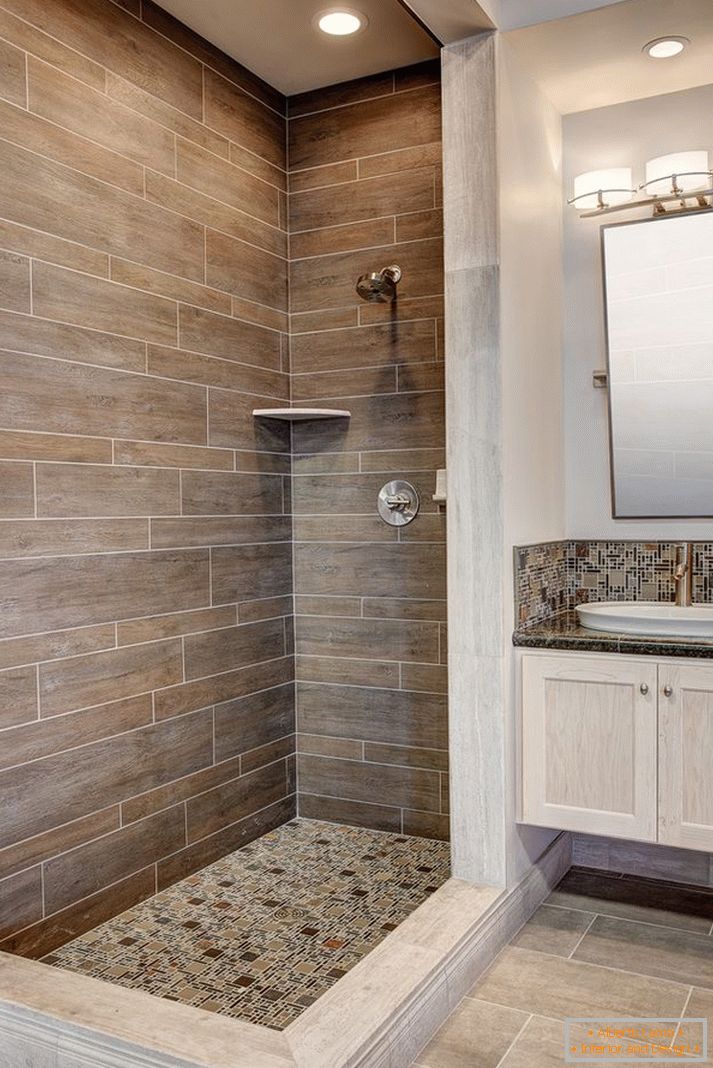
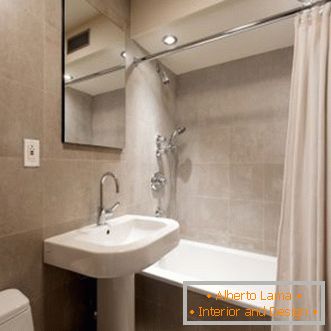
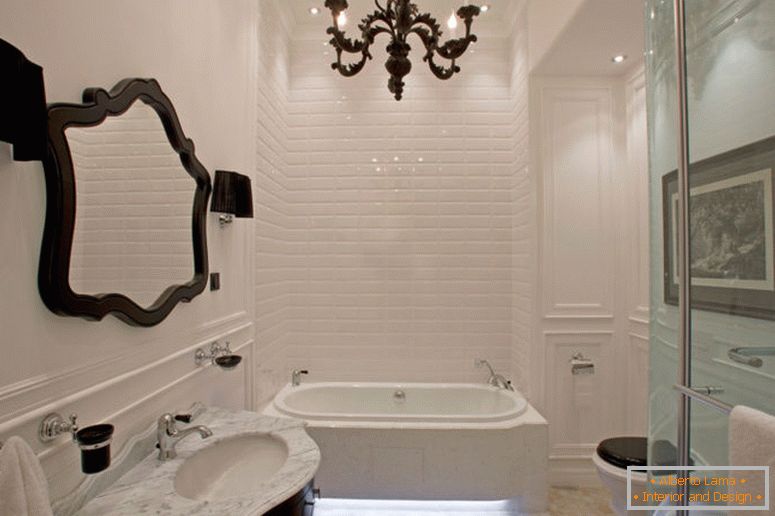
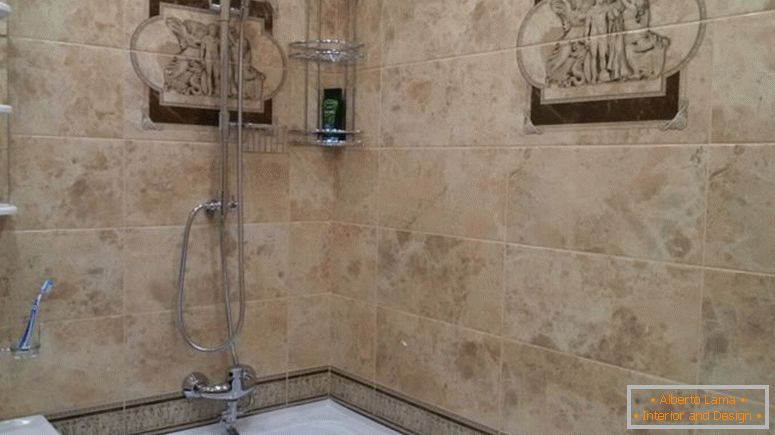
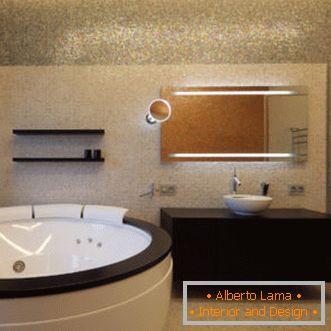
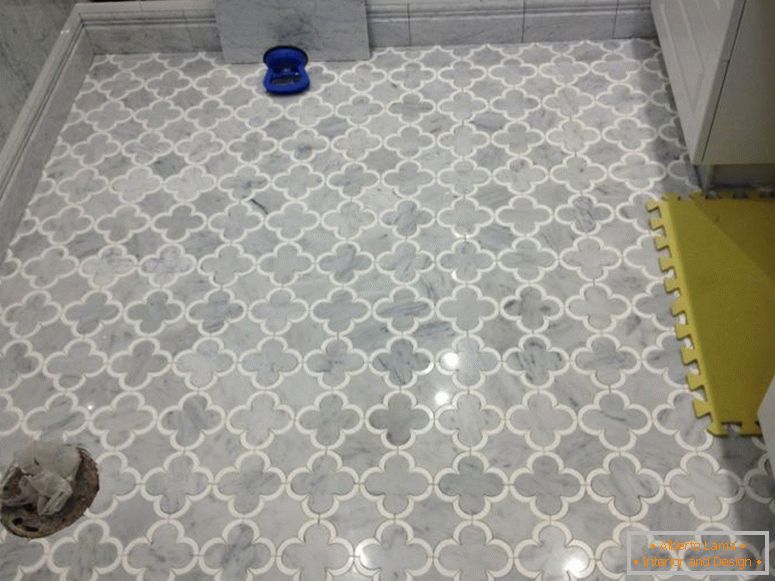
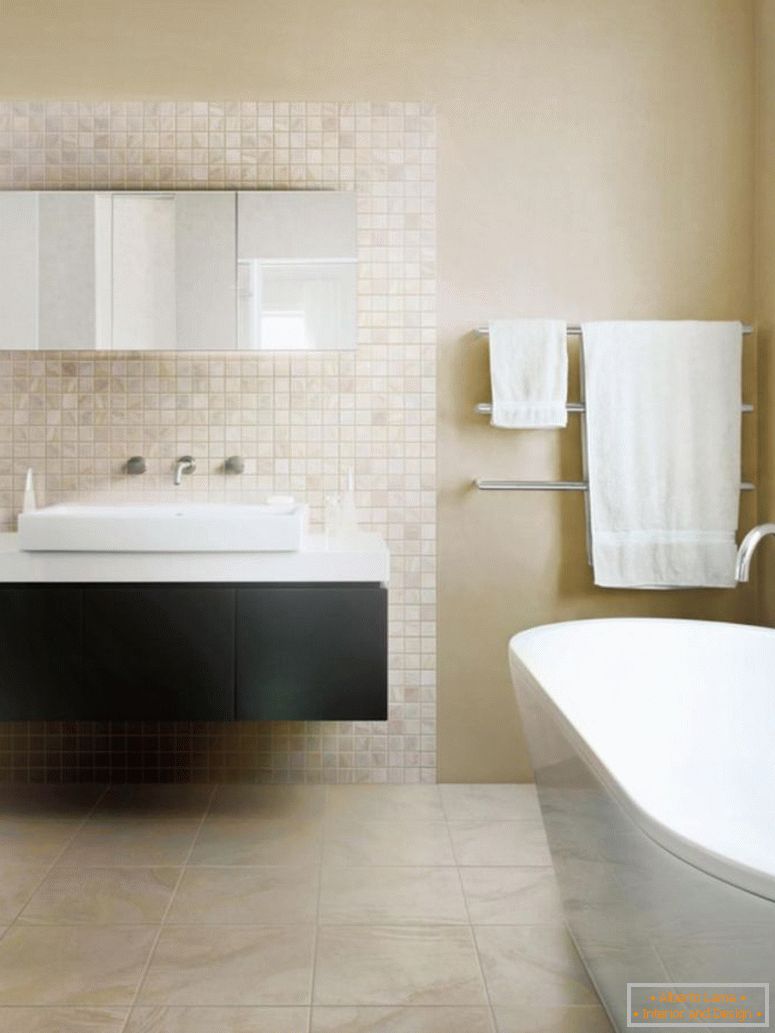
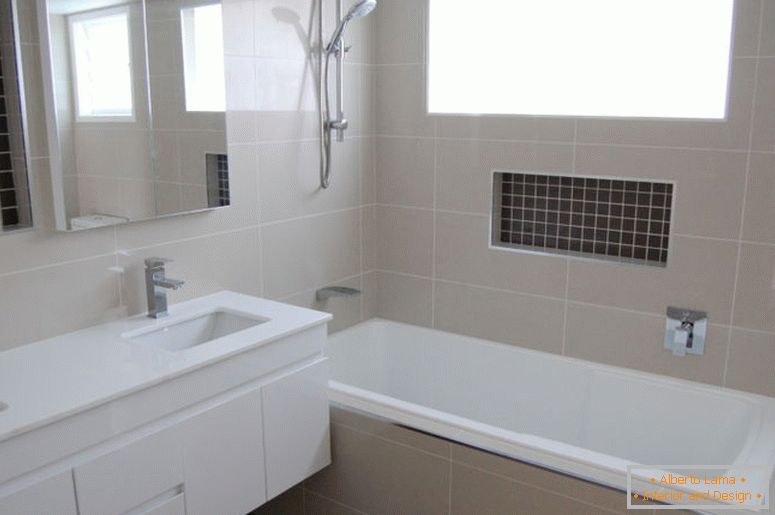
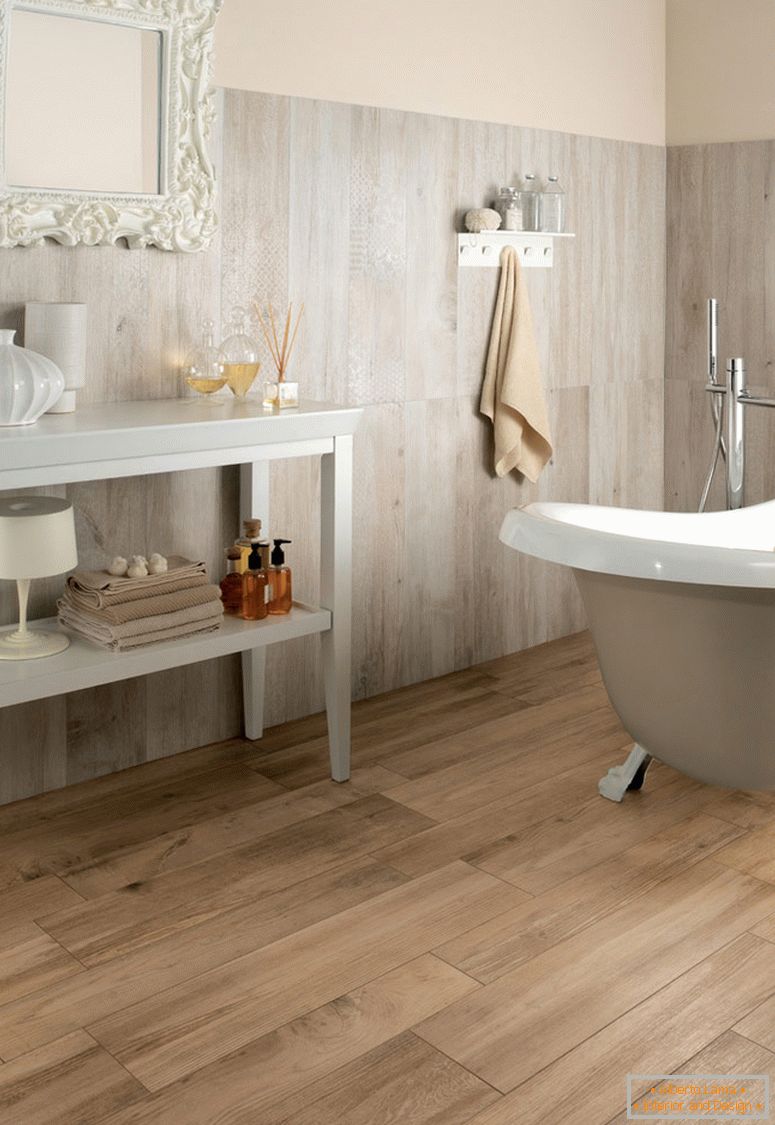
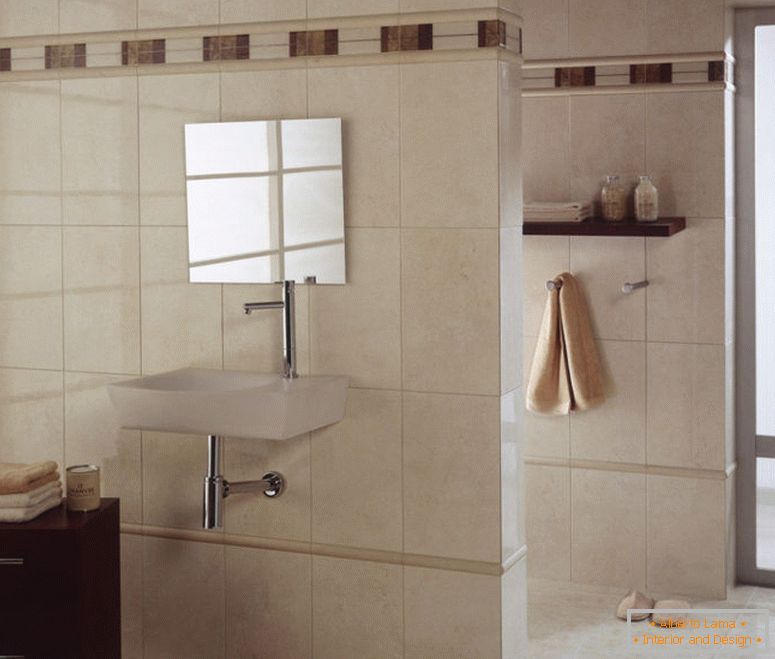
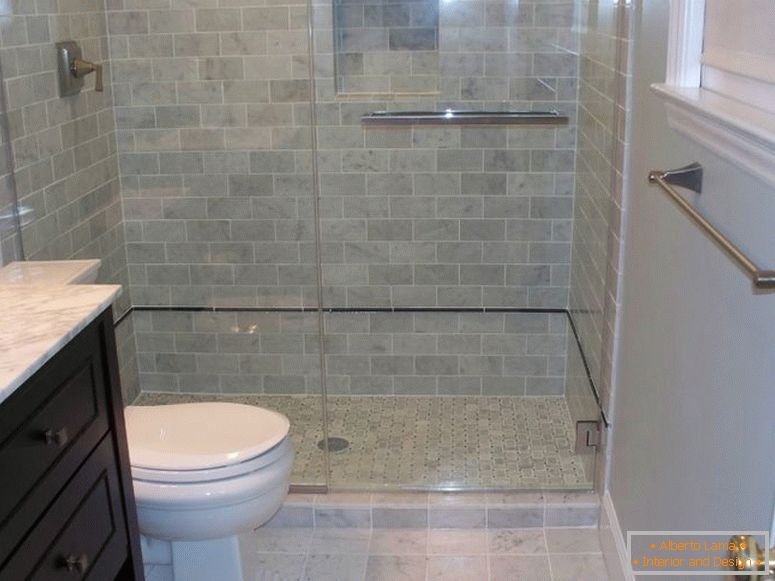
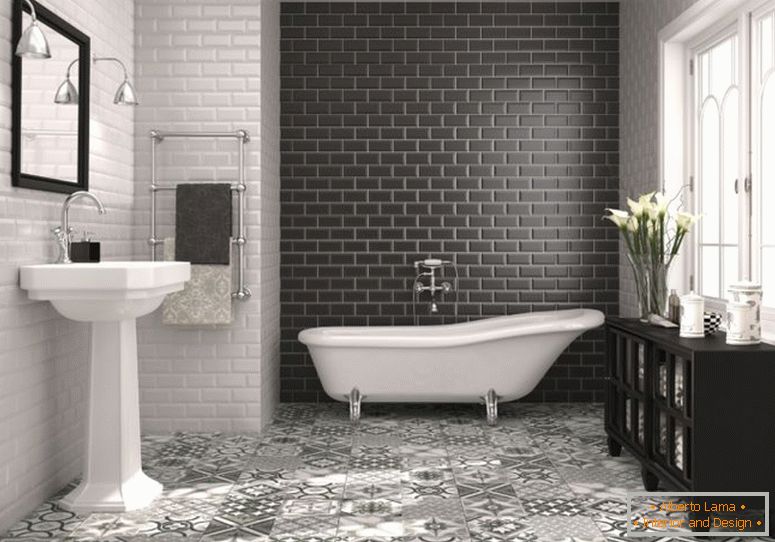
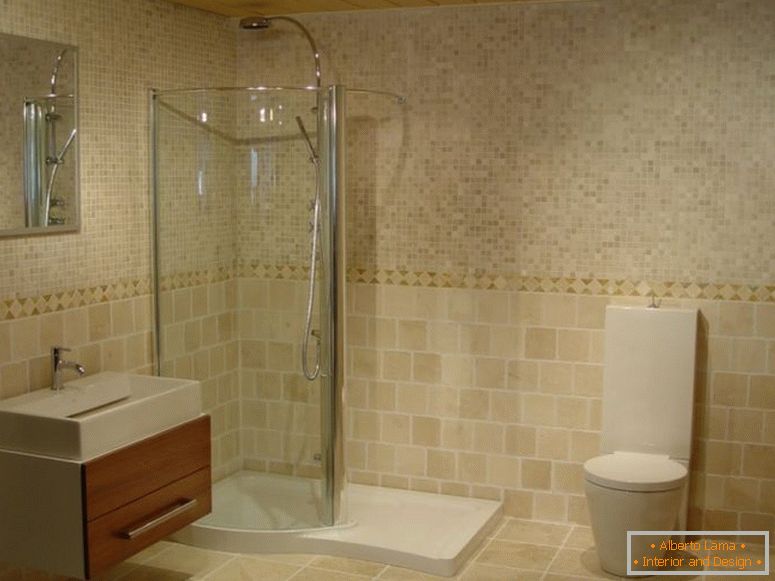
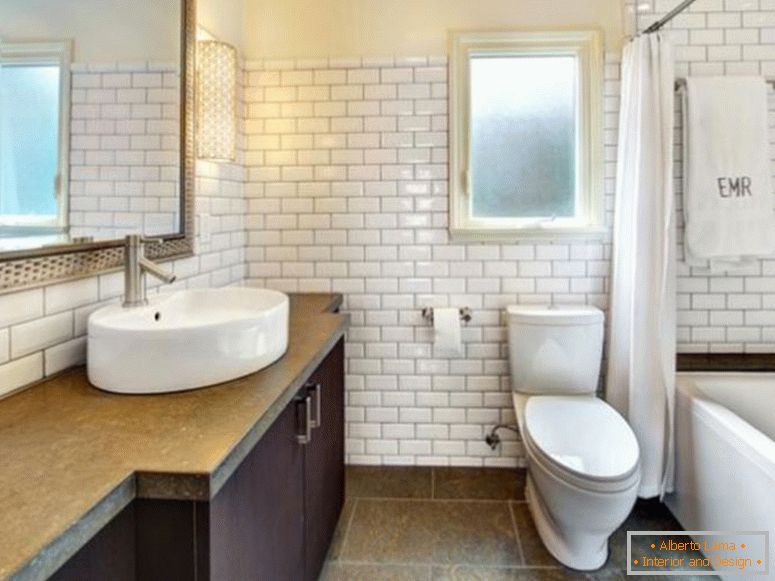
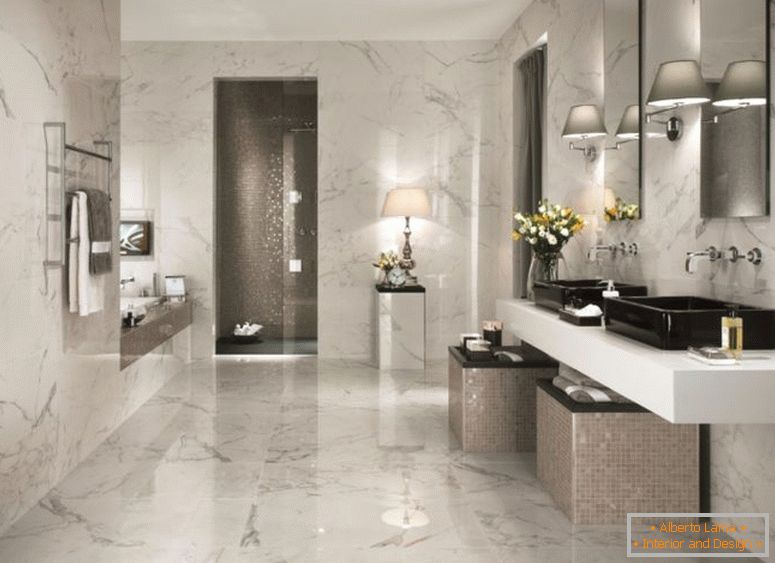
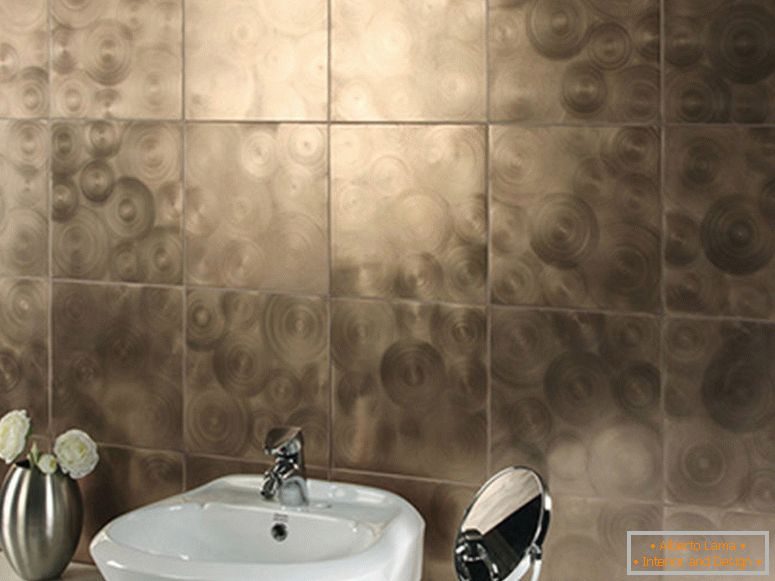
Photo of quality tiling in the bathroom