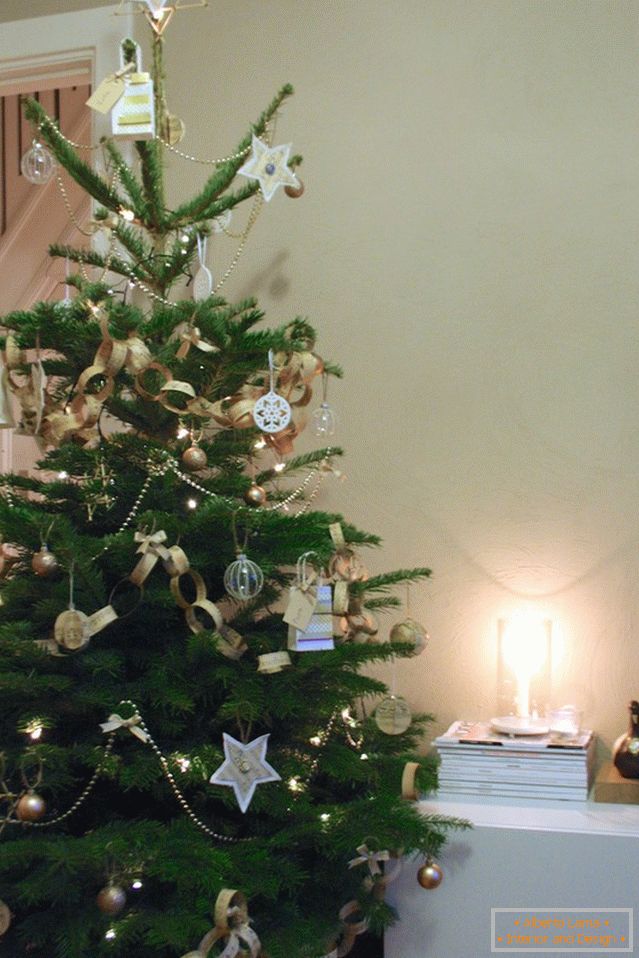
For many, Christmas is a family holiday, the triumph of love and life. Immediately come to mind meeting in a warm family circle in a cozy room with soft lighting and festive decor. We offer you ideas on how to create a romantic Christmas atmosphere by decorating a festive Christmas tree with fabric and paper products. We hope that among the festive hustle and bustle you can find a few quiet minutes in order to make these simple and cute decorations. Look at this Christmas tree in a dress of romantic homemade jewelry.
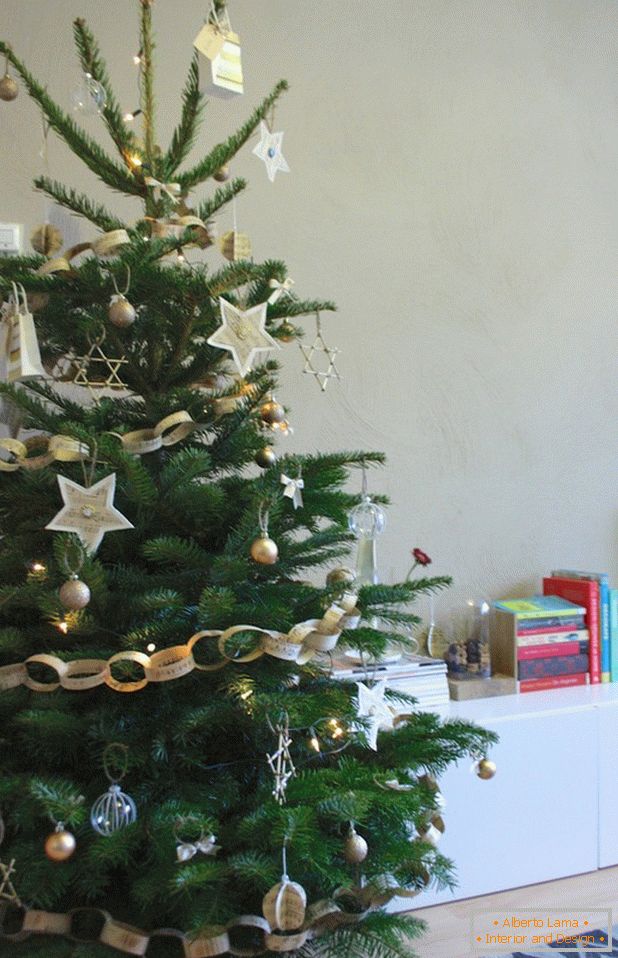
In addition to the golden glass balls, all the decorations on this tree were made by hand. The paper garland is made of old sheet music sheets, the stars are made of chopsticks, and the elegant little bows made of fabric create an atmosphere of romance.
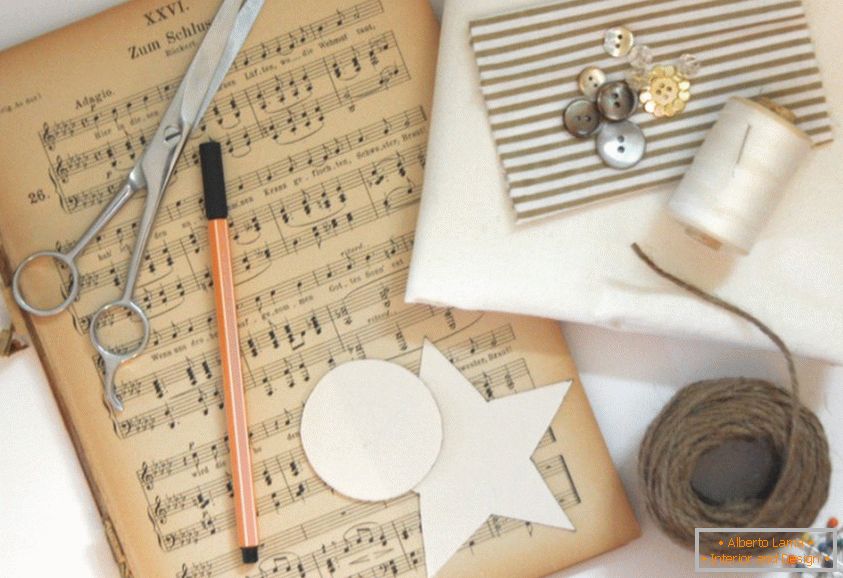
In order to make all the decorations shown in the picture, you will need:
- Cardboard or heavy paper
- Old notes or any other paper of your choice
- Fabric (you can take many different types of fabric)
- Buttons and beads
- Needle with thread
- Scissors
- A pen
- Pins
- Twine
- Glue stick
- Decorative tape-wasi
- Gift bags and labels
- Sewing machine
- Small twigs or wooden skewers

Decoration from vintage sheet music sheets
Materials:
- Old notes or other paper
- Cardboard
- Scissors
- A pen
- Buttons and beads
- Needle with thread
- Glue stick
1. Cut a circular pattern of cardboard. To do this, you can simply attach a glass to the cardboard sheet, circle it with a handle, and then cut out the circular pattern. The size of the cardboard mug in the photograph is about 5 cm in diameter. Using a cardboard pattern, draw circles on the sheet music and cut out each circle.
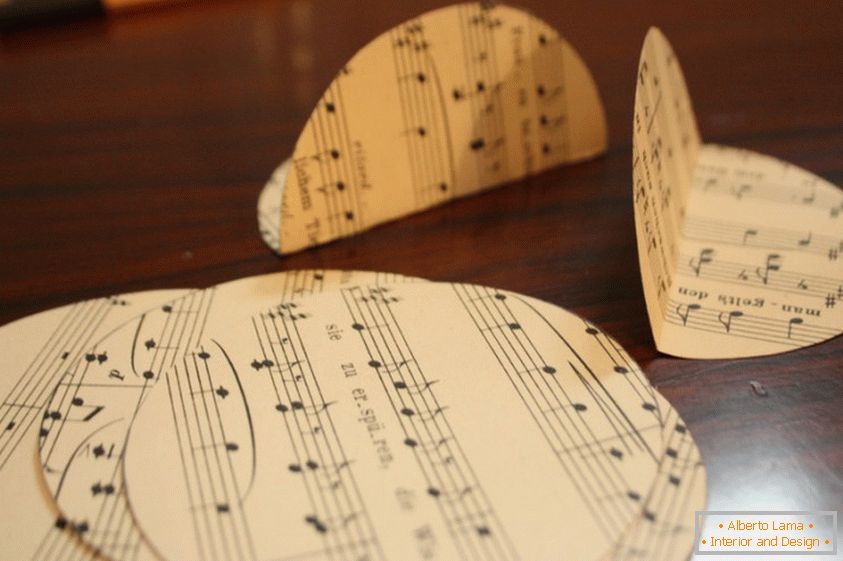
2. For each decoration, you need six circles of paper. Fold each paper circle in half, apply glue on half of one of the circles with glue stick, and glue it to half of another mug. Make sure that half of the paper circles exactly coincide with each other along the circumference and the fold line. Repeat the actions with the remaining circles, forming a six-pointed ornament, as in the photo.
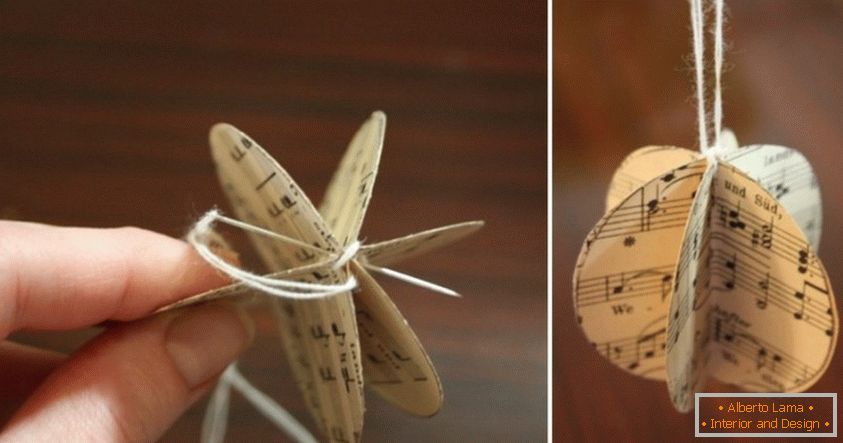
3. Using a needle and thread, make several diagonal stitches at the top of the decoration, as shown in the picture.
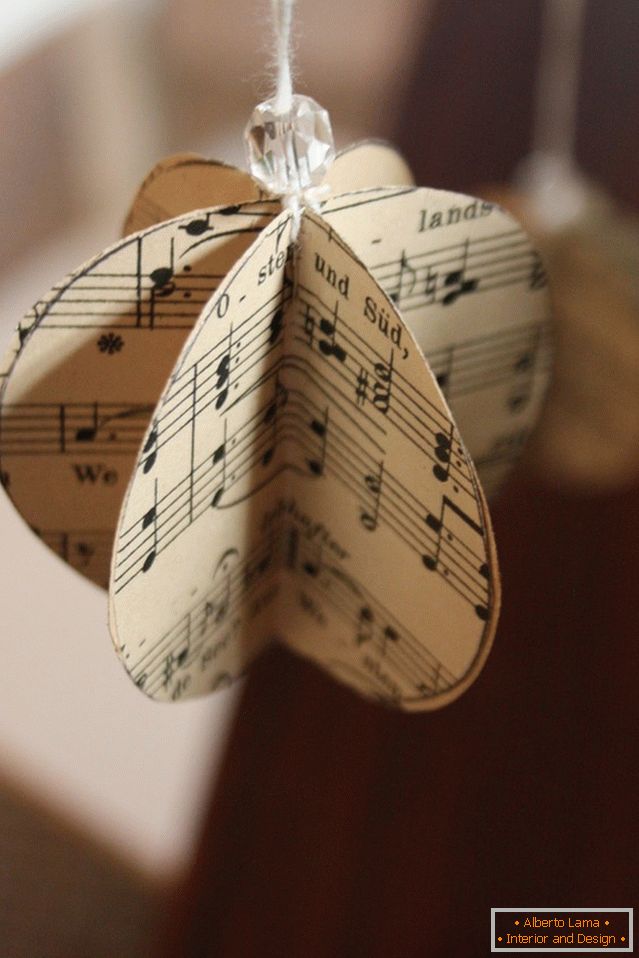
4. Make a loop from the thread, thread it into the bead and fasten the bead with a small knot.

In the continuation of the topic, you can make a garland of the same old sheet music. As an accent try to decorate the tree with small bows made of golden fabric.

Decoration-star
Materials:
- Sewing machine
- Scissors
- A pen
- Vintage sheet music sheets or other paper
- Cloth pieces
- Buttons and beads
- Needle with thread
1. Cut out of the cardboard two patterns in the form of a star. One of the cardboard patterns should be 1 cm larger than the other on all faces. The form of a star for cardboard templates can be drawn by hand, and you can buy ready-made templates in the store of goods for needlework. Attach a smaller cardboard pattern to the sheet of music and circle it several times, then cut out the stars from the paper. For each decoration you will need two paper stars.
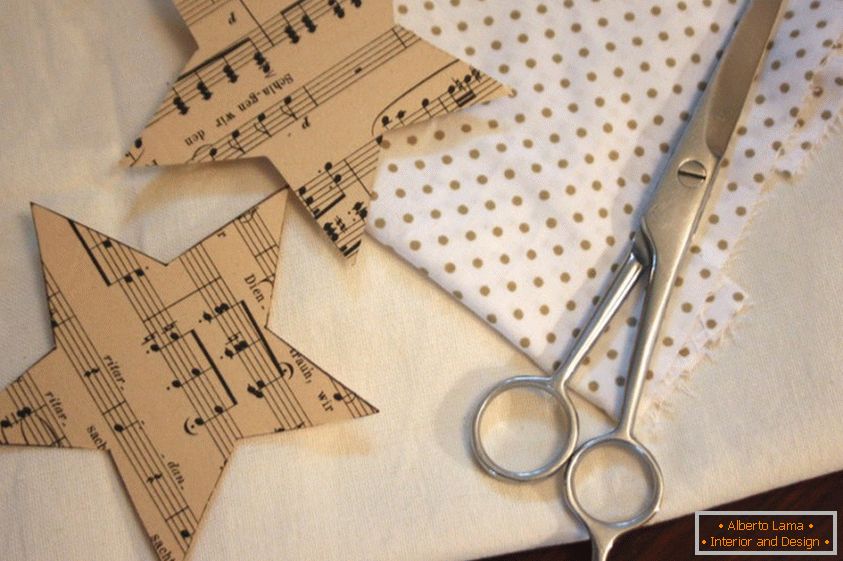
2. Cut out the stars from the fabric, using a larger template. You will need two fabric stars for each decoration.
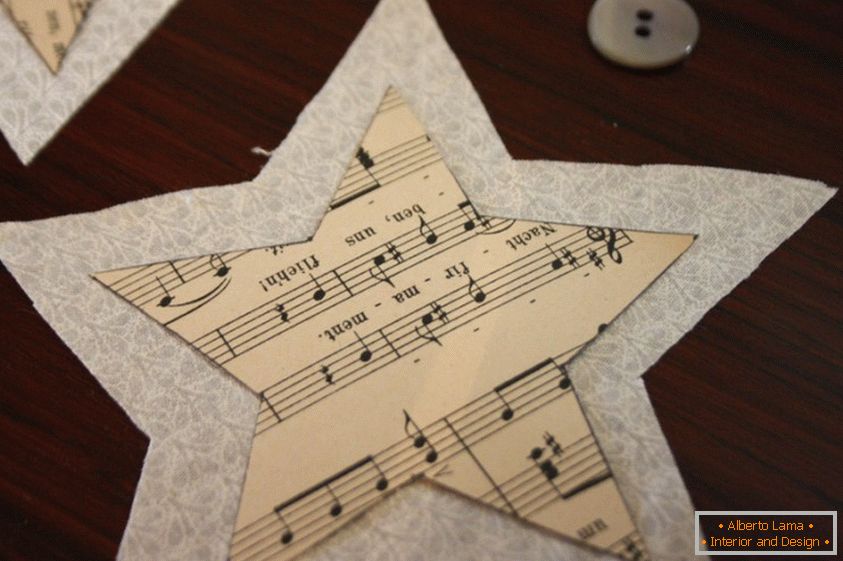
3. Attach the paper star to the fabric, face up, and fasten them with pins. Do not worry, if the tissue and paper stars do not quite match in shape, this defect can be removed later.
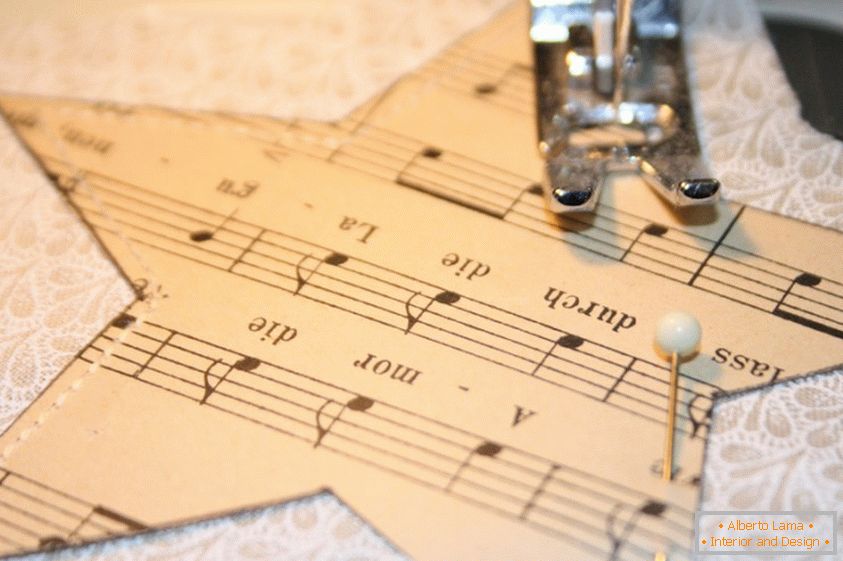
4. Using a sewing machine, slowly suture the paper star to the fabric star, retreating about 2 mm from the edge of the first. Carefully turn the wheel of the machine, covering the corners. It's pretty easy to do after you get used to it.
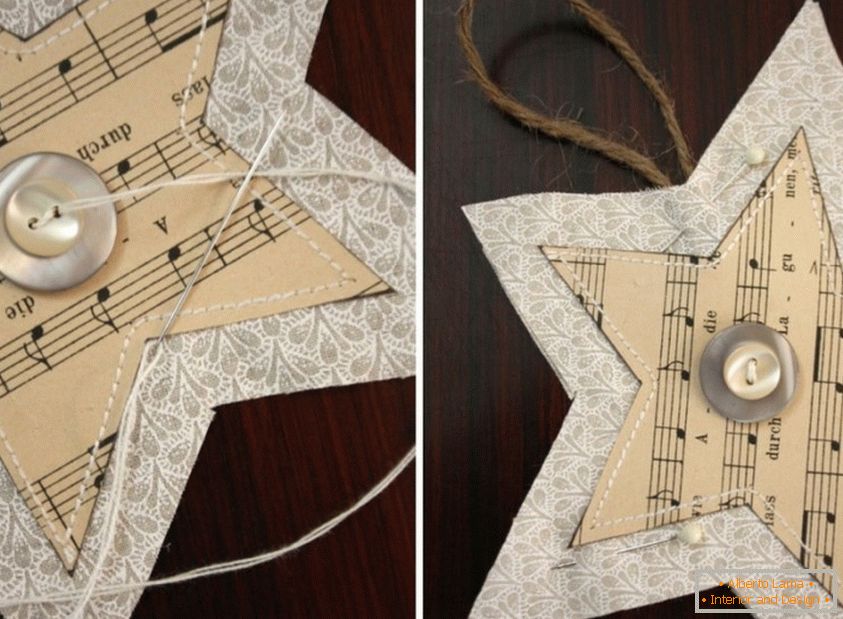
5. Using a needle and thread, sew a button to the resulting star. After that, fold the two paper-fabric stars together, the wrong side to the wrong side. Do not forget to put a loop of twine between them. Fasten the stars with pins.
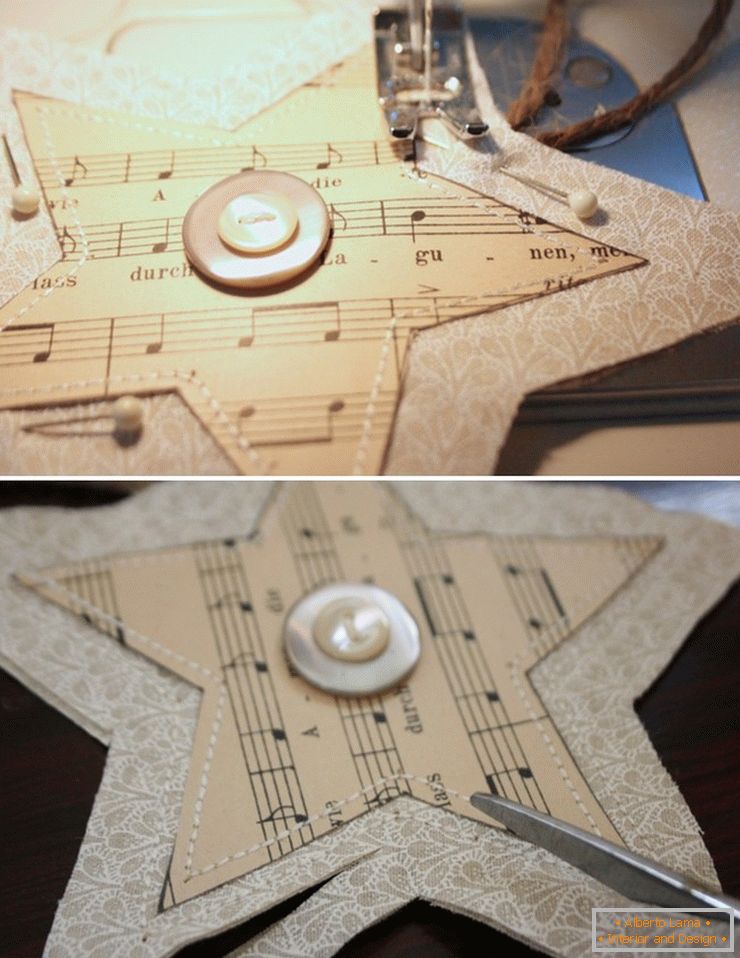
6. Without hurrying up, sew the stars to each other, this time around the fabric, retreating about 2 mm from the edge of the paper star. Now use the scissors to cut off the edge of the fabric star, retreating approximately 2 mm from the seam so that the stars coincide in shape and look neat.
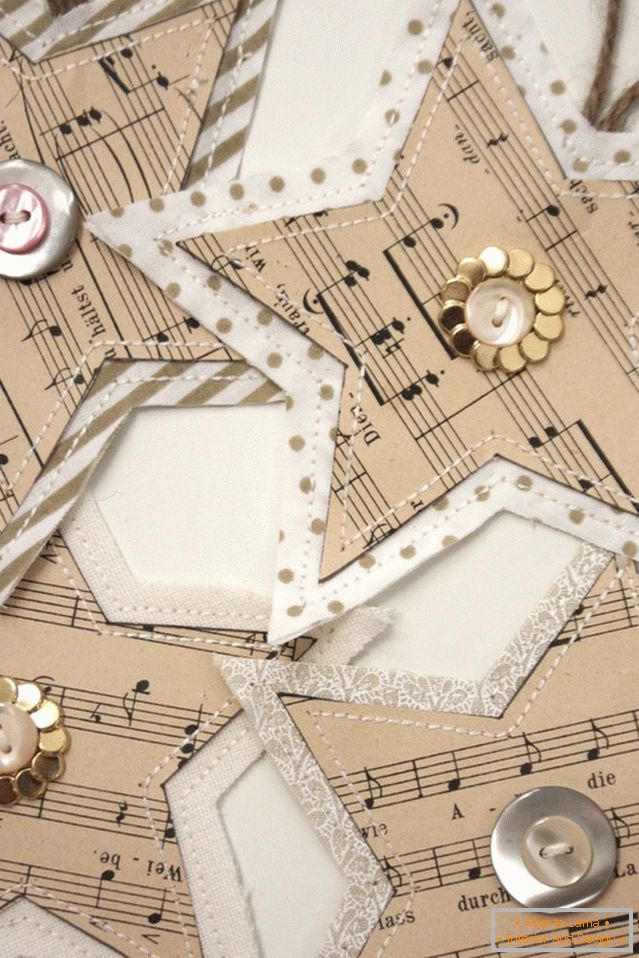
This is the decoration you should get as a result. You can make such stars from any fabric or paper you like. Neutral shades and small golden shiny accents were used here, giving the decoration a simple romantic style.
Using the "star" theme, you can make a few stars from wooden skewers, broken in two and connected together with a very thin tape. The star decorating the top of the fir-tree is made on the same principle, from whole skewers.
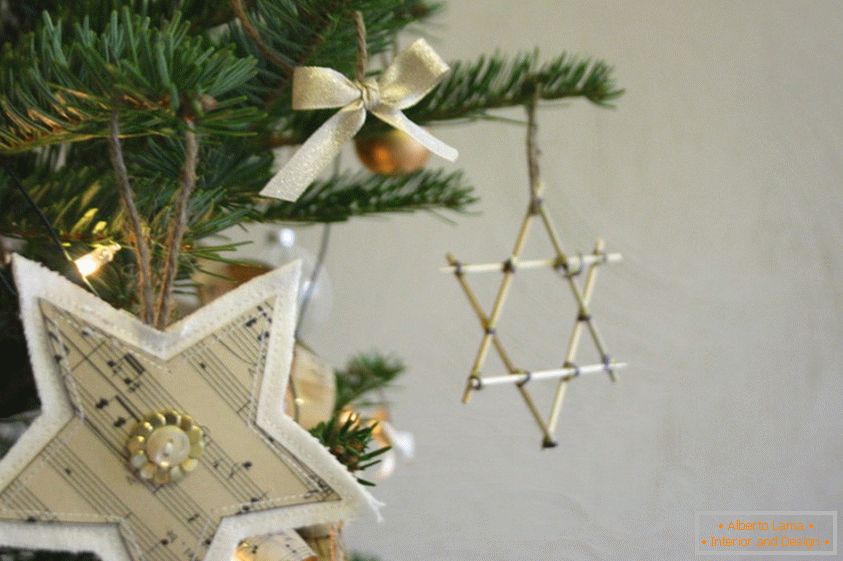
Such stars can be made from the branches found in the yard or in the park - if, of course, the weather allows you to do this. Wooden skewers serve as a more modern alternative.
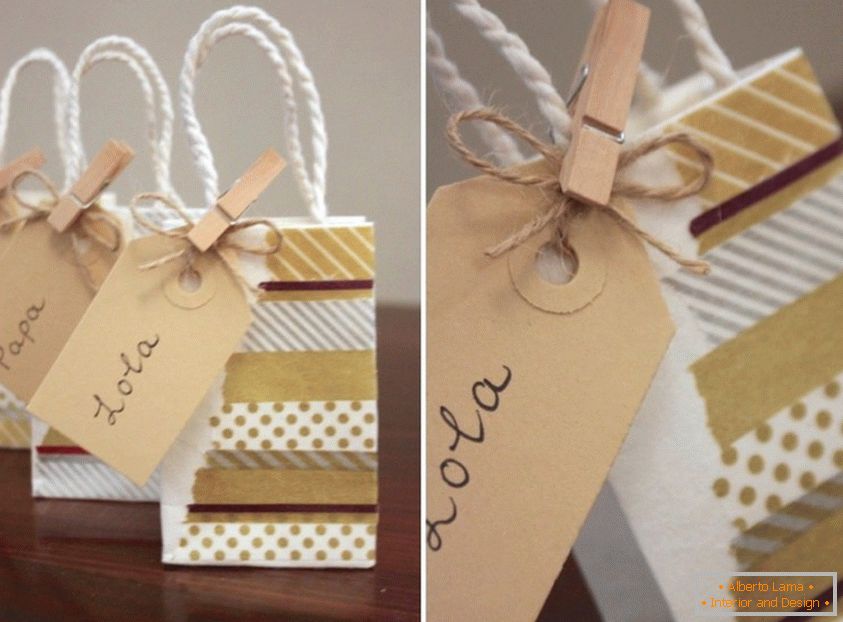
Make a festive Christmas tree truly unique, making several gift packages for each member of the family, as in the photo. There is nothing easier.
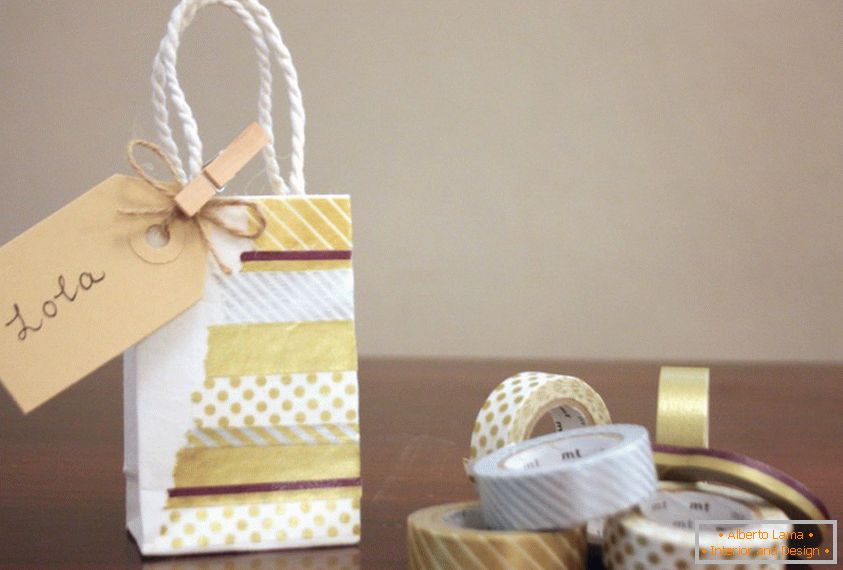
Small gift bags
Materials:
- Lentavasi
- Gift bags and labels
- Scissors
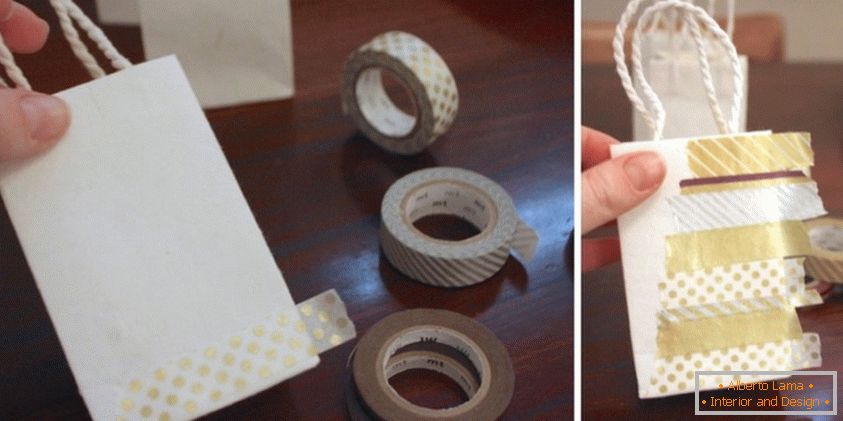
1. Starting from the bottom edge of the package, decorate it with strips of decorative tape "ladder", as demonstrated in the photo. If you simply cut off, and do not cut the tape, you can create a beautiful "broken" view of the edge of the pattern.
2. Gently trim the excess piece of decorative tape strictly along the edge of the front side of the package so that the tape does not wrap around the edge.
3. Attach a label to the handle of the package with a name, using a piece of twine - tie a string with a bow and fasten with a small clothes pin. Now the gift bag is ready to put in it some nice little thing and hang it on the Christmas tree.
In which corner of the world you are, we wish you all a happy holiday. Let them pass in the company of their beloved people, in warmth and joy - and, of course, next to a beautiful festive tree!
Tell us: Do you decorate a Christmas tree with homemade jewelry? If yes, share your crafts with us in the comments.


