In the old days, they did not say in vain: what would the child do to enjoy, if only it did not cry. Centuries-old parental experience fully justifies this phrase, because to develop, the child needs tools for creative realization. Wigwam Indians suitable for this is great: the child will be able to realize his creativity, and will always have a place for solitude.
- Wigwam on three sticks
- Wigwam with five slats
- Useful recommendations
Children's tepee need not be like a real Indian home. It is a hybrid of Khalabuda and a tent, endowed with a certain form and style. The child should be comfortable in it to climb and play inside, and parents should be sure that the construction will not collapse.
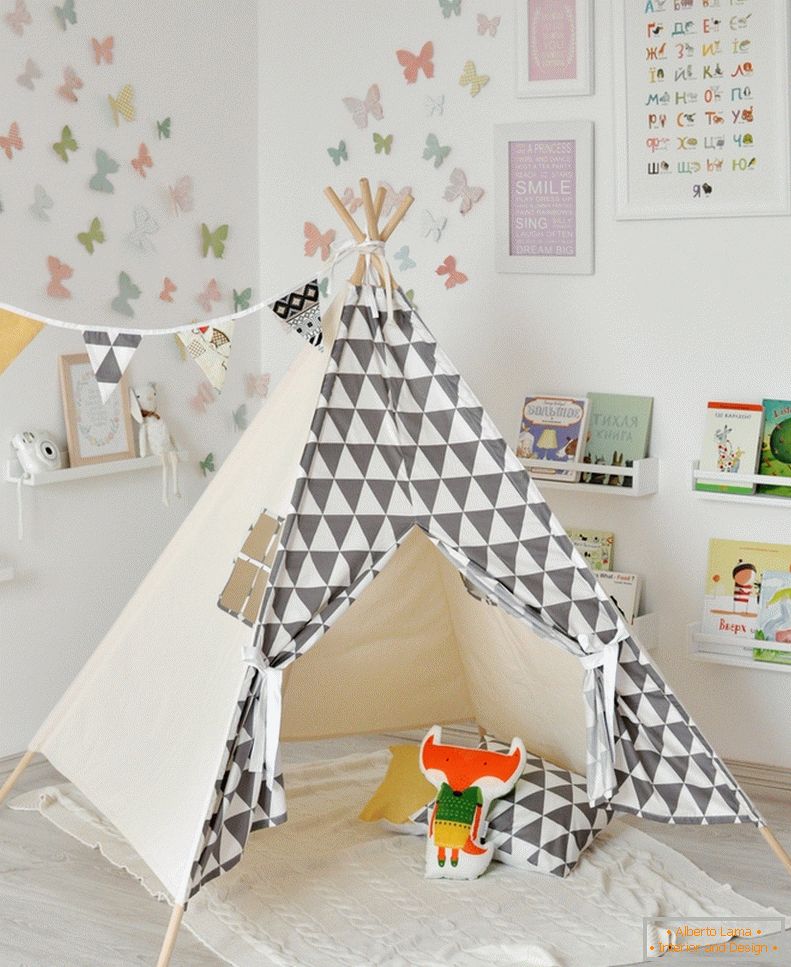
Wigwam on three sticks
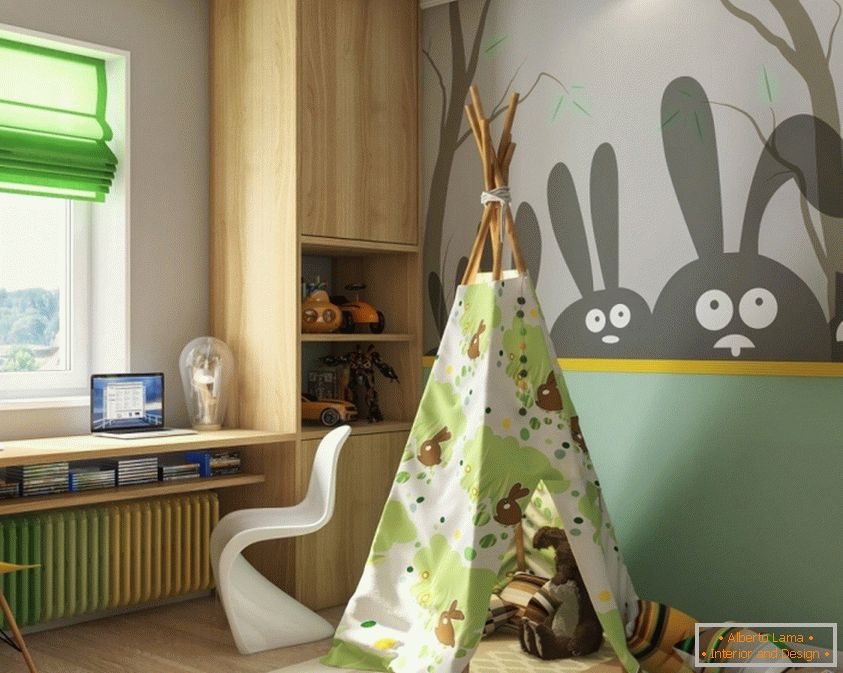
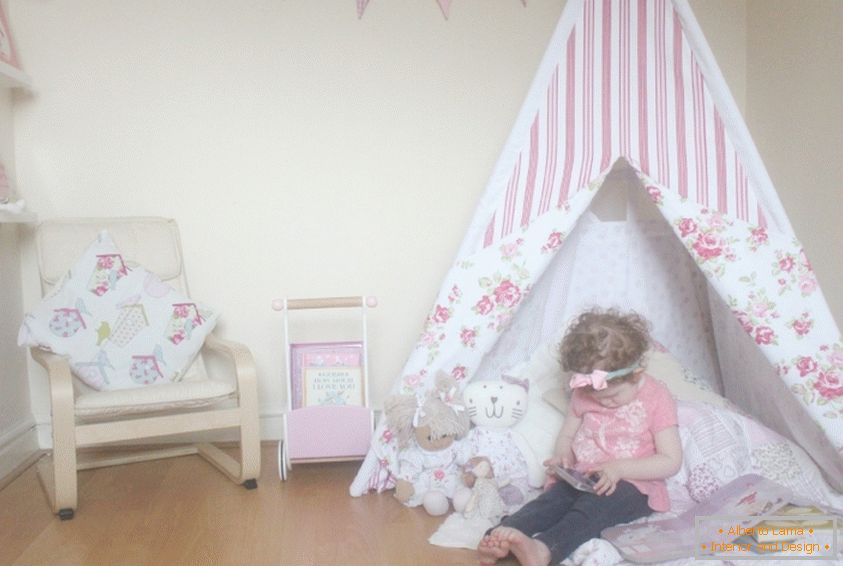
Often, the wigwam is thought about when it is necessary to design a children's room for a boy. But in the girls' room, it will also be appropriate, because everything depends on the materials used and the filling of the playing place.
To create such a tent you need the following materials:
- several meters of suitable fabric, it is better if it is natural, so that the child does not feel hot in the middle;
- thin sintepon;
- tape for edging;
- three two-meter wooden bars, two centimeters in diameter;
- Threads, combined in color with fabric;
- crayon;
- scissors;
- centimeter;
- polyethylene oilcloth;
- marker, writing on an oilcloth.
The fabric is desirable to take several colors: multicolored and monophonic. Then on the wigwam it will be possible to make applications and the child will be more fun in it to play.
Technique of execution
Creating a structure consists of the following steps:
- In order to make the wigwam own hands, the patterns should be drawn with a marker on a polyethylene oilcloth. You will need a long ruler or protractor. The pattern should be triangular in shape, have a width of 120 centimeters, and a height of 180 centimeters. Painted parts must be cut with scissors.
- Finished particles of the pattern need to be pinned with needles to the fabric, leaving on each side an allowance for the seams about one and a half centimeters.
- From the fabric, cut the base in two copies, and one of the fine sintepon.
- In the base, you need to make a pocket to fix the sticks. For this, separately cut out three square pieces, each side of which should be ten centimeters.
- Cut four fifteen centimeters tape for strings, eight centimeters wide. You will also need a pattern of ribbons for edging.
- Sew the base together with a thin sintepon, sew the ribbons and pockets.
- Cut the walls of the structure. At this stage, you can prepare the fabric to create the applique, you need to sew the adornment before joining the walls to the base.
- On the piece of fabric that will serve as the front wall, you need to make an entrance. For this, two identical cuts are made below, and the edges are cut with a tape. The tops of the notched section are sewn up with ties from the front and the underside. With their help, the fabric can be rolled up into a roll, and locked above the entrance.
- The walls of the structure are sewn, leaving a little space at the top so that the sticks look outward.
- On sticks put on sewn design, fix their lower part in pockets, additionally bandage with ribbons and strings.
According to this scheme, you can sew a nice and comfortable wigwam, which will fit into the children's room with any interior. If you are just thinking about creating a harmonious design, read the rules for selecting furniture for a nursery. With their help you can create a unique fairy-tale world for your child.
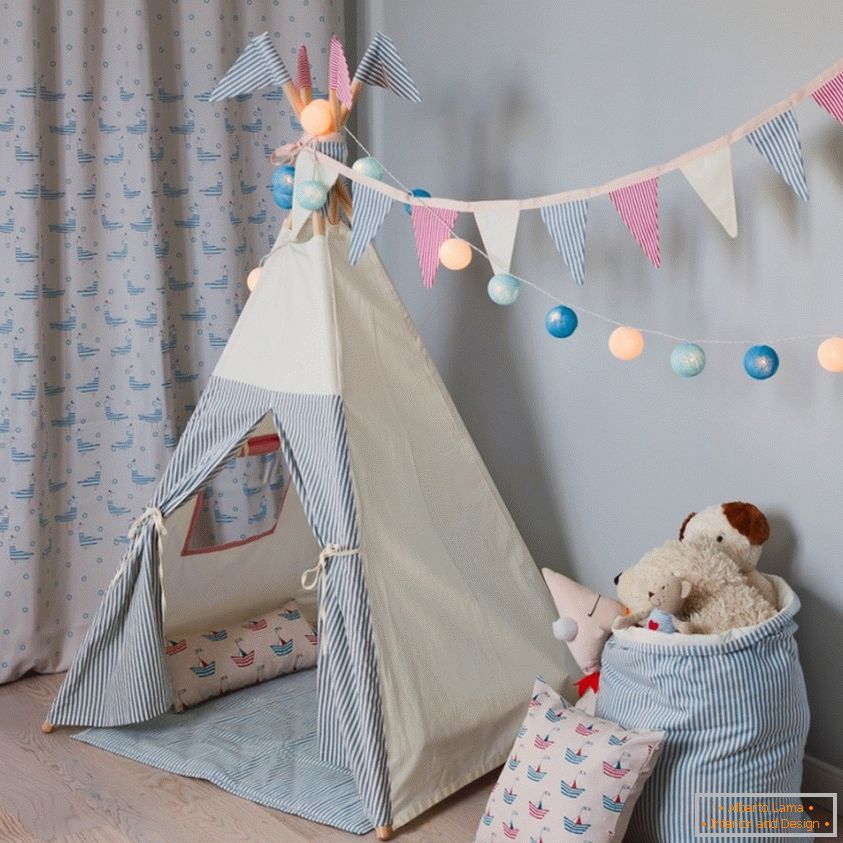
Wigwam with five slats
A children's hut can stand on different points of support. The number of sticks depends on the area that should be inside. Using five racks, you can make a beautiful and spacious wigwam with your hands.
It will require:
- five long wooden slats;
- skein of twine;
- from four to five meters of fabric of two colors: cotton and lace;
- set of clerical buttons.
This kind of wigwam is less durable than the previous one, but for its creation you do not need to mess with patterns and sewing.
Technique of execution:
- Reiki should be the same length. In order not to get confused, it is necessary to consider the variants of crossing the rails beforehand.
- The first pair is tied with twine, firmly fixing it. Then the same thing needs to be repeated with the second pair of racks. The fifth rack should be inserted between them.
- Ready construction once again tightly tied with twine, connecting all the sticks together. It is important that all elements are fixed firmly.
- From the cotton fabric you need to cut a narrow, but a long piece and tie up the place for joining the sticks. It is pulled between each rake, and the end is hidden inside the structure.
- Clips will help to fix the cloth. Their advantage over nails is that they do not harm the fabric, so the hut can be collected and disassembled, retaining a good view of all its elements.
- A piece of similar size is cut from the lace fabric as the previous one. It is tied just below the joint of sticks in a similar way, also fastened with paper clips.
- Subsequent actions consist in alternately wrapping pieces of two kinds of fabric around the slats. The direction can be arbitrary. It is necessary to allocate a place for entry: between the first two sticks the fabric should not be wrapped, that is, one must make an unfinished circle from the fabric.
- All cuts should be wrapped around each rack, securing this place with paper clips.
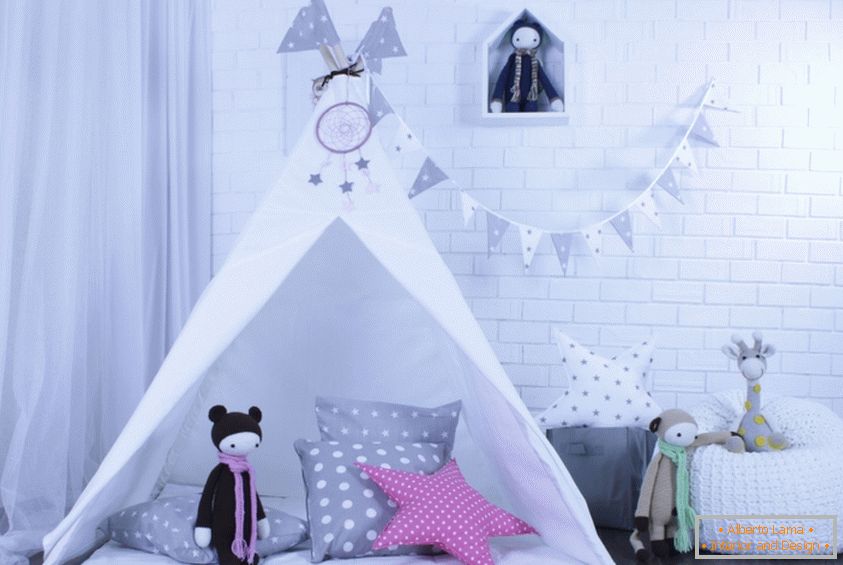
- Ready-made huts can be decorated with flags or paper garlands. This wigwam will perfectly fit into the design of the children's room for the girl.
- In the middle you can put a sheepskin or a blanket and pillows so that the crumb was comfortable to play.
Useful recommendations
Learning how much a store wigwam costs, many parents do not dare to overpay for lightweight construction and create it themselves.
If you are among them, consider the following:
- The wigwam must necessarily have a conical shape.
- The ends of the sticks should always look up from above, opening the opening for fresh air.
- The decor of the wigwam depends on personal preferences. If you make a hut like American tribes, you need feathers, pebbles, leather straps, ornaments on the fabric. Modern design can be decorated with pompons, paper garlands and fashion prints.
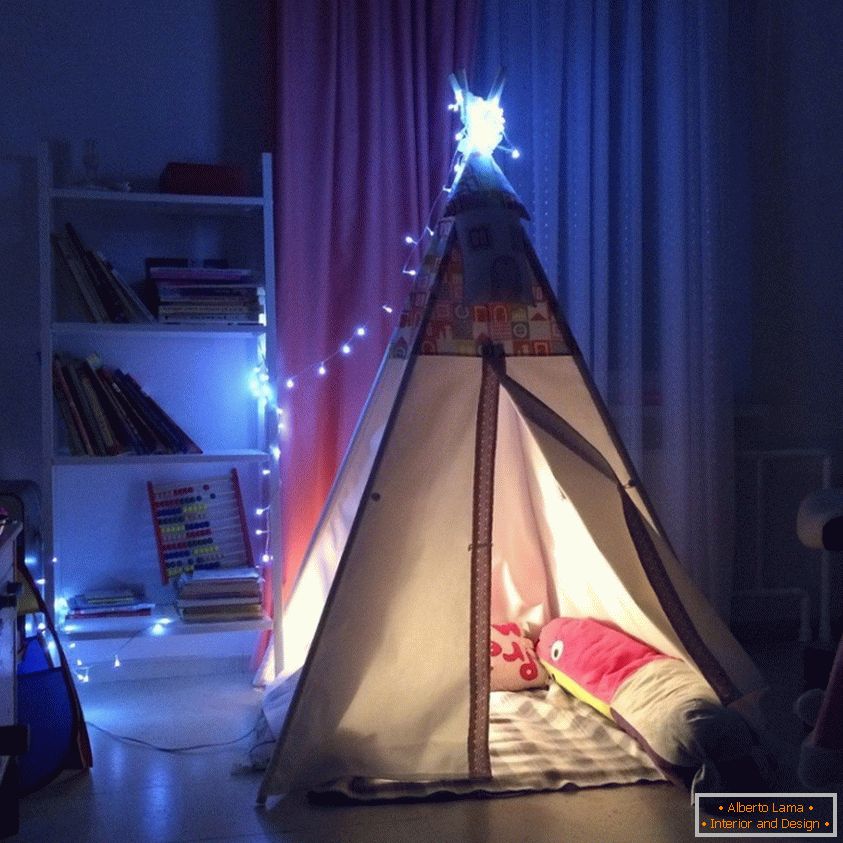
In the wigwam the child can play, read and even sleep. This is an interesting place for all kinds of hanging out.