No matter how large your bedroom, new ideas for storing things or jewelry will never interfere. Here's an interesting idea for making a desktop stand for jewelry with your own hands, which will not damage your budget and can be made in any size that suits you.
- Materials
- Work process
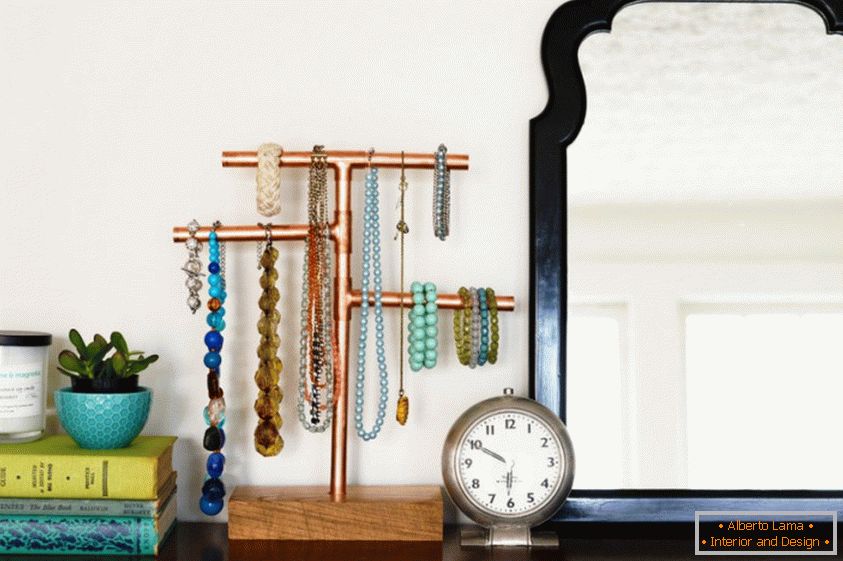
Make a large, multi-tiered stand, on which you could place all your trinkets, or a simple minimalist "T" -shaped holder. The usual wooden bar as a basis will ensure the stability of the stand. Learn a few simple steps that will help you make the same stand for yourself.
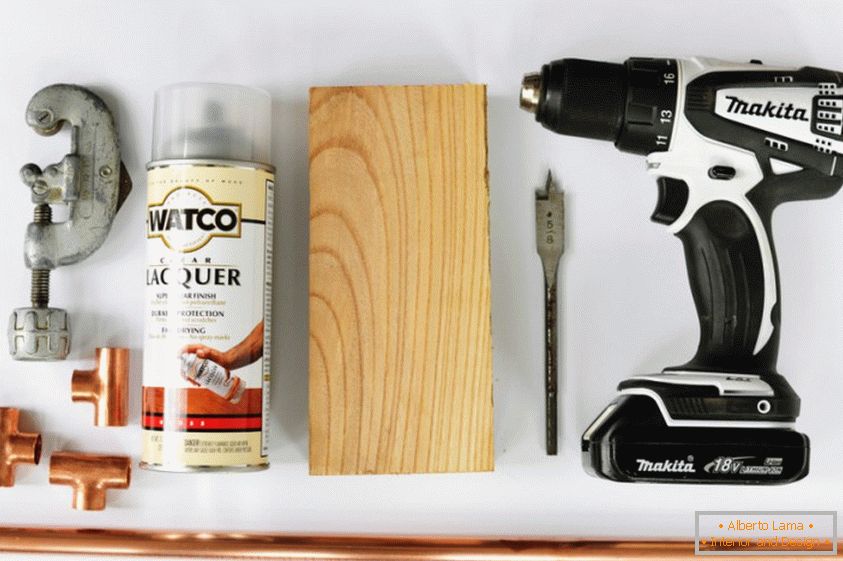
Materials:
- a copper tube 1.25 cm in diameter and 2.4 m long;
- three-side copper fittings with a diameter of 1.25 cm (3 fittings were used in the manufacture of this stand, but you may need more, depending on how many "twigs" should be on your stand);
- hand pipe cutter;
- drill;
- Drill for a drill with a diameter of 1.25 cm;
- a wooden bar;
- varnish, linseed oil, paint or stain (optional, for finishing the wooden base);
- superclose.
Work process:
1. Drill a hole in the center of the wooden base with a drill. You will need to drill a hole in about half the thickness of the wooden bar to fix the copper tube in it.
2. Take care of the finishing of the wooden base. There may be a lot of options - you can simply apply a thin layer of clear varnish with a spray or brush, or you can paint the bar in a bright color in order to revitalize the interior.
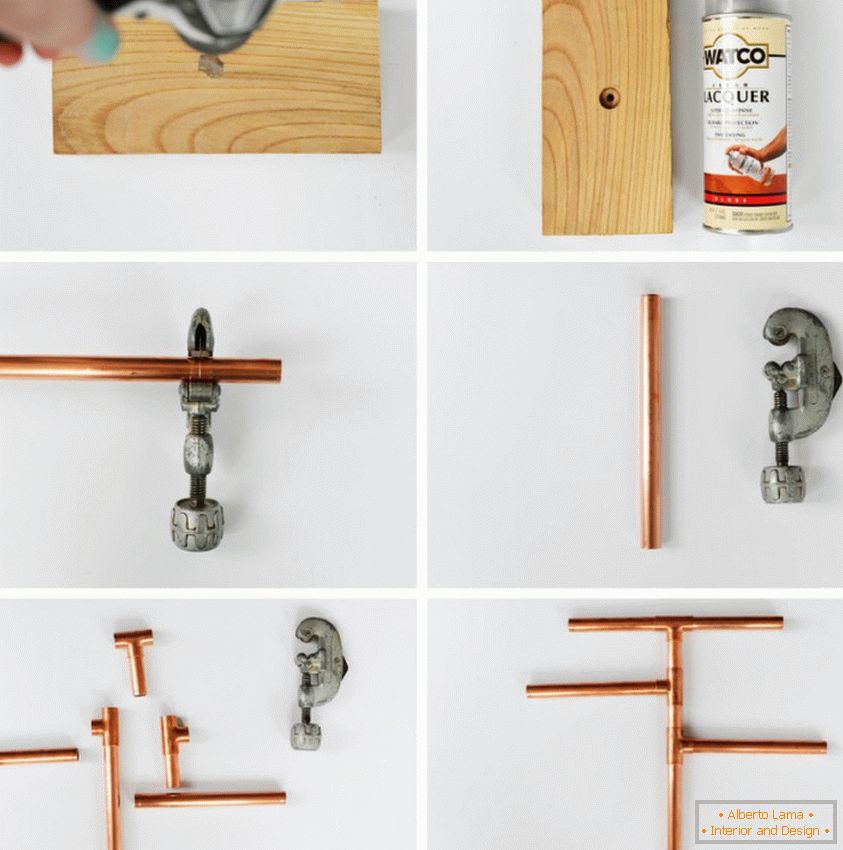
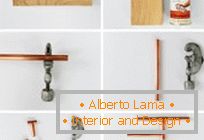
3. To make a jewelry stand, you will need to measure and cut the copper pipe so that its parts match the shape of the stand you conceived. In this case, a double "T" shaped stand was made. First, we used a three-way fitting for the upper crossbar, connecting 2 lengths of a pipe of medium length with one very short. Then we attached one more fitting with a long length of pipe to the resulting structure, creating a second "branch", and then one for the lowest "branch", after which the long pipe-base was cut to the required length.
All your measurements will be based on how high or short your stand should be and how long the "branches" should be. First, measure your desk or chest to determine the size of the stand. Remember that you can always cut off excess to fit the size of the stand. It is easier to shorten the pieces of the pipe than to lengthen them.
4. Finally, place the copper stand on a wooden base and make sure that it is held flat. The copper frame should easily pass into the hole drilled with a drill. If necessary, use superglue in order to fix the base in the base and ensure its immovability.
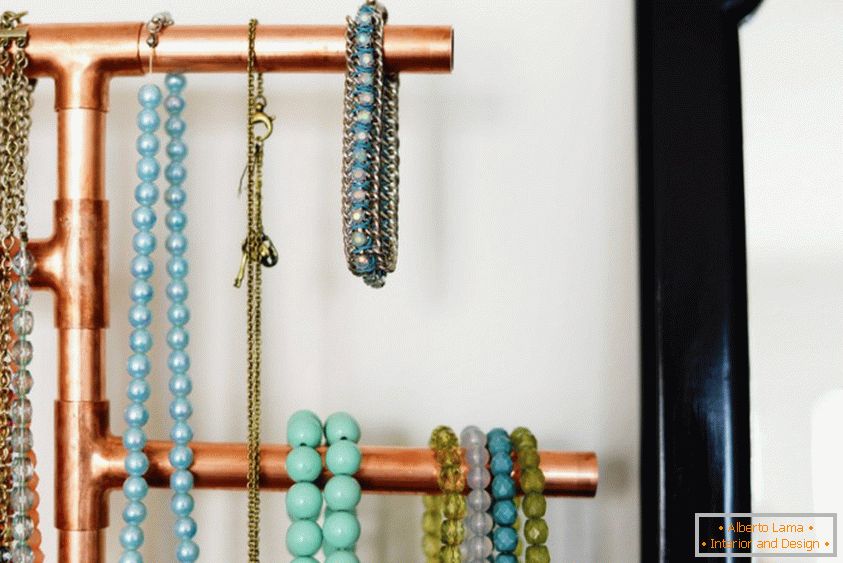
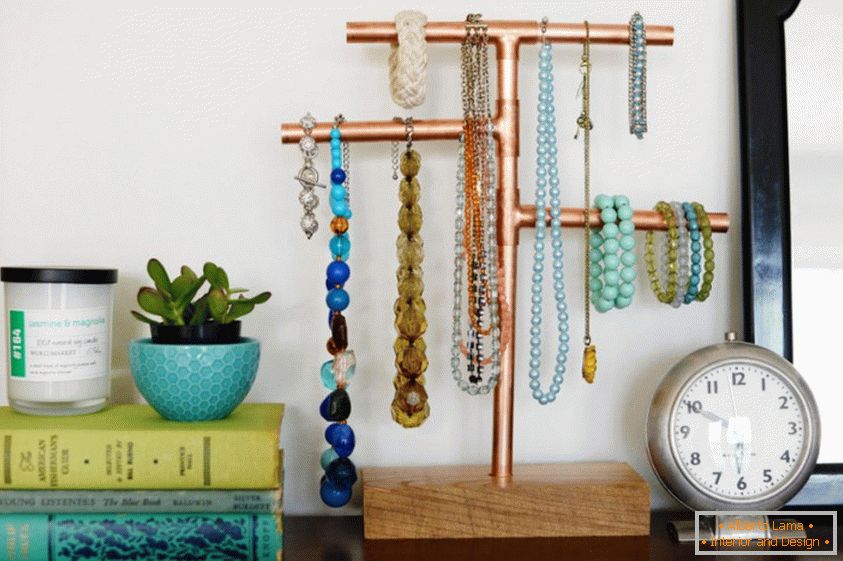
Hang necklaces and bracelets on "branches". If necessary, the "branches" can be shifted, giving the stand a volume.
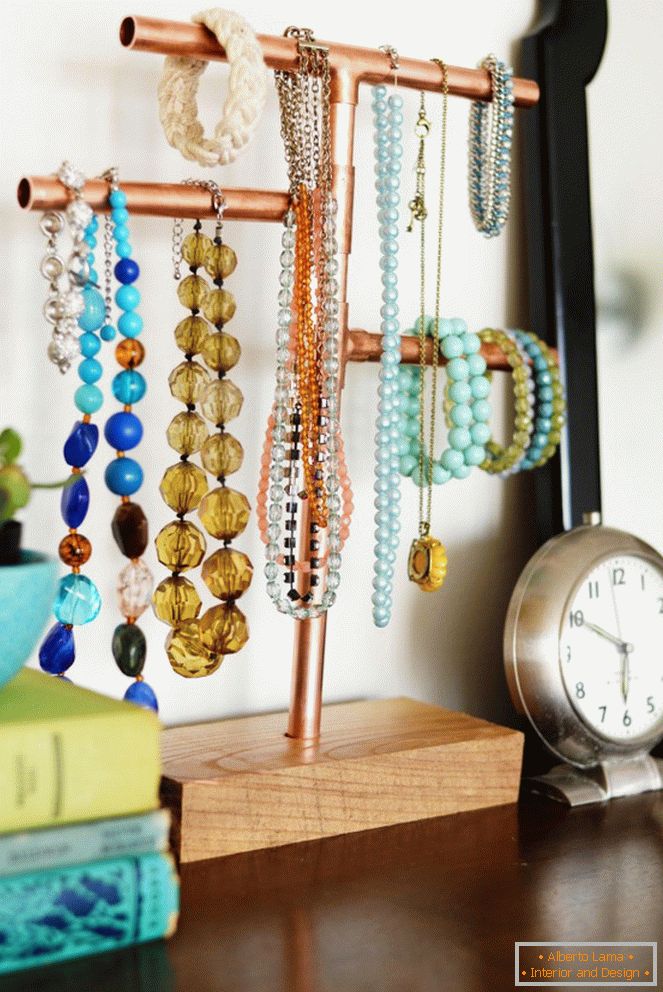
Now you can enjoy a stylish jewelry stand by placing all your treasures in sight!
Photogallery Total | 6 photos