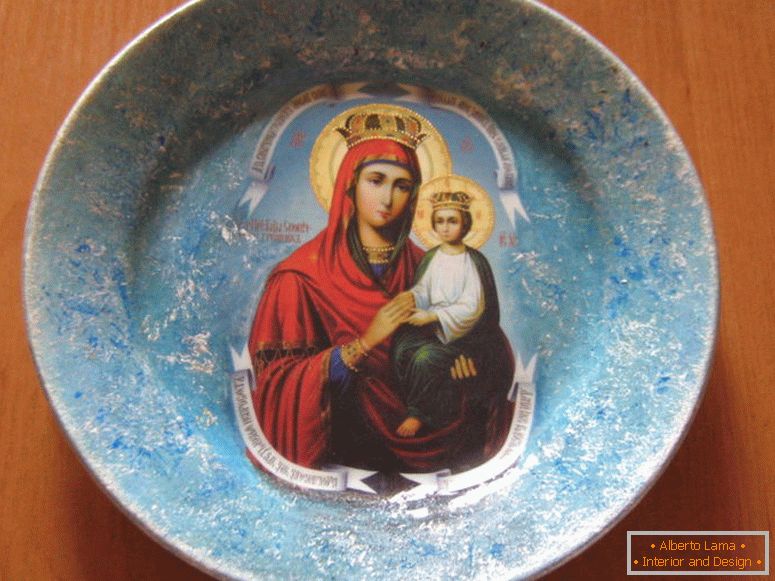
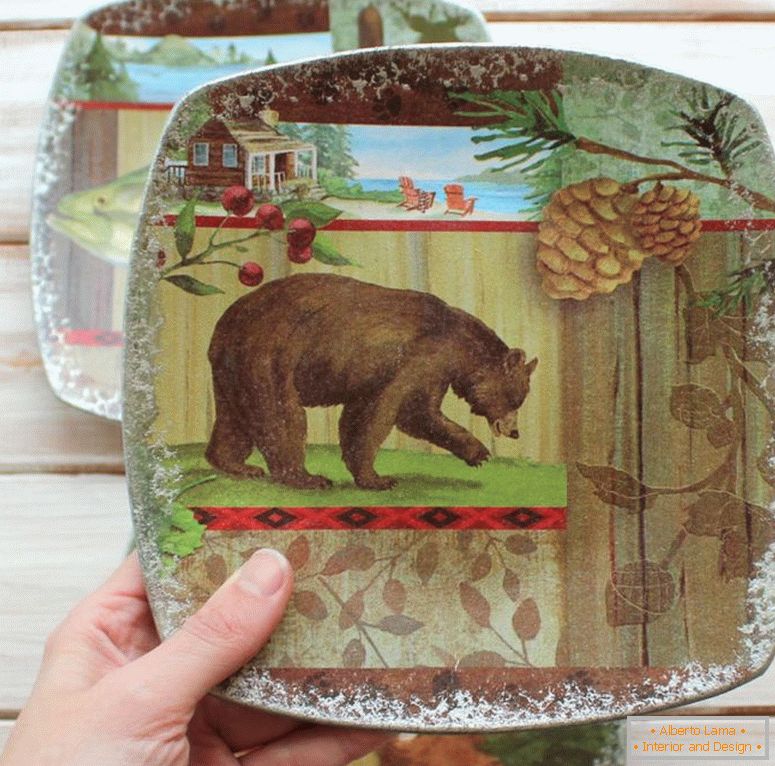
We suggest you familiarize yourself with the master class of decoupage plates. Such an option for decorating plates can be used by everyone, including newcomers in this business. The plane can be flat, from ceramic / glass, with small bends - any option is perfect for decoupage.
As a rule, the received products are not used in everyday life, but for interior decoration - it's just wonderful things. They can be hung on the wall or put simply in the stand.
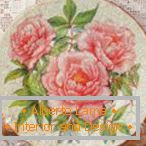
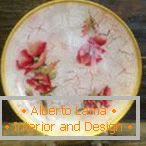
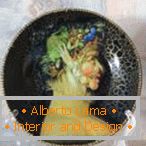
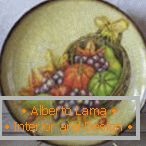


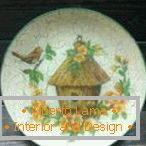
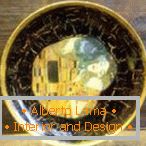


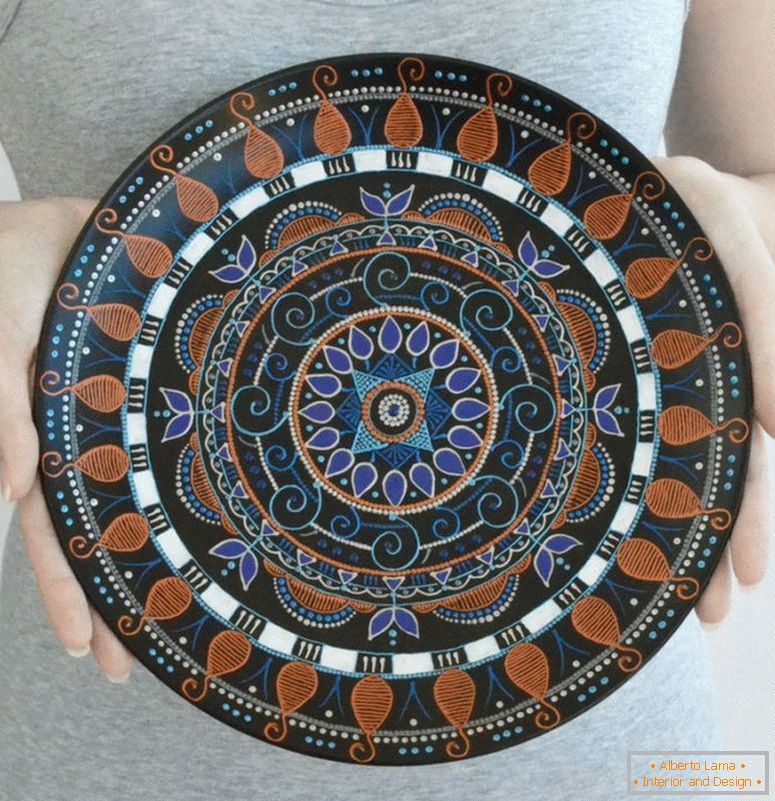
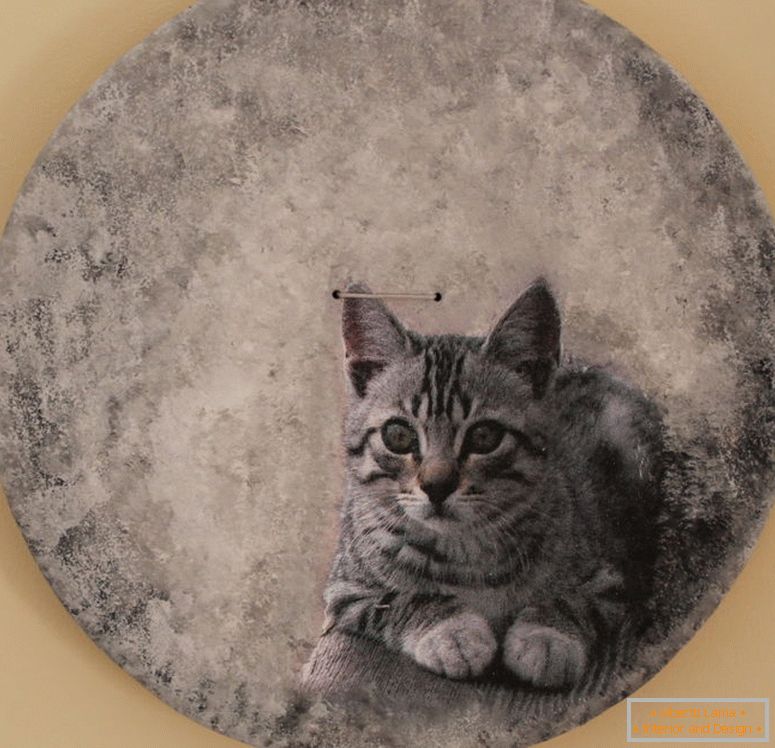
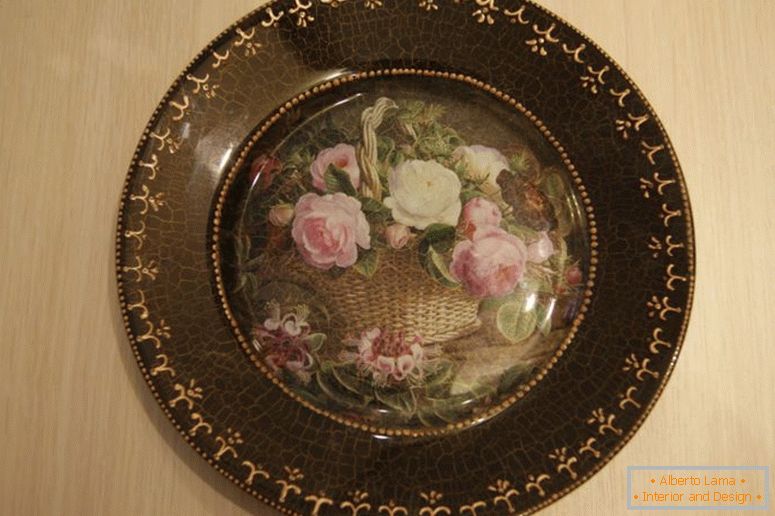
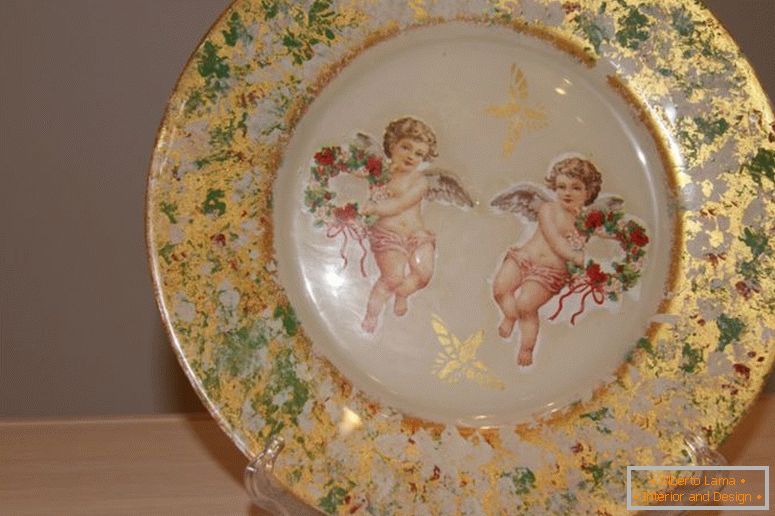
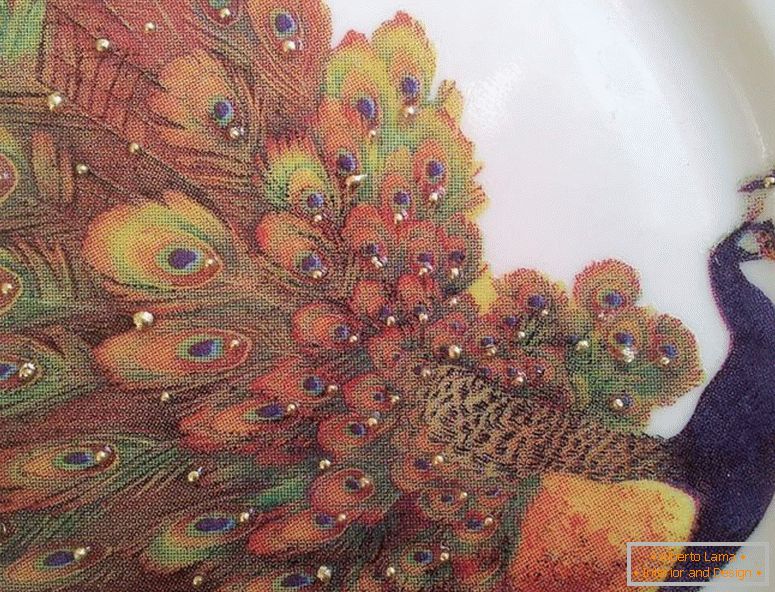
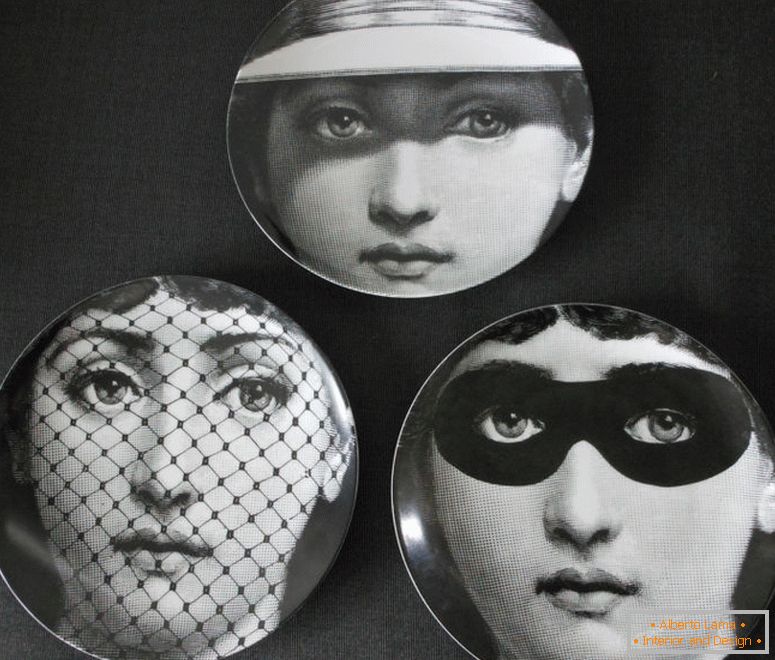
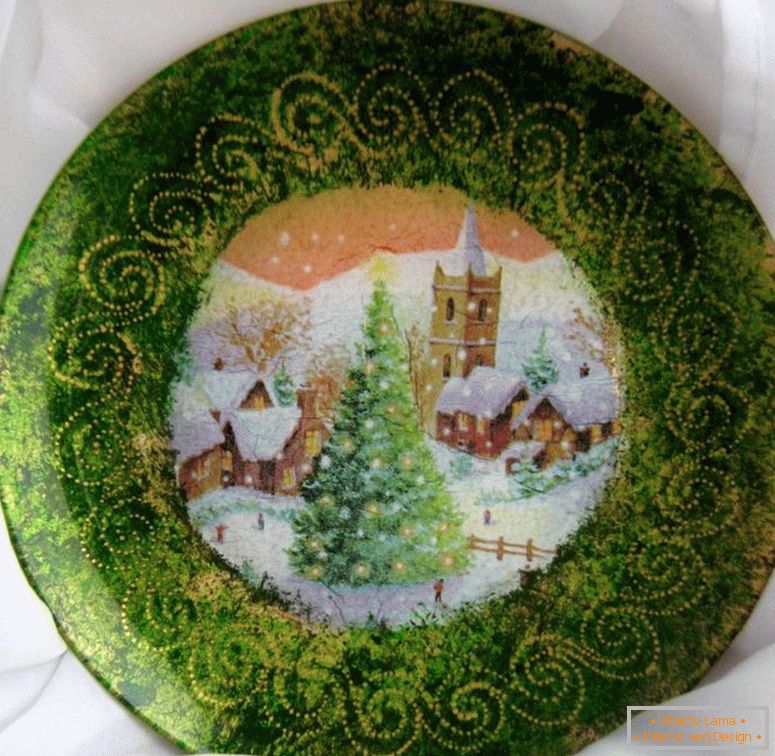
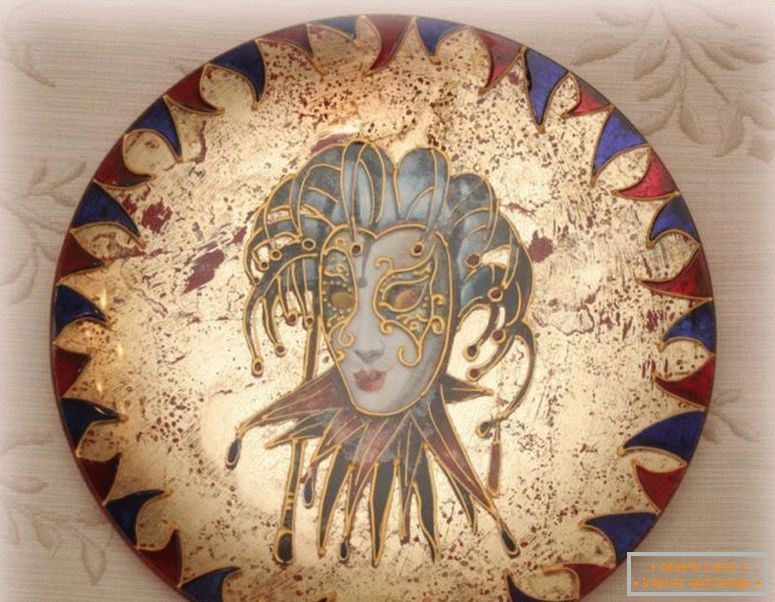
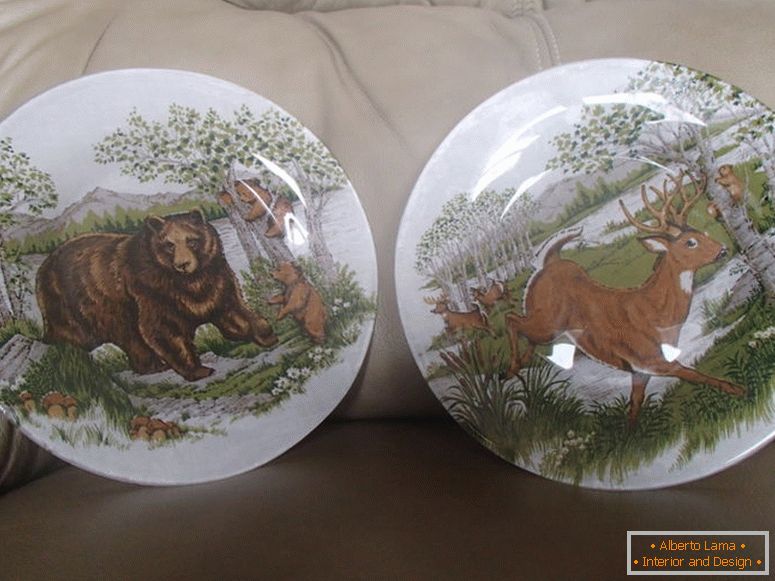
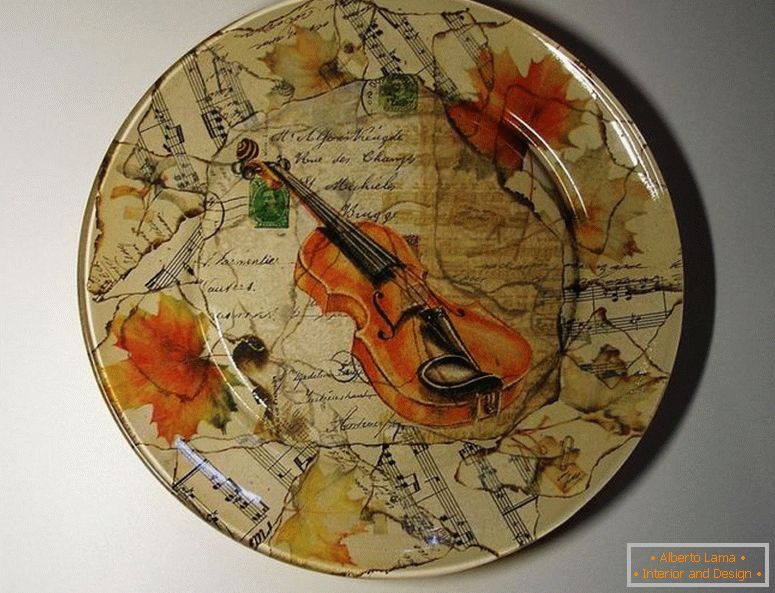
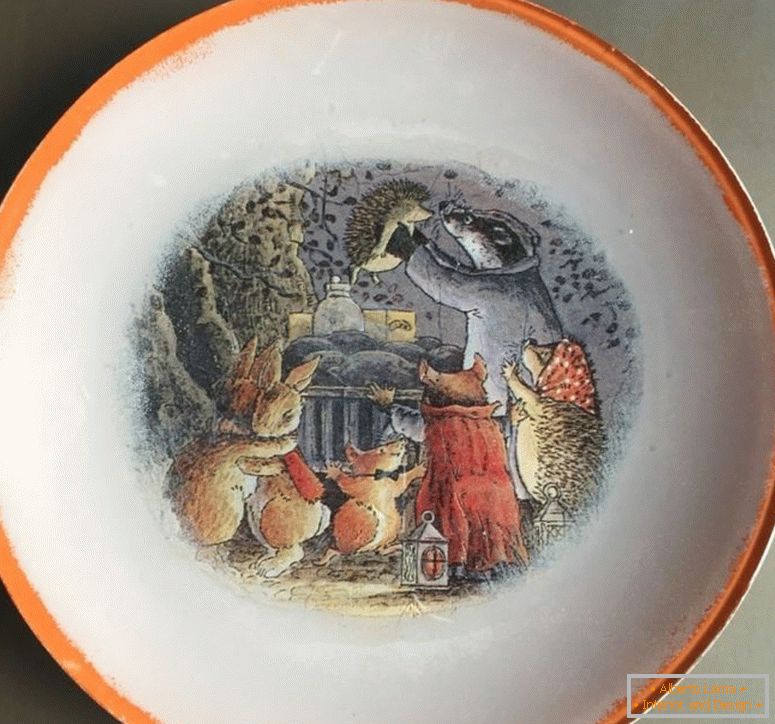
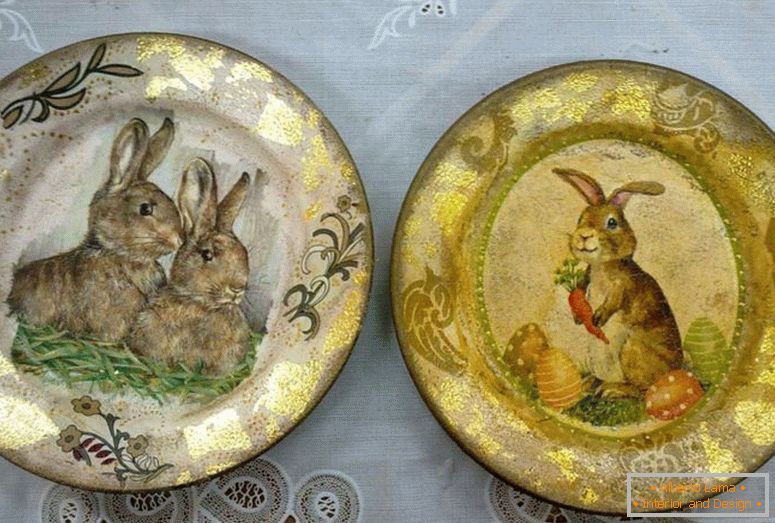
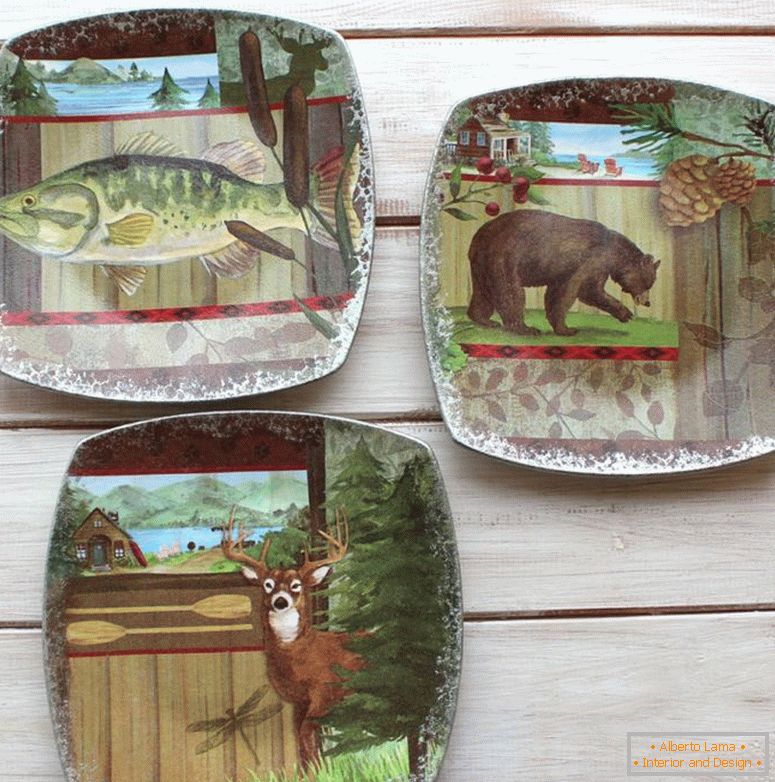
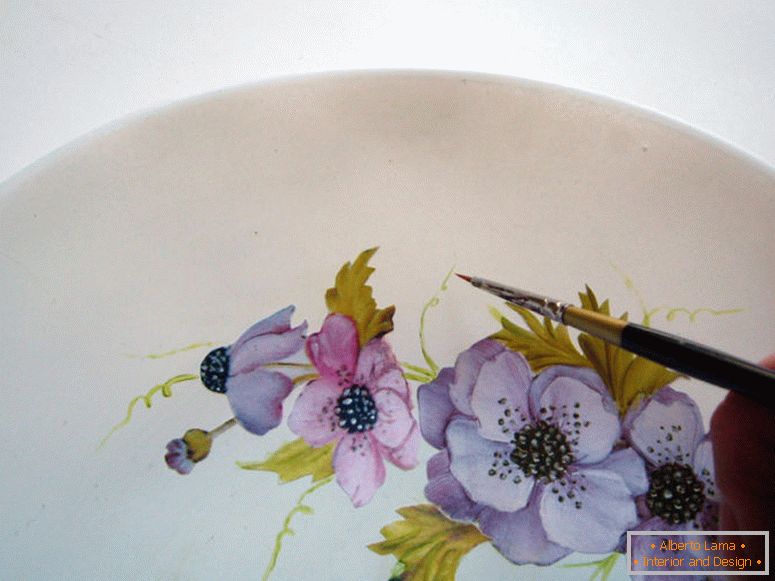
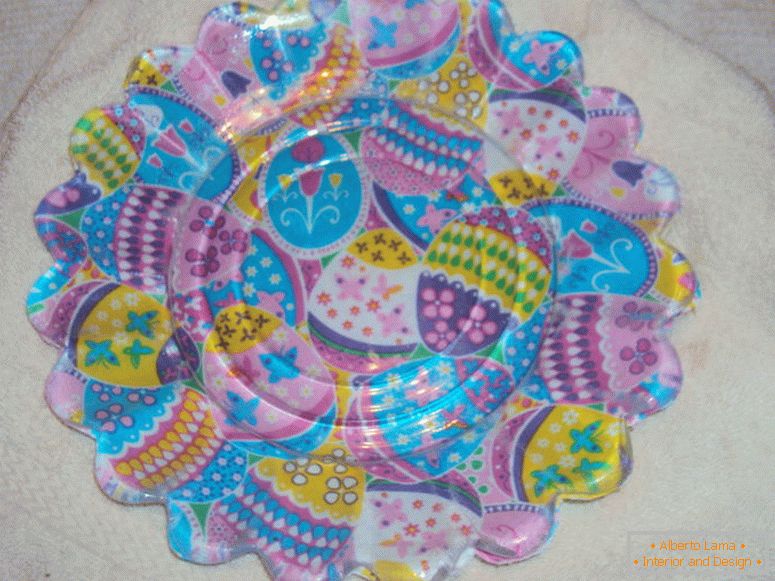
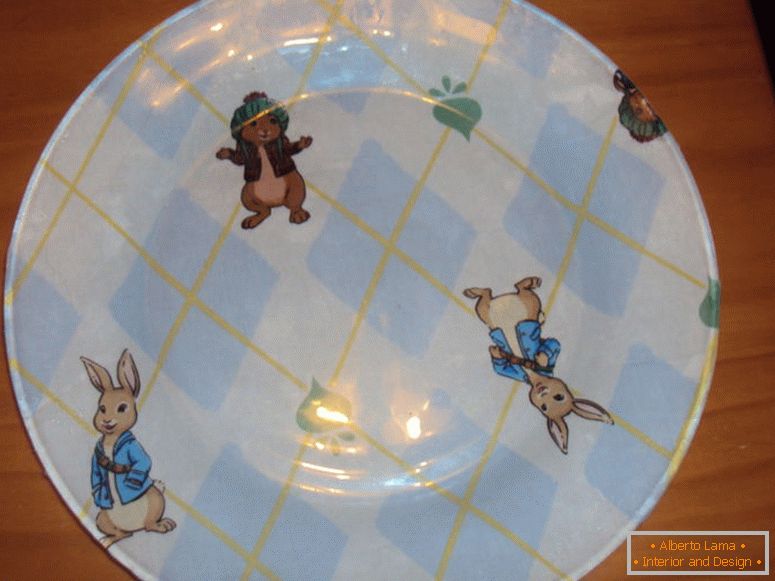
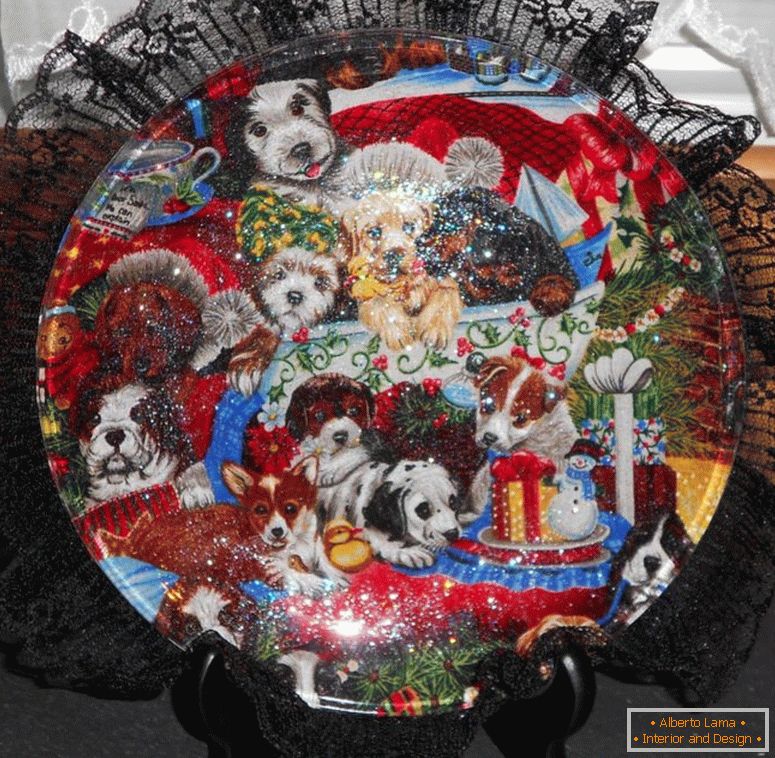
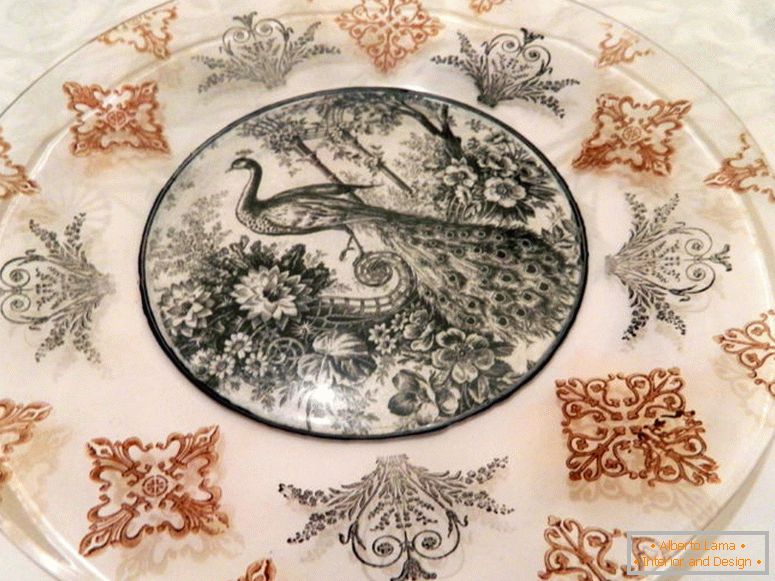
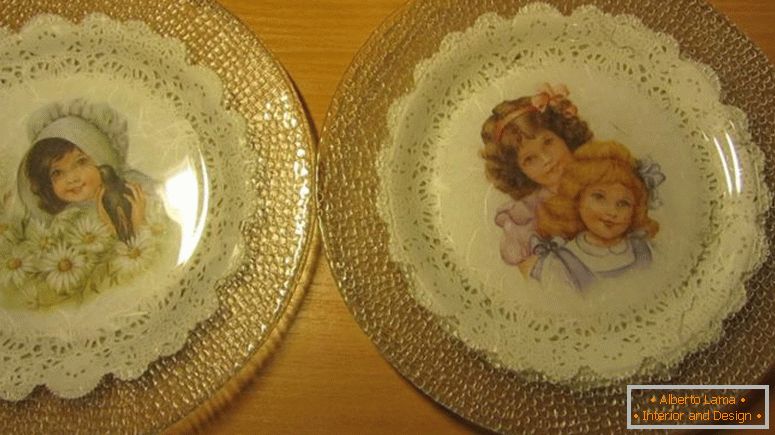
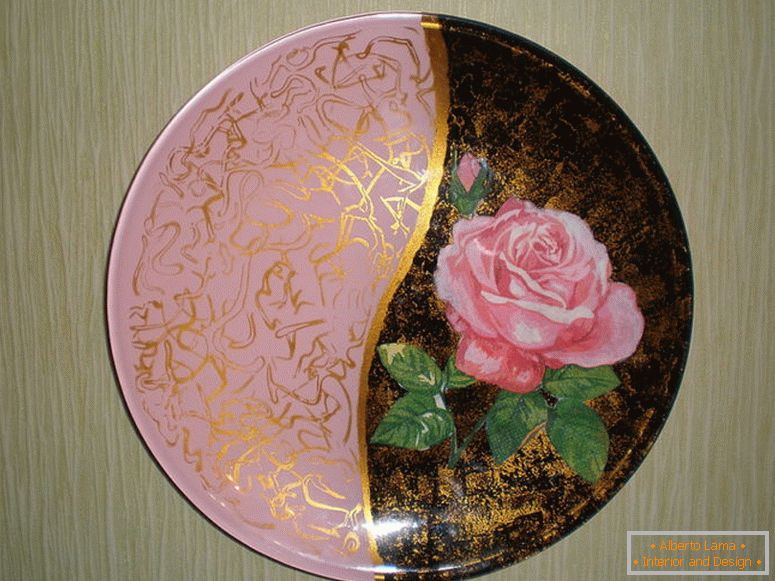
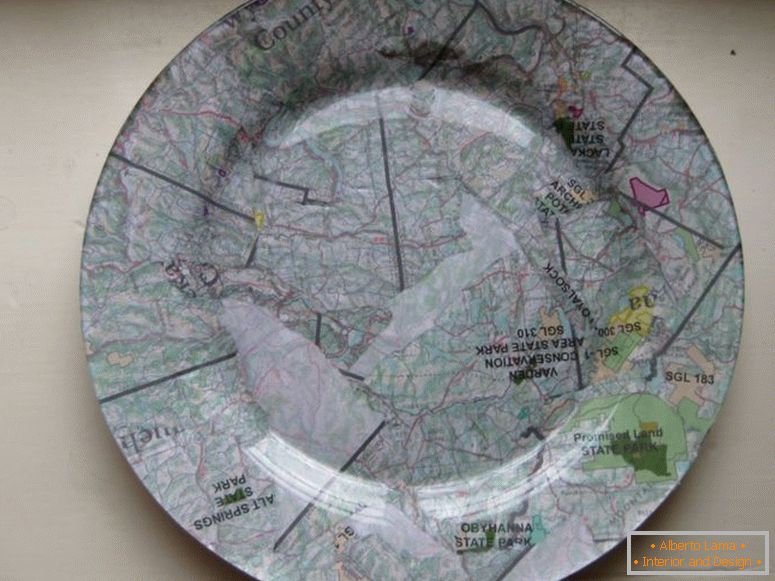
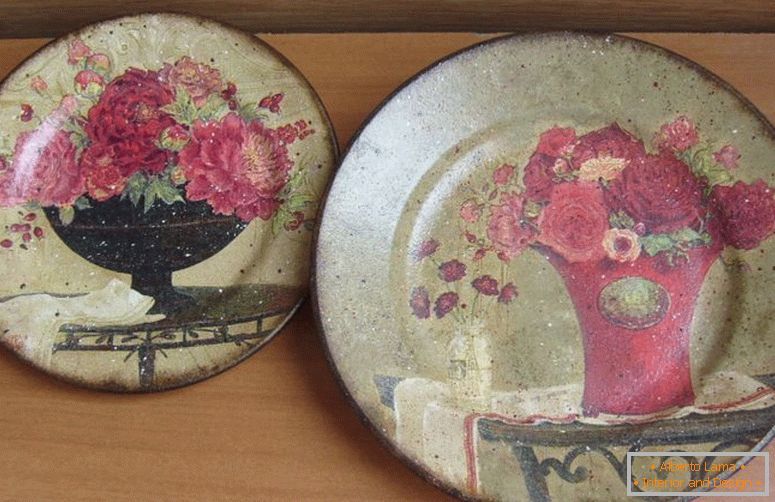
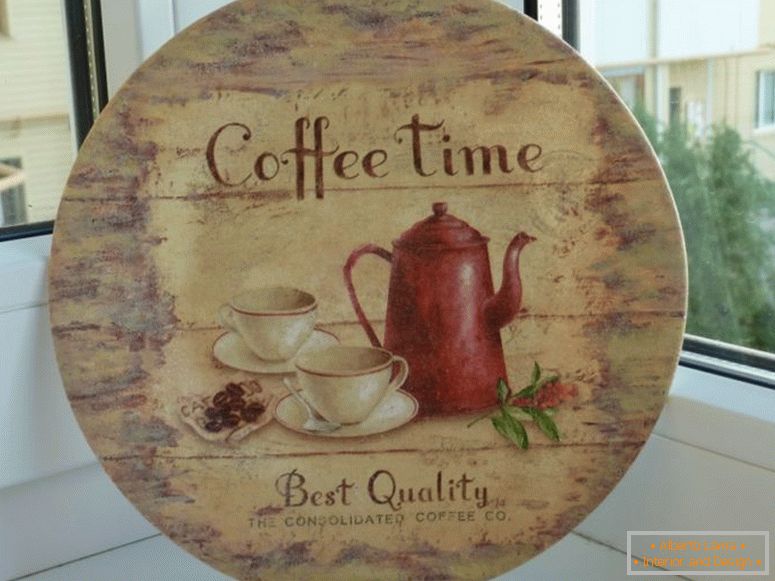
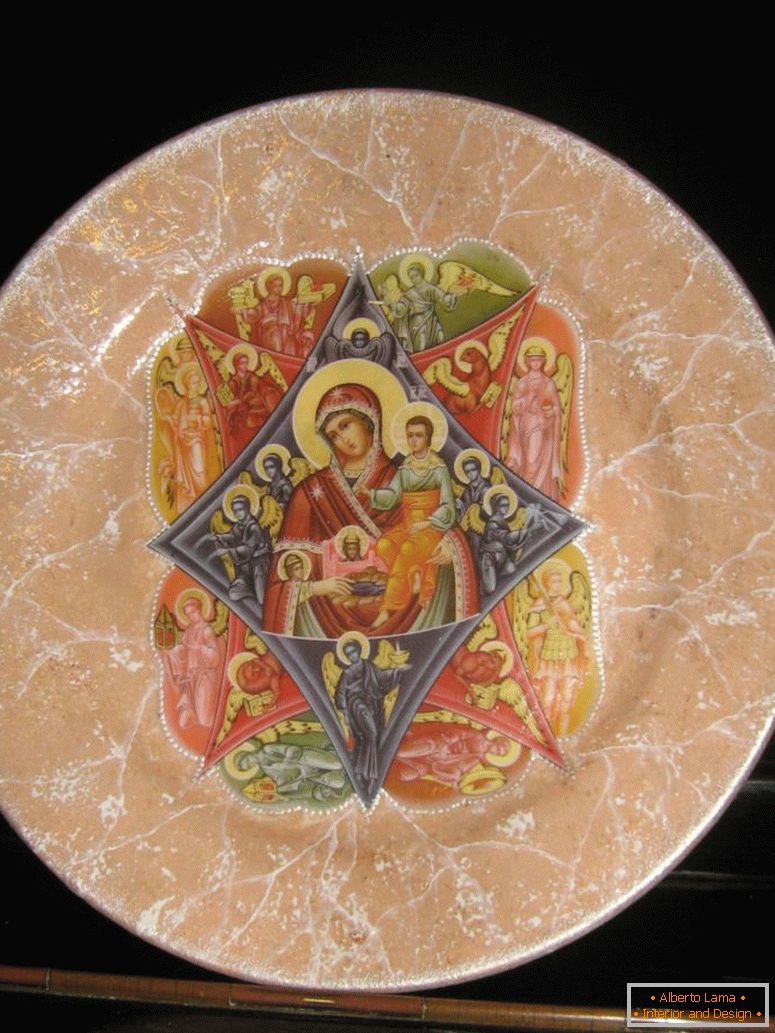
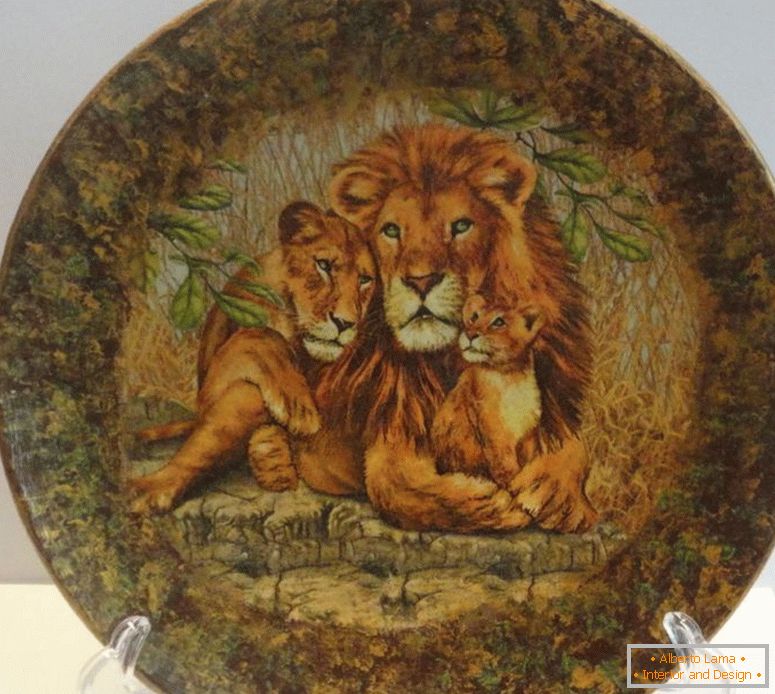
You can see a variety of ways in the presented photos of decoupage cymbals from us!
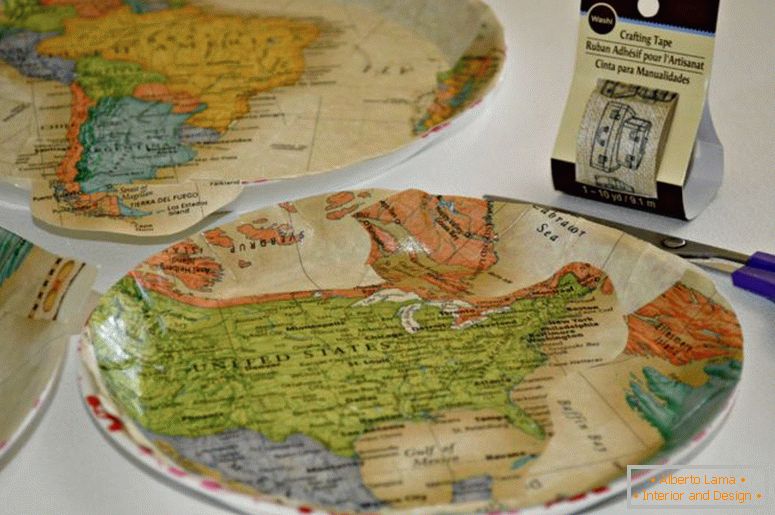
The main material that you will need is special cards for decoupage or napkins. Among them today, you can choose the most diverse version of the picture / the desired motif in the needle shop. You can also just pick up an image on the network and print it.
There can be two ways for decoupage. We suggest that you read more about this issue.
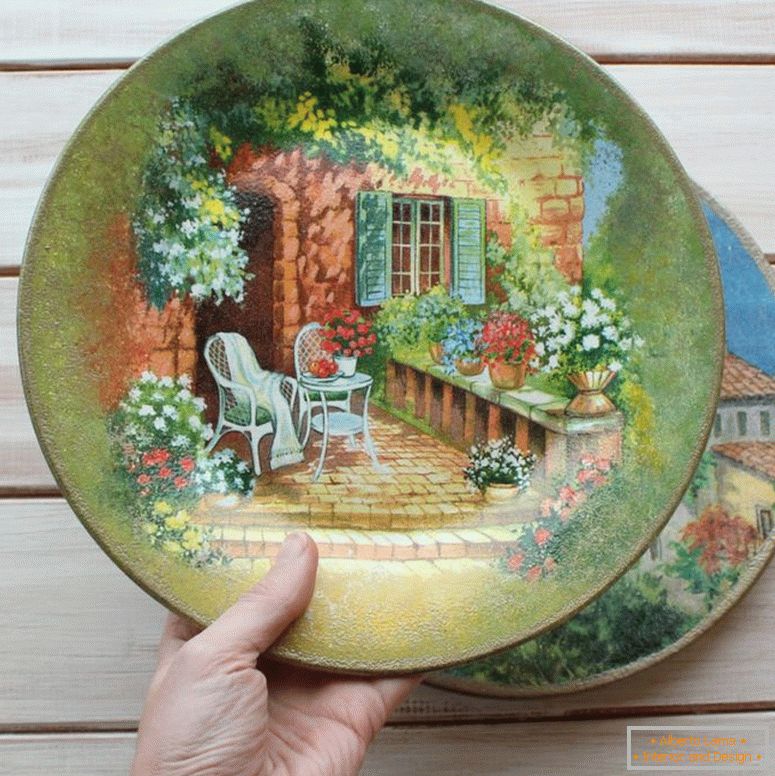
Table of contents of the article:
- Direct disposition of cymbals, step by step instruction
- Reverse decoupage of glass plates with fiery details
- Photo of decoupage plates
Direct disposition of cymbals, step by step instruction
The peculiarity of this method is that the napkin should be fixed at the top of the plate. The process is laborious, with materials you need to handle very carefully.
As a motive, there may be some kind of kitchen theme, which is very suitable for kitchens.
In general, for decoupage, you need to prepare:
· Plate
· Alcohol variant of a napkin
· File
· Sprayer filled with water
· Glue and lacquer on acrylic base
· Napkin with the image you like
· Acrylic type of paints
· Flat Brushes
· Roller
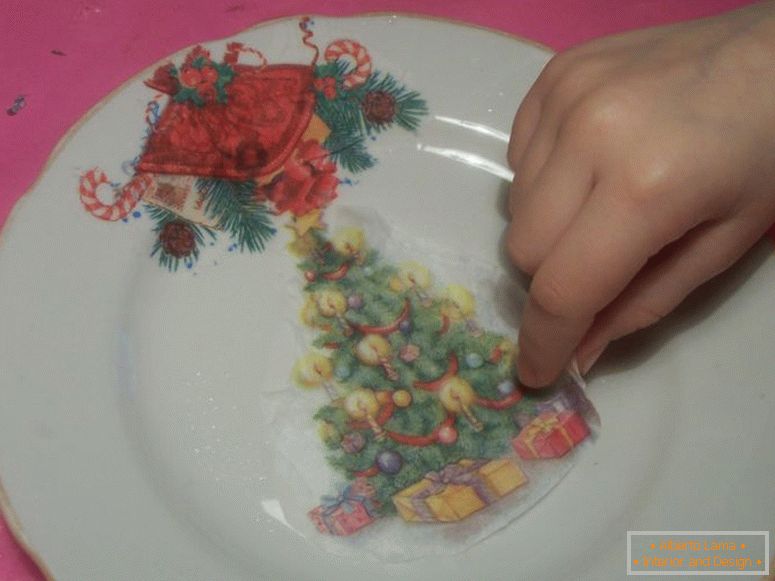
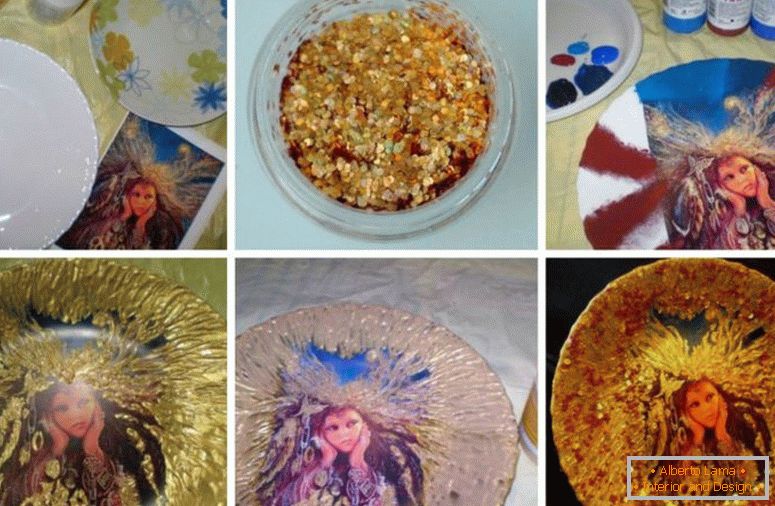
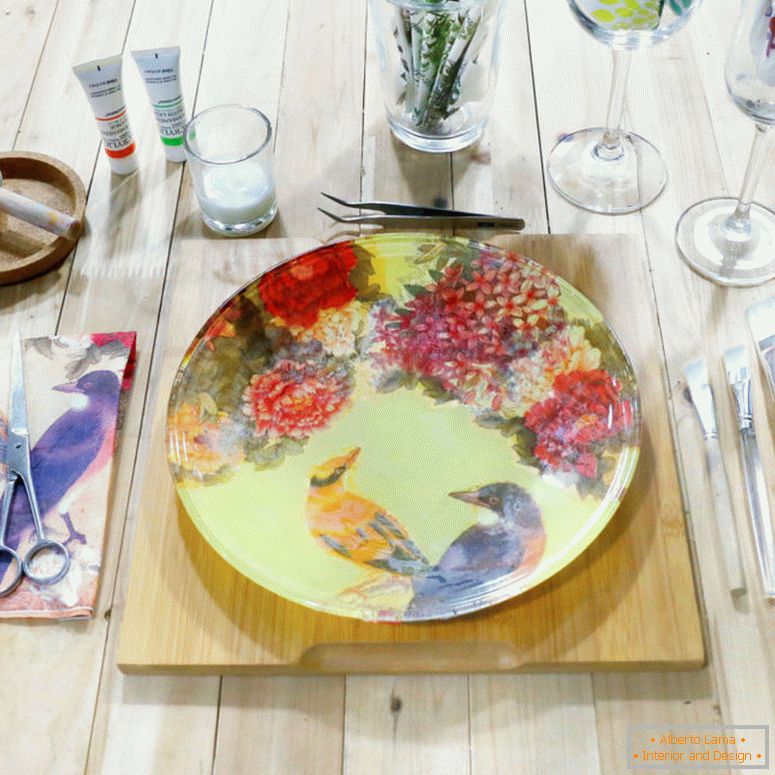
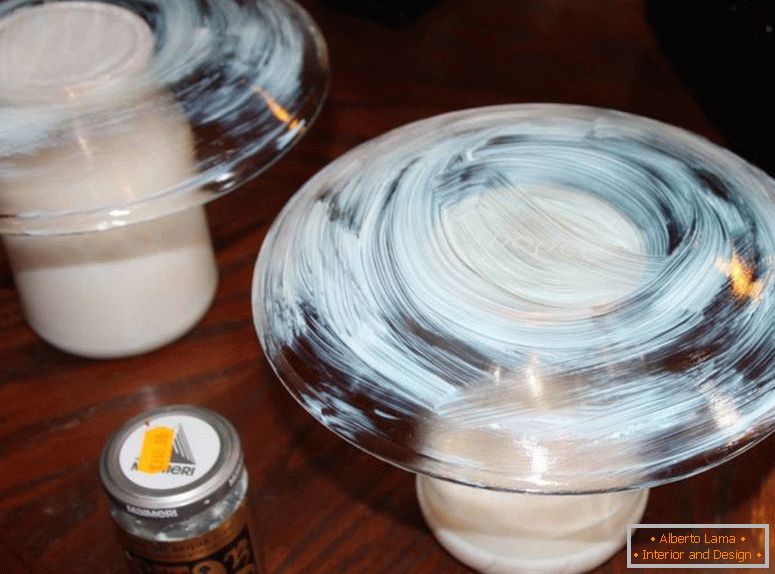
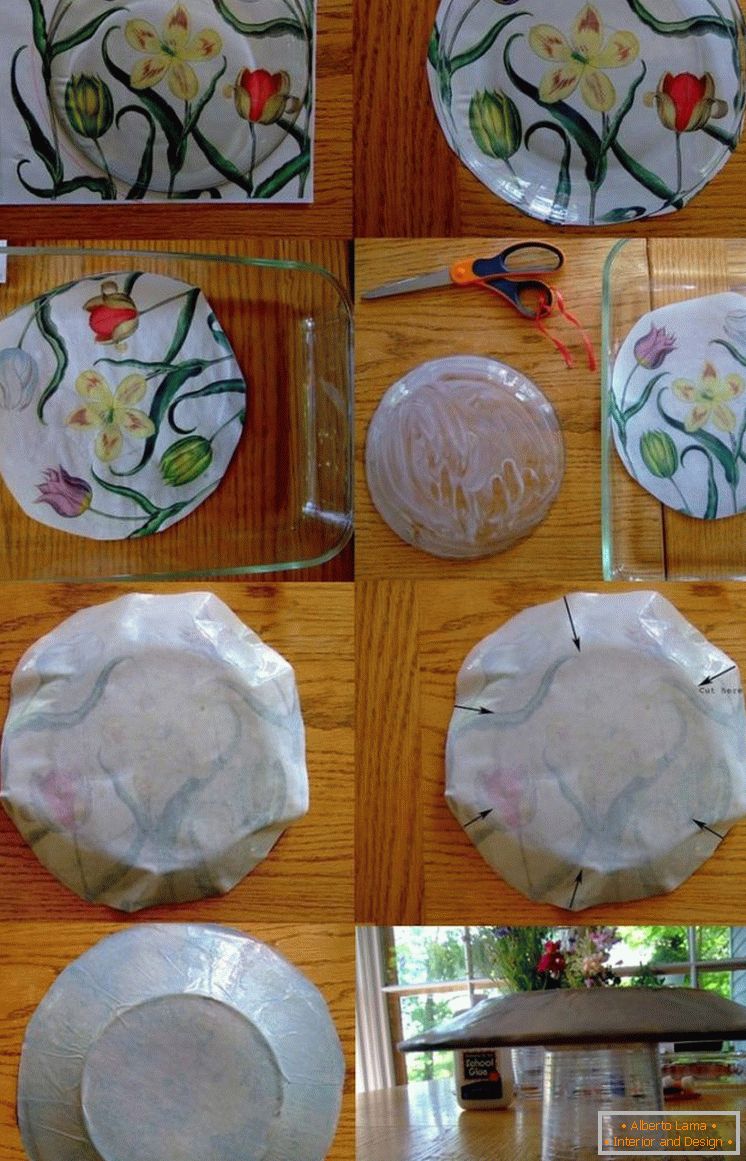
To begin with, the surface of the plate is dehydrated with a dry napkin on alcohol. After you need to wait for it to dry. Then apply PVA - he will prepare a plate for decoupage, and leave to dry.
Then take a napkin, separate the first layer with the image. It is this motif that will be fixed by the outer side to the plate. The drawing should be put on the prepared file, moistened with water from the atomizer. Then the file with the plot is transferred to the surface of the plate. Then, from the center, gently follow the roller directly over the entire plane. Thanks to this you can get rid of unnecessary moisture, air. Many people in this help a flat brush. Bio-fireplace by own hands - step by step instruction with description and photo
After the completion of this process, you need to remove the file neatly, and remove the remaining moisture with a tissue. Next, you need to paste the story from your image, putting it on PVA. Edging should be done decoupage with the help of various elements, cut from a napkin. For the kitchen theme, the best will be vegetables. After they are glued, you need to leave them to dry. In empty spaces it is necessary to fill in a tonal drawing, choosing the tone of the main motive, and again the plate dries.
At the end of the product should be coated with varnish, applying a few layers, adhering to the intermediate drying.
 Decor of the rope - photos of fashionable novelties in the interior
 Rug in the bathroom with your hands - detailed instructions for beginners (55 photos of ideas)
 Necklace with your hands - the best master class with photo examples
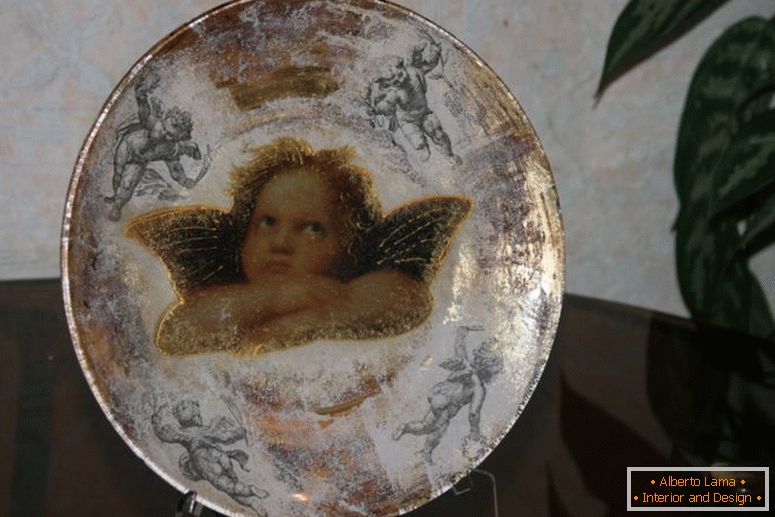
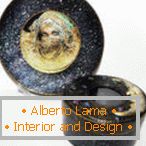
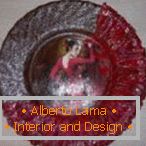
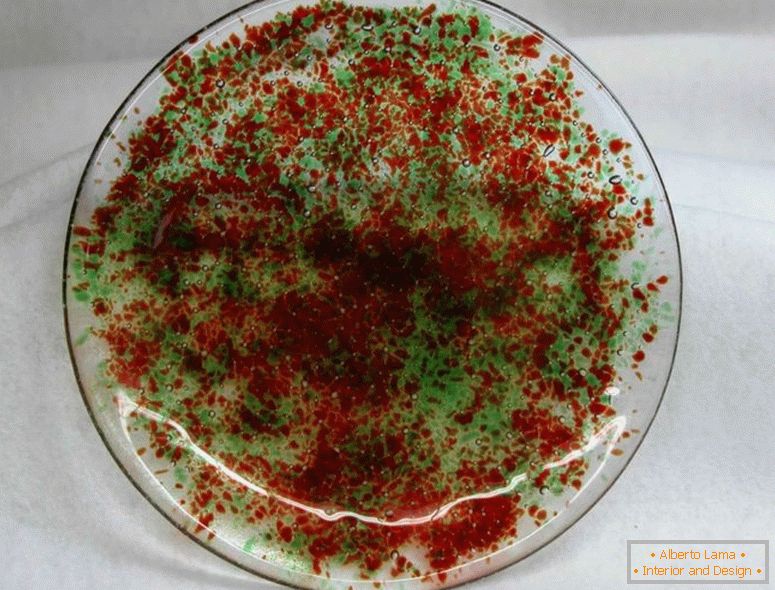
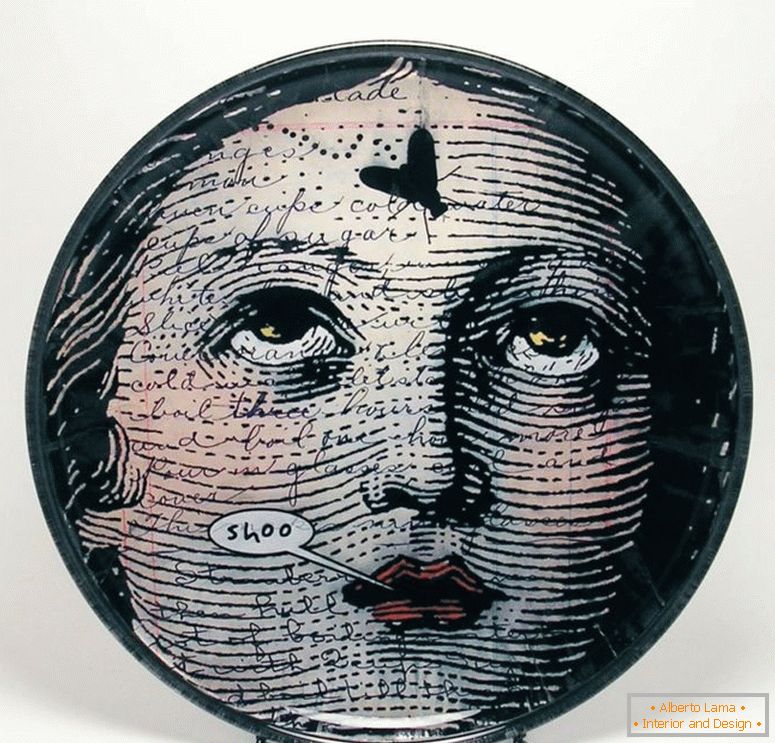
Reverse decoupage of glass plates with fiery details
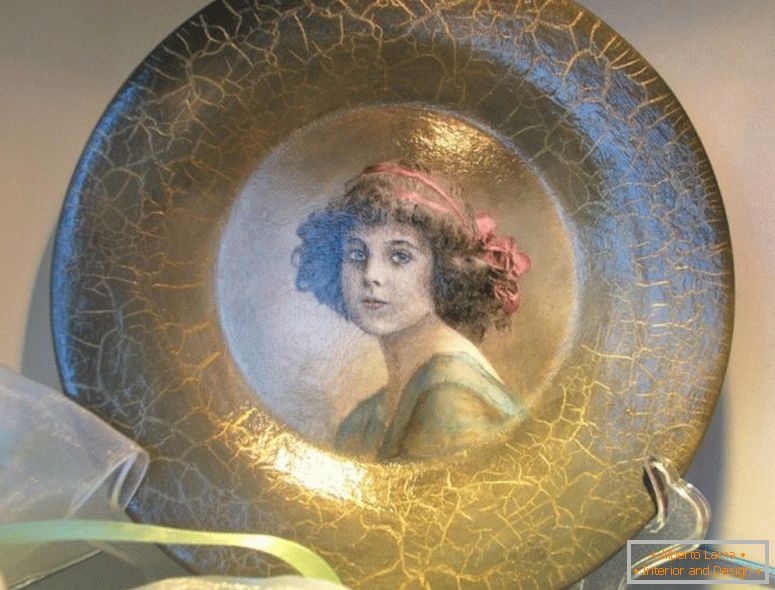
This option is also suitable for beginners. It is based on gluing the image face to the bottom of the glass plate. This is also an excellent option for decorating glass balls on a Christmas tree. On our photos you can see step by step instructions how to decorate on different subjects. A feature of this method in a decorative element that looks like a fiery craquelure.
For this decoupage should be prepared:
· Flat glass plate appearance
· Thematic version of the napkin
· Spec. adhesive for decoupage
· Brushes
· White acrylic paints, as well as ocher
· Lacquer based on acrylic and polyurethane. If the second option is not available, you can only use it on an acrylic base.
 Decoupage by yourself - step by step instruction with photo and description
 Rugs with their own hands - photos of the best variants of beautiful rugs in the interior
 Stands under the hot - how to make their own hands? Step-by-step instruction with photo
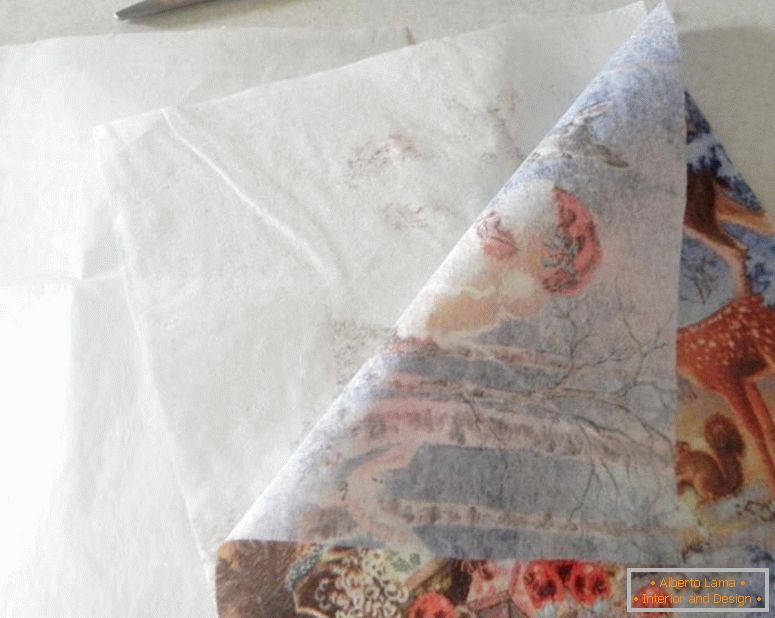
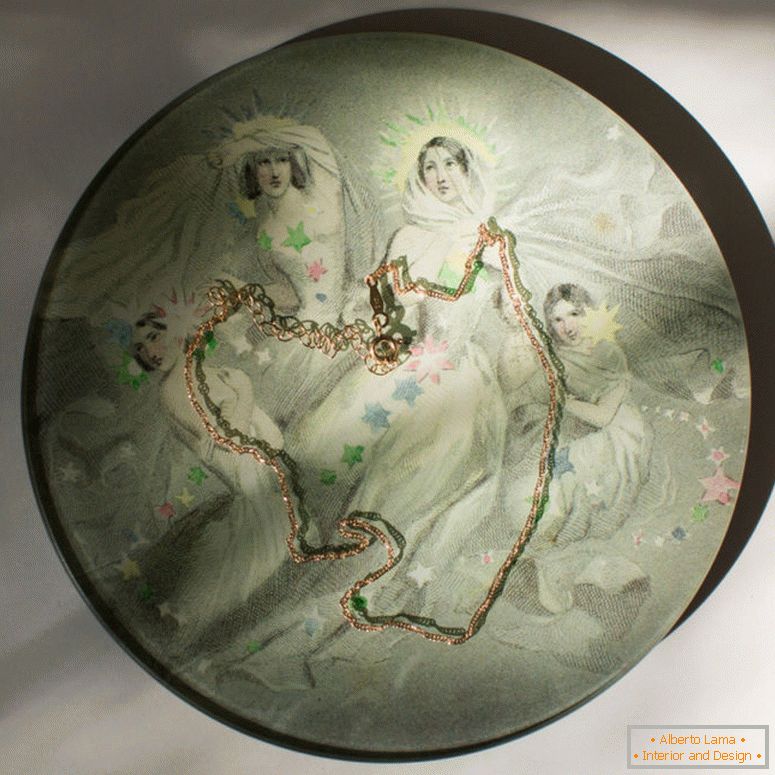
To begin with, you should gently tear out the image from the napkin. This should be done very carefully, because the napkin is fragile enough. When the image is received, it should be tried on the plate. Butterflies with their own hands - a master class to create paper butterflies for the interior (50 photos)
To make the burnt edges, you need to take and sing the edges of the napkin. To do this, you will need a lit candle. This is done very carefully and promptly. The flame must be set on fire and immediately extinguished with a cloth, or with your own hands.
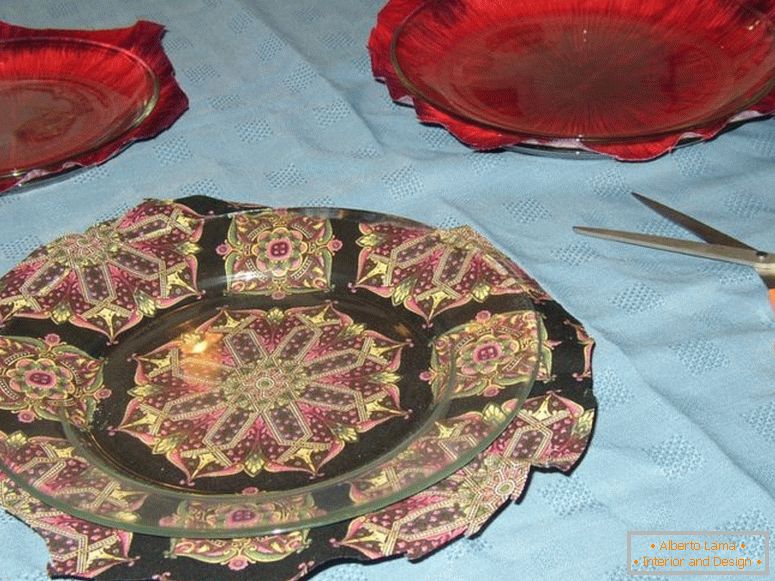
Then the motif again tries on the plate. At the same time, look at how burnt edges are symmetrical.
Similarly, it is necessary to burn other light layers, which are from the same tone. Previously, they need to break into small pieces.
Wipe the napkin face-piece on the back of the product, first degreasing its surface with alcohol.
 The dream catcher - a master class with step-by-step instructions
 Salted dough pieces - how to make your own hands? Instruction with photo ideas.
 Weave from newspaper tubes - step by step instruction for beginners, with photo

To make the napkin easier to paste, it should be watered using a spray gun. Then you need to smooth the folds with your hands, but very carefully, so that the material does not tear.
When the main image is pasted, fix the burned parts. When the plate dries, apply a single layer of acrylic lacquer, it will dry with a hair dryer.
In the diluted white paint with a drop of ocher, dunk sponge, which follows a light movements to cover the entire product. However, the boundaries may not be completely painted.
When acrylic is dry, an unpainted area is obscured by bitumen. When it dries, cover the product again with a varnish. See the master class and experiment!
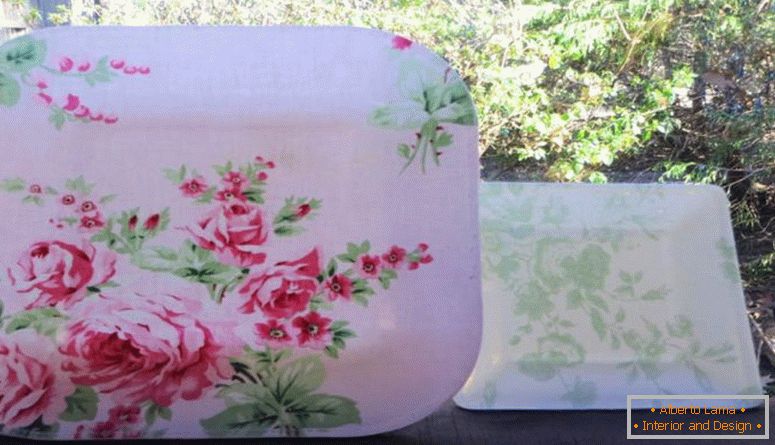
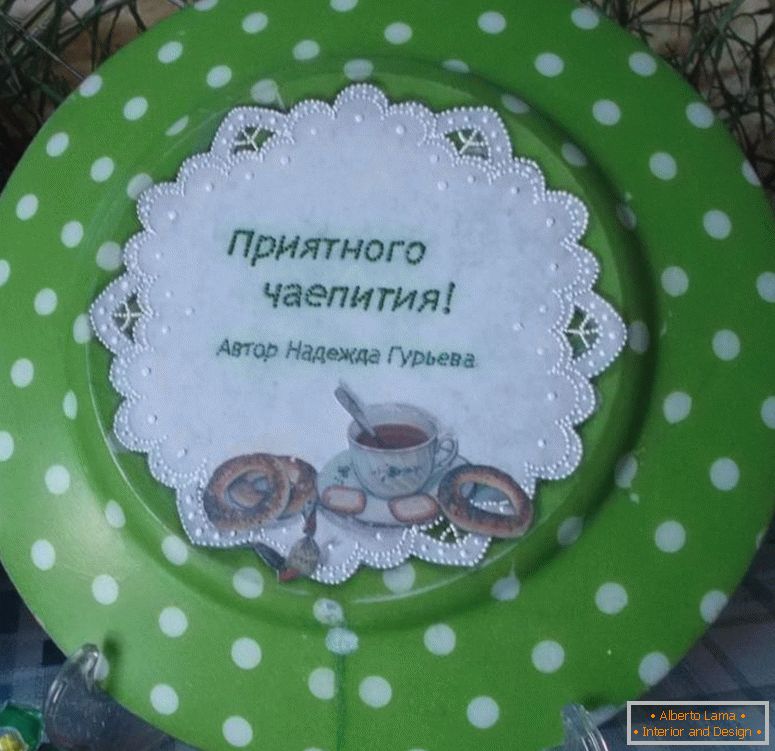
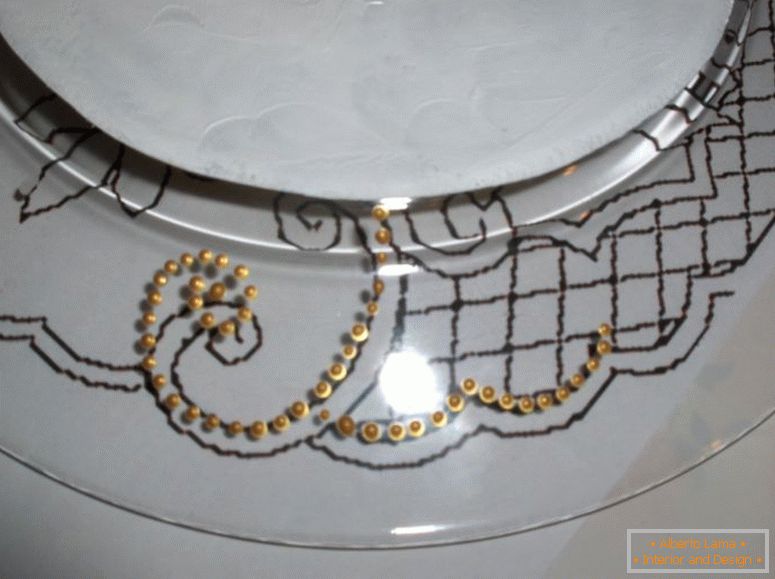
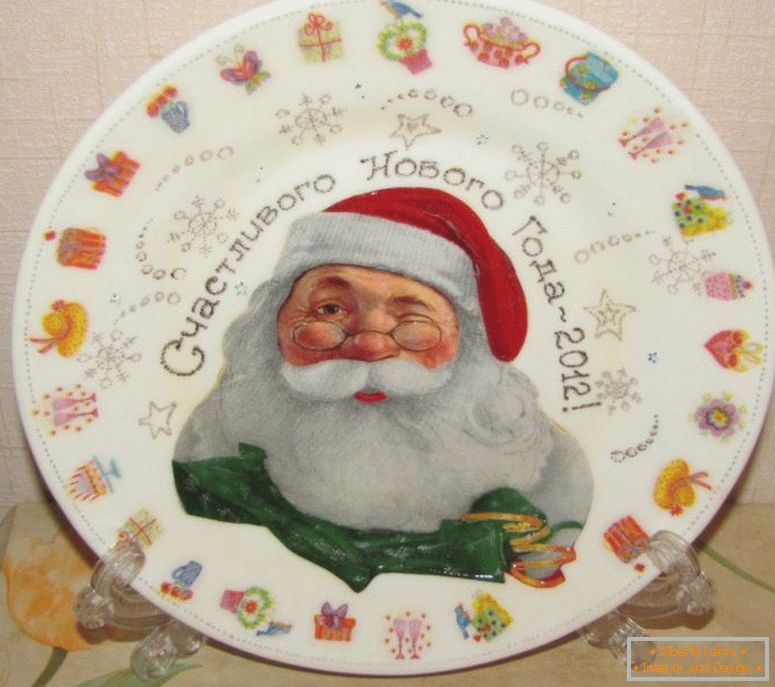
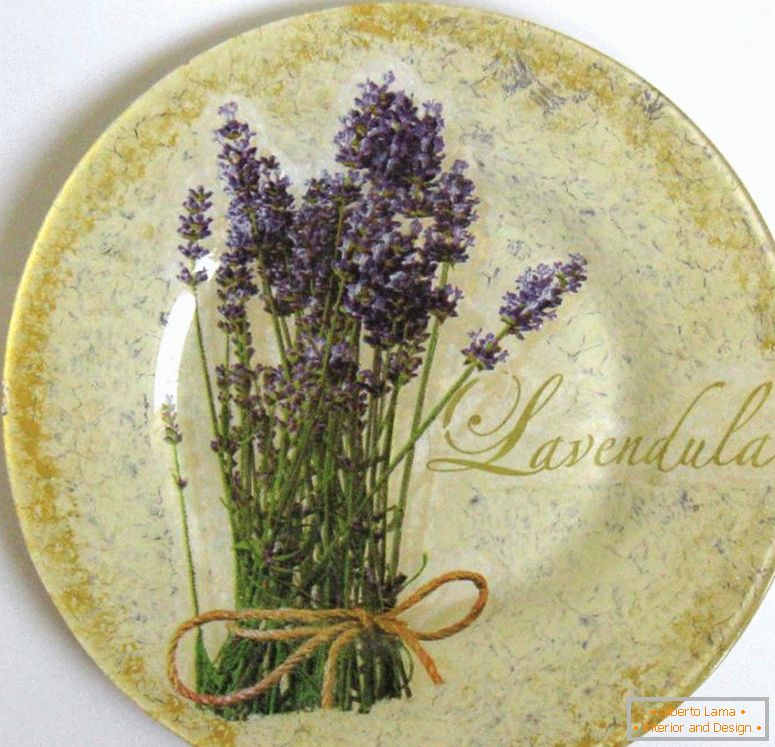
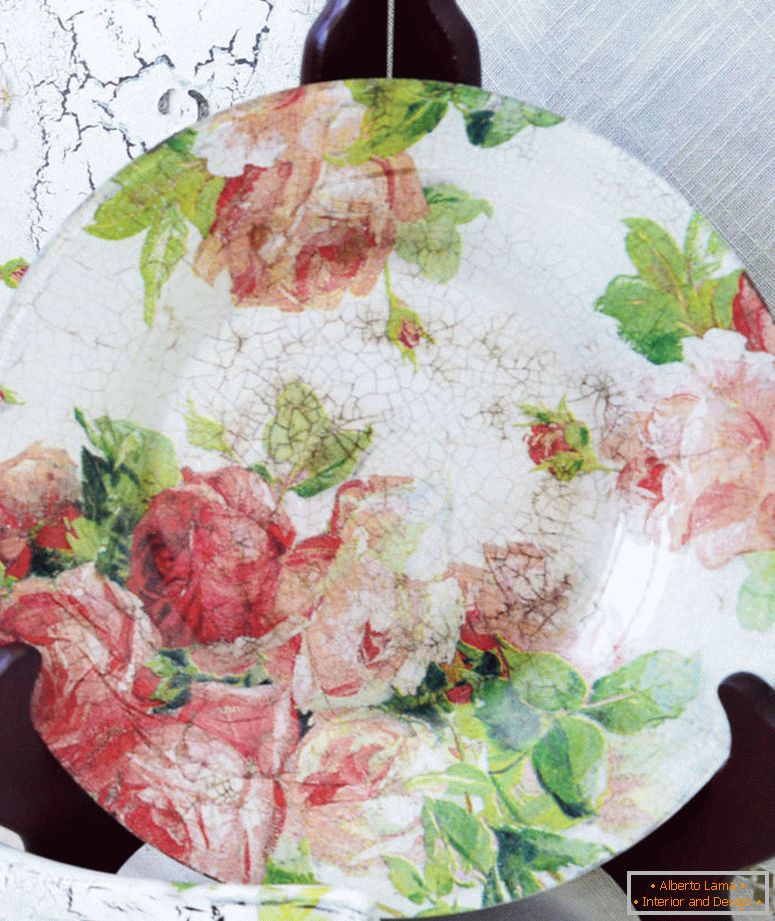
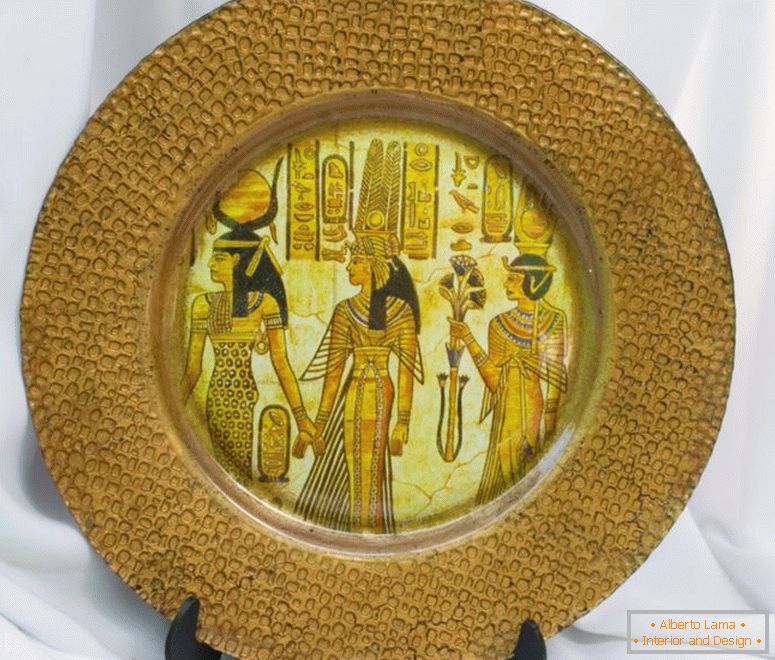
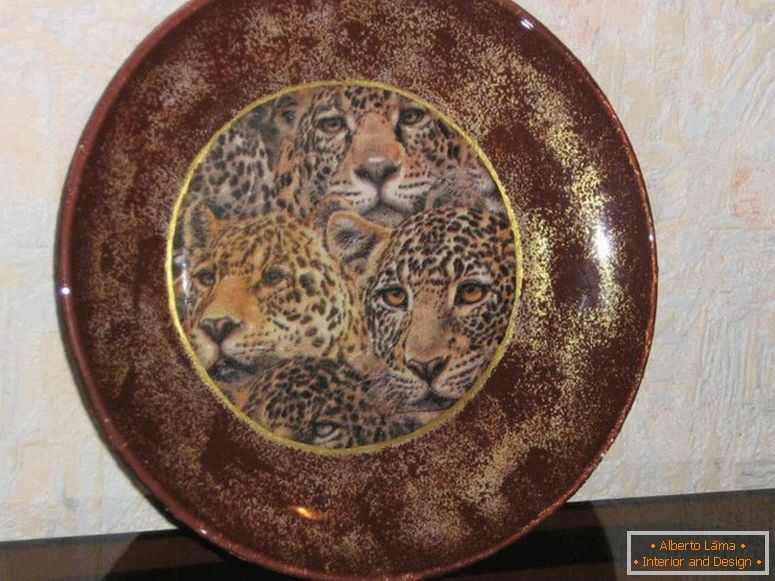
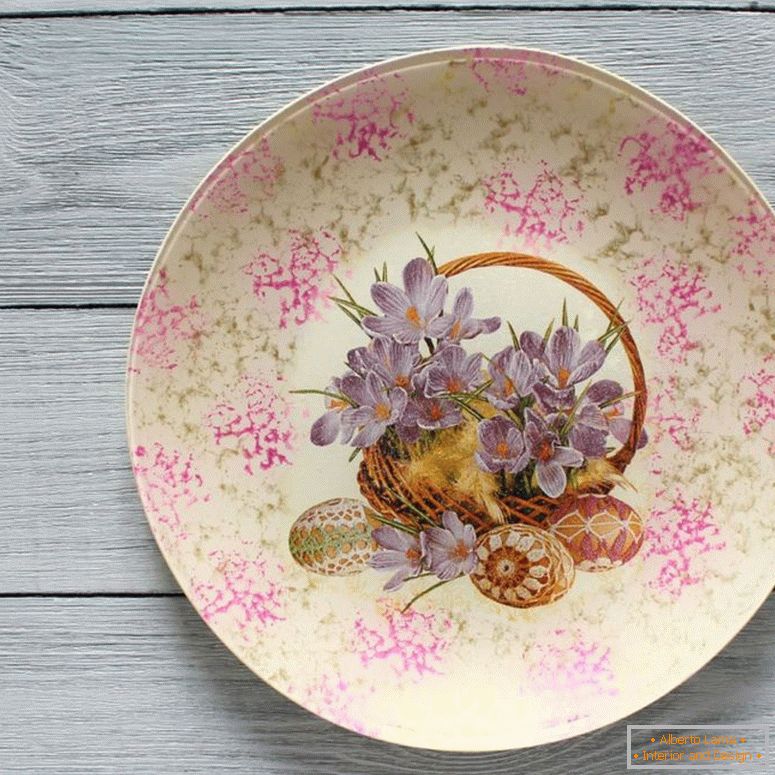
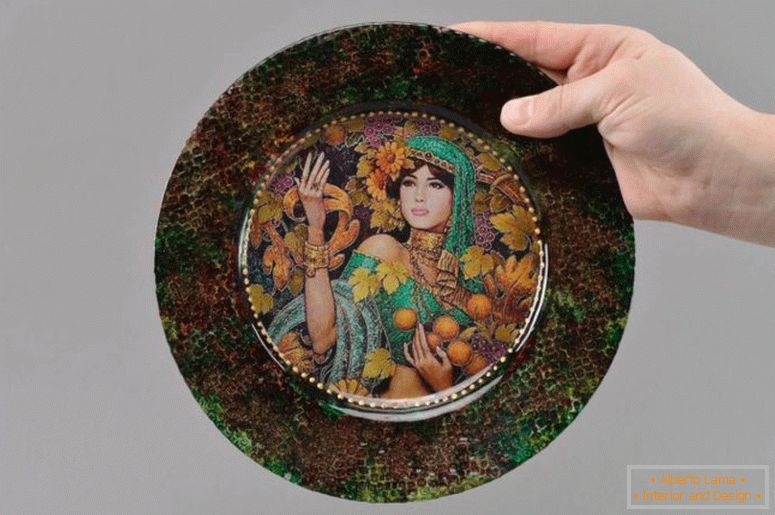
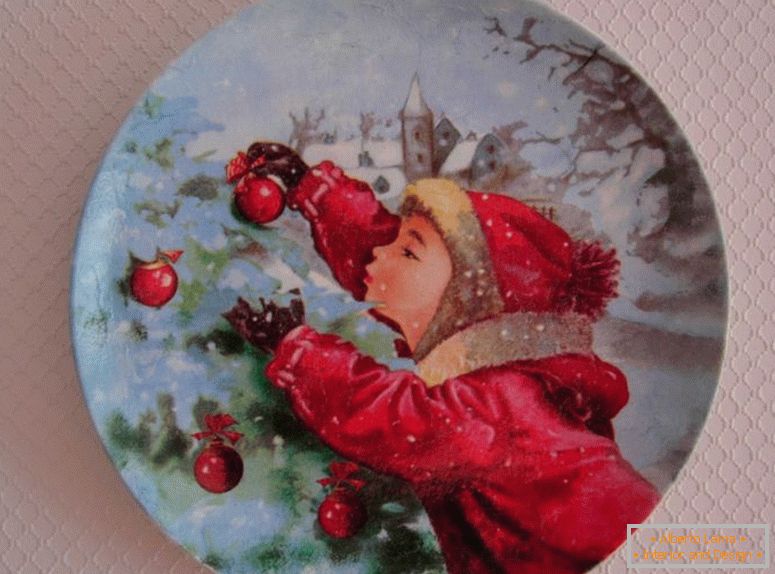
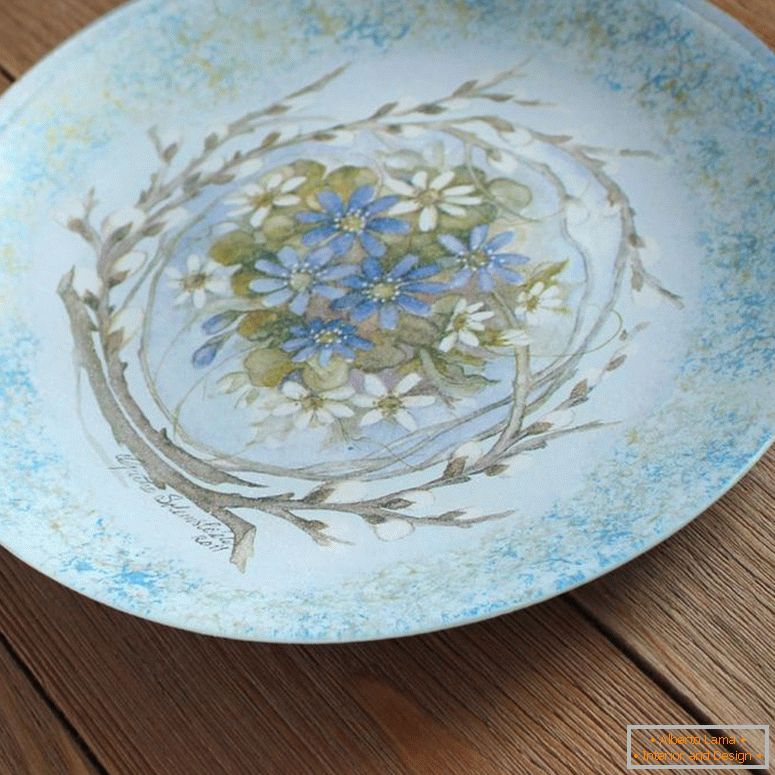
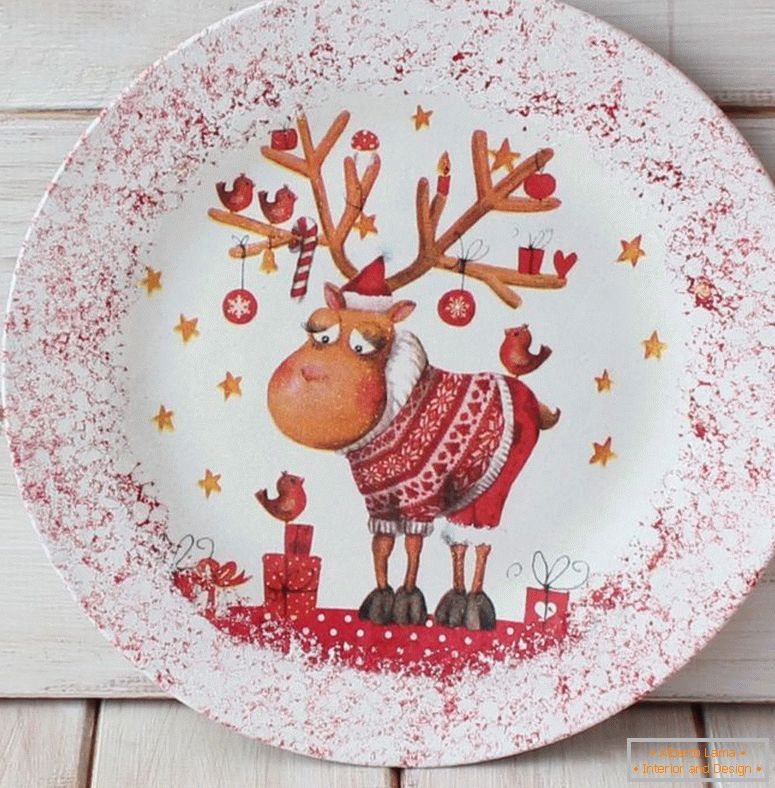
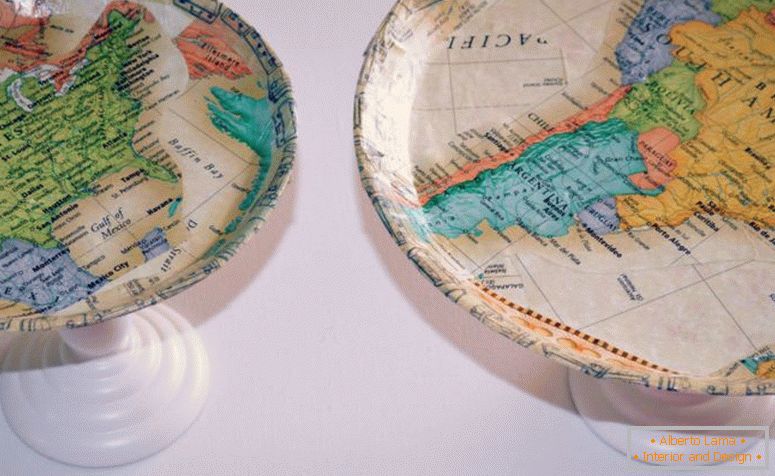
Photo of decoupage plates