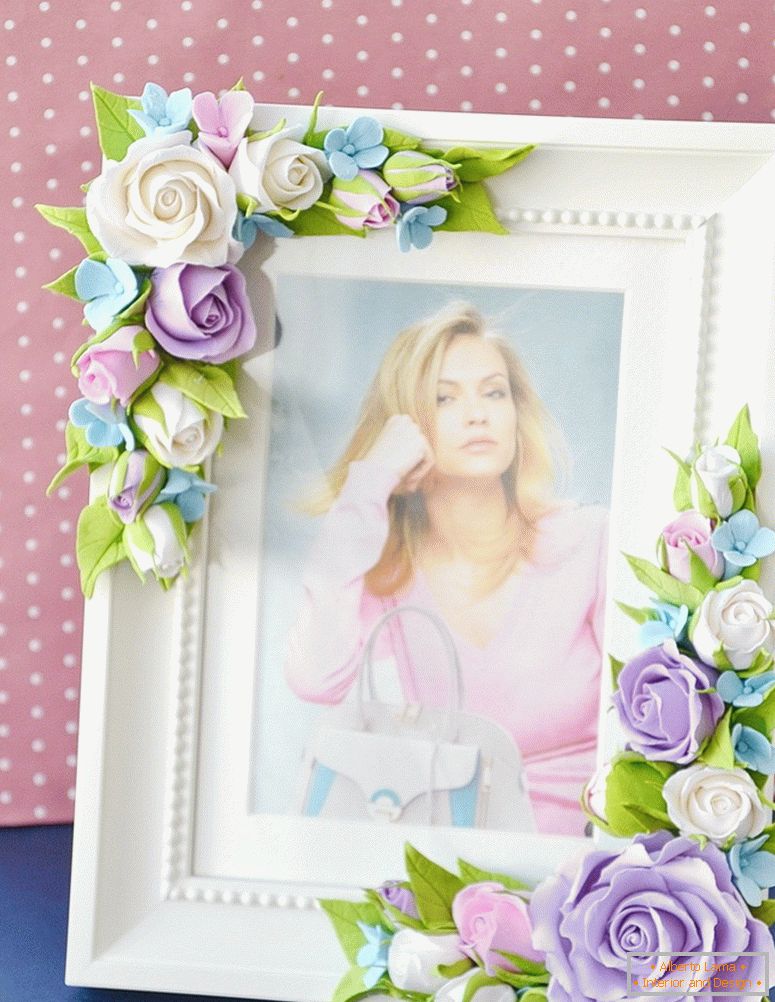
Despite the development of technology and the transfer of images in digital format, everyone is pleased to admire the photo, which depicts relatives and loved ones. To make it beautiful, you should choose a frame. It can be made in different styles, which will allow it to perfectly fit into the interior.
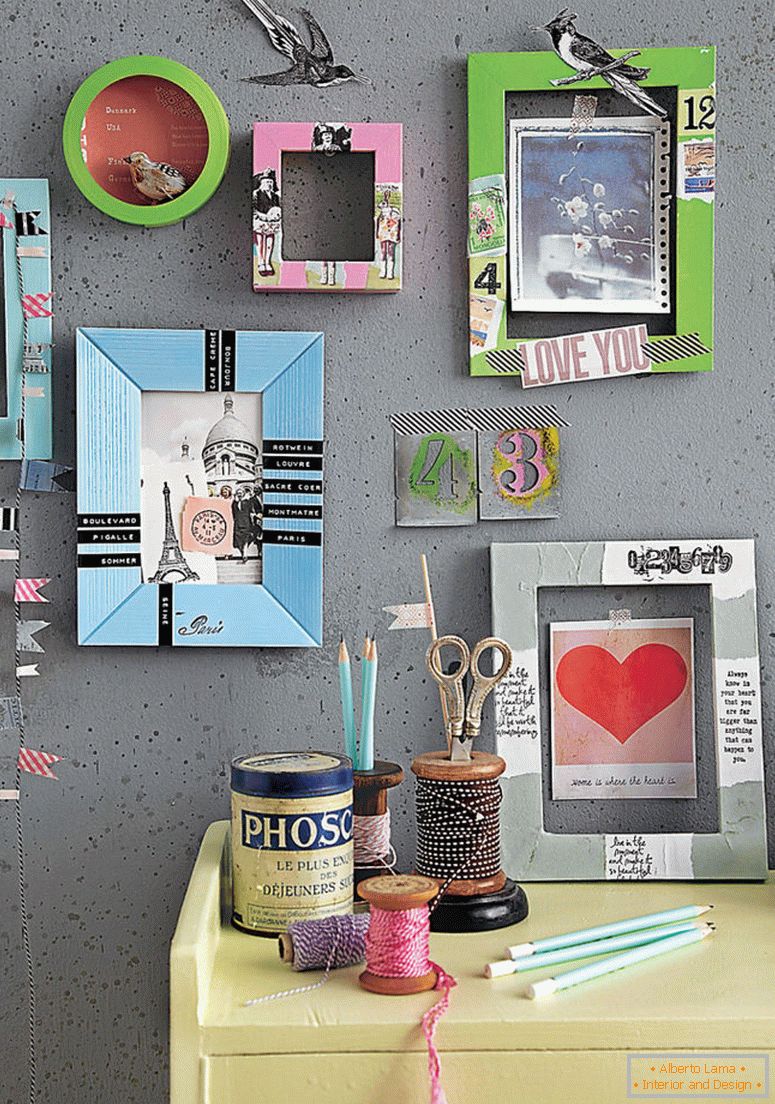
In the shops you can find a framework for every taste. But if you make this object yourself, it will give it more value, because it will be invested with a piece of the soul, which will evoke pleasant emotions.
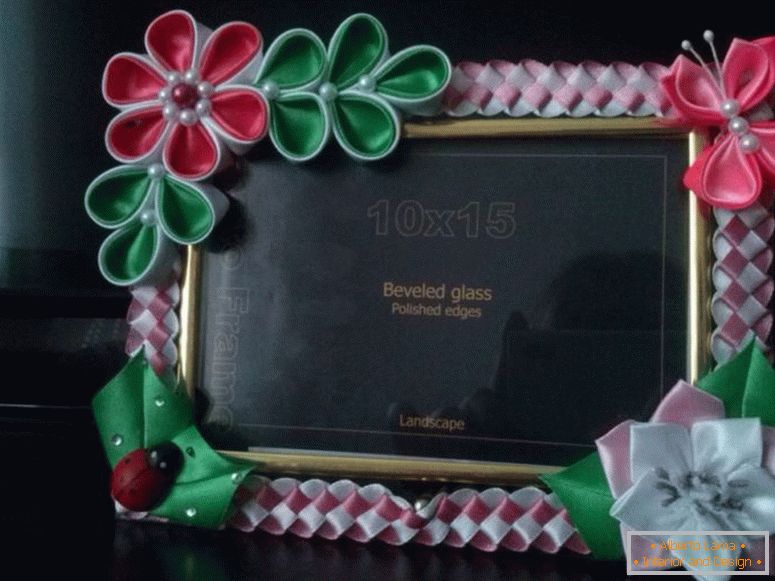
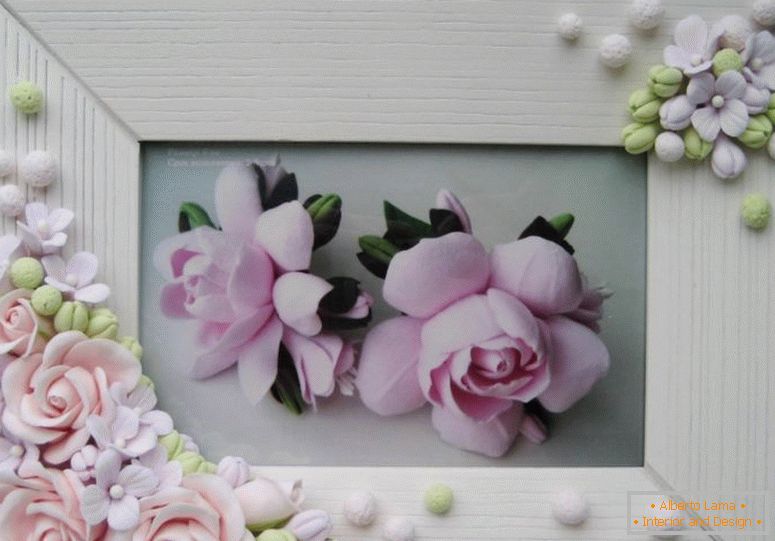
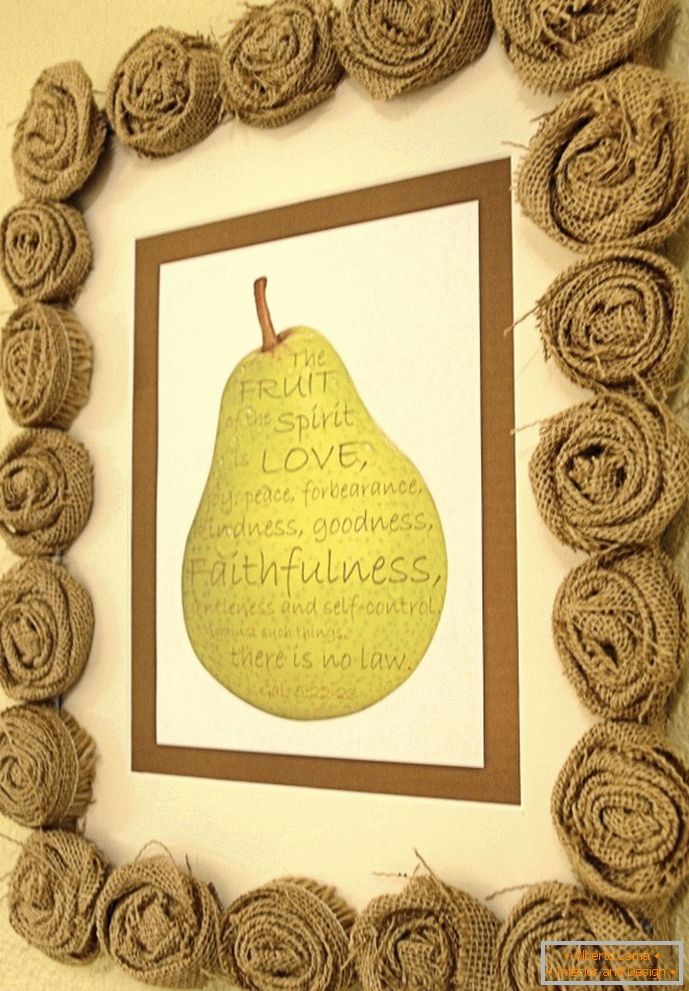
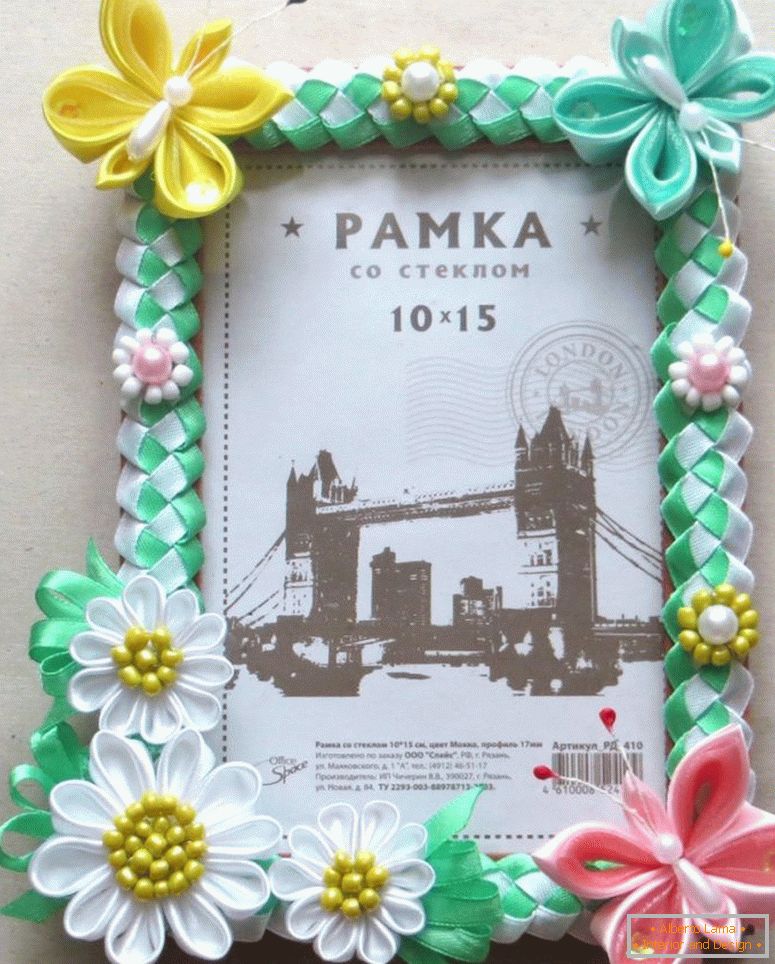
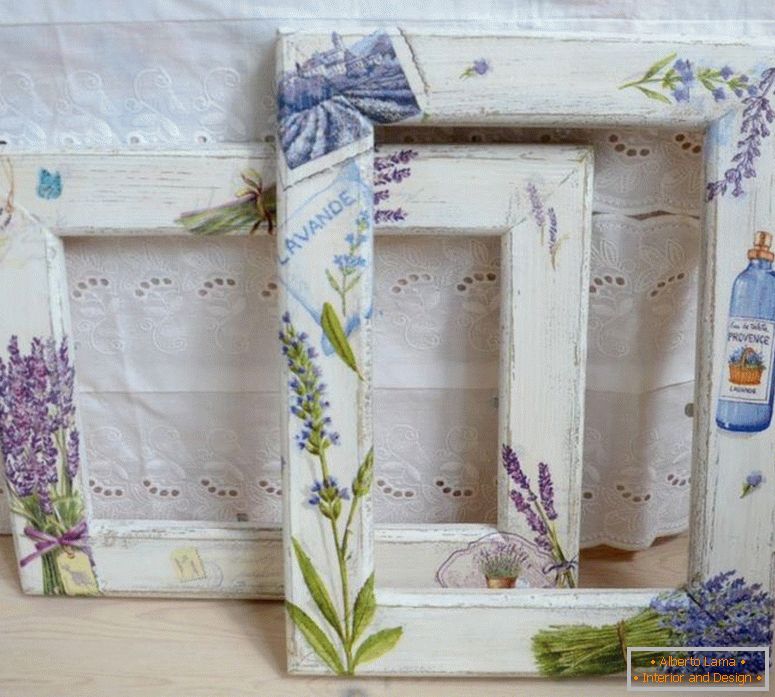
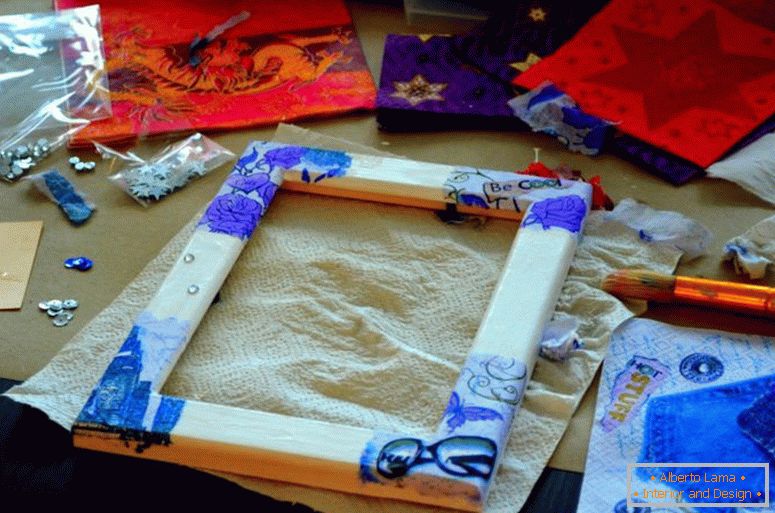
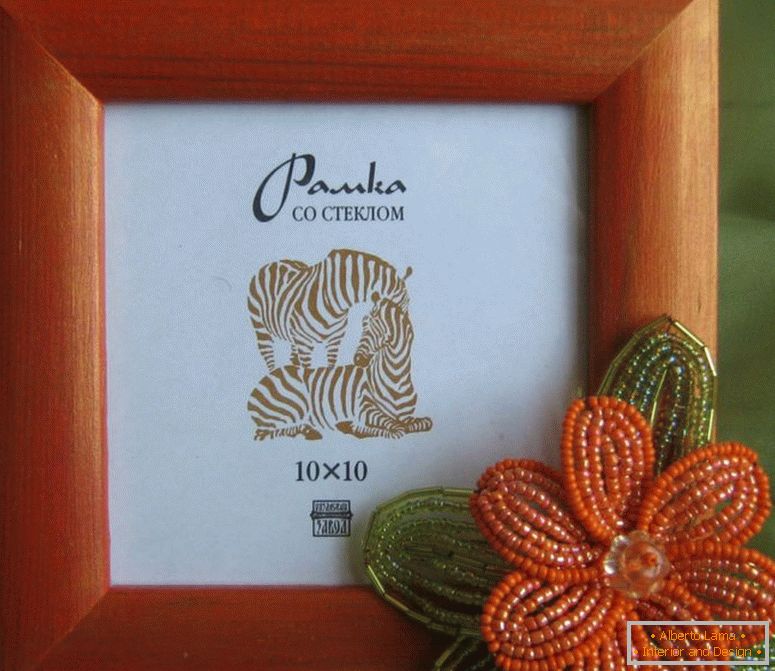
There are various ways how to decorate the photo frame with your own hands. After reviewing the ideas below, you will certainly be able to choose something for yourself.
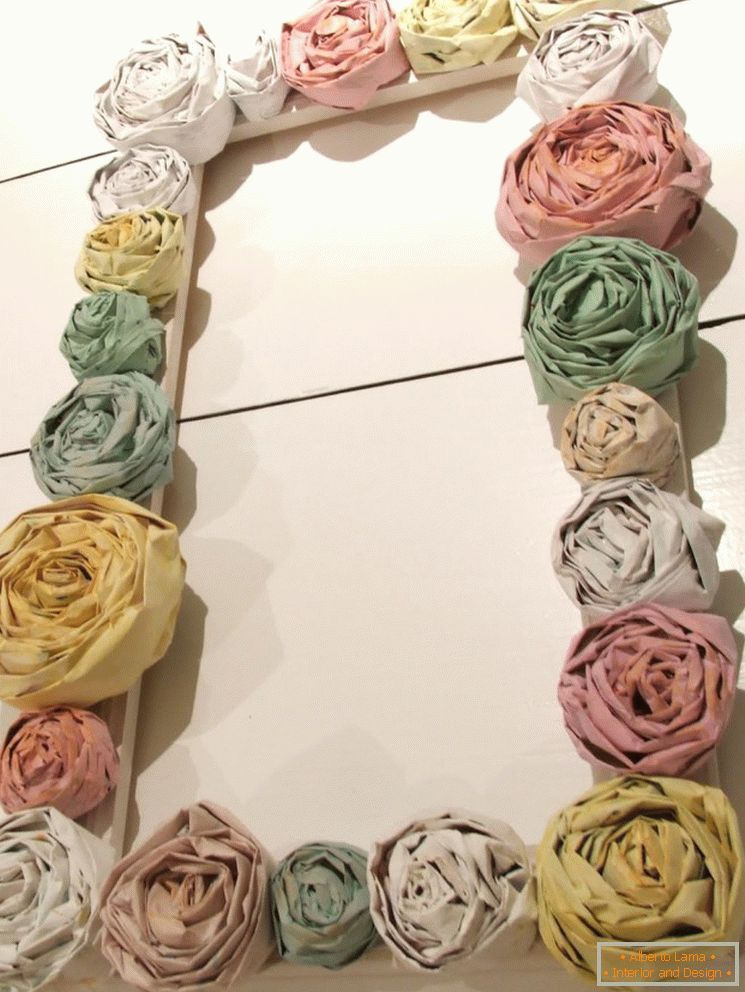
Table of contents of the article:
- Master class on decorating photo frames
- Step-by-step master-class photo design with their own hands
- Photos of the best ideas for creating photo frame decorations
Master class on decorating photo frames
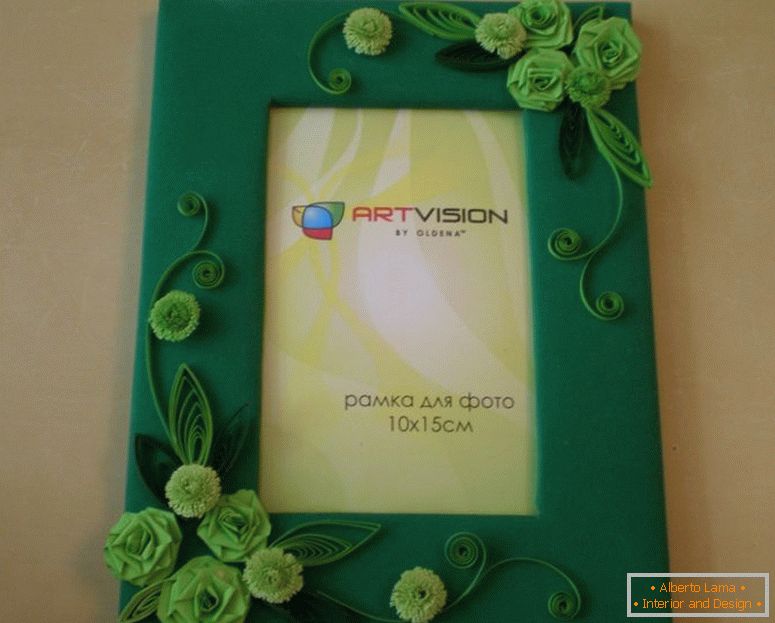
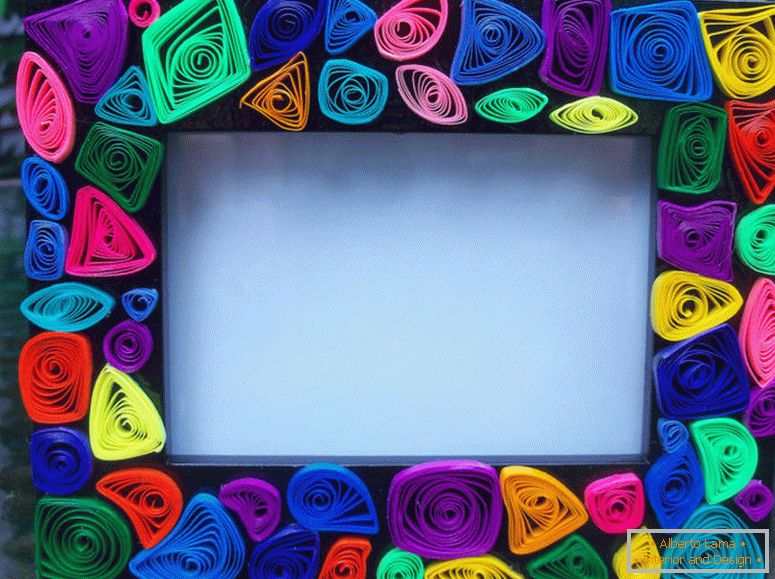
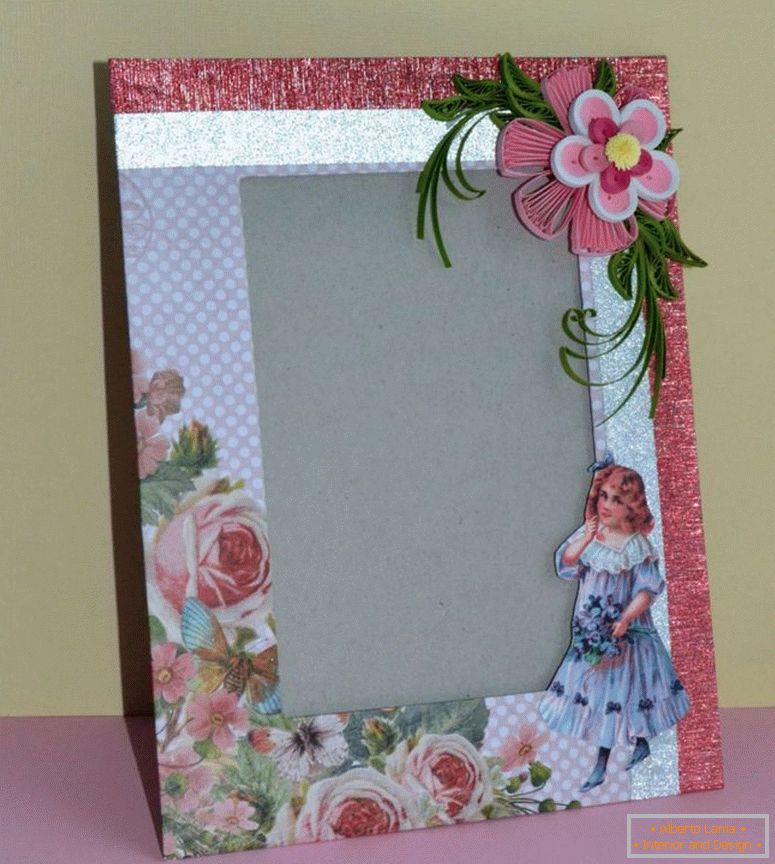
For registration, you can choose a variety of techniques, for example, quilling. Decorated in this way the photo will look beautiful and unusual. To work in this technique, you need a frame that corresponds to the image dimensions. Materials will need the following: velvet paper for decoration and special for quilling in several sizes - 5 or 7mm, quilling tools, scissors and glue. It should be noted that the colors for the composition are selected from the combined shades.
In the beginning, preparatory elements are created: roses, leaves, fluffy flowers, curls. To create a composition you need 5 roses. To make one, take a strip of 7 mm and fold a couple of times. Thus, the middle forms, and then the petals are laid, bending the material spirally. Folds are the edge of the petals. The end of the strip is glued from the inside. The size of the flowers is up to 2 cm.
Lush flowers need 8 pieces. For their production, take the same paper. But you need to take into account the nuance - with small scissors the fringe is cut. The thinner, the more fluffy the element will be. After this, the strip is folded, and the edge is fixed with glue. Frangly fringe only after drying. Pictures from cereals - a step-by-step instruction with description and photo primes
With the help of a quilling tool, leaves are made in the amount of 10 pieces. Folding the strips in the form of a roll with a diameter of 15 cm, flattening and shifting all the turns in one direction. Six curls to make it is not difficult, after the manufacture of more complex elements. To do this, you have to cut the strips into 3 parts. The edge of one is twisted like a spiral, and the other is bent with fingers.
After all the elements are ready, they begin to decorate. A sheet of decorative paper is laid with the wrong side, where the frame is placed. Pencil around the place for photography. After that, cut out the selected area, do not forget to make a stock, and cut the corners diagonally. Lubricate the prepared surface with adhesive, glue the paper on top, and the edges are folded on the wrong side. After the glue has dried out, you can decompose all the prepared elements as planned, and then glue them.
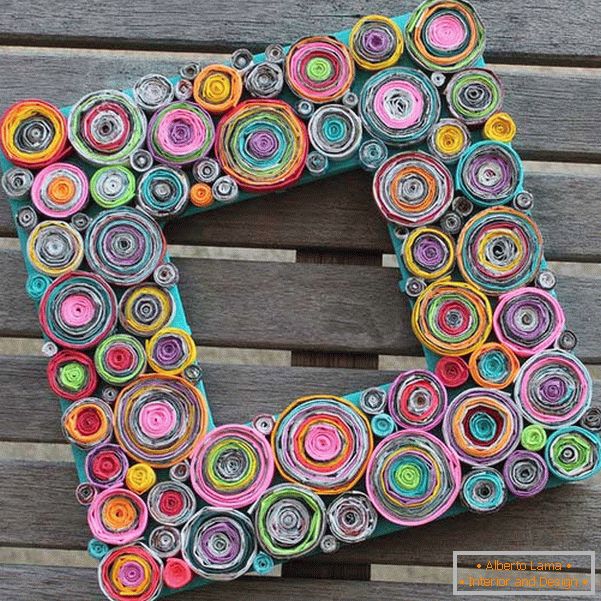
Also, the photo will look spectacular with the quilling technique and in the second variant, although the elements for it are made easier. In this case, you need to prepare: a paper, a frame, an unnecessary magazine and a hot gun. The surface of the base is best for plastic - degrease, for wood - sand it with sandpaper.
The log sheets are cut into strips 2cm and folded along. Also make mugs of different diameters from 1cm to 2.5cm. Having made the right amount, in order to cover the area of the frame, attach them with a gun. They should be located in dense rows. The photo, supplemented in this way, will look unusual.
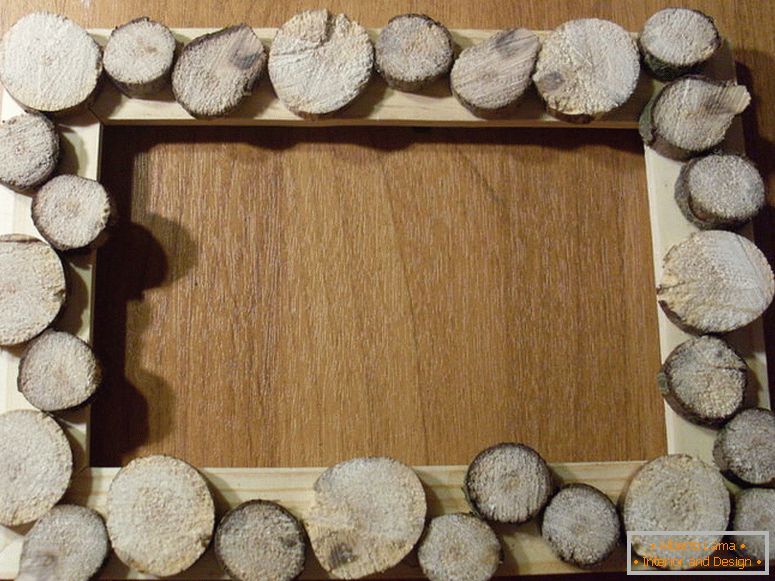
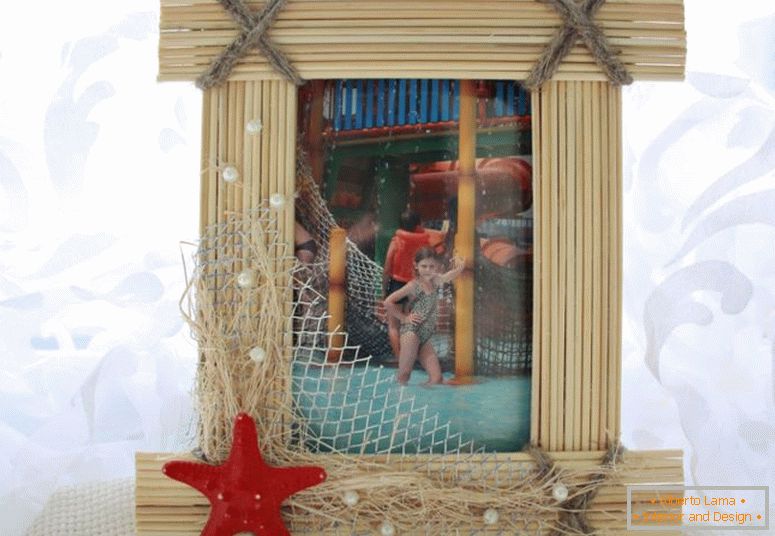
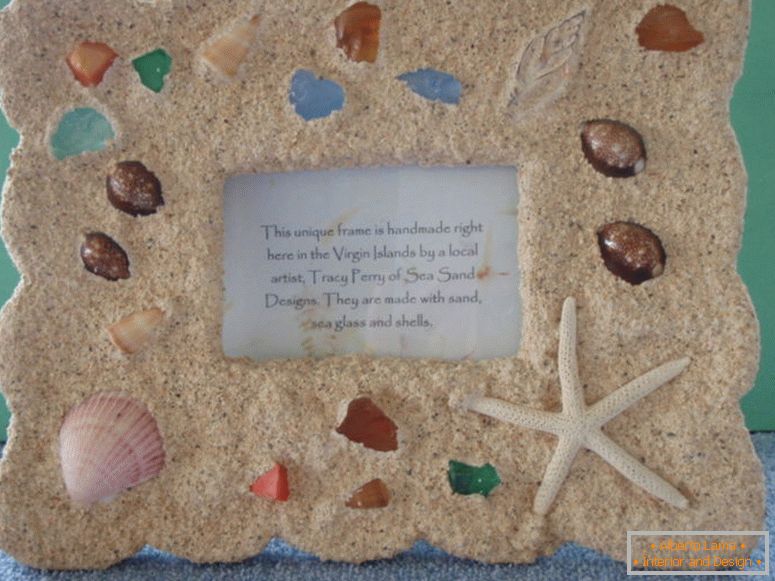
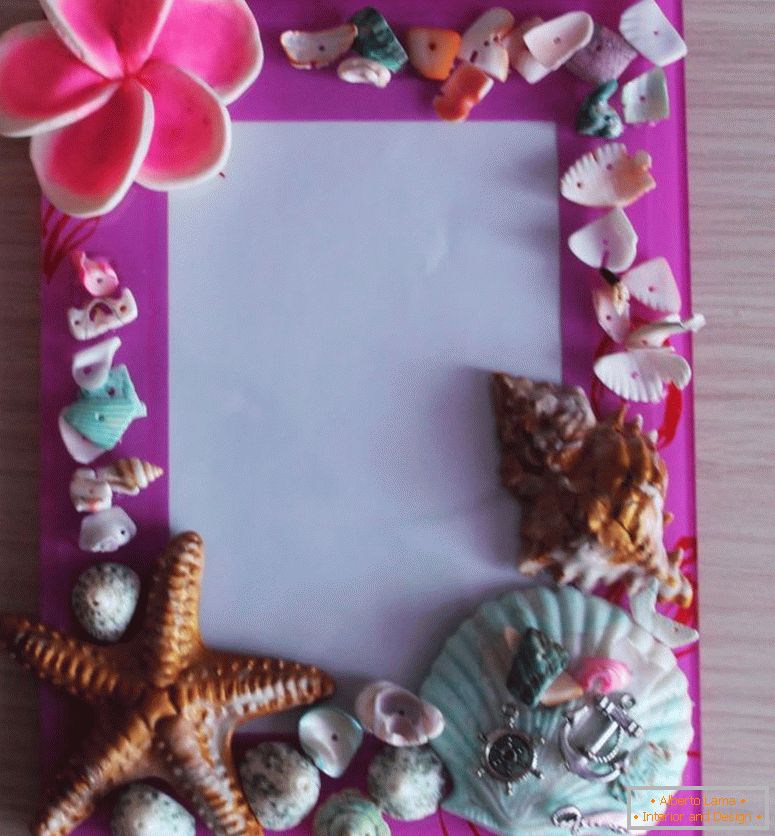
To beautifully decorate photo frames, you can use the gifts of nature. For example, a photo decorated with cones or sea shell, looks extraordinary.
Another idea - the design of coffee beans. Look such an ornament will be great, the main thing is to properly attach the material. To start working, you need a tank, which you need to lubricate with synthetic grease. Stands under the hot - how to make their own hands? Step-by-step instruction with photo
A construction with boards made of cardboard is created, gluing the edge with adhesive tape, and pouring coffee beans into the sides. The paraffin candle is melted in a water bath and the prepared material is poured. After the mixture began to pick up, it is necessary to "drown" any fastener or wire inside the container and leave it to harden. Then carefully remove the cardboard and get a frame. If there are remains of paraffin, they are removed with a knife, and to update the surface of the grain it is treated with hot air of a hair dryer.
Step-by-step master-class photo design with their own hands
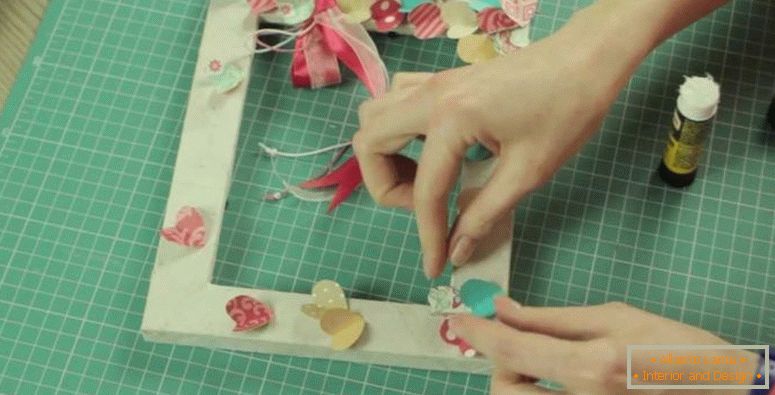
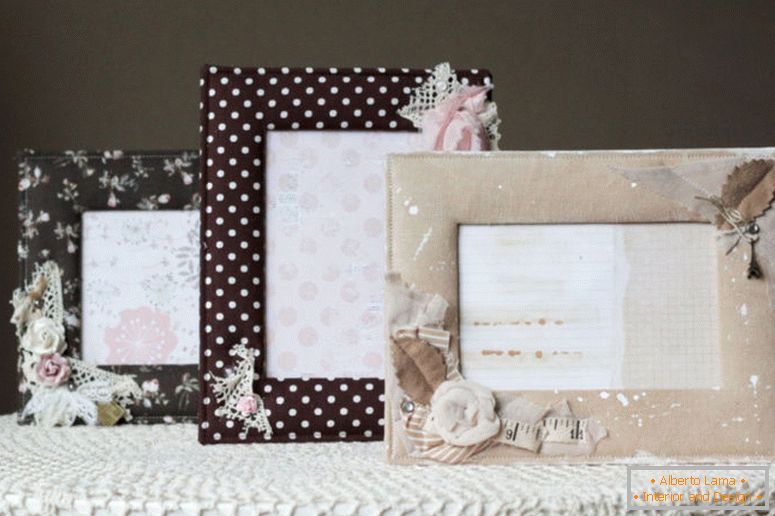
Equally popular is the technique of scrapbooking, which is ideal for creating panels and albums. It is enough to find a photo, how to decorate a photo frame and choose the one you like. To make a picture of six photos, where an important event in your life is imprinted, you need to take a cardboard box, paper, some elements for decoration, glue.
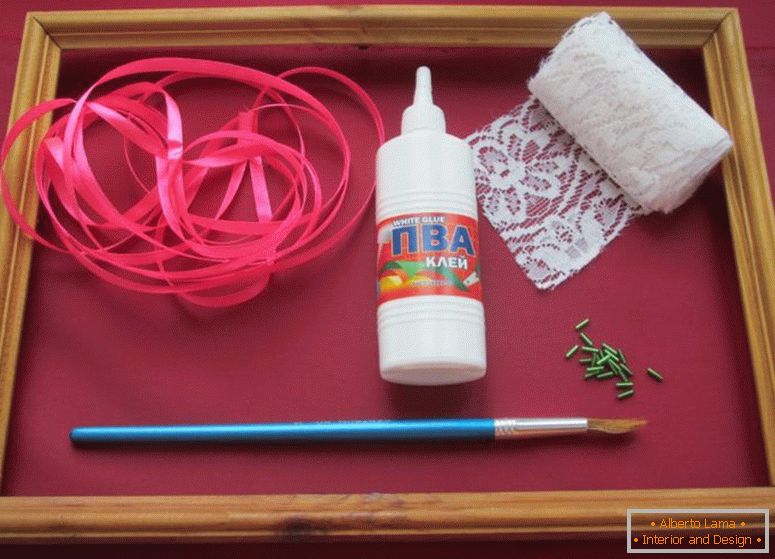
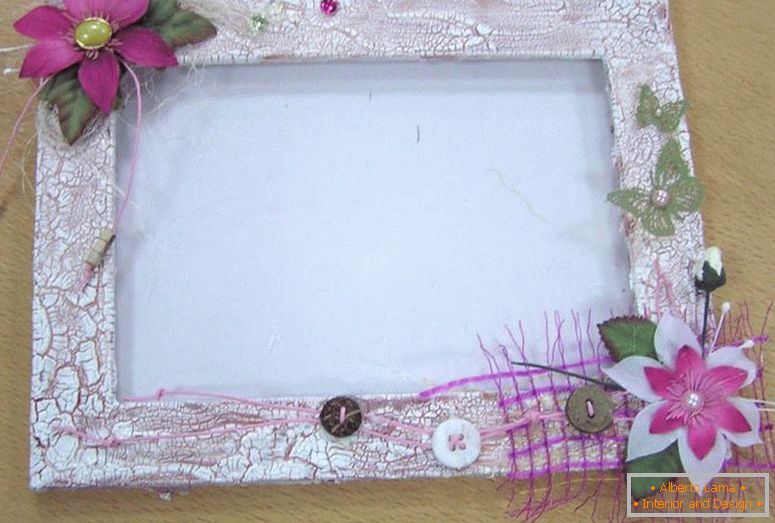
As a basis for the panel use the lid from the box, which is wrapped in paper. By the size of the photo, the partitions in the cardboard are cut out. You can fasten such a composition with a loop of lace. The photos inside the box are placed in random order. Paper flowers, butterflies or other elements are attached in an empty space.
 Decor of the rope - photos of fashionable novelties in the interior
 Decoupage of plates - an interesting master class with step-by-step instruction and photo examples
 Rug in the bathroom with your hands - detailed instructions for beginners (55 photos of ideas)
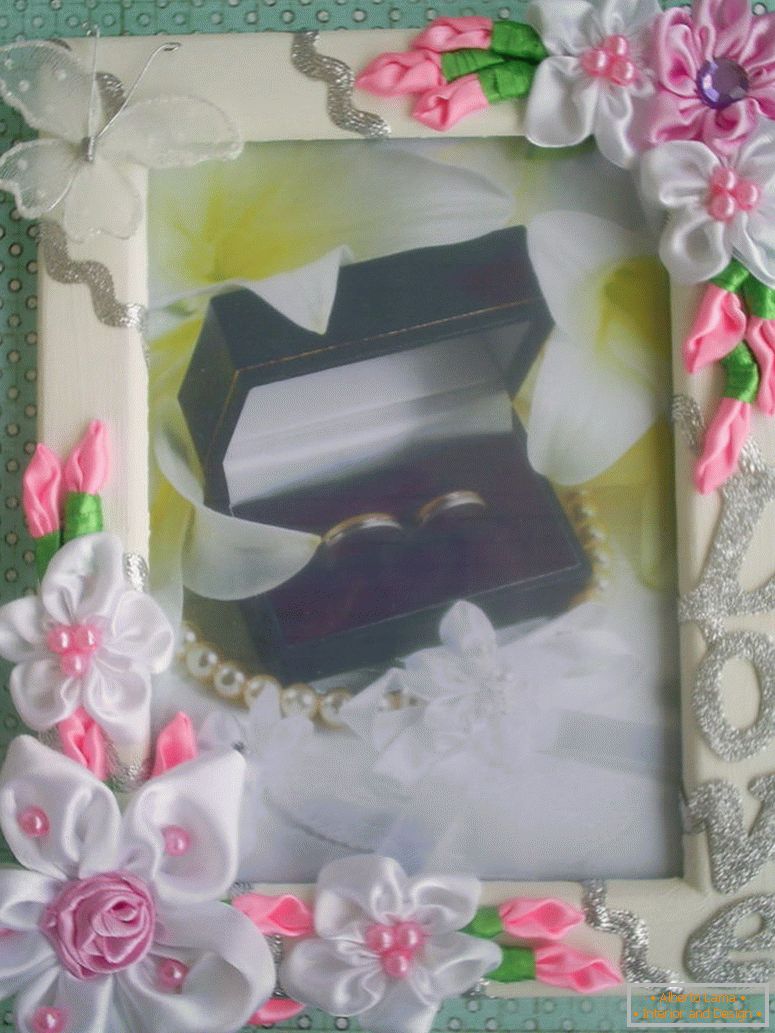
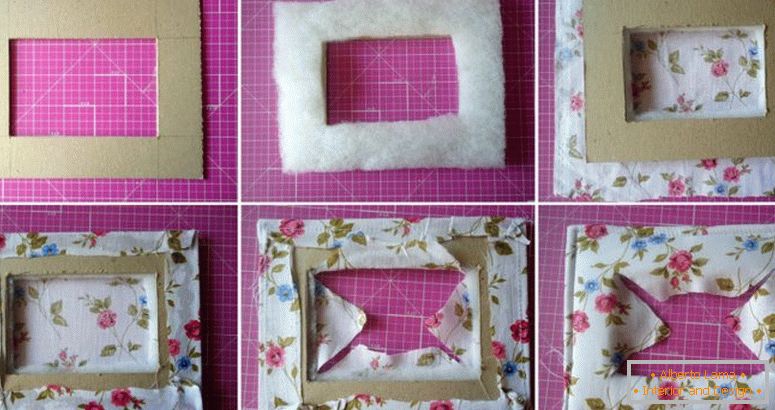
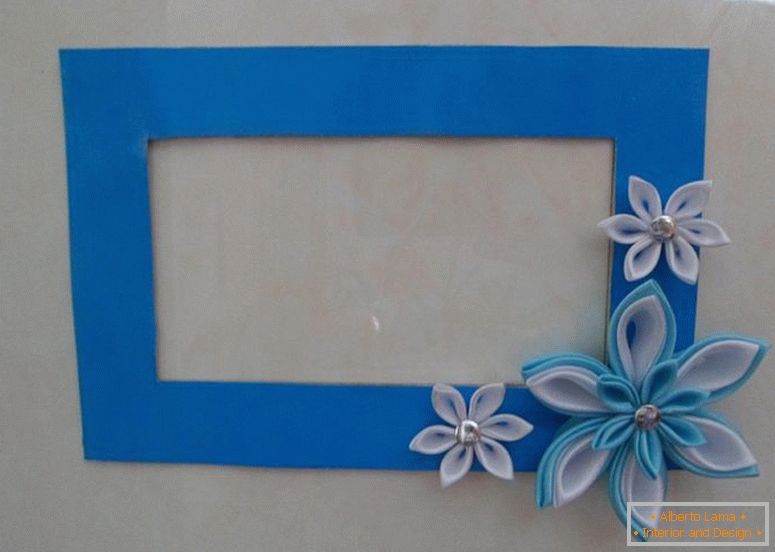
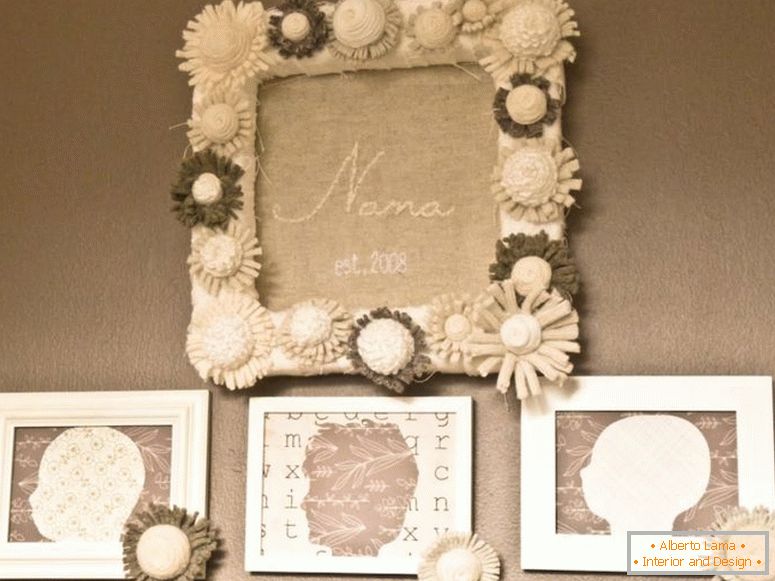
For a gift, the photo is suitable for lovers. To create a touching frame, you can use a soft material, for example, felt. First make a pattern of a flower on paper, suitable for the size of the photo. Cut out the middle of any shape, and then transfer to the fabric. After creating the workpiece, you should sew the outer edge, and tape the inner hole. Flowers can be made in any way, or just bought in a store, and glued to the material. Roses from polymer clay - step by step instruction for beginners with photo examples
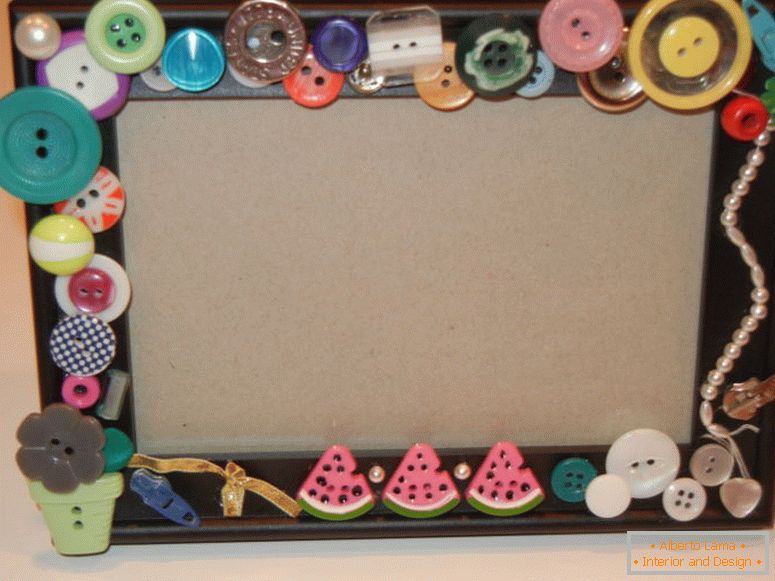
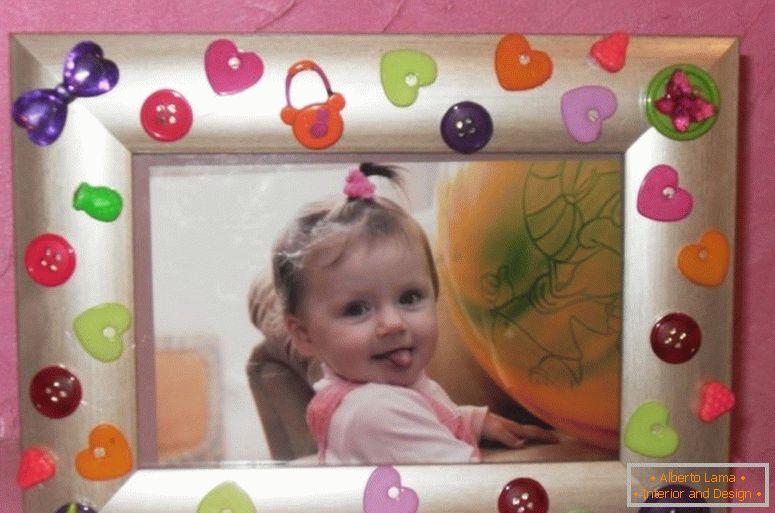
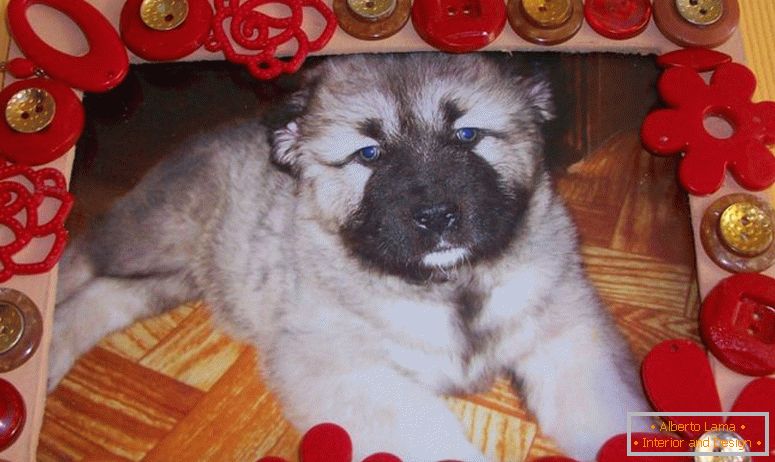
To decorate the product, heart-shaped buttons are suitable. If you cut the same, but larger paper, you can write on them the names of lovers. All elements are placed on a substrate, and then glued. For turnover, frames use cardboard, from which a smaller circle is cut out. It is attached to the magnetic tape. This will fix the product on the surfaces. Both parts are glued, leaving room for a photo.
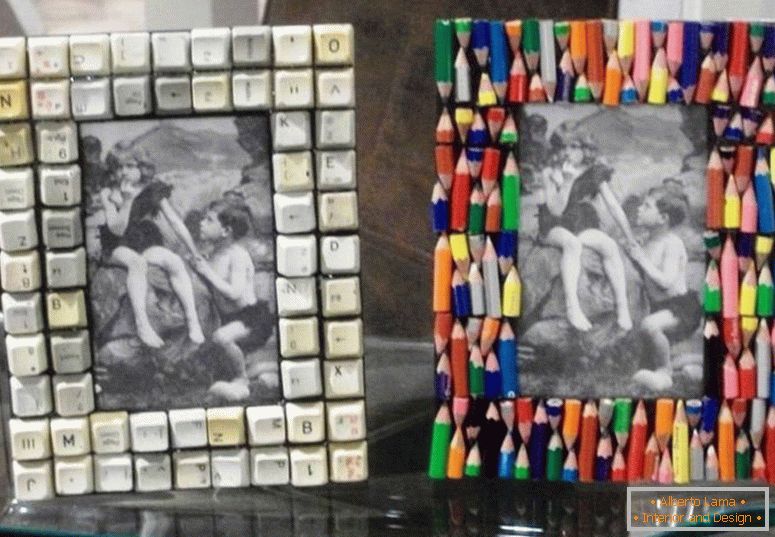
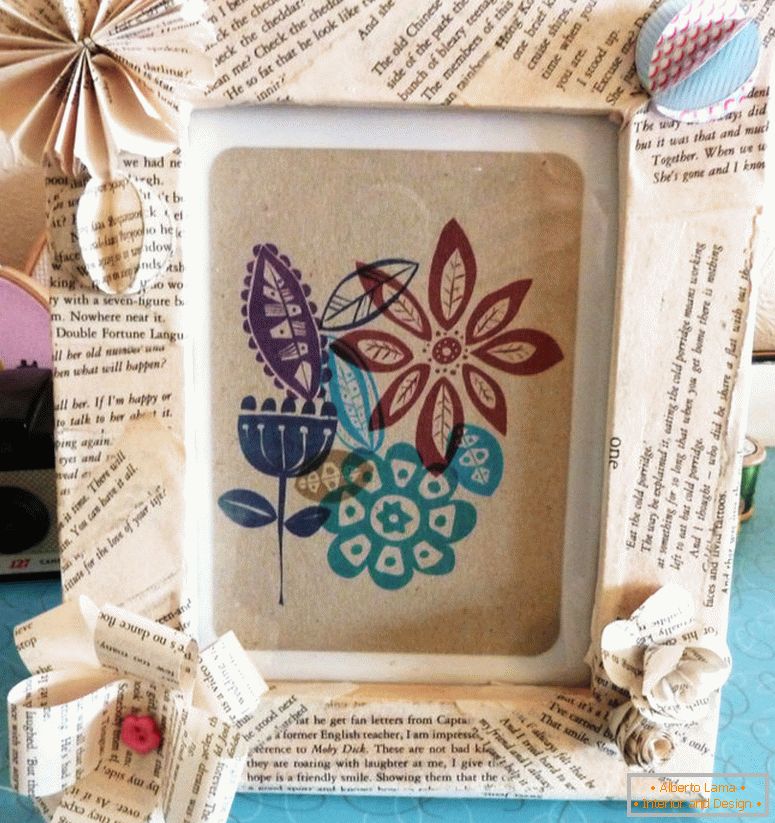
An inexpensive option is to decorate the frame with tubes from the sheets of the magazine, which looks creative. For work separate journal pages and from them prepare the preparations having the form of a square. Their size and quantity are selected under the frame. Each square of the needle is twisted into a tube and fixed with glue. Have a diverse, the main thing that there were no gaps between them. For longer use it is necessary to cover with a layer of varnish.
Such a frame is suitable and as a New Year gift. To produce it, you need a base of wood, which must be painted with paint. After drying, glue the cones around the perimeter, with a hot pistol, and a pair of bells for decor. If you attach the braid from the back, you can hang it.

Choosing any of the options, you get an excellent design of the photo frame.
 Necklace with your hands - the best master class with photo examples
 Decoupage by yourself - step by step instruction with photo and description
 Rugs with their own hands - photos of the best variants of beautiful rugs in the interior
Photos of the best ideas for creating photo frame decorations
 Stands under the hot - how to make their own hands? Step-by-step instruction with photo
 The dream catcher - a master class with step-by-step instructions
 Salted dough pieces - how to make your own hands? Instruction with photo ideas.
