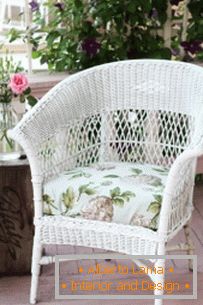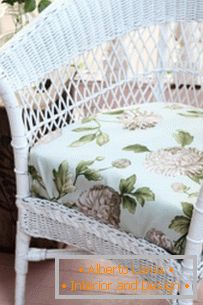
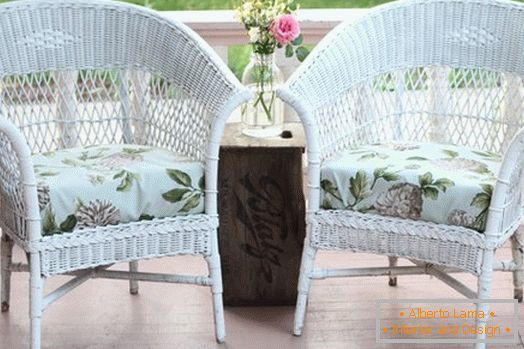
You are desperately tired of old, worn out cushions-seats in the country chairs? Before deciding to buy a new set of dacha furniture and spend a considerable amount of money (yes, even the seats are not expensive in furniture stores), read our simple guide that will tell you how to make new seat covers on the kulisque. They are easy to remove and wash, if necessary, and at any time they can be changed to others.
It is worth considering that you will have to do sewing, but you will not have to do anything difficult, so do not be scared. Just sit down and press the pedal. Still not sure? Let's just say: this guide is quite suitable for those who have never used sewing accessories or a sewing machine and who try to avoid these objects under any circumstances. Since our product assumes the presence of a kuliska with a lace, which will always need to be pulled to pull off the cover, we need a good, strong seam - that is, just such as can be done only on a sewing machine.
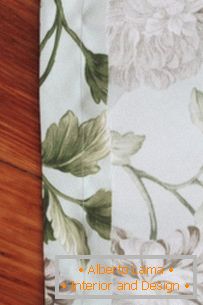
The seat cushions with which we had to work were quite standard in size, but were thicker than usual (they were very old and inside were springs). Be that as it may, do not forget to measure the seats of your furniture before buying fabric for covers. A special fabric for garden furniture can be expensive, but in the warm season in specialized stores often there are discounts. Find the most advantageous offer - otherwise this enterprise will not allow you to save a good amount.
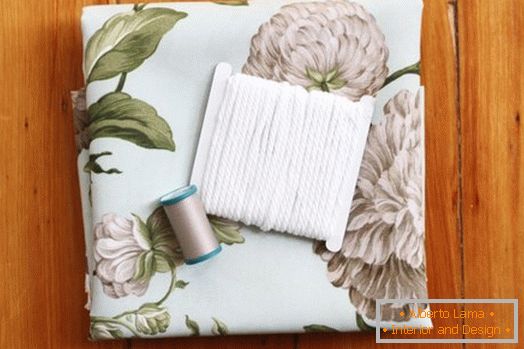
So, you will need:
- Meter and a half of special fabric for each pillow
- Lace for the Kuliska
- Strong thread for dense fabrics
- Sewing machine
- Scissors
- Measuring tape
- Large safety pin
- Pencil or chalk for fabric
Progress
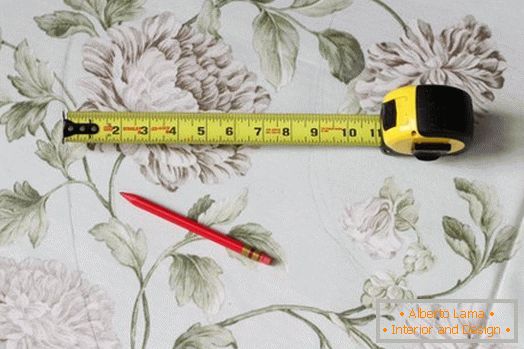
1. Before buying a cloth, measure the seats. First of all, measure the height of the seat and add to this value 10 cm as an allowance for the kuliska. Multiply the resulting value by two and add to it the length and width of the seat. For example, the height of our pillow is 12.5 cm, we added a 10 cm allowance for the kulisks and got 22.5 cm, multiplied this figure by two - it turned out to be 45 cm, and then added this figure to the length (42.5 cm) and to the width (47, 5 cm) of the seat, and got the desired size of the piece of fabric: 87, 5 x 92, 5 cm.
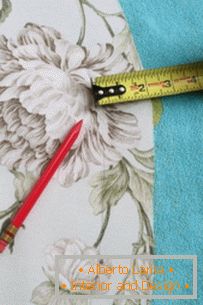
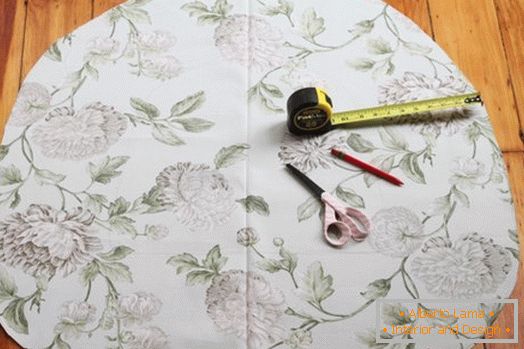
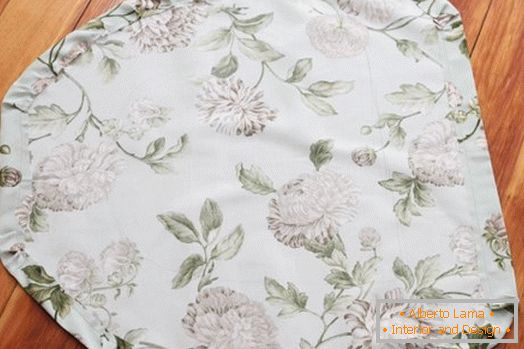
2. Since we will have to work with a kulis and a string, we do not need anything to the maximum accuracy of a millimeter (which is what often frightens us in sewing). Place the seat in the center of the cut of the fabric (on its back side), and measure the desired length on each side before making notes or cutting the fabric. Make sure that the fabric is sufficient for the height of the cushion. In our case, it took 22.5 cm. If there is enough tissue on all sides, take a chalk or a pencil and circle the seat at the edges. From the entire line of marking, measure the value equal to the height of the seat with the allowance, but not doubled (in our case it is 22.5 cm) and draw a new line. The shape of this line will be the same as the shape of the first, but it will be larger by 22.5 cm. Cut the fabric along the second line.
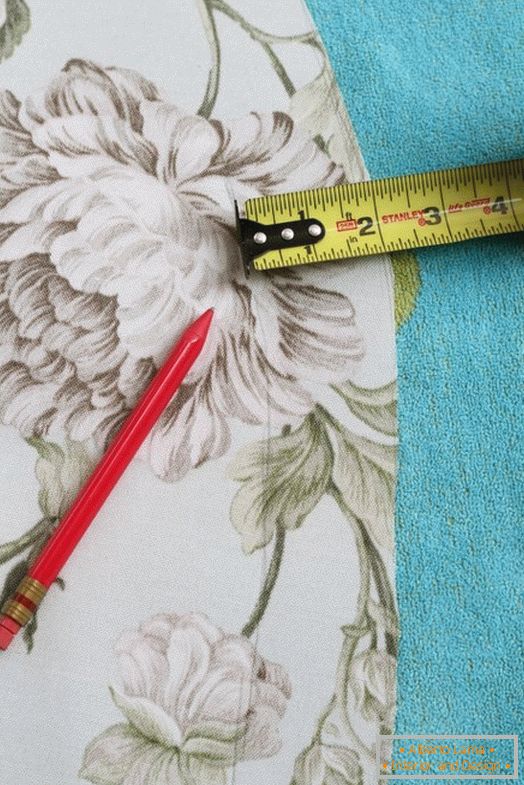
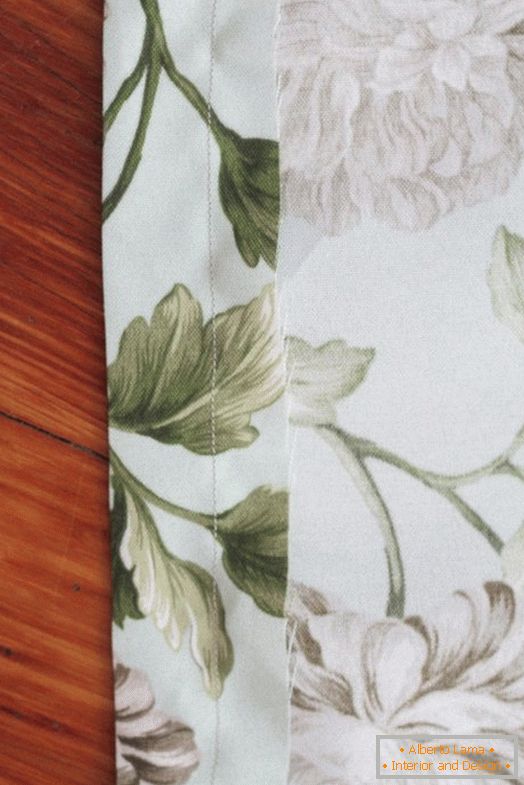
3. Measure 5 cm from the entire cut line and draw a new line.
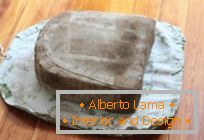
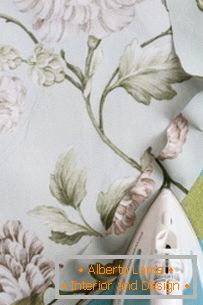
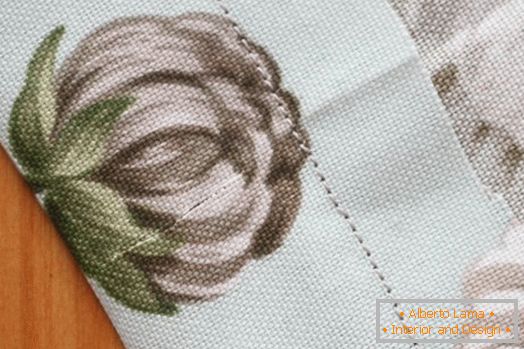
4. On the newly marked fold line, fold the fabric around the edge and iron it properly with a heated iron.
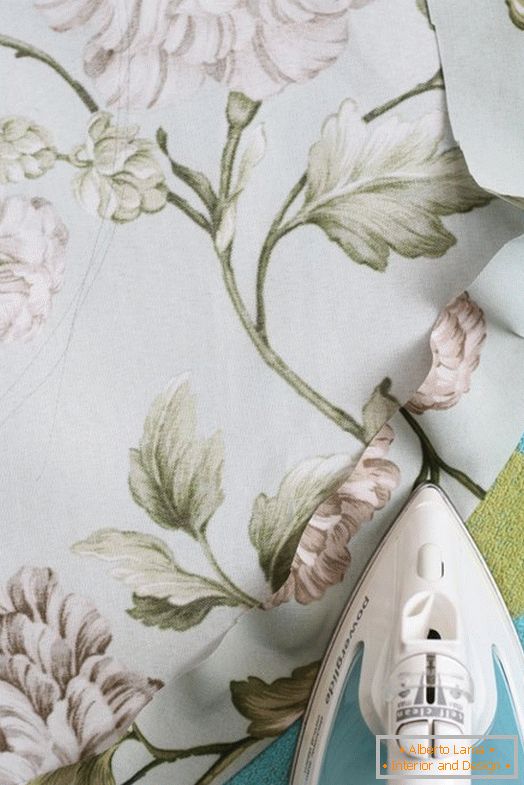
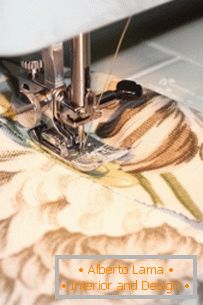
5. Using a strong thread for thick fabrics, on the sewing machine make a stitch along the edge of the bent fabric, trying to keep as close as possible to the edge of the cut.
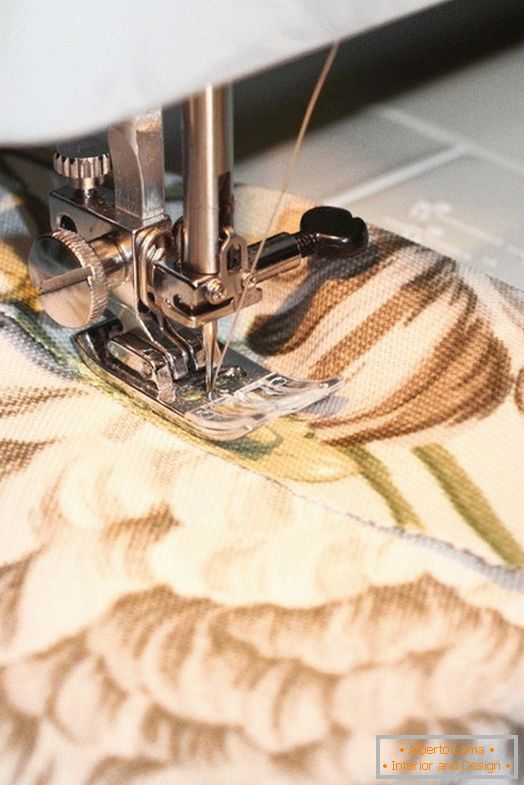
It can be difficult to trim edges, but do not worry about it: you just need to make sure that you leave enough room to pass the lace.
To do this, you need about 3-4 cm.
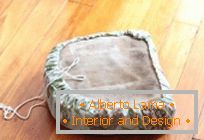
6. Spread out the sewn piece of fabric on the table with a drawing down, estimate the length of the lace you need. To do this, put the string on top of the entire outer edge, add to this length another 30 cm and cut off the desired piece.
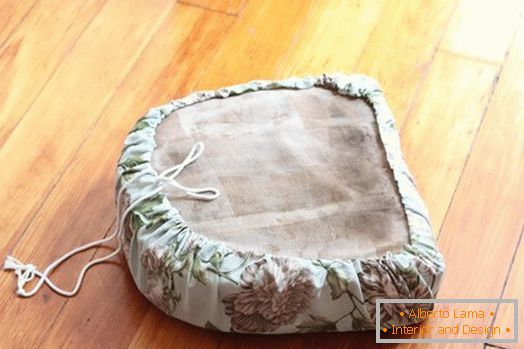
7. On the back of the future cover, cut a narrow hole with scissors from the inside of the fuselage. Be careful: do not cut through the kuliska.
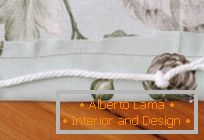
8. Tie the knots at both ends of the lace, and through one of them, thread a safety pin. Close the pin and thread the cord into the cut and stretch it along the entire length of the kuliska.
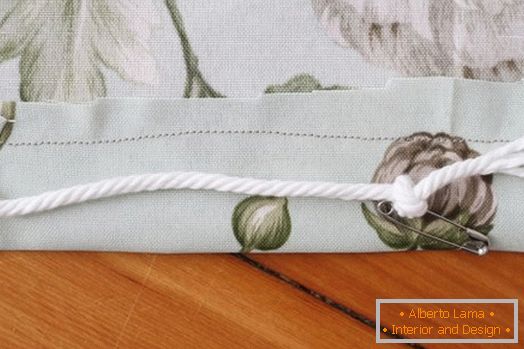
Work gradually, collecting about 10 cm of tissue with your fingers, passing a pin into it with a cord, straightening and again repeating.
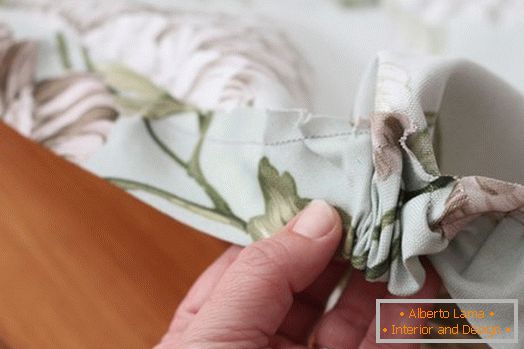
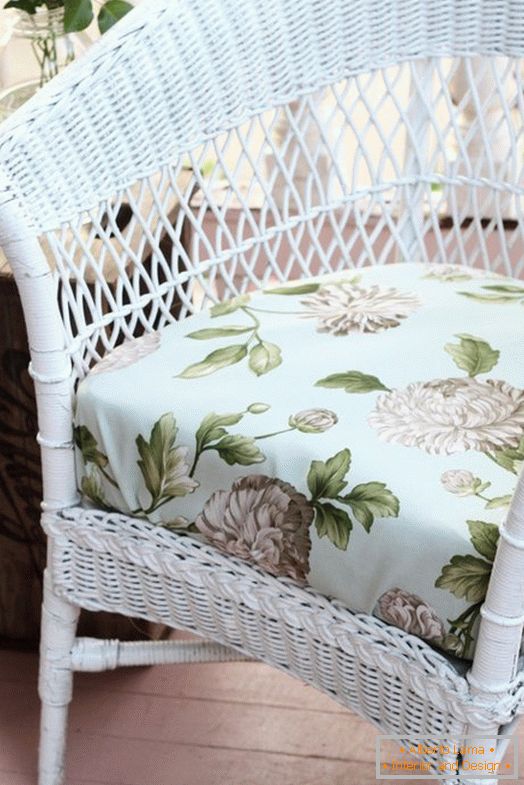
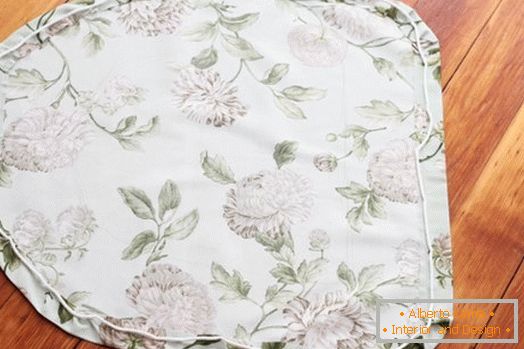
9. Straighten the kulis, so that your cover is again flattened out on the table with a pattern down. Put the old seat in the center of the cover, on the first line you marked.
10. Tighten the lace, so that the fabric has risen and gathered around the edges of the seat, covering it, and fasten the cover, tying the ends of the lace. If you want the cover to sit very tightly, let someone help you and hold the seat while you tighten the lace.
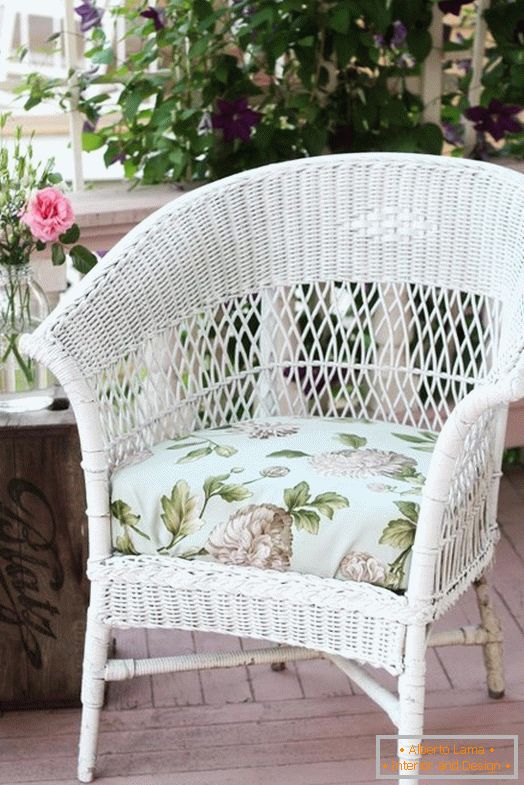
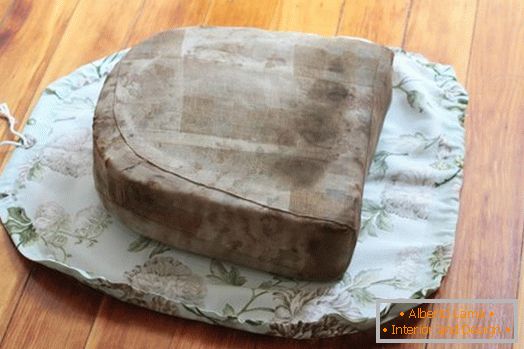
11. Thread the ends of the lace under the fabric of the boot and return the seat to its original position. Correct the fabric in places where it is in your opinion, wrinkles too much - and enjoy a new kind of country furniture!
For your information: we tried to make one of the larger cases to see if it would cover the entire inside surface of the seat and whether it would be better to cover its edges, and the result did not appeal to us. Adhere to the dimensions that you will get as a result of measurements, and the result will definitely please you. Have a nice work!
Photogallery Total | 1 photos