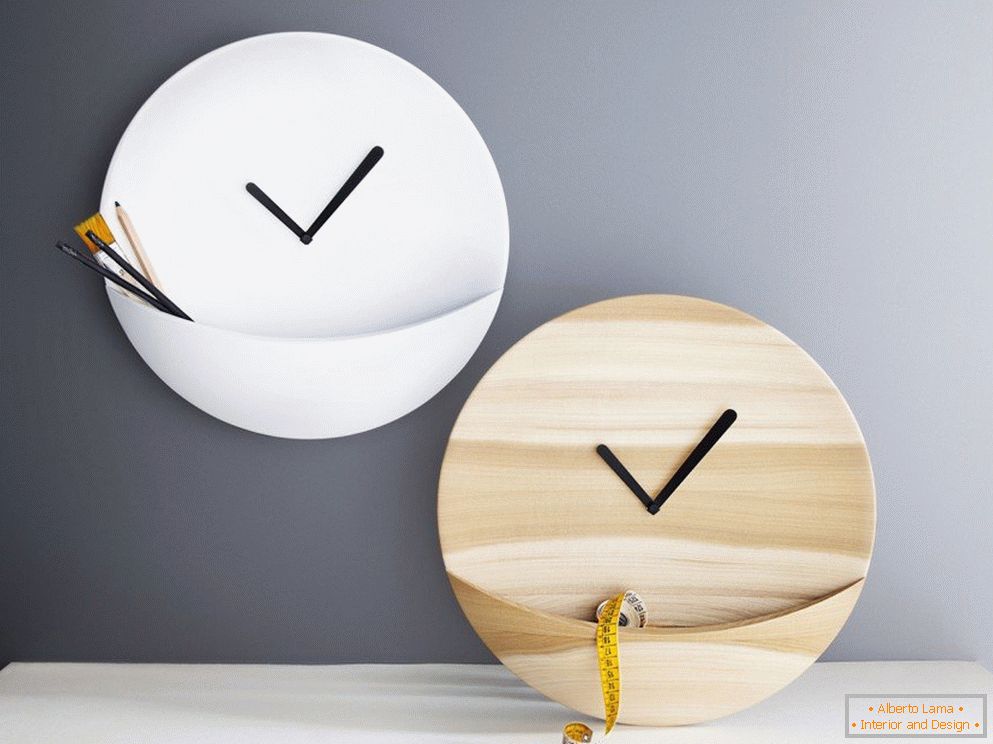
A stylish wall clock can improve the design of any room. They can be made or decorated with their own hands. Such work is possible for everyone and takes a minimum of time. Collect the original chronometer from scratch, using vinyl records, plywood sheets and even bicycle wheels. The background of the base can be knitted from threads, woven from newspapers or magazines, and collected from cutlery. Significantly simplify the work will help a simple print of cool prints. Paper bases can be made from either flat strips or from three-dimensional figures. The new product is suitable for hanging in the living room, bedroom, office. Each of the non-standard variants of chronometers must be supplemented with qualitative mechanisms. So, the finished product will serve the owners for a long time and will always accurately show the time.
Of vinyl records
A conventional vinyl record can be unusually zaderkorirovat using beautiful pictures. Decoupage of the surface should be carried out after careful treatment of the substrate with the smallest sandpaper. It will remove the remains of the sticker and align the surface of the plate. A drill or an electric jig saw can be sawed out according to the prepared silhouettes (kettles, cups, hearts, badges of superheroes, outlines of animals). And using the following instruction, it will be possible to produce "running" clockwork from the paintings of Salvador Dali:
- Put the plate in the oven for 2 minutes (temperature about 180 degrees).
- He put the heated plate on the board. Proceed to drawing and bending the vinyl (center part leave flat).
- Establish the mechanism of the chronometer.


Decor with plastic spoons
Round or oval mechanism with the help of plastic spoons can be decorated in the form of a flower. To do this, you just need to make a stylish frame. It is going very quickly and allows you to update the old model in an original way. The following master class will tell you how to do this work step by step:
- Cut a circle from a plywood sheet with a side thickness of 5-8 cm. Its central part should fit the size of the updated mechanism.
- Cut off the plastic pens handles (you need at least 250 spoonfuls).
- Paste the plywood circle with spoons, placing them with cut tails to the middle. Glue the products better with a glue silicone gun.
- From the foam, prepare the central part, on which the mechanism will be located. Stick the foam plastic to the circle with the petals, prepare a groove to install the finished mechanism.
- Dye the prepared base (or leave it unchanged). Install the mechanism.
Important to remember! To paint plastic spoons you need a special paint. It should even lie flat even on a smooth surface.


For kitchen
To the kitchen looked unusual and cool, you can make a remake of the chronometer with the help of various improvised means. Mistresses can make a refined frame of coffee beans. Stick them with a silicone gun or thick transparent glue. Funny and funny models are obtained by pasting them with cutlery. But for rooms decorated in blue or blue-and-white colors, it is recommended to make the sea decor of any watch with their own hands. To create it you need different pebbles, shells. They should be glued to the bottom of the base or to make a new index of them. The edging of the mechanism should be made from a thick cord. If desired, the rope can be laid out with waves or complemented with neat knots. Such an original clock can be used to stylize any dining room.


From cutlery
Unusually decorate the mechanisms can not only improvised means, but also kitchen appliances. To work, forks and spoons are suitable. They will be glued to the bottom on the back. The density of the arrangement of devices is chosen individually. But for the greater eccentricity of the model, it is better to glue them as close as possible to each other. And you can arrange them as an unusual indexing. To maximize the styling of a new product, it is recommended to attach shallow soups or blades as the main elements of indexation. The color of the selected cutlery should match the background of the base. If necessary, the instruments and base used are painted in one tone. For this purpose paint for metal in spray can.


Dishes and cups
Brightly and gracefully decorate the chronometer can be, using the service of cups and saucers. They do not need to have the same design. The most catchy will be products created using different in appearance and color cups and plates. It's quite easy to make a model. The work will take no more than 1 hour and it is conducted according to this instruction:
- A large base-circle is cut from the plywood sheet. At its center is a saw hole for the installation of the mechanism with arrows.
- The plywood circle is covered with paint.
- When the paint dries, index marks are placed.
- Silicone glue on the mark glued saucers.
- After 20 minutes, the cups are glued to the saucers.
To ensure that the finished product lasts a long time, it is recommended to clean the places for gluing dishes and cups with sandpaper. Select for work follows easy services.

Textile
The use of textiles for tightening the base of the chronometer is justified by the variety of fabrics with colorful patterns and amazing structure. You can use cotton, linen, satin, burlap, jacquard, organza. To these fabrics, three-dimensional elements are easily glued. For example, polymer figures or figures of clay, pieces of wood.

The applied fabric can be pre-embroidered with acrylic threads, satin ribbons or beads. Sewing multicolored sequins or large beads will help to highlight the indexation. Such grounds are also well combined with self-adhesive sequins. Framing can be done with a rim, jute thread, bright soutache or thick cords. Select the frame follows, based on the structure of the fabric, its coloring, stylistics.
See also: Crafts from wine corks own hands 
Embroidery frame and fabric
Embroidered fabric perfectly underlines the originality of the created dial. For work simple cotton fabrics or canvases are used. Preparation of the foundation is carried out according to the following instructions:
- embroidery of fabric (in the center there is a free space for passing the hairpin under the arrows);
- fixing the fabric on the embroidery frame, pruning the projecting edges;
- cutting out the hole for the needle stud in the center, processing the edges with glue;
- installation mechanism, hands;
- attachment to the hoop plexiglas with digital indexing.

Presence of protection from Plexiglas is mandatory. Its absence will lead to the accumulation of dust in the structure of the tissue. Because of this embroidery will soon darken and for its washing it is necessary to completely disassemble the mechanism.

Jute thread, etc.
Stylish design watches can be done using thick threads. Jute imitation is easily made from jute. To do this, the threads are immersed in PVA and after them flowing ornate patterns with interweaving are laid out. Add frozen "branches" recommended beads, rhinestones. From the skin at home, you can make a braided volumetric cord, which will act as an extraordinary frame chronometer.


Completely change the look of the product will help and a piece of burlap. It simply refueled under the mechanism, and from above is supplemented by voluminous plastic figures, wooden beads. You can also make a fashionable background from a canvas belt. Its pieces are stuck under the arrows by strips, rhombuses. Another weave of a thin strap is allowed.

Braided and knitted dial
An interesting option for decorating the mechanism will be knitting the foundation. Work can be carried out by analogy with the manufacture of potholders and napkins. The finished fabric can be dense or openwork. The color scale, patterns on the knitted fabric are selected individually. They must be combined with the color of the arrows, the chronometer itself. Openwork linens for the preservation of the form is recommended to starch or glue. Dry the product on a flat surface. The press for a cloth is not necessary. It is better to fix it after applying glue or starch with the help of pins: so you can evenly stretch the knitted fabric. Styling of canvases is usually done by using threads of different colors. They are suitable for weaving macrame with patterns, simple images.


From old newspapers and magazines
From newspapers simple and original hand-made articles for chronometers are made. If the individual sheets are rolled up with a thin tube and the end is fixed with glue, then an artificial vine will be obtained from them. It can be woven into an original frame in the form of a circle or square. From magazines, the decoration of chronometers is carried out by creating separate circles, glued together in patterns. Such work at home is carried out as follows:
- Log sheets are cut into strips with a thickness of 1-2 cm.
- Each strip is folded into a tube in a spiral, then pressed against the entire length to fix the folds.
- From the harvested flat "tubules" circles of different diameters are folded. The tips are fixed with glue.
- Bright circles from magazine sheets are glued together, forming a catchy figure or a basis-abstraction.


Quilling
The use of ready-made paper strips greatly simplifies the creation of non-standard backgrounds. They are obtained by volume, which must be taken into account when fixing them under the arrows. You can arrange patterns from quilling patterns instead of the usual indexing. But small paper figures (flowers, leaves, animals) can be placed outside the base. Thus, the original frames are assembled. But the most interesting option when using paper strips is the creation of full-fledged pictures. For example, from them silhouettes of people, animals, images of musical instruments are made. It is allowed to make landscapes and urban species. Glue such paper paintings to the plywood base, leaving in the center of the place to install the mechanism of the chronometer.
Read also: Decor of New Year's balls with their own hands - a collection of ideas 


Decor Butterflies
The theme of light air butterflies can be used to create a new chronometer. To do this, you need to cut out a large moth from the vinyl plate. But the small insects to paste as a frame. Stylishly looking and flying away into the distance moths. The trajectory of flight must be thought out in advance. For example, arrange the smallest insects under the chronometer. Medium and large moths stick over it. In this case, you can place them vertically or diagonally. Production of bulk moths can be made from colored or metallized cardboard. Stick them around the chronometer better on a double-sided scotch.


Clock on the wall
Creating amazing chronometers is allowed and completely without foundation. Their mechanisms are built into the wall, and the display has the form of numbers or other elements. For example, family photos can replace figures. To make a chronometer really stylish will help and use as an indication the following elements:
- small paintings;
- puzzle pieces or domino bones;
- mirror silhouettes or geometric figures;
- stones of different colors and sizes (smooth pebbles will do).
The size of the created chronometer can be any: it does not matter whether the mechanism is small or almost the entire wall. A conventional or laser mechanism can be used as a basis. But it is recommended to have such products in rooms with a monophonic design.

From the bicycle wheel
Create a designer decor for the interior of the living room or children's room will help the use of a bicycle spoke wheel. Such a product will successfully emphasize the styles of Provence, Loft and Art Nouveau. A rim with a diameter of 13-14 inches is suitable for use. The wheel chronometer is manufactured according to the following instructions:
- Cleaning the rim from debris.
- Polishing of the metal surface (emery or special paste).
- Bonding to the rear side of the chronometer mechanism (the pin under the arrows is passed through the center of the wheel).
- Installation of arrows and adjustment of the mechanism.
Note! For the rim with spokes, a small mechanism with long arrows will do. Otherwise, the product will not be allocated.


Printed
Fashionable chronometers can be made using a variety of prints. Printed images are recommended to be glued to a primed plywood sheet. Similar models are also sold by many well-known manufacturers. Round bases can be an imitation of planets or stars (Earth, Moon, Saturn), porcelain plates. Fans of sports games like images of football, basketballs. The base-circle is suitable for gluing prints in the form of berries and fruits (watermelon, cherry, currant, apple). The product, whose base looks like a balloon, will also look original. From below, you will need to paste an empty basket or basket with the figures of travelers. The classic prints include images of attractions, located in the center of the chronometer. Such products are universal and can nicely complement any room.


