Experienced needlewomen know very well that unnecessary things simply do not happen. They can effortlessly turn an absolutely inconspicuous thing into a real work of art, give it a second life full of admiration.
Just imagine: an empty glass bottle of wine elegantly turns into a beautiful festive vase, an old wooden plank becomes overnight useful in the life of a housekeeper, a paper box from under the shoe is transformed into a casket or a chest for decorations. In this article we will talk about how to make decoupage on cardboard and what is needed for this.
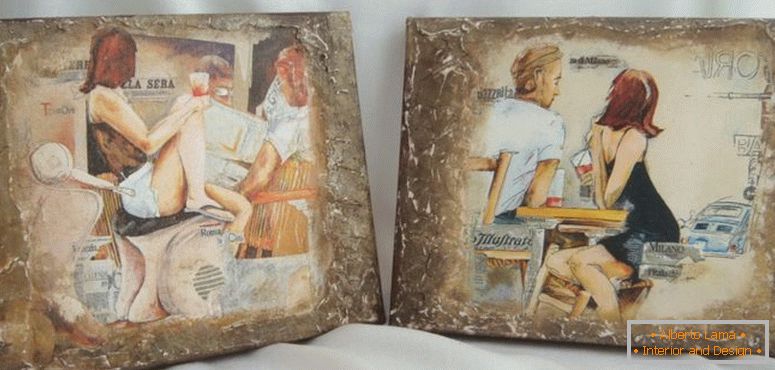
Table of contents of the article:
- Step-by-step instruction for beginners
- Decoupage on cardboard: a master class on decorating
- Decoupage boxes from cardboard: decoration with napkins
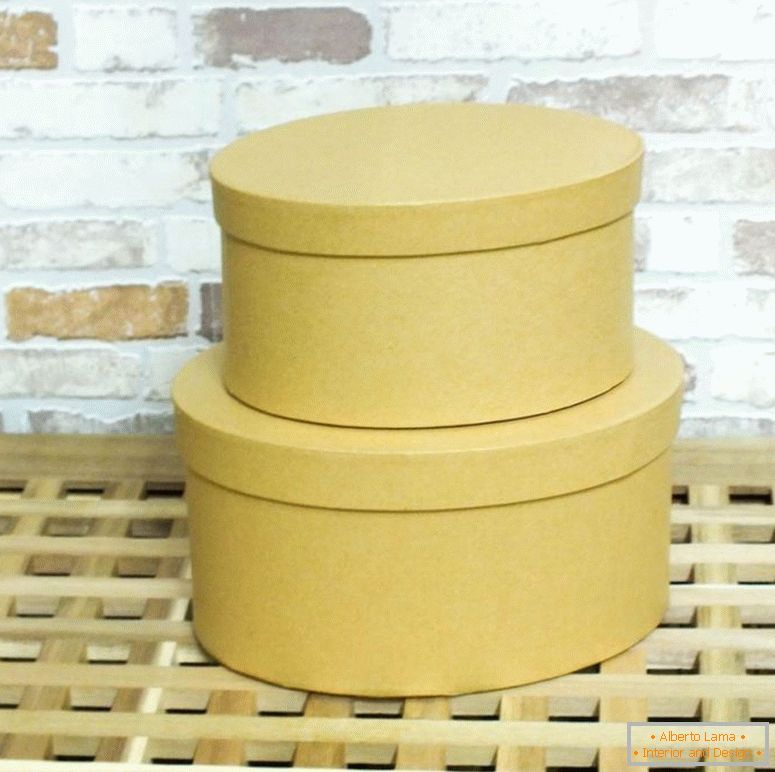
- Small cardboard box of any shape
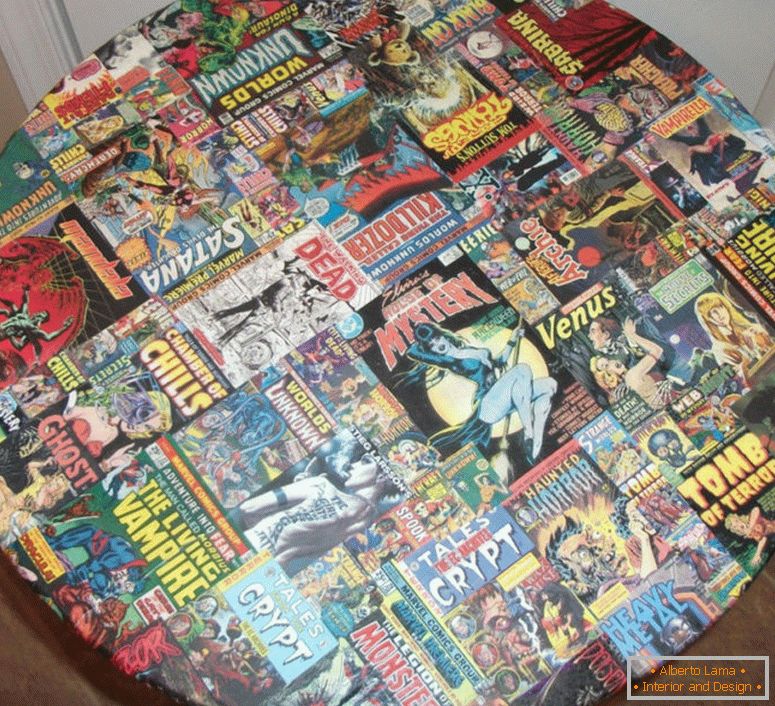
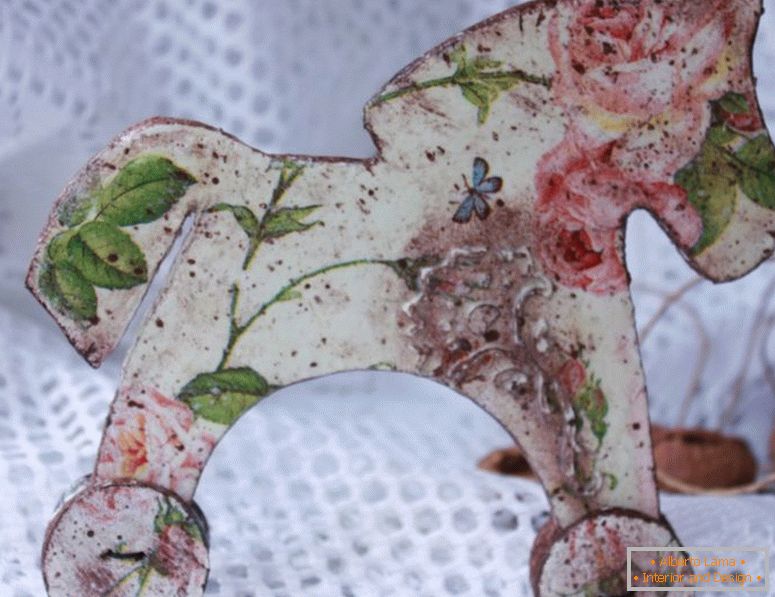
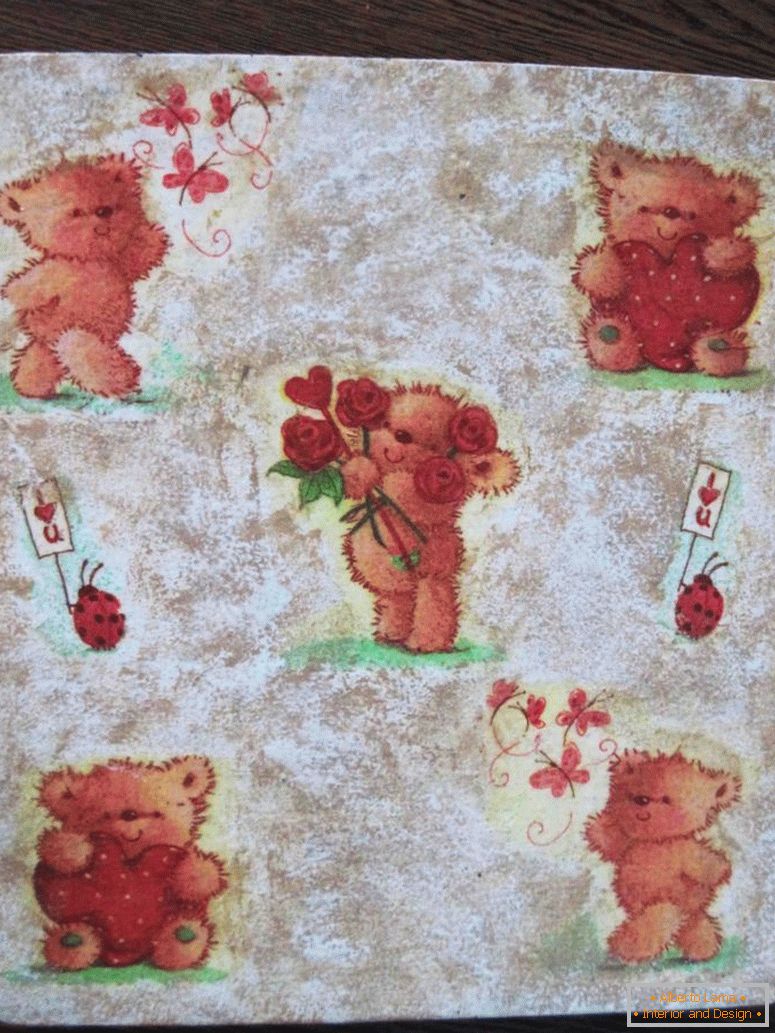
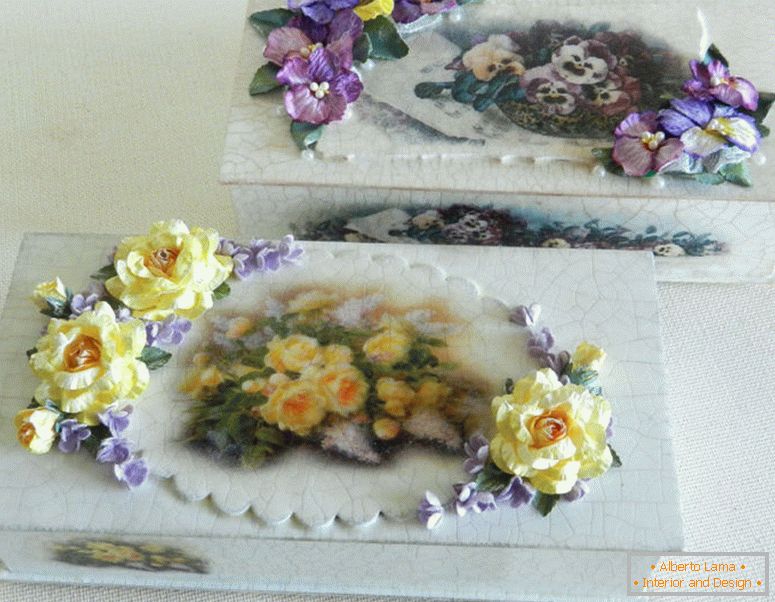
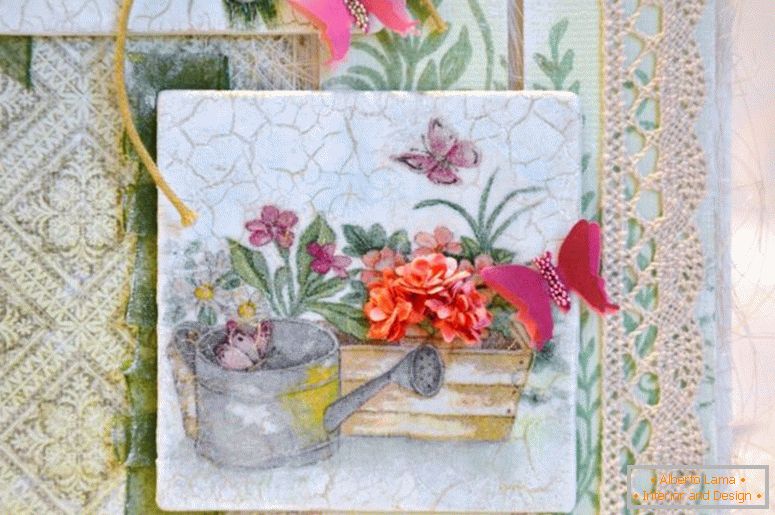
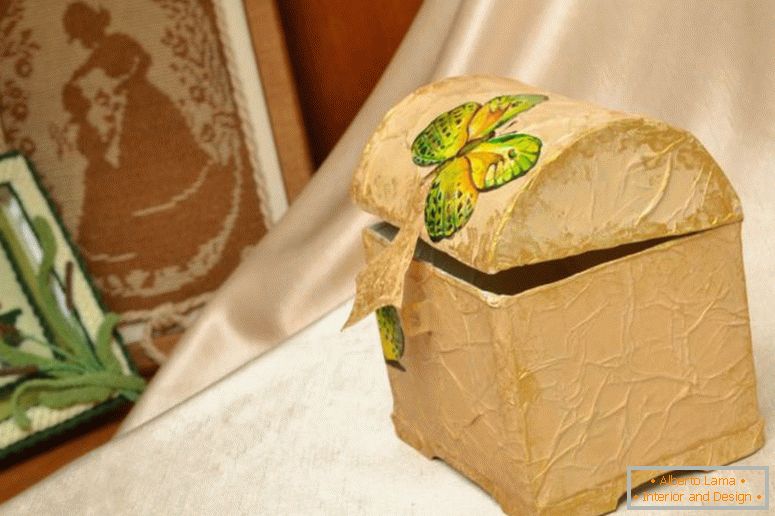
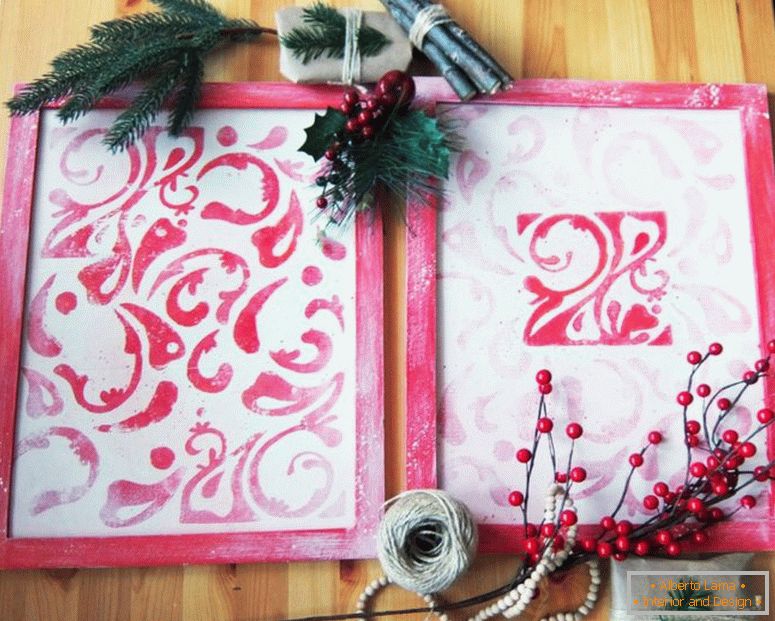
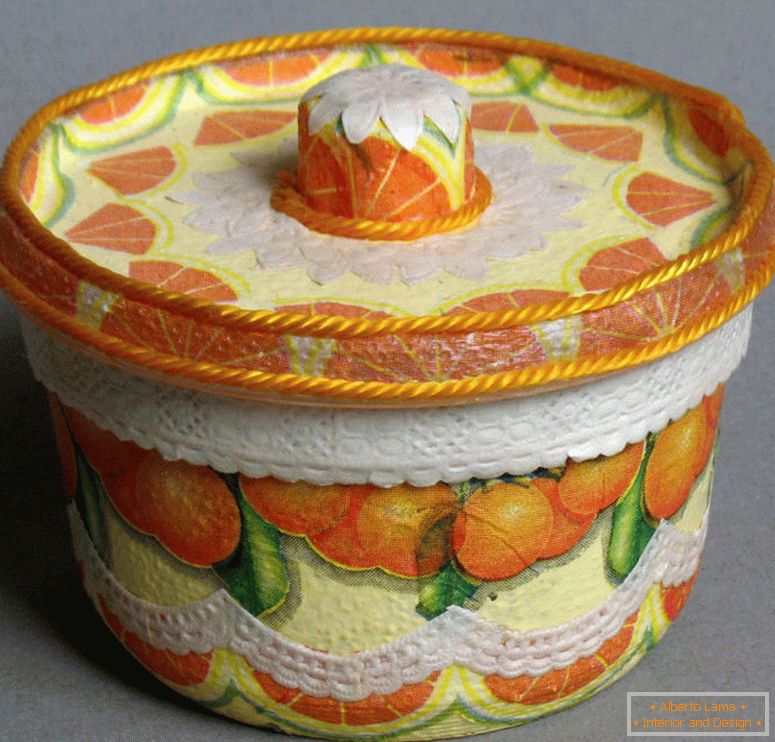
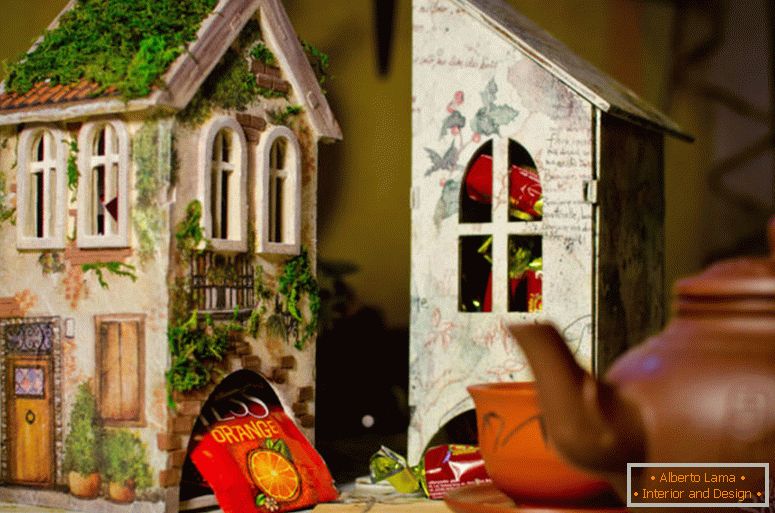
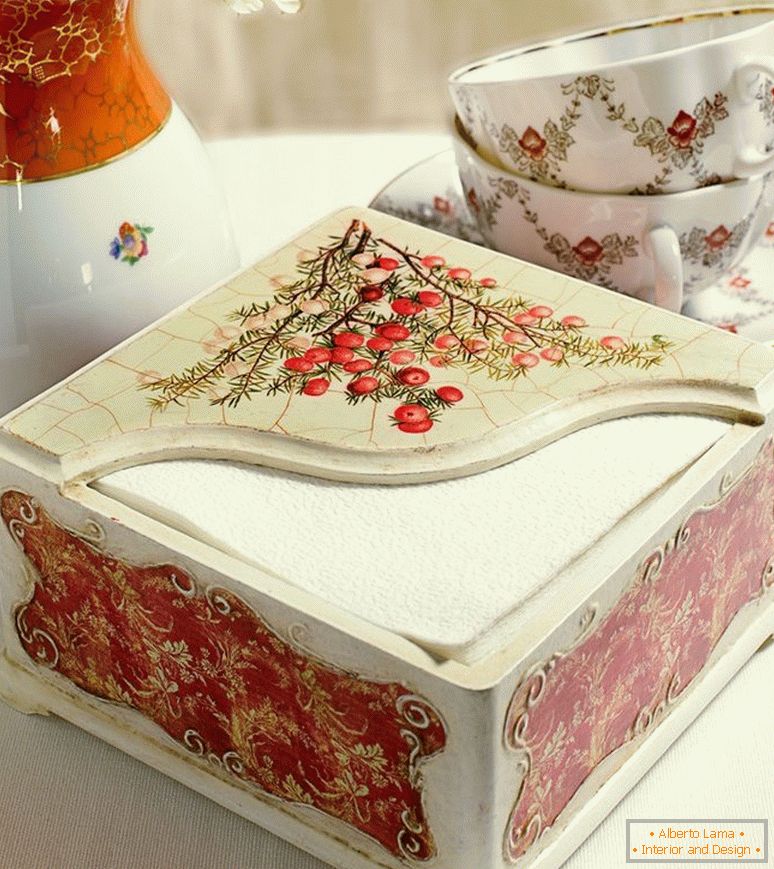
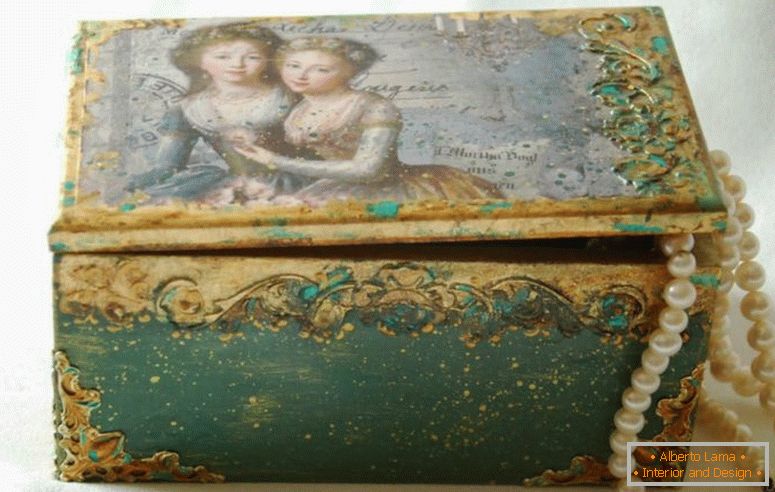
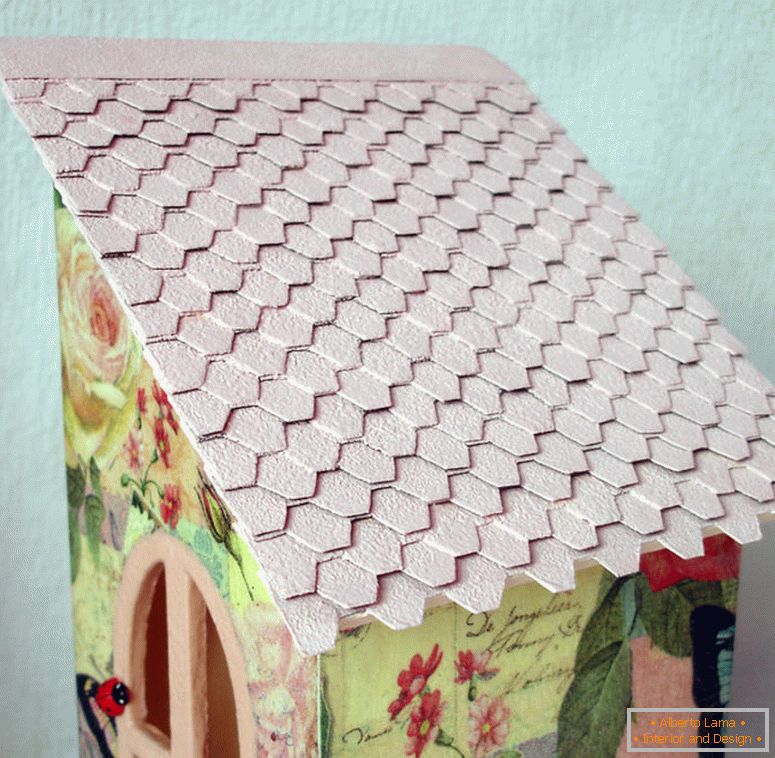
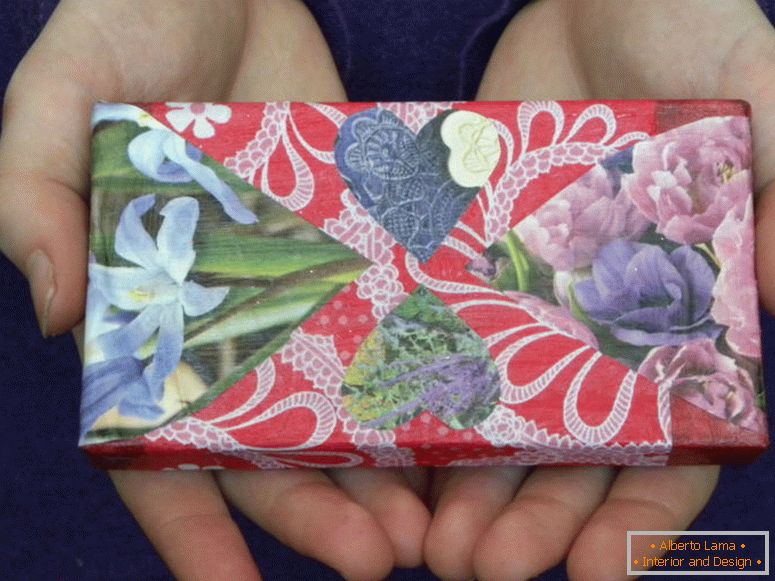
- Photo of beautiful decoupage on cardboard
Step-by-step instruction for beginners
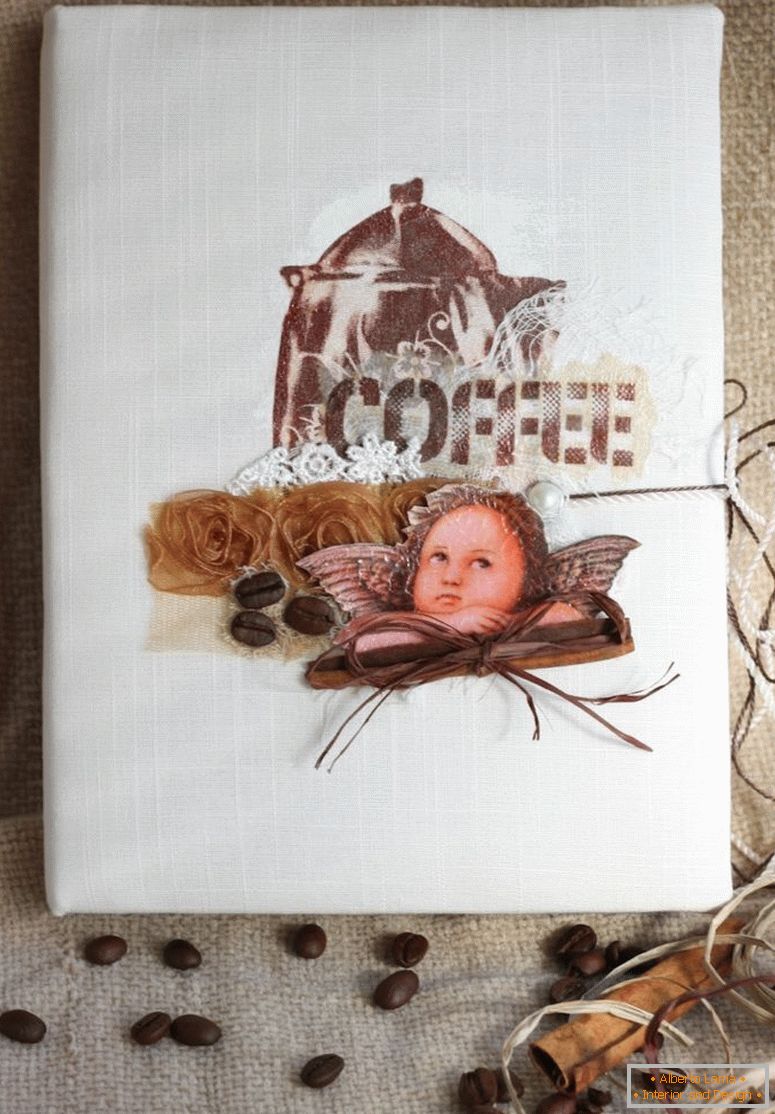
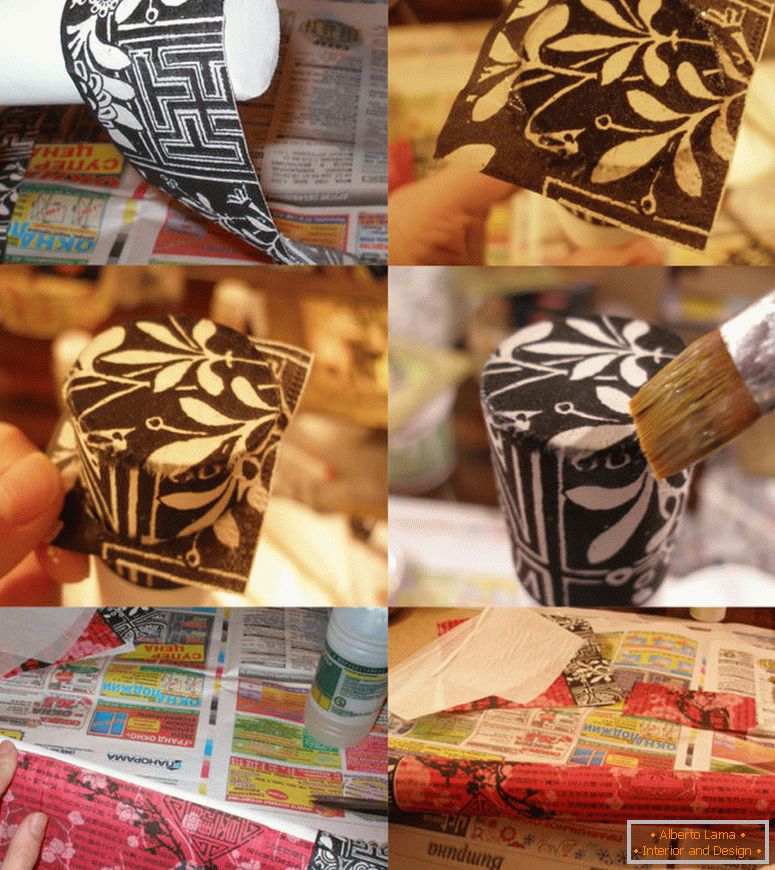
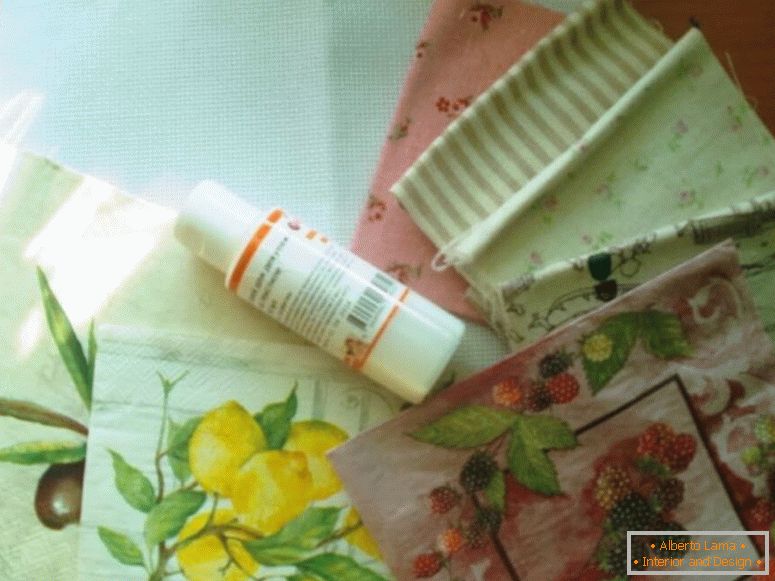
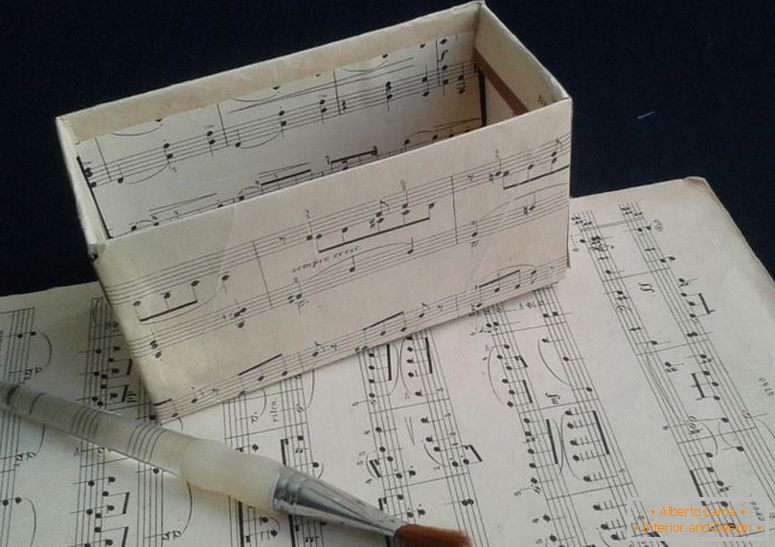
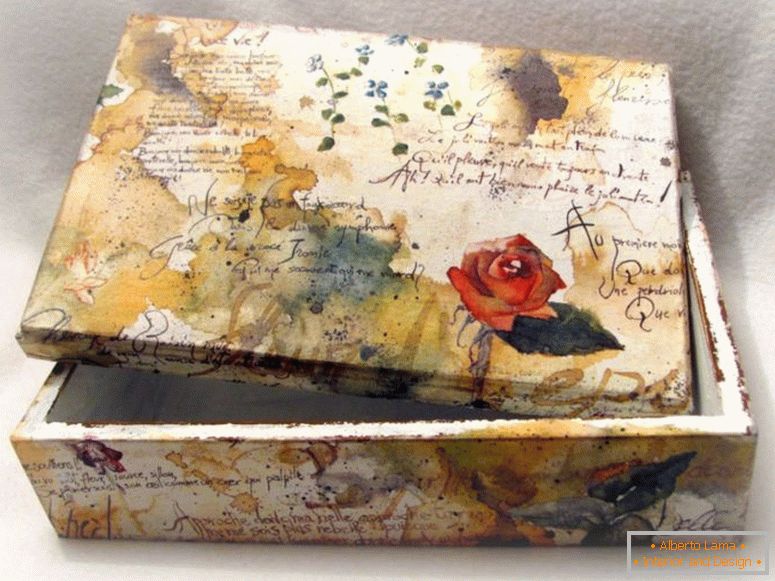
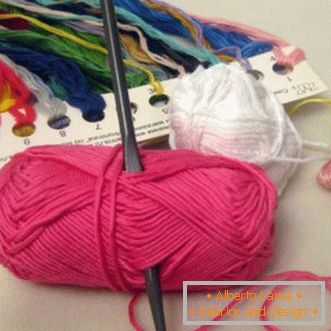
Before proceeding to the creative process, it is important to prepare the fittings. If you look at the photo above and want to repeat this result, then you will need the following:
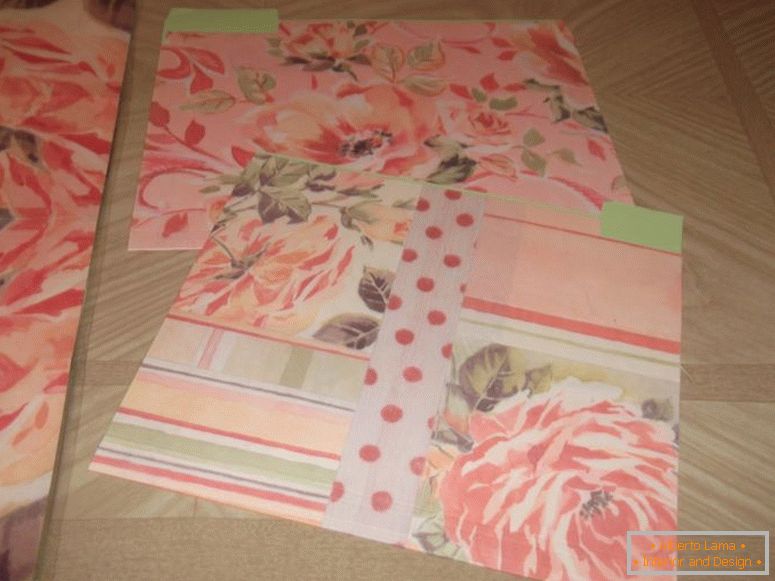
- Pre-prepared visual compositions (printed images or photographs printed on the printer);
- Ordinary drinking water;
- Black instant coffee to create the effect of antiquity;
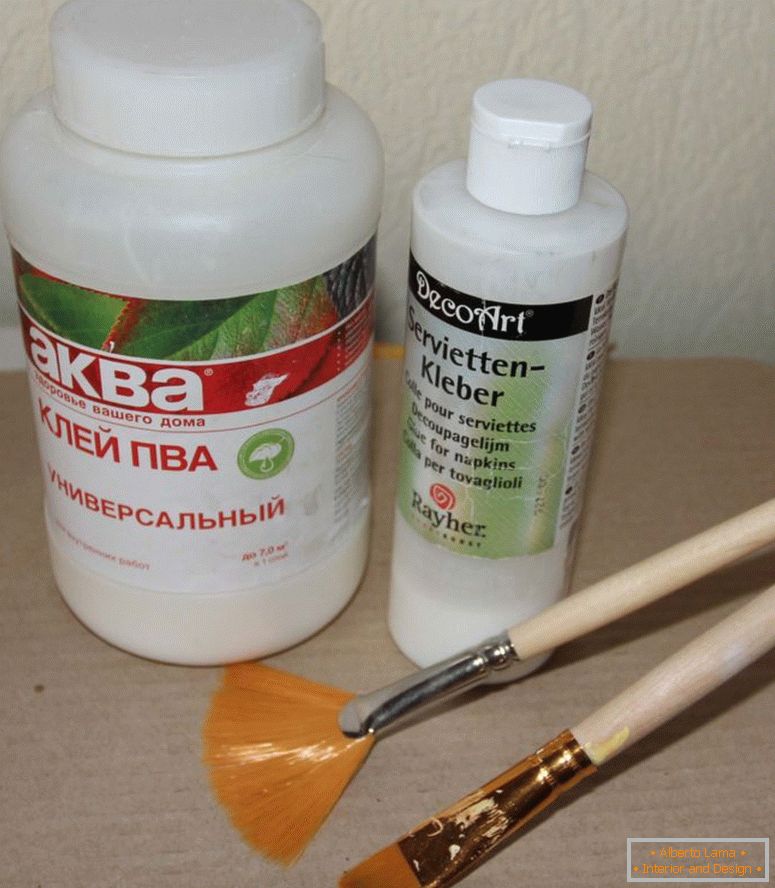
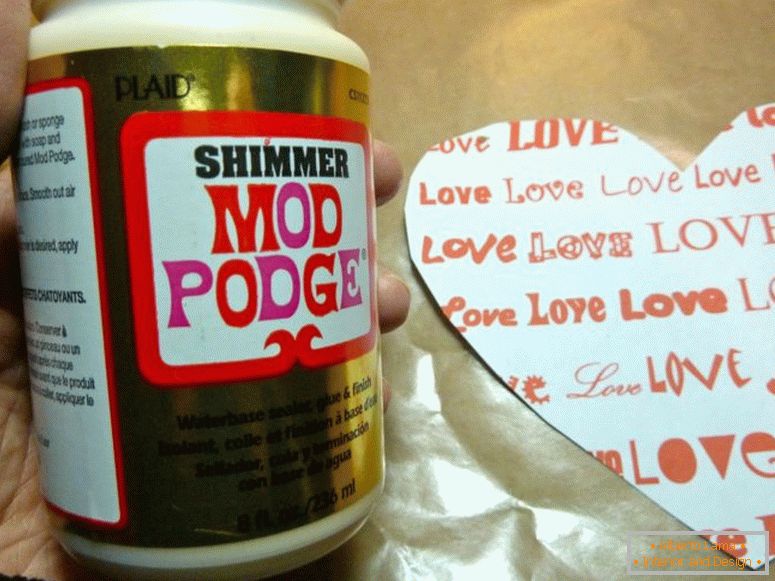
- PVA-glue;
- Acrylic lacquer.
Once everything is ready, you can start working with a good mood.
- First of all, moisten sheets of paper and gently rub the coffee beads;
- Put them on a smooth surface and wait until they completely dry;
- As soon as they dry, rip them into pieces measuring 5-10 cm;
- Then cut the printed prints.
- Ensure that there are no severe dirt and damage on the carton. If necessary, delete the superfluous.
- Each sheet is carefully glued, blotted from above and more intensively around the edges. Then apply the drawings.
- After all thoroughly dry out at will, use a varnish - this will lend shine to your decoupage.

Decoupage on cardboard: a master class on decorating
In decoupage there are absolutely no boundaries. The most important thing is imagination. Include your imagination, and you will open new opportunities for exquisite design. For example, buy fabric materials, textured waterproof wallpaper and self-adhesive film. Remember that for today the assortment is very great!
Moreover, nothing prevents you from connecting your child, who will be able to paint the future gift to grandparents, friends, educators, everyone you want. To do this, only useful: a one-color paper, paint, glue or glue pencil.
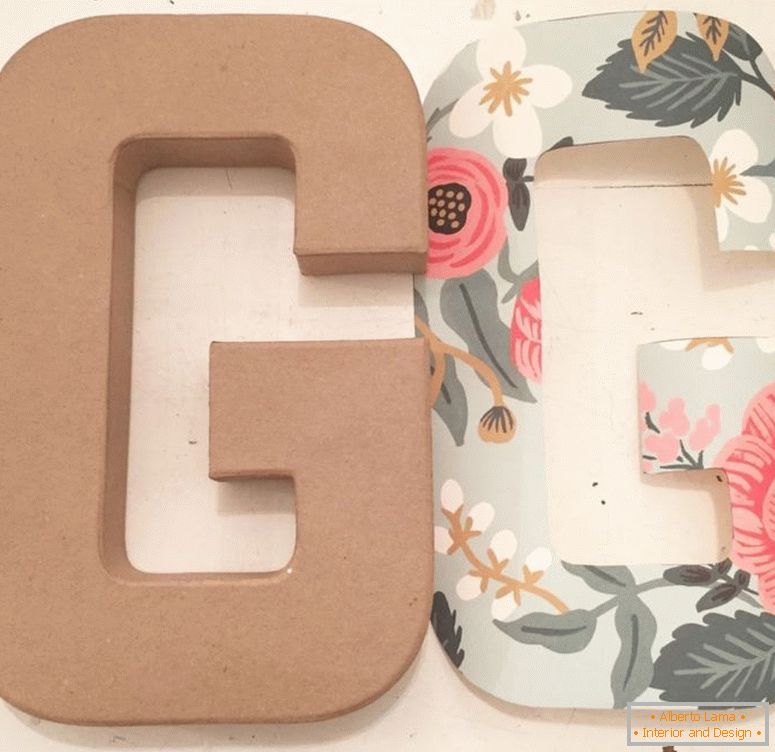
1. Qualitatively glue the box with monotonous paper, so that no gaps and lumens remain.
2. Ask your children to arm themselves with brushes and paint in any way they want. You can also dip your child's hands into the paint and leave traces of palms, you can simply suggest drawing people or different animals or writing names of close people.
3. The addition of acrylic lacquer will give shine.
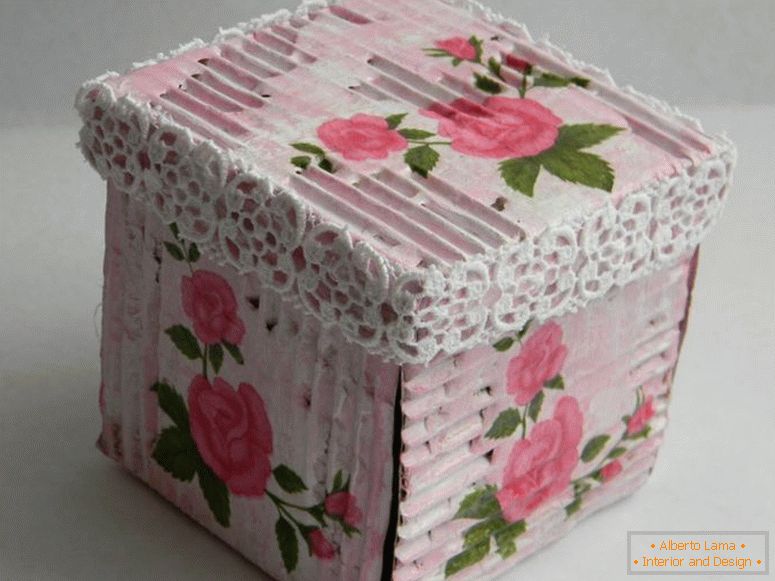
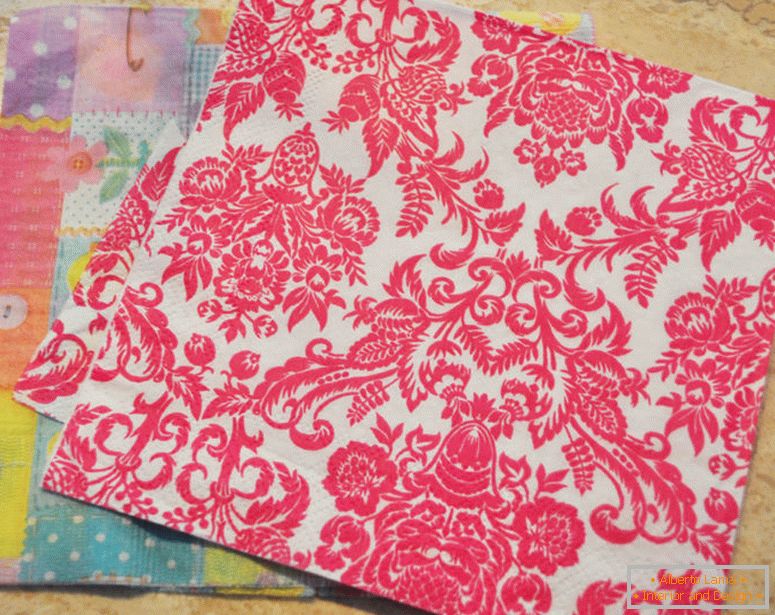
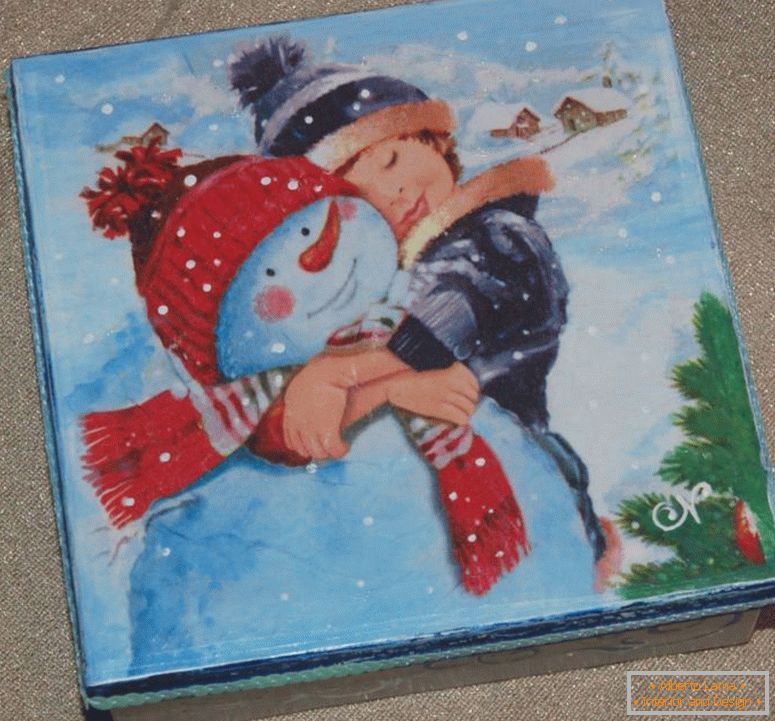
Decoupage boxes from cardboard: decoration with napkins
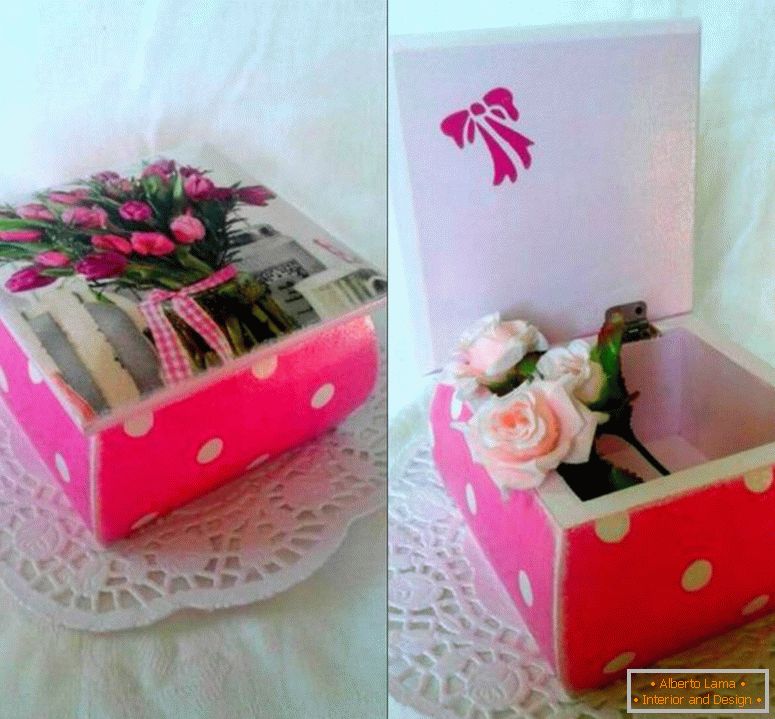
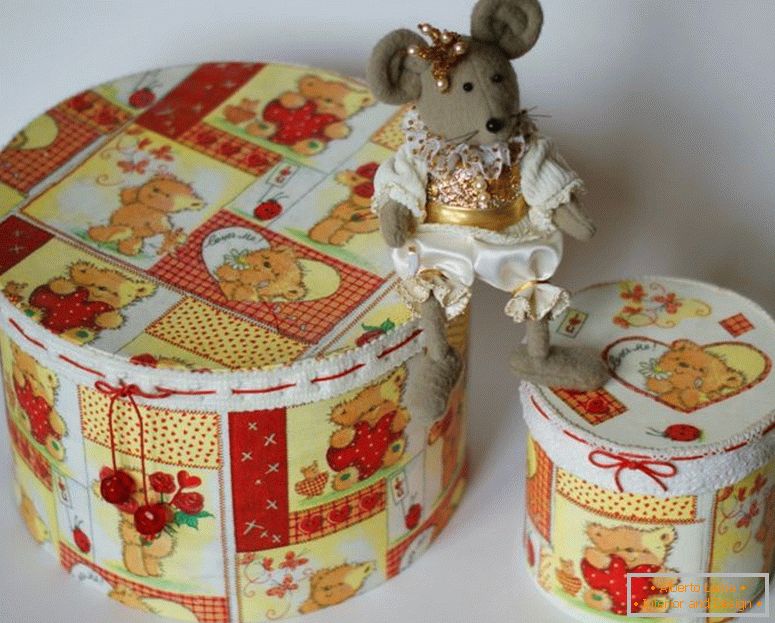
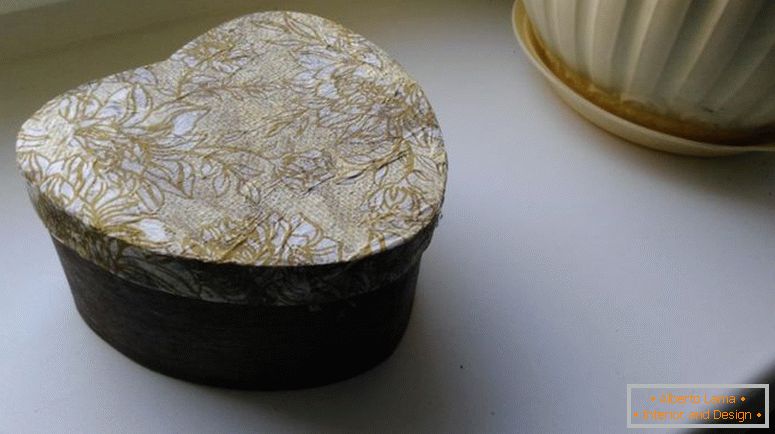
There are millions of ways how you can adapt a box of cardboard to anything. Decor with napkins provides for several stages, and realize it yourself will not be a problem. In the image you see the final version, which you can get. But first let's get ready. To do this, you will need:
Small cardboard box of any shape
- Acrylic or oil paints;
- PVA glue
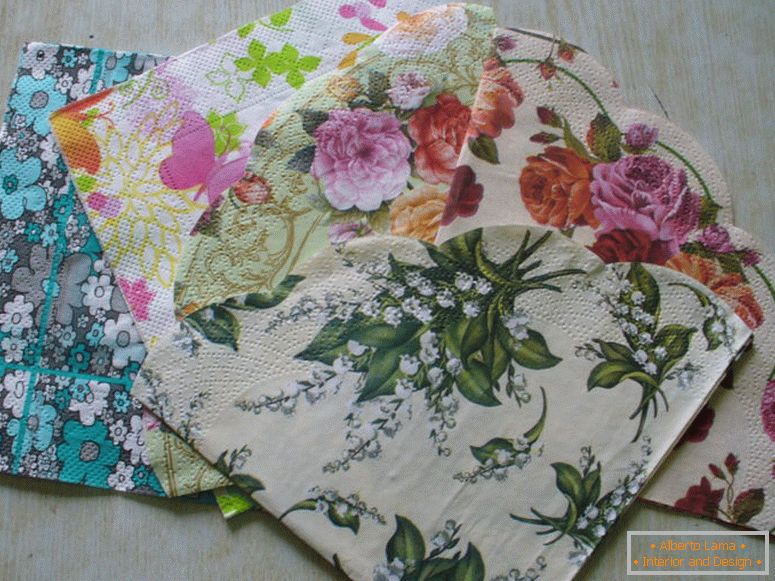
- Napkin with a pattern
- Nail scissors;
- Brushes;
- Sponge.
1. Immediately pay attention to the roughness of the box: if necessary, grind it to the maximum smoothness;
2. Apply the paint;
3. Cut out the outline of the pattern on the napkin
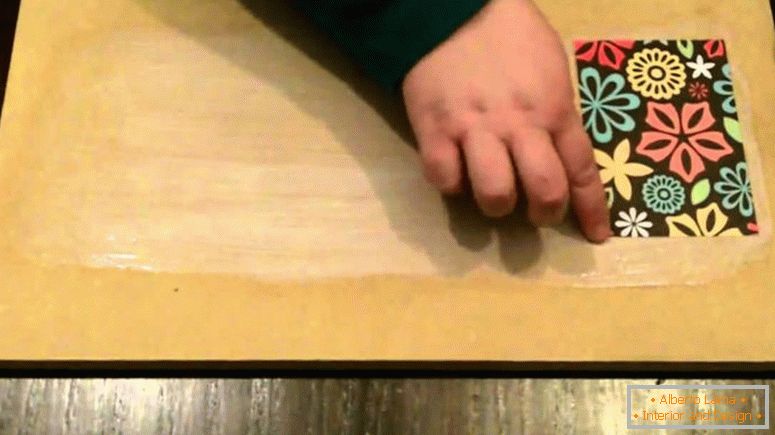
4. Attach the napkin to the box and draw a place where you want to paste the future pattern;
5. Take the paint (if necessary mix them). Then use a sponge to apply the paint to the cover of the box, without getting to the pattern area.
 Decor of the rope - photos of fashionable novelties in the interior
 Decoupage of plates - an interesting master class with step-by-step instruction and photo examples
 Rug in the bathroom with your hands - detailed instructions for beginners (55 photos of ideas)
6. Why on a clean place we glue the prepared image.
7. If desired, additions can be made to the side walls.
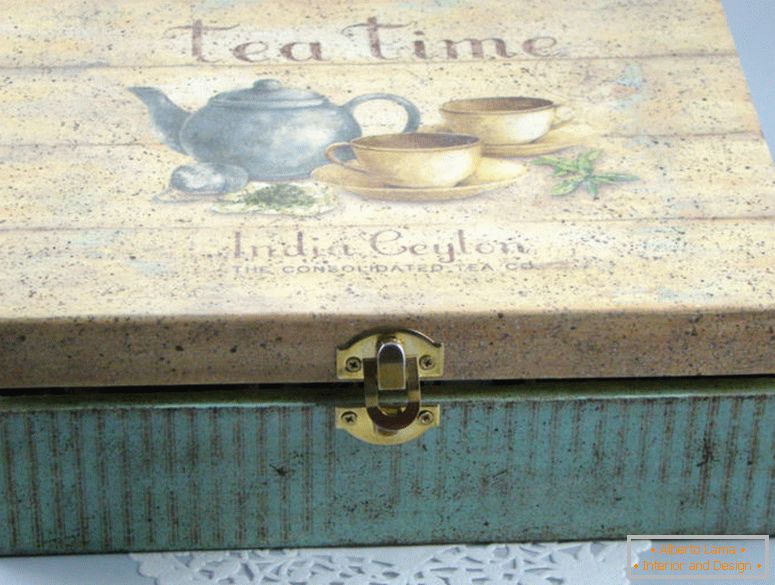
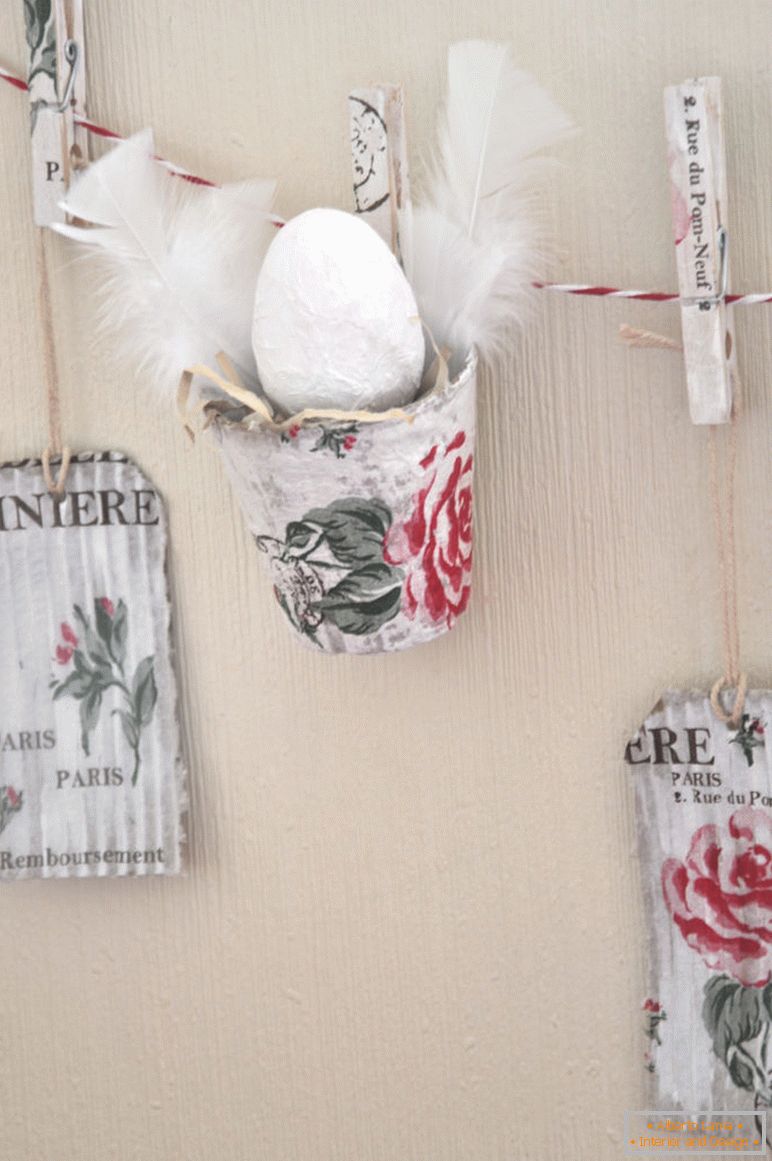
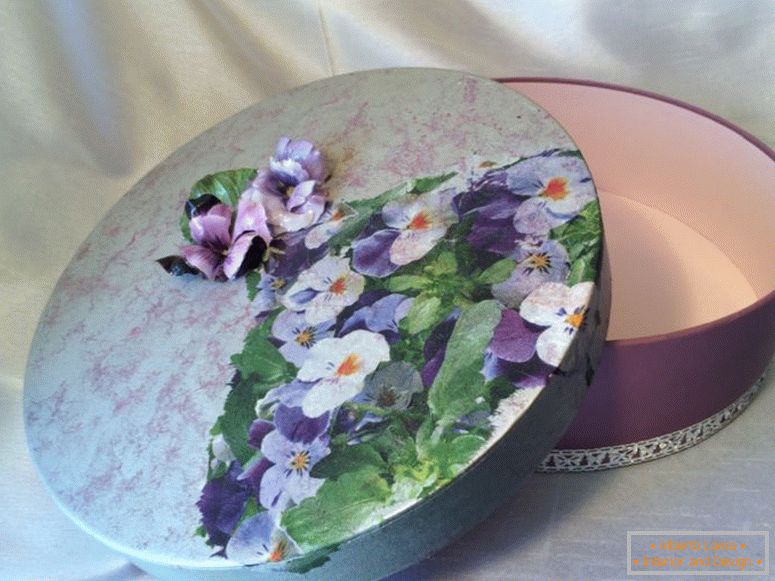
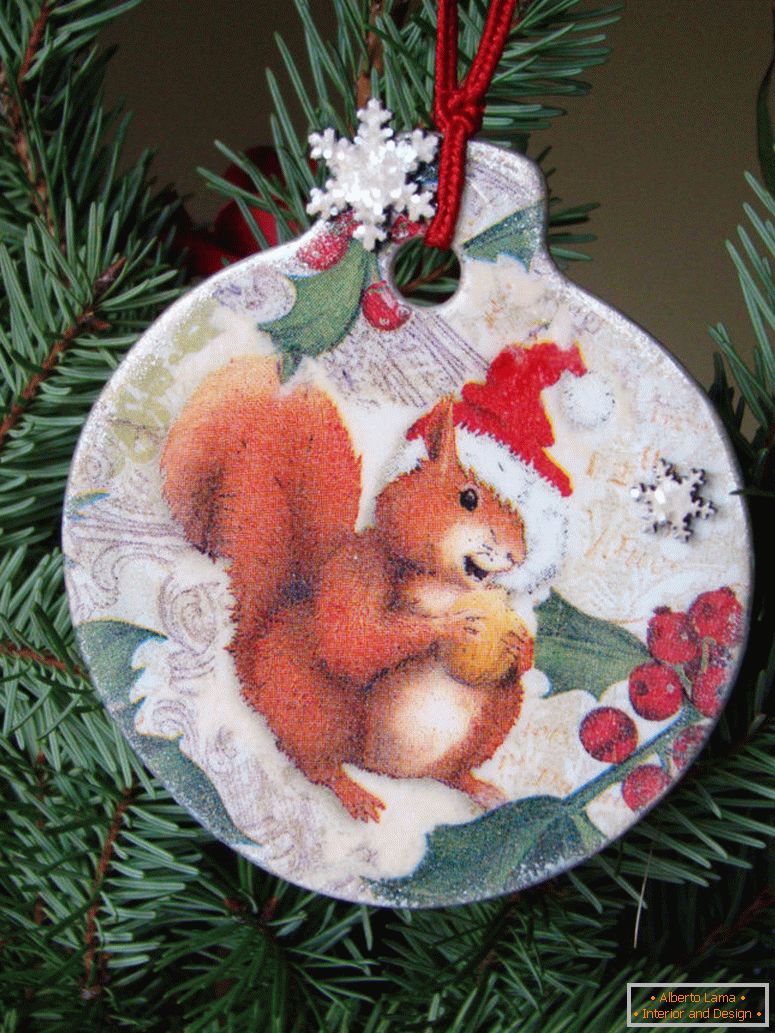
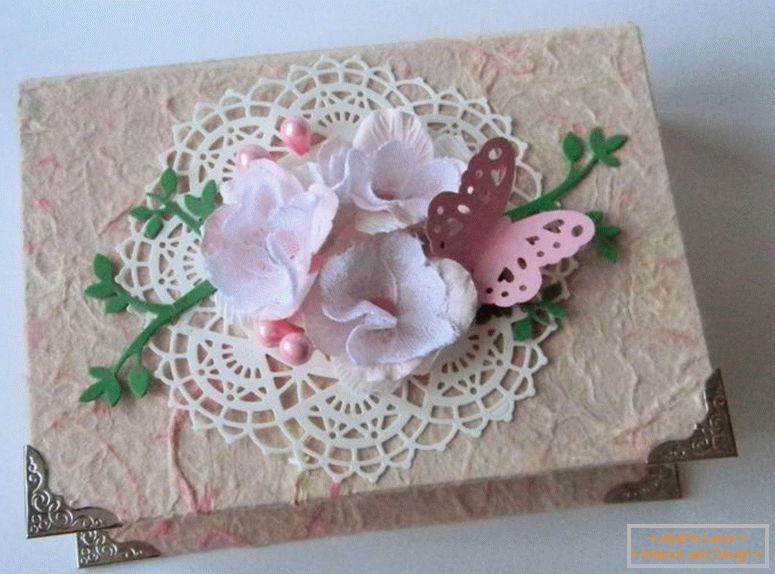
Photo of beautiful decoupage on cardboard

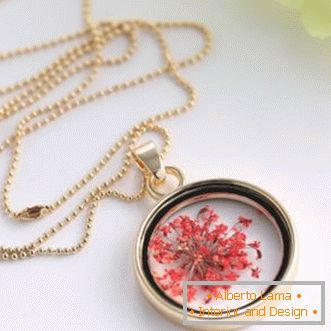 Necklace with your hands - the best master class with photo examples
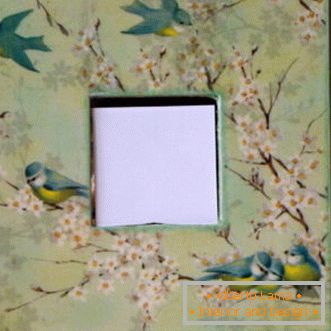 Decoupage by yourself - step by step instruction with photo and description
 Rugs with their own hands - photos of the best variants of beautiful rugs in the interior

 Stands under the hot - how to make their own hands? Step-by-step instruction with photo
 The dream catcher - a master class with step-by-step instructions
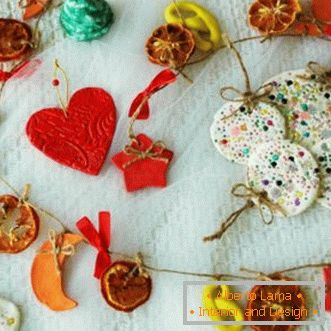 Salted dough pieces - how to make your own hands? Instruction with photo ideas.