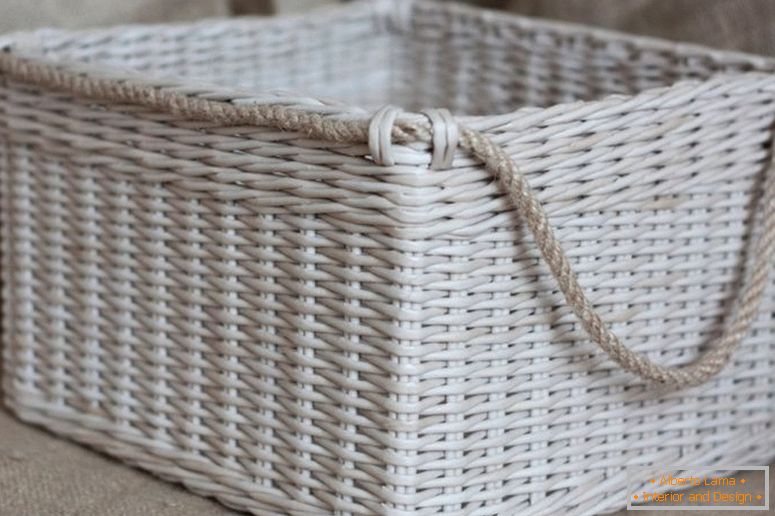
Wicker interior items are a valuable part of our culture, not just decoration. Our great-grandmothers also furnish their homes with hand-made baskets, vases or even baby cradles. For this purpose, they most often used twigs of trees that should have been sized, processed and dried for a long time.
Fortunately, today weaving from newspaper tubes for beginners very saves our time, and the products created in this way are no worse than wooden ones. They are eco-friendly, practical, durable and look very nice and cozy in any interior.
Step-by-step instruction of weaving from newspaper tubes is very simple, and anyone can learn this technique in a matter of days.


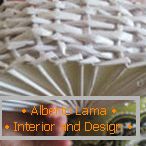
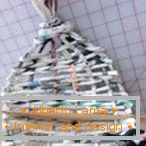
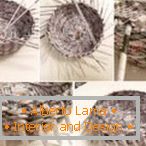
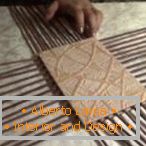
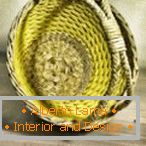
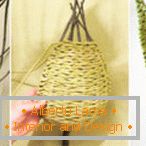
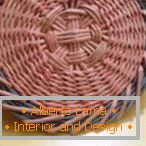
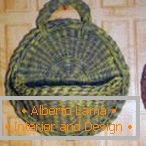
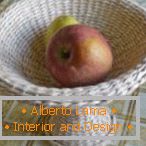
Table of contents of the article:
- Preparation of materials
- The process of weaving
- Photos of beautiful works of weaving from newspaper tubes
Preparation of materials
The most ideal option for tubules will be the use of special fine printing paper, but not all can find it, so simple newspaper sheets will do. Experienced needlewomen can twist the tubes and from simple drawing sheets, but beginners such material is not suitable because of the density.
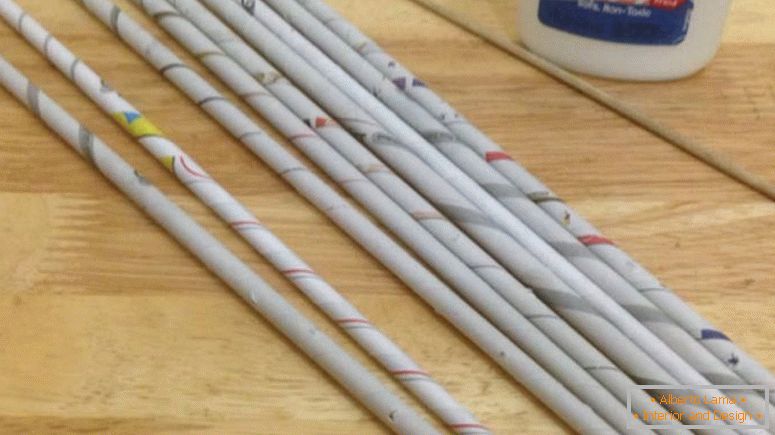
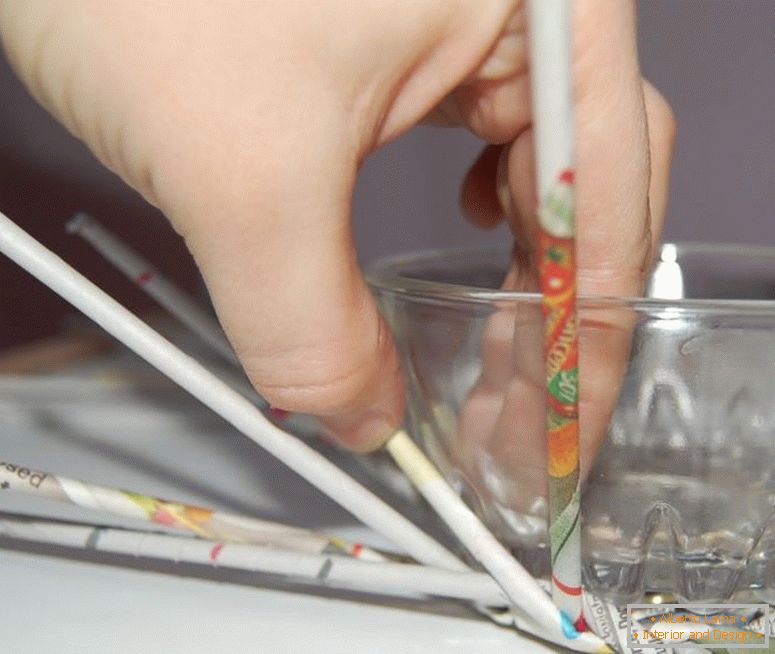
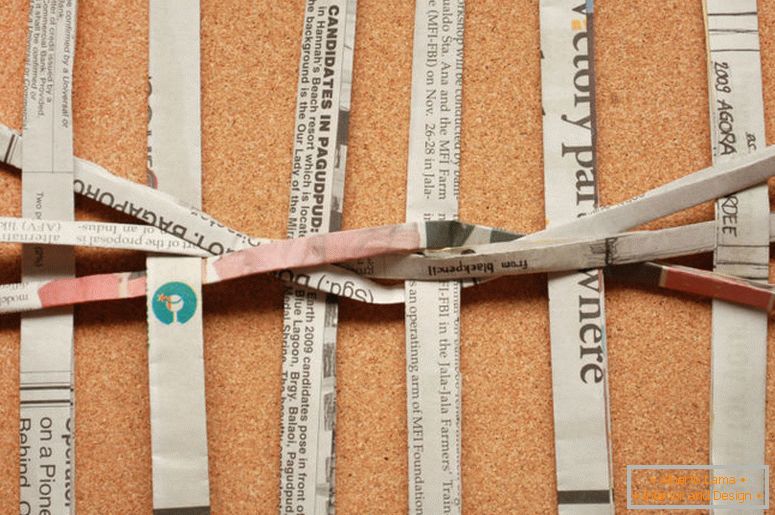
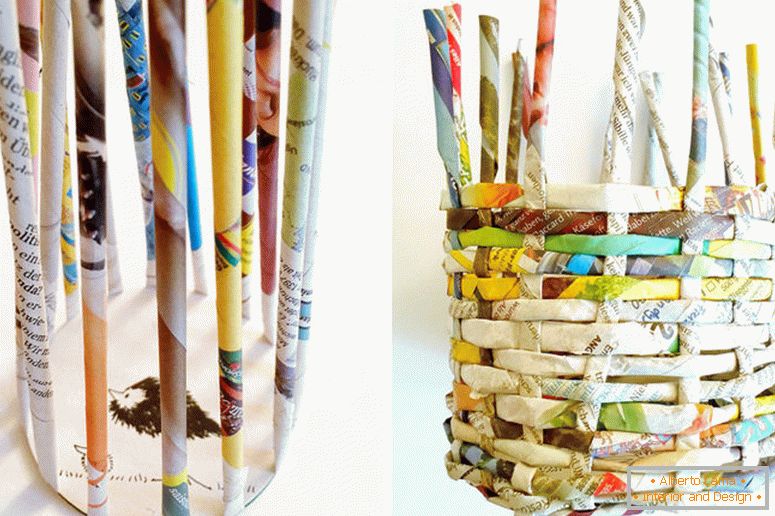
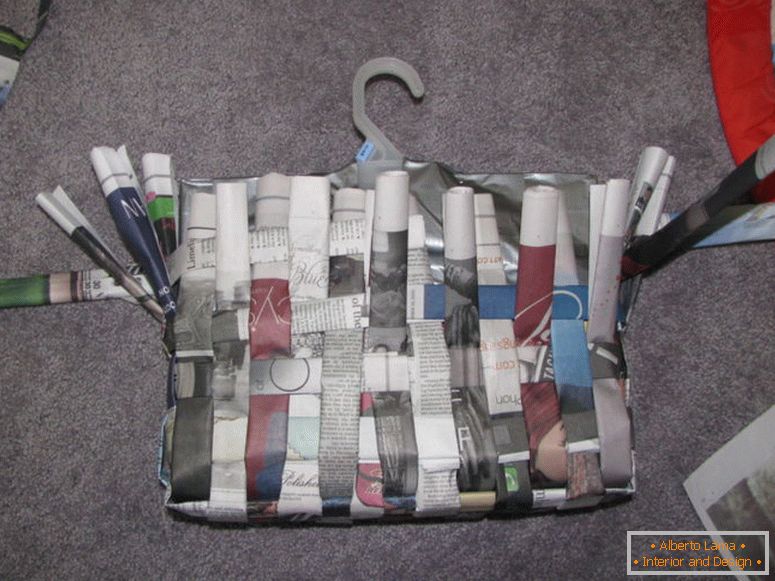
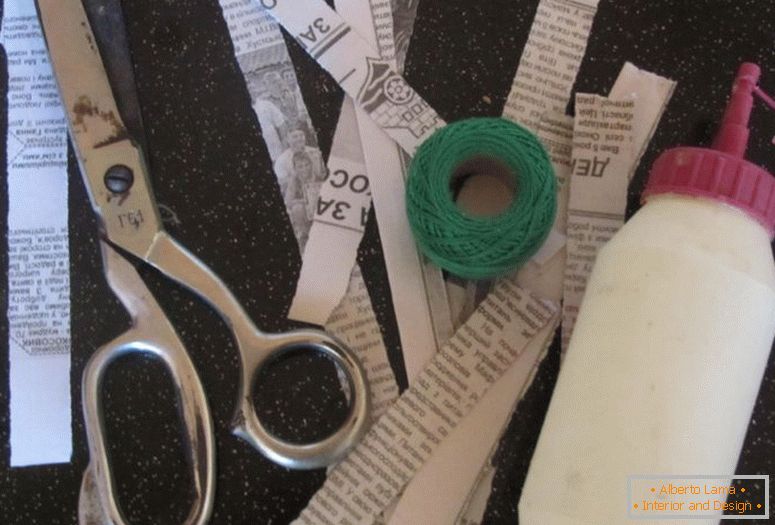
So, we prepare at least ten newspaper pages, then with scissors or a stationery knife we cut them into long strips with a width not exceeding ten centimeters. The longer the strip is obtained, the easier it is to twist it.
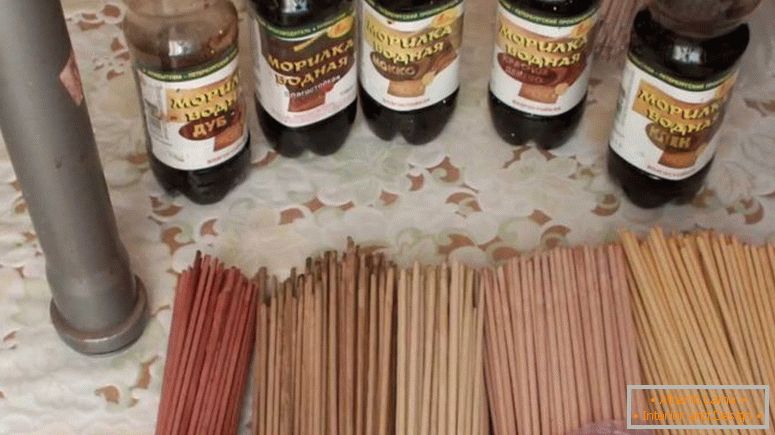
Carefully smoothed the strip we put on the table, to the bottom right corner we apply a knitting needle or any long thin stick, and we begin to twist the sheet as tightly as possible. The curled tube is fixed with PVA glue so that it does not dissolve. Thus, we prepare at least fifty tubules.
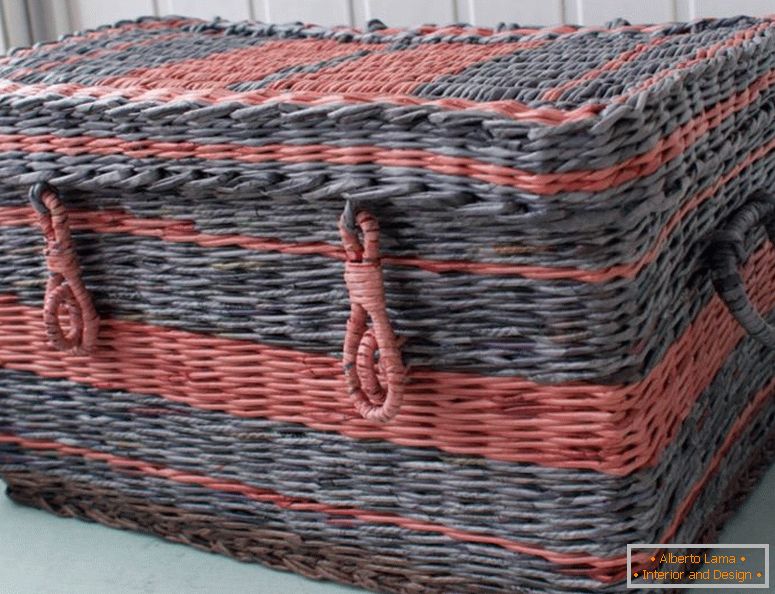
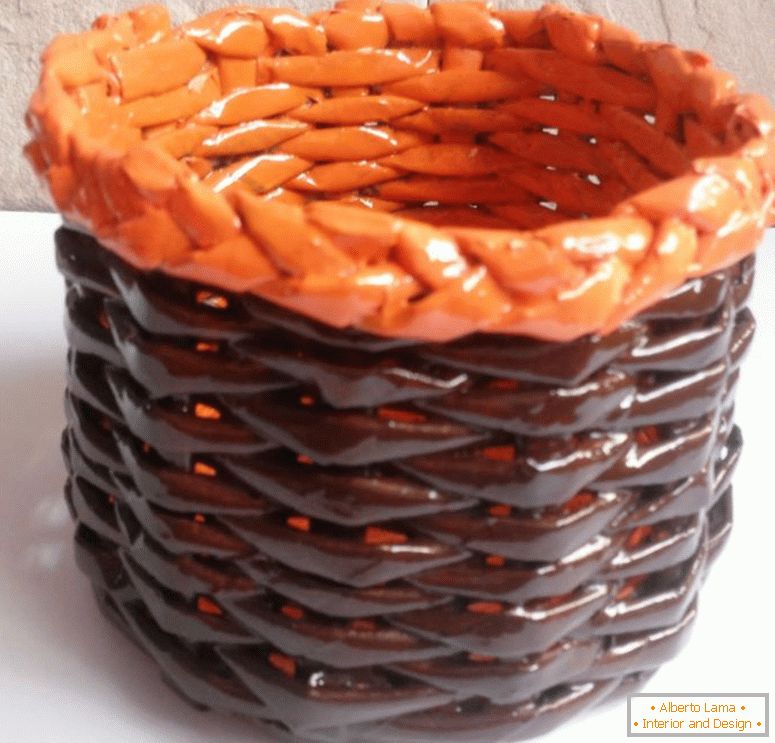
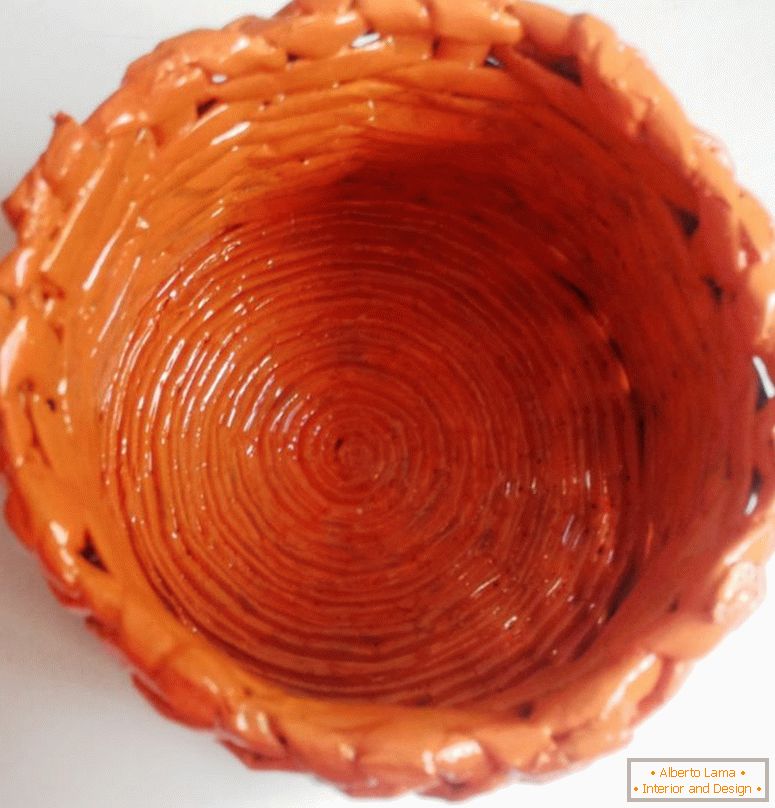
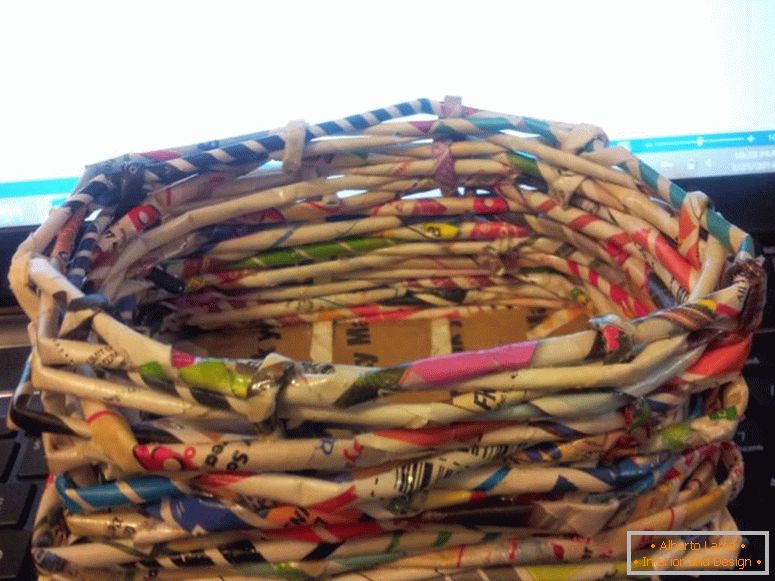
Ready-made "twigs" from newspapers can be painted before weaving, but it is worth remembering that treated with poor-quality paint, they will become stiff and will not bend, which will greatly complicate the process of weaving. Sometimes you can leave the tubes untreated, the photo of the weaving from the unpainted newspaper tubes look very original. Rugs with their own hands - photos of the best variants of beautiful rugs in the interior
The process of weaving
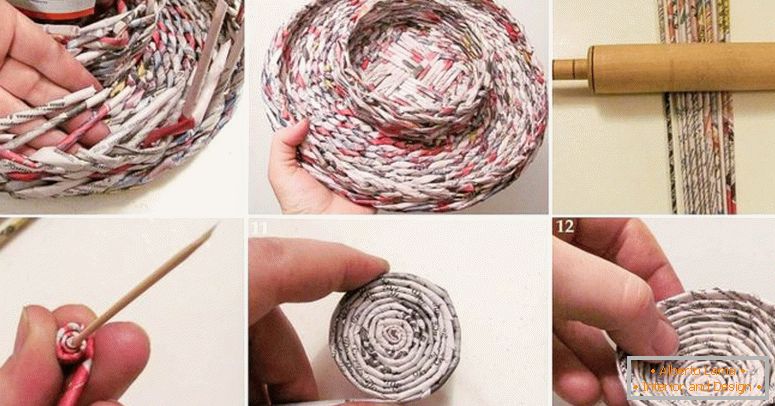
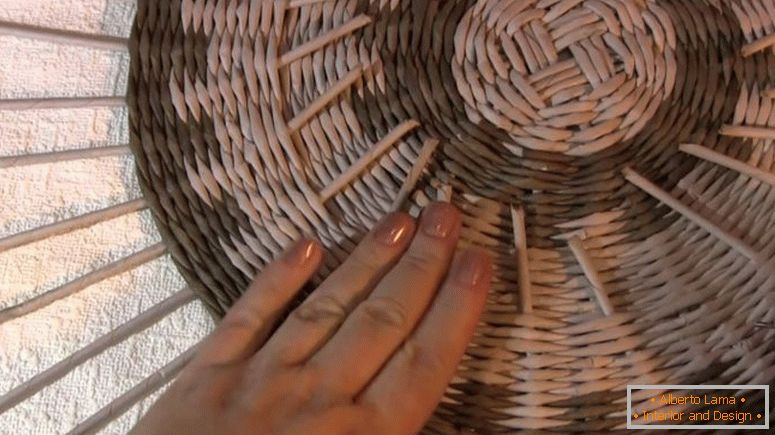
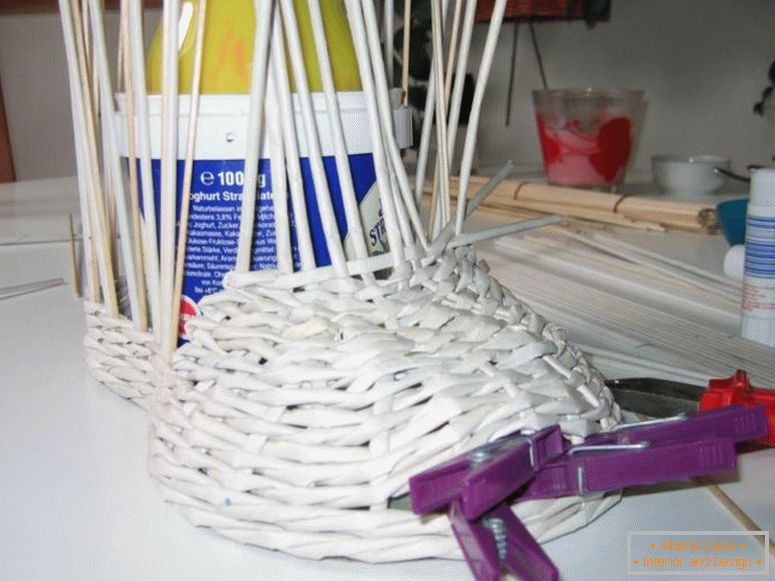
You can ease the task and cut the bottom out of the cardboard, but still looks nicer fully woven product.
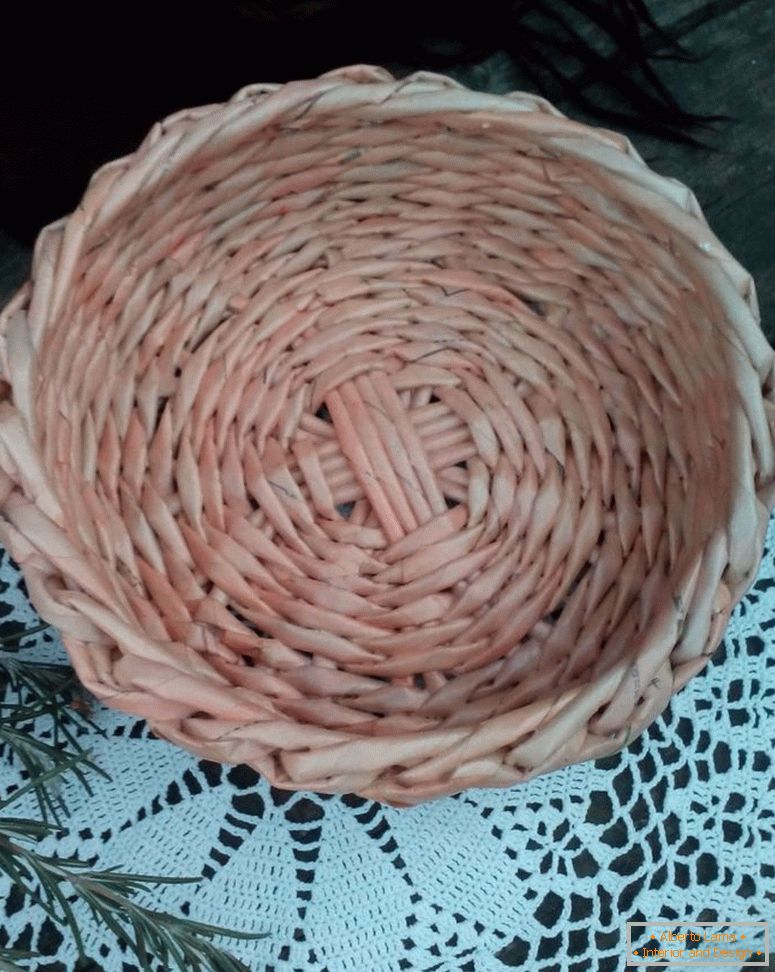
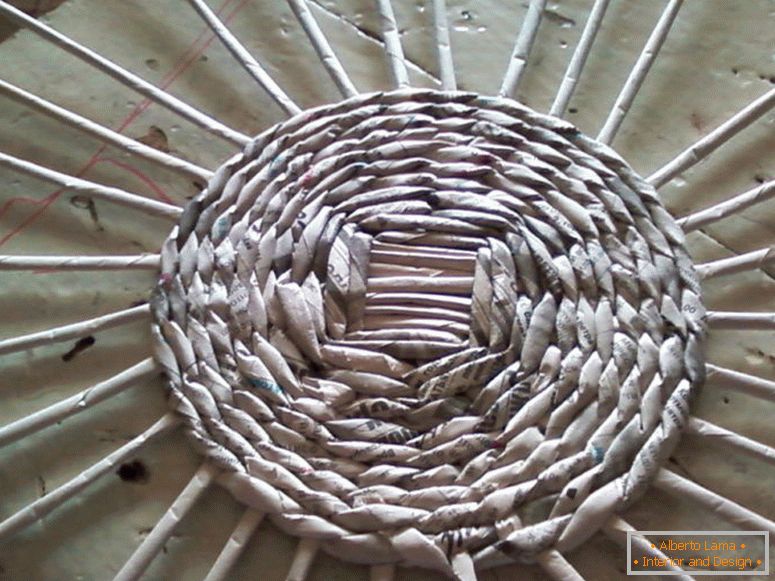
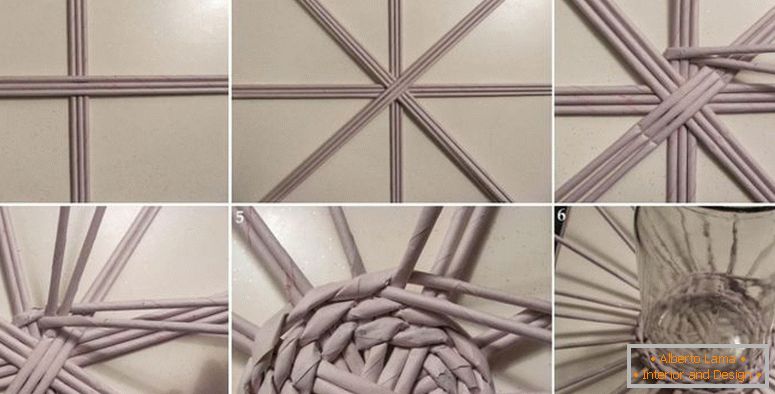
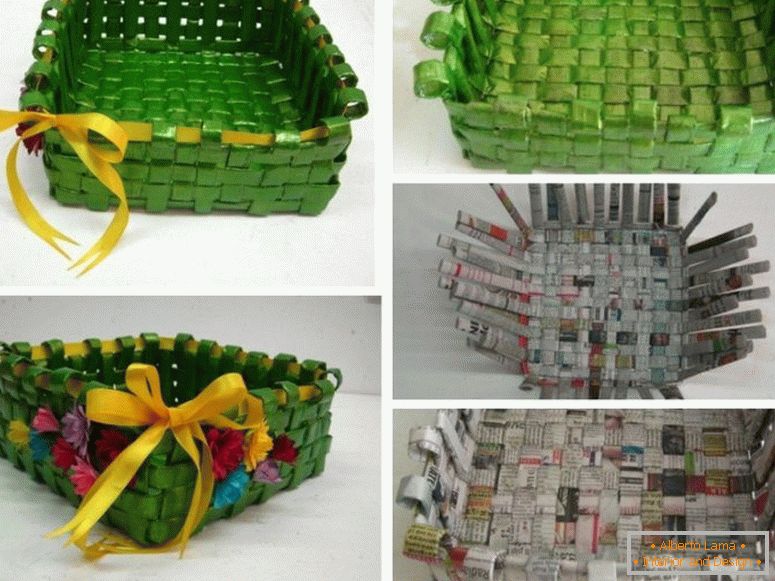
Types of weaving from newspaper tubules for beginners are round or square, it is much easier to learn the first way.
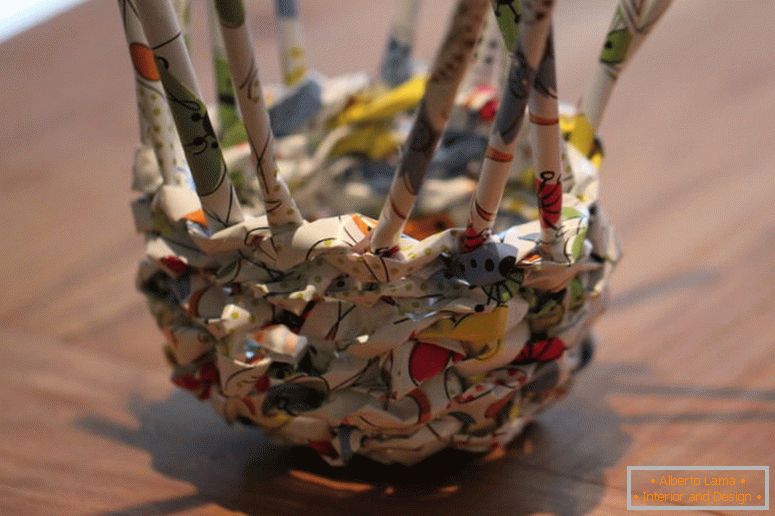
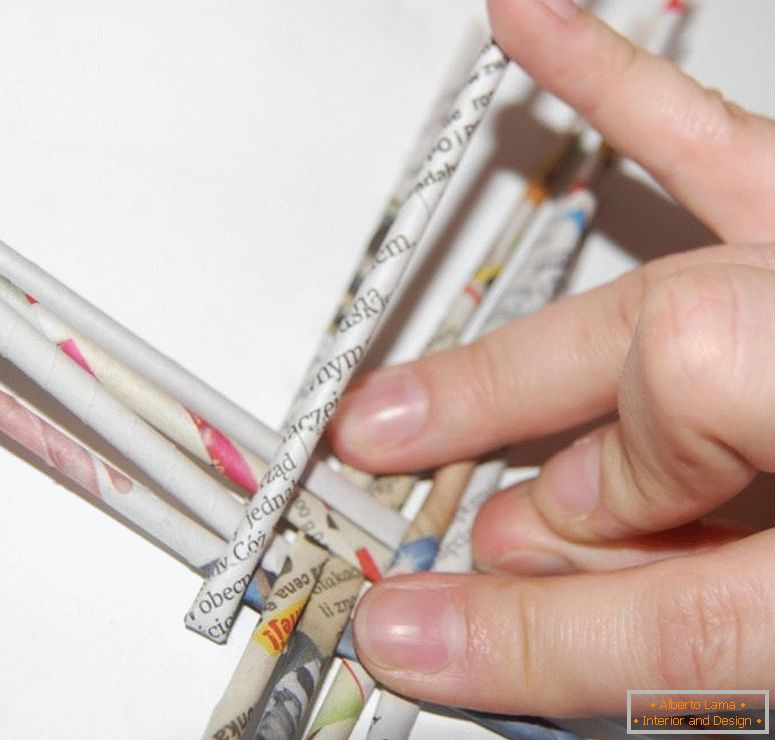
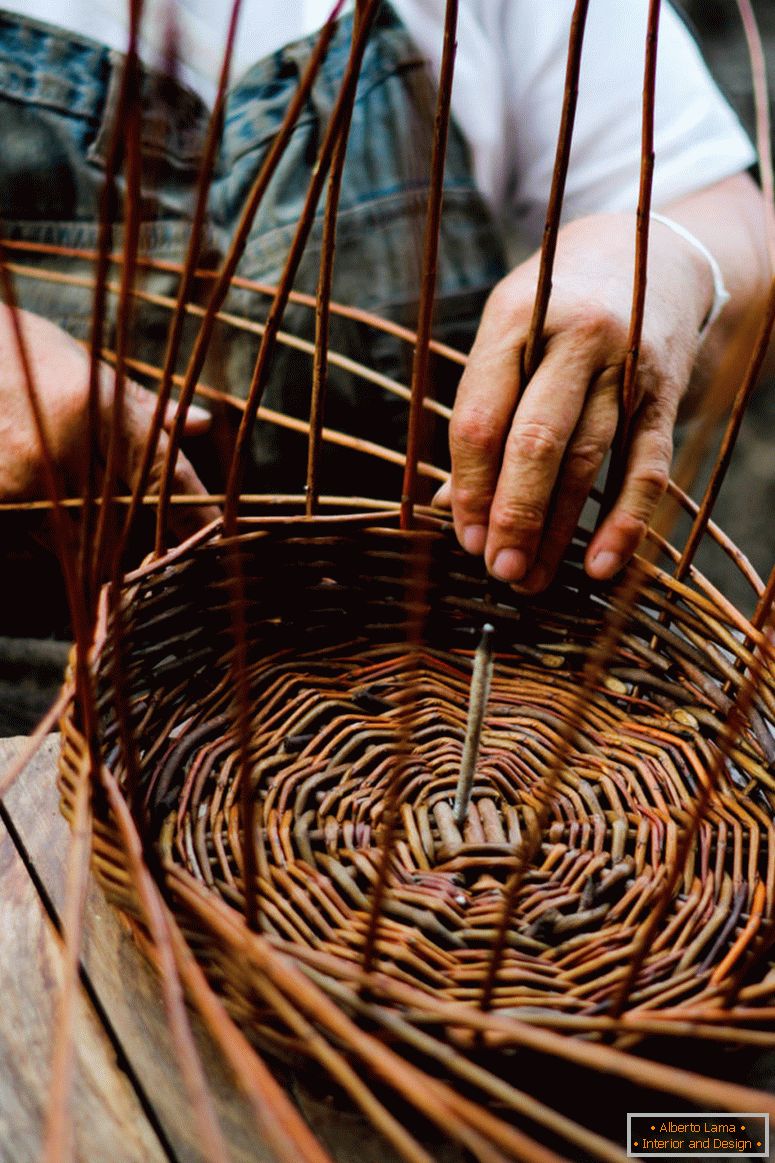
First you need to take a few thin tubes (3-5 pieces), put them in parallel as much, then perpendicularly they are woven by two of the same groups of tubes. Stranded twigs should be pressed as tightly as possible to each other and an additional tube to fix them. To master this technique, it's enough to watch a video once or a photo-a lesson.
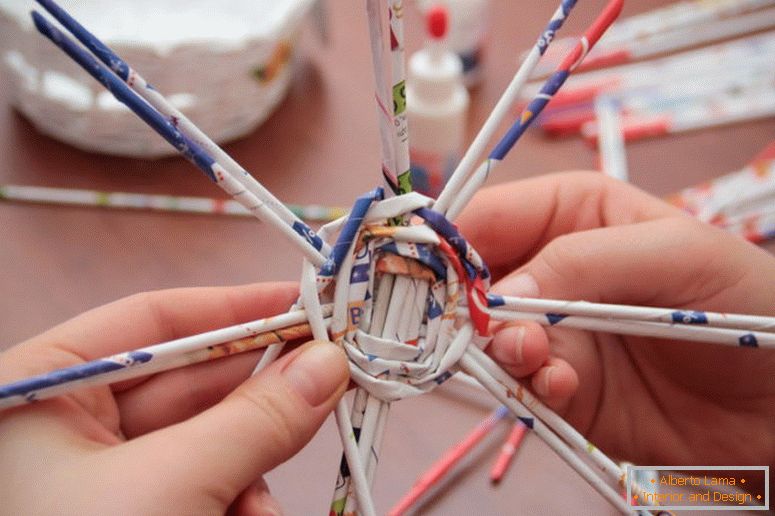
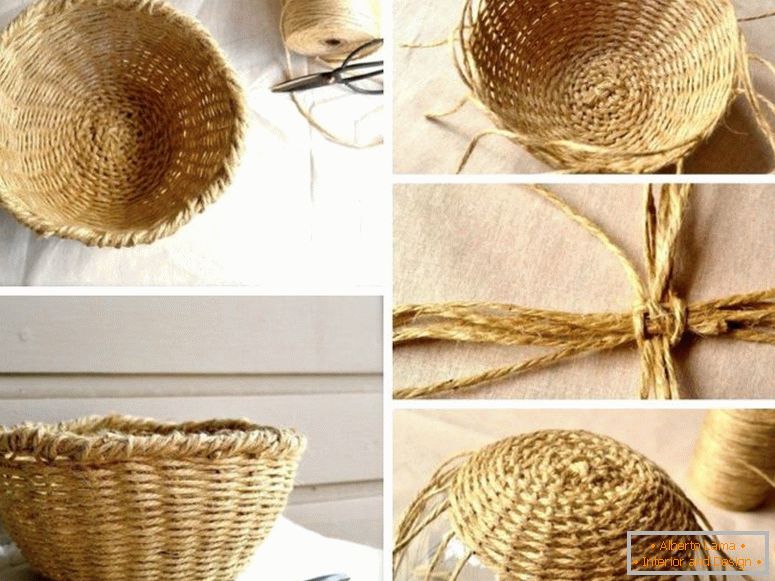
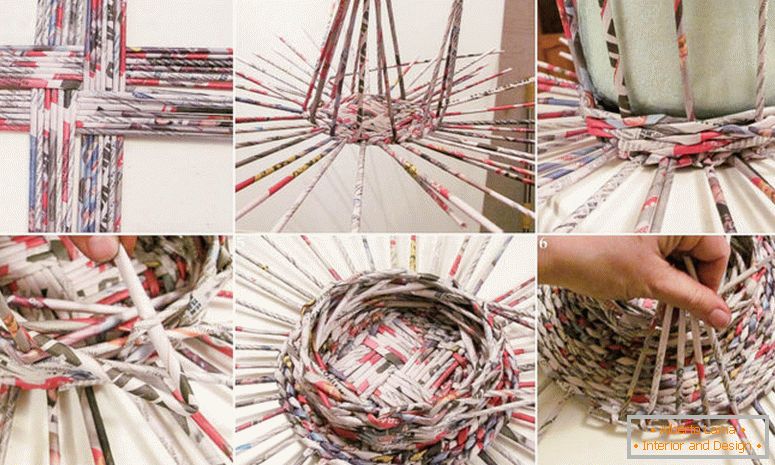
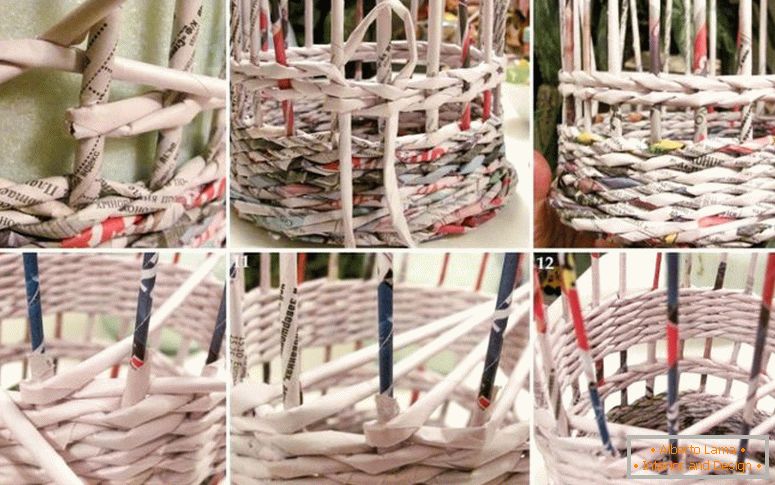
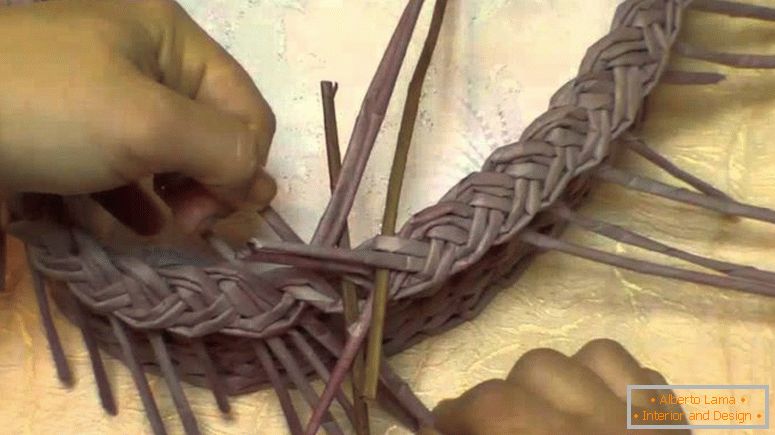
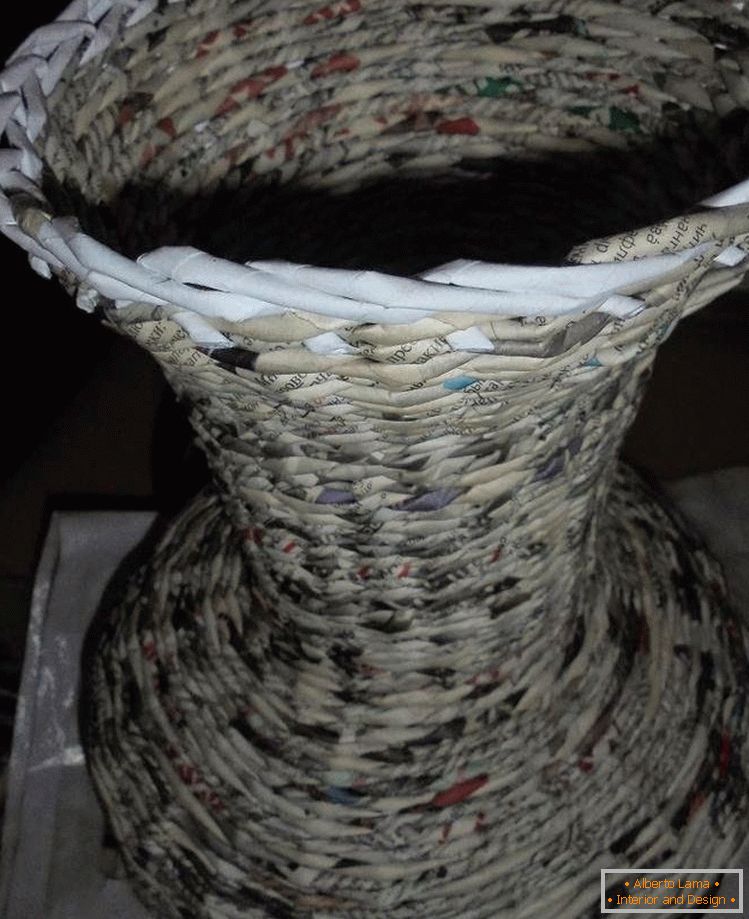
Then we begin to weave the walls. Depending on the height of the desired object, you may need to build up the tubes. To do this, they just need to gently insert the end of one stick into the end of the other and slightly scroll, if necessary fix glue.
To the edge of the bottom using a cardboard and clothespins are attached several racks and the magic begins - weaving the walls. To do this, one or two tubes are braided around the pillars, in front - from behind - in front - from behind. As soon as the rod ends, the next one is fastened to it, so one row lies on the other and ends only when you yourself want it.
Some products require a cover, which is manufactured in the same way, only a small height.
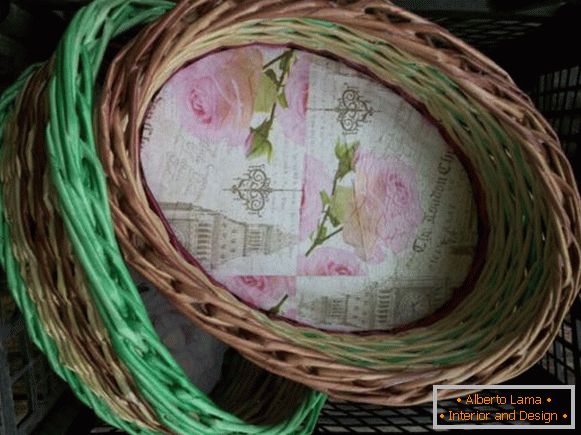
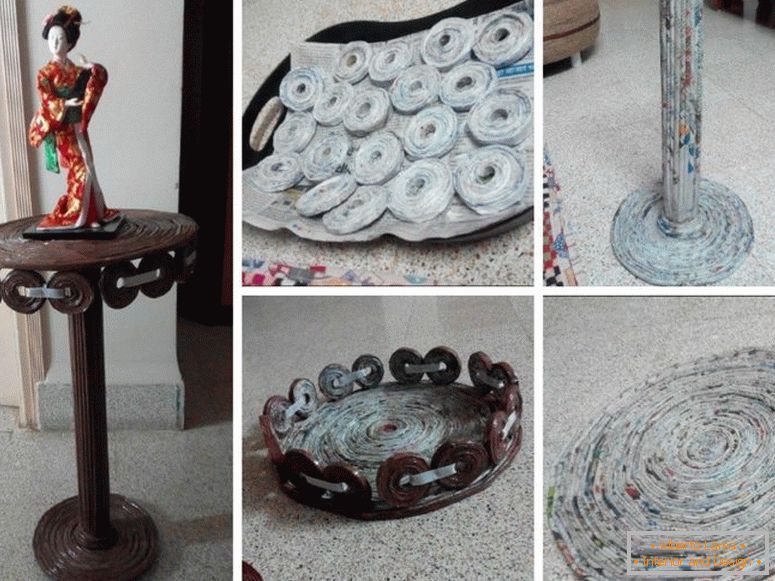
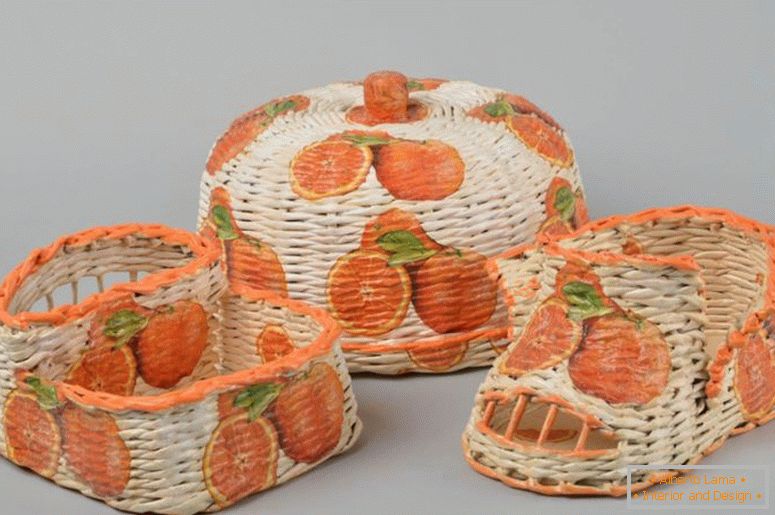
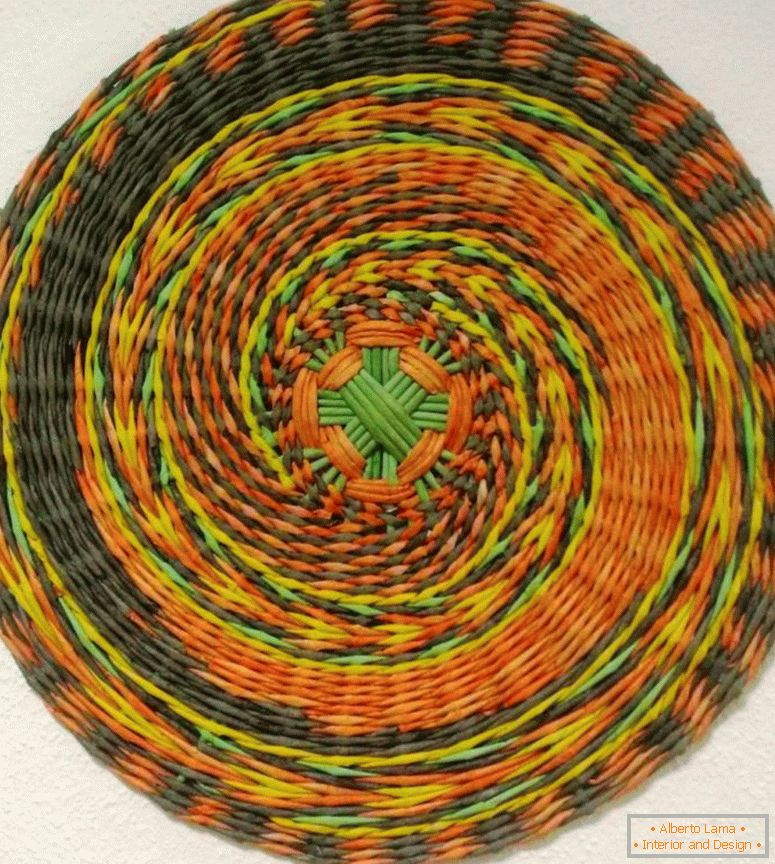
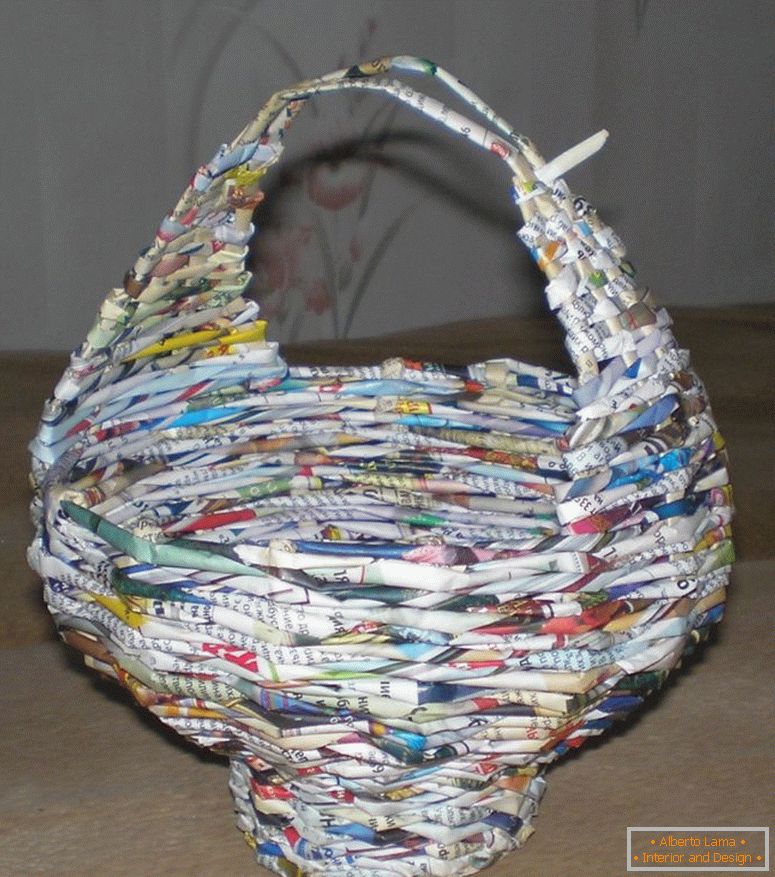
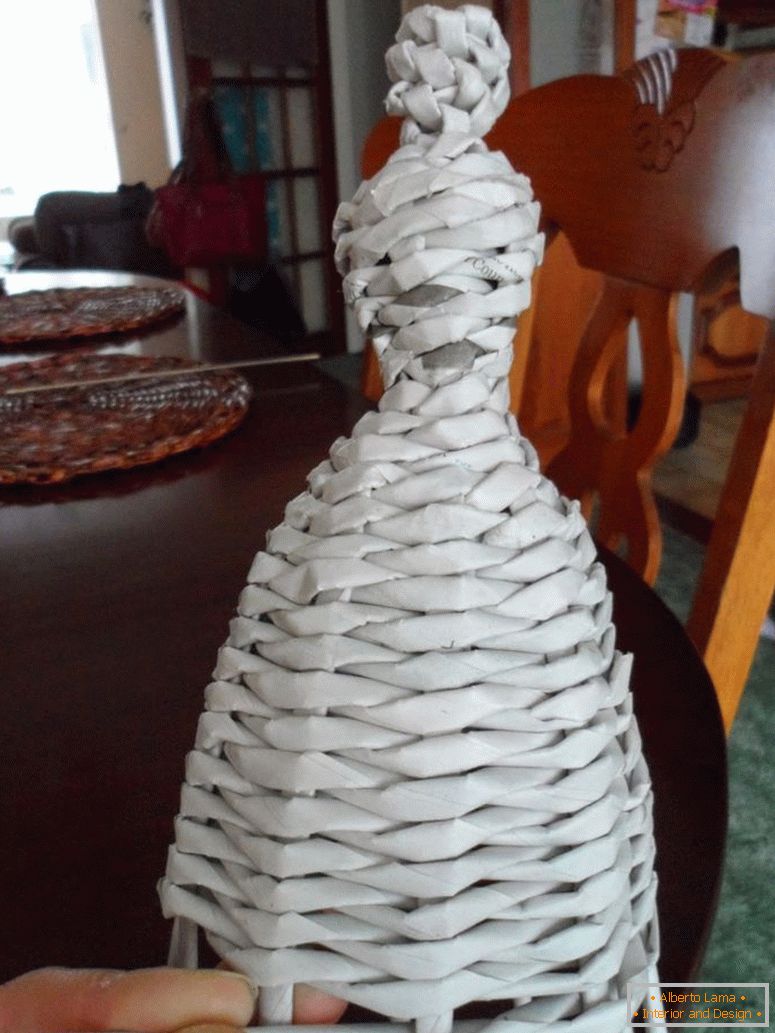
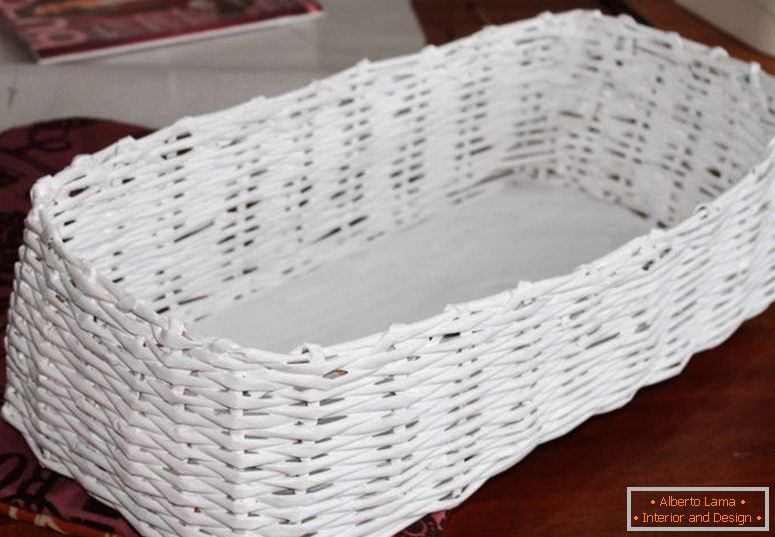
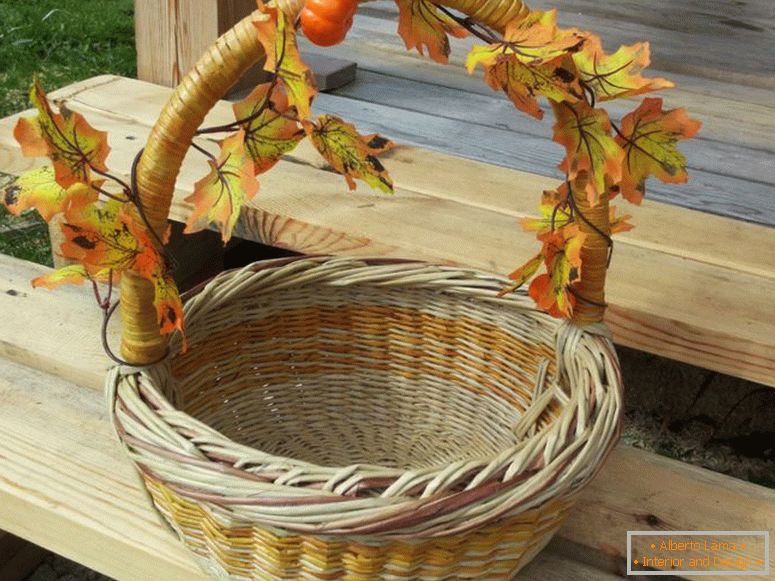
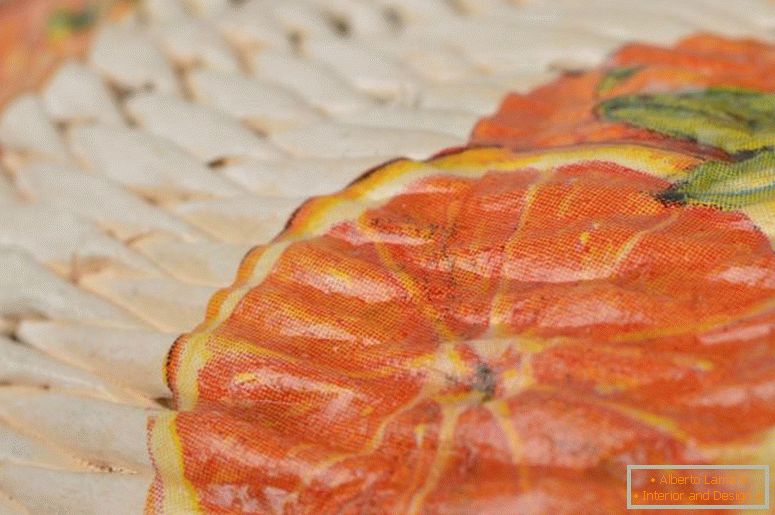
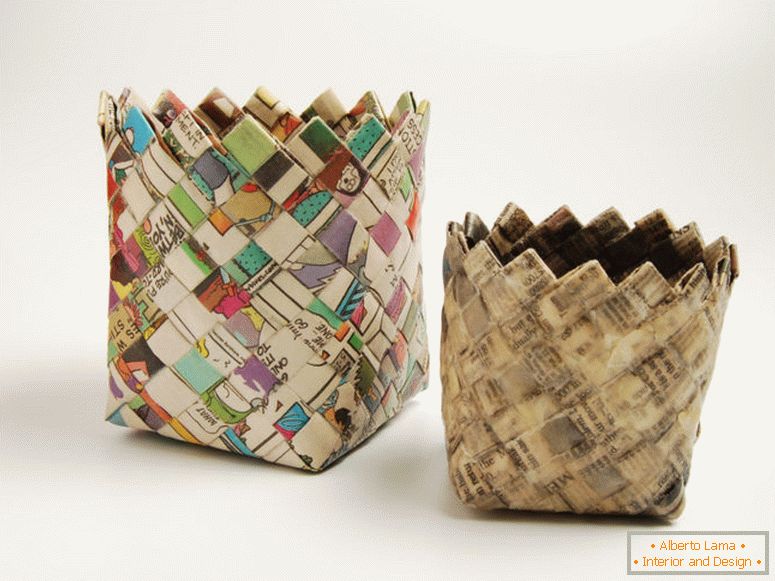
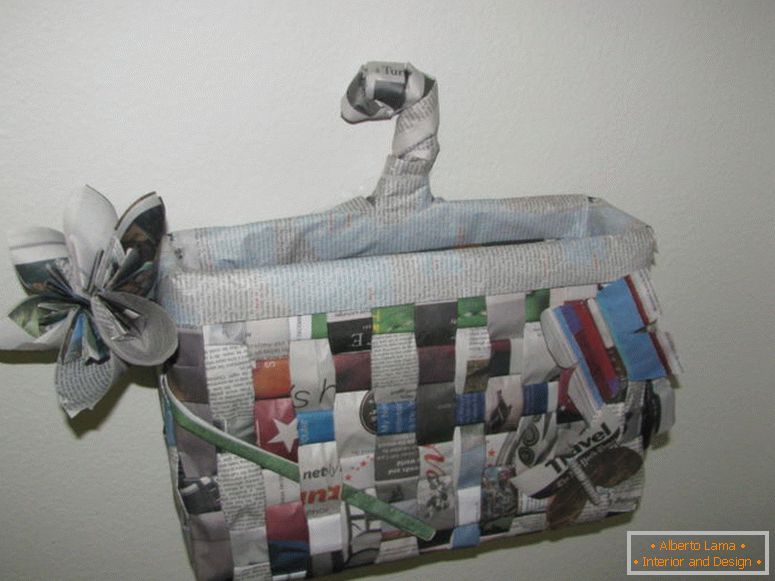
The finished product can be painted, painted with designs or varnished. If desired, the finished basket or vase can be wrapped with ribbon, glue beads or decorative flowers.
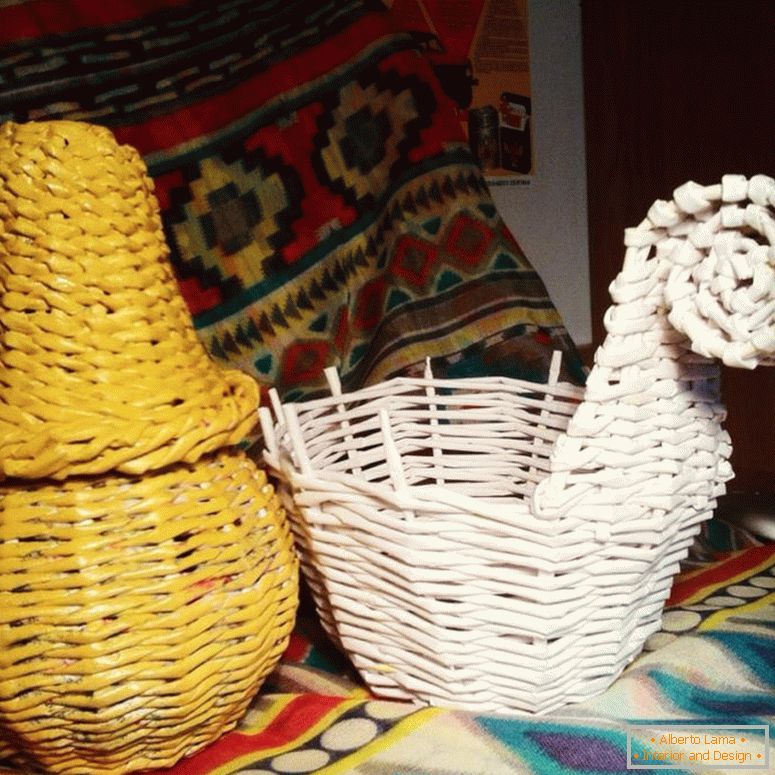
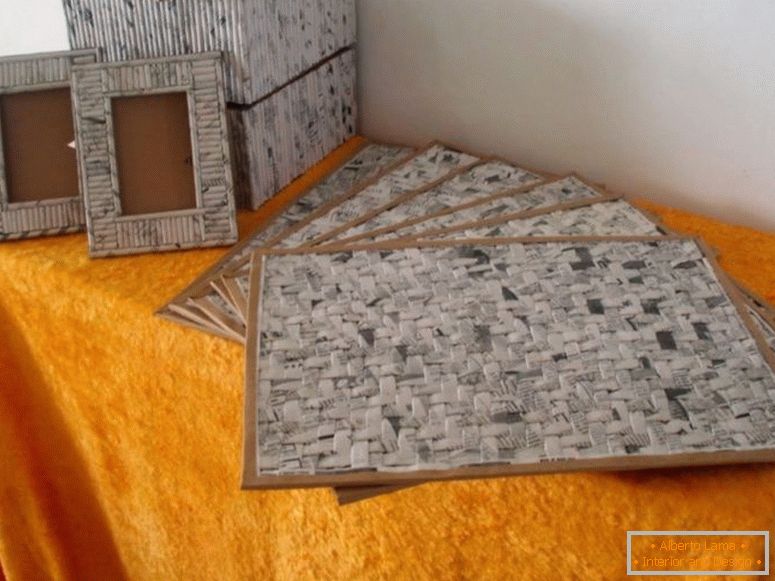
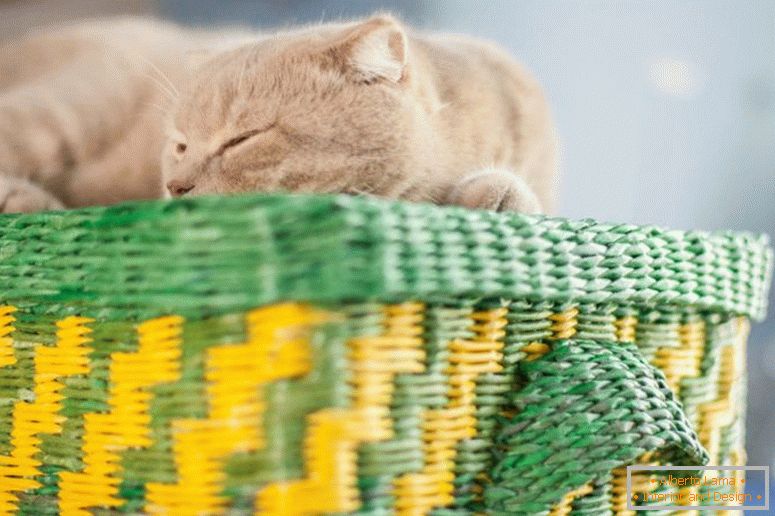
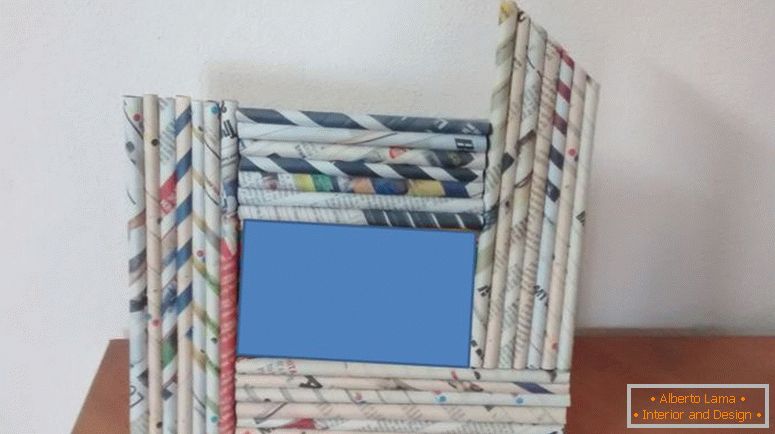
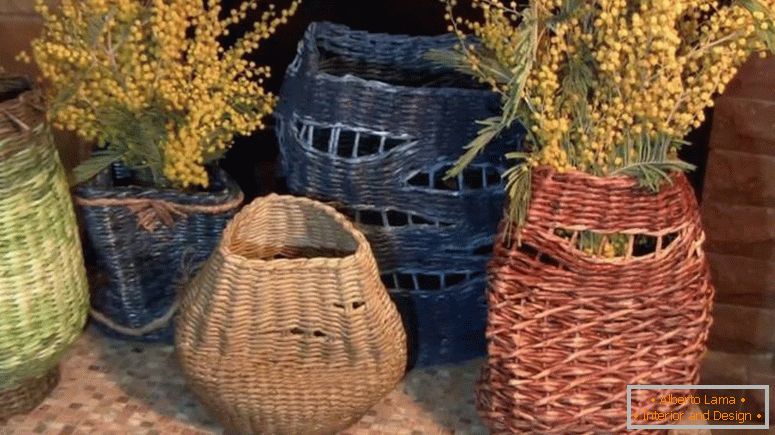
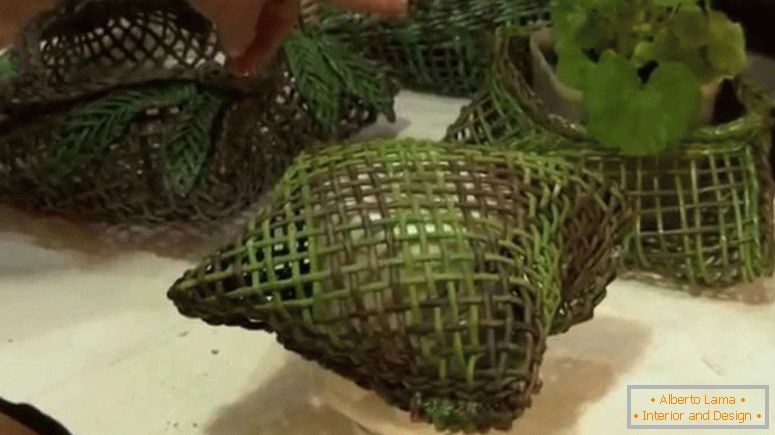
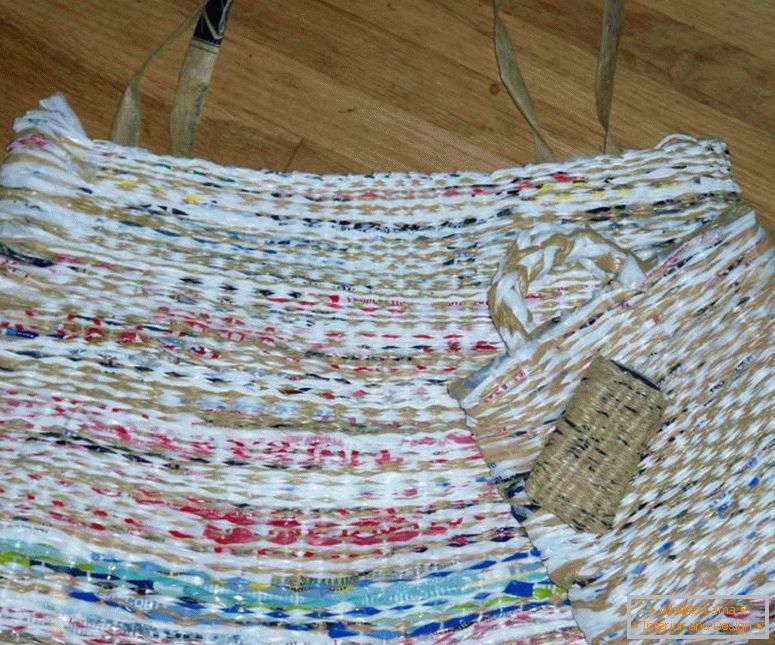
Photos of beautiful works of weaving from newspaper tubes
 Decor of the rope - photos of fashionable novelties in the interior
 Decoupage of plates - an interesting master class with step-by-step instruction and photo examples
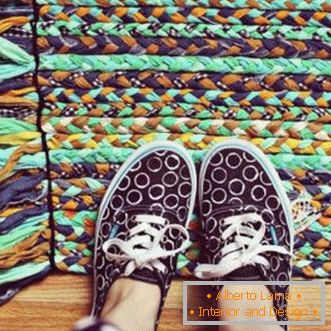 Rug in the bathroom with your hands - detailed instructions for beginners (55 photos of ideas)
 Necklace with your hands - the best master class with photo examples
 Decoupage by yourself - step by step instruction with photo and description
 Rugs with their own hands - photos of the best variants of beautiful rugs in the interior

 Stands under the hot - how to make their own hands? Step-by-step instruction with photo
 The dream catcher - a master class with step-by-step instructions
 Salted dough pieces - how to make your own hands? Instruction with photo ideas.