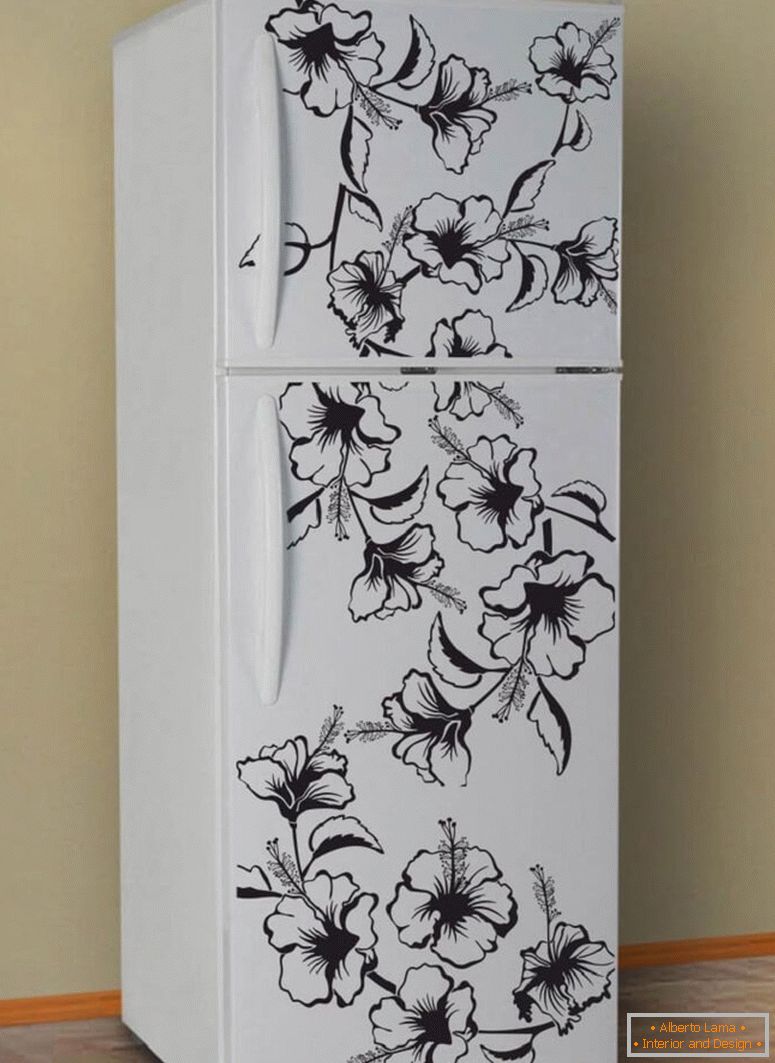
In order to decorate your living quarters, you should choose one of the most unique and individual images. To achieve the desired result, there are many ways, but the most popular is the decor of the walls, using special stencils, since they are easy enough to use, although they have a high cost.
Thanks to the perfectly selected design, you can not only highlight the particular style of your room, but also pay special attention to individual sites, creating a special mood in them. In this article, we'll figure out how to make a stencil yourself, see a photo of a beautifully made stencil and learn the basic subtleties of creating the right ornament.
The actuality of the stencils lies in the fact that they can be easily applied not only to the surface of walls, but also to the floor, fireplace or even windows, everything depends only on the imagination of the owner himself.
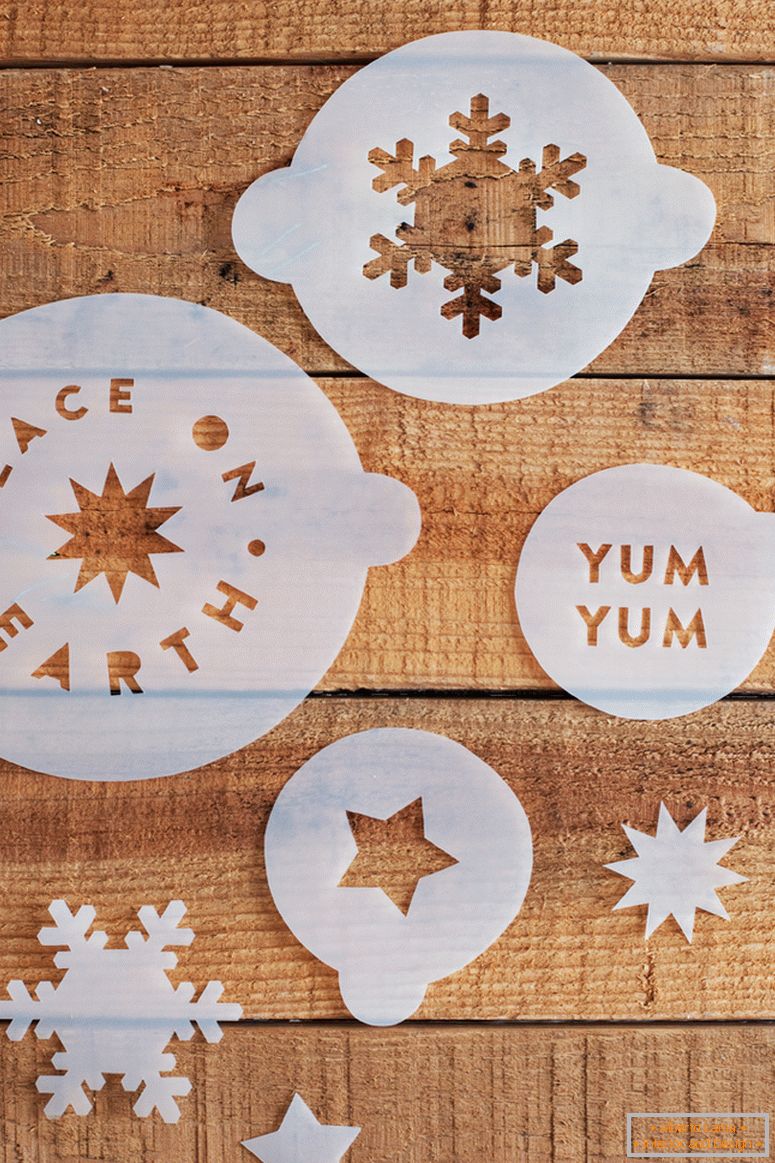
Table of contents of the article:
- Types of stencils
- Selecting a stencil
- Stencil yourself
- Photo examples of ready-made stencils
Types of stencils
Such material as the stencil has several interesting varieties:
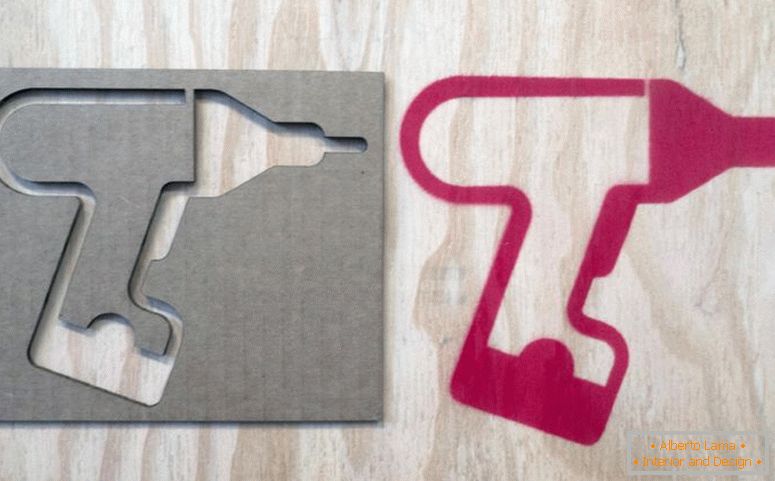
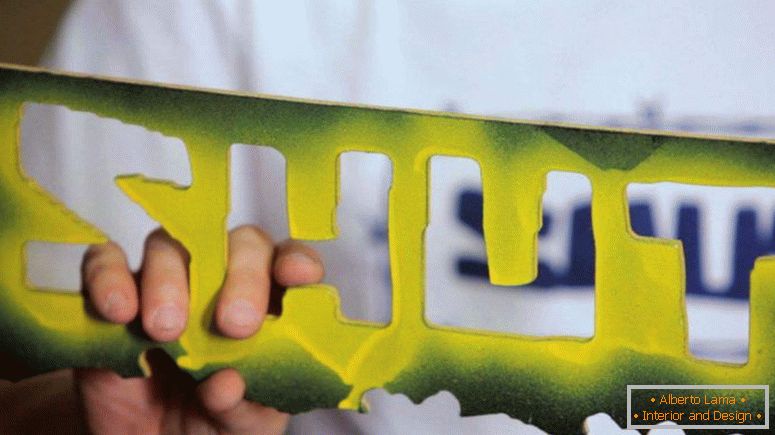
- monophonic - the most common, when a certain color is applied to the desired surface;
- multicolor - it helps to create an excellent drawing, which has several color shades, however, it requires skill and several trainings, since it will require a sufficient variety of different stencils, and therefore you will have to paint, overlaying one on top of the other;
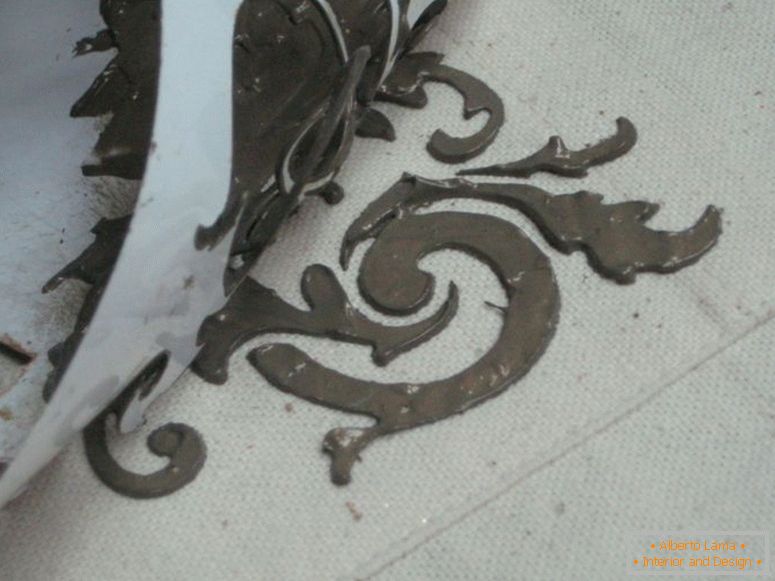
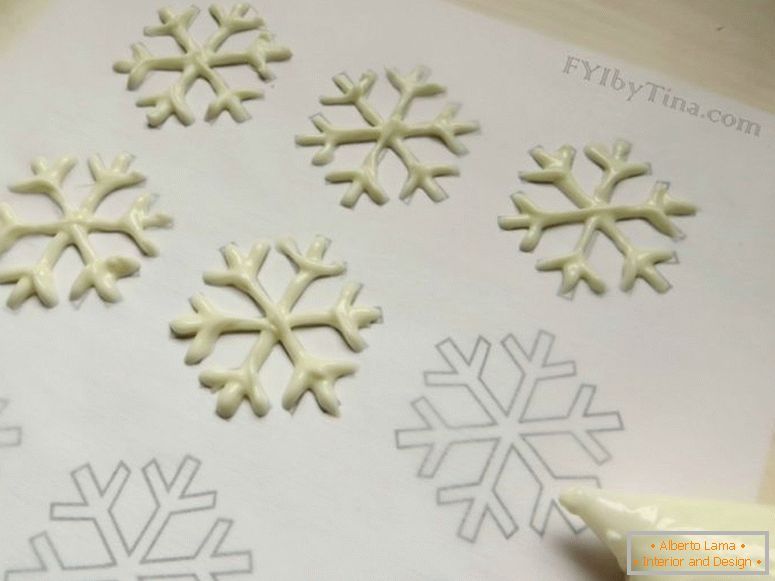
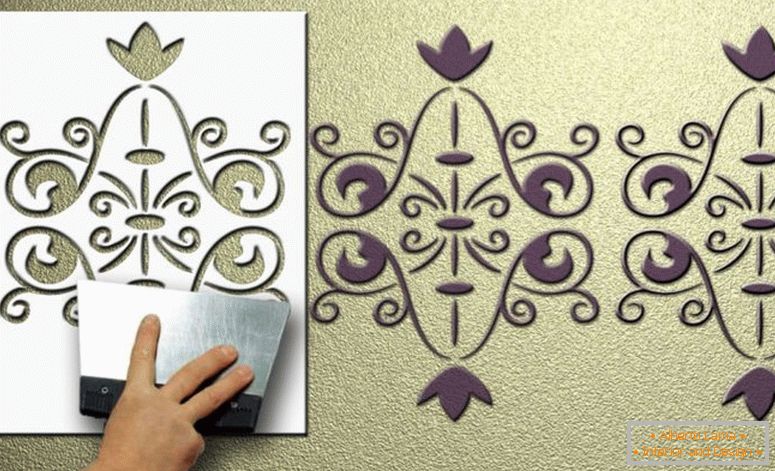
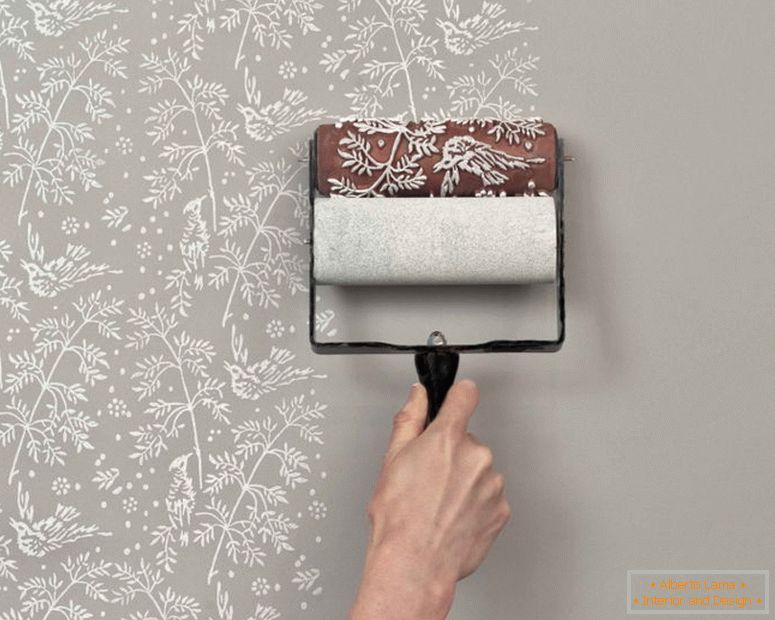
- volumetric for walls - applied using a special putty, with a thickness of not more than 3 millimeters, helps to create a feeling of a velvety surface;
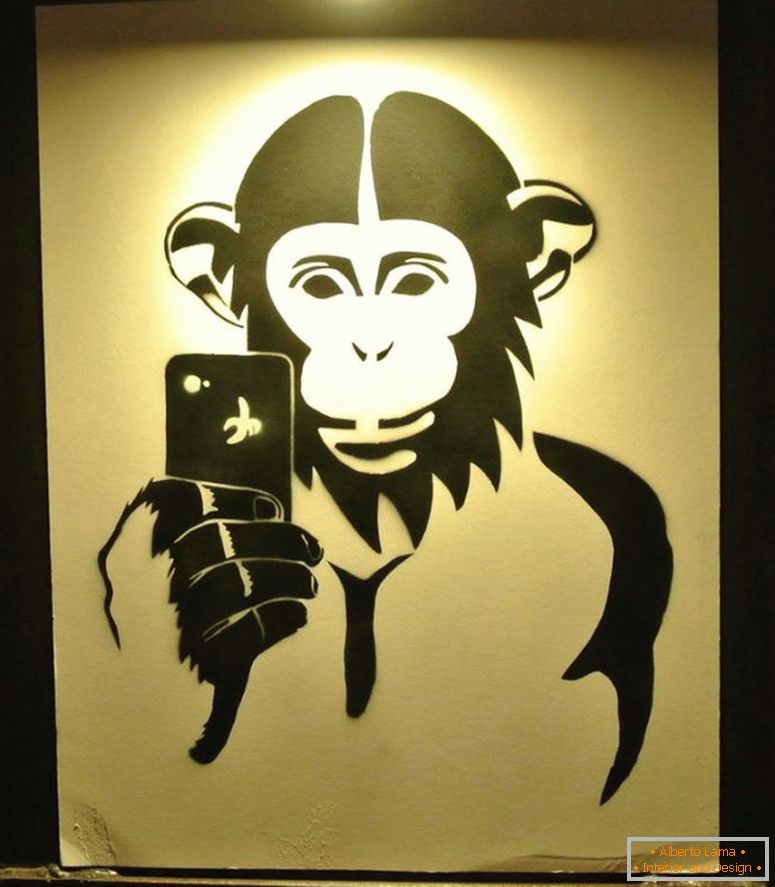
- reverse stencil - the paint must be applied outside the outline of the pattern, as this gives the opportunity to get a backlight effect suitable for dark enough shades of your bedroom.
For a more detailed study of the material it is not enough to know only its types, it is necessary to pay special attention to the choice of the stencil itself, which we will do. Bio-fireplace by own hands - step by step instruction with description and photo
Selecting a stencil
Initially, the choice of stencil for walls should be based directly on the general style of the room that you would like to decorate, but there are several important recommendations:
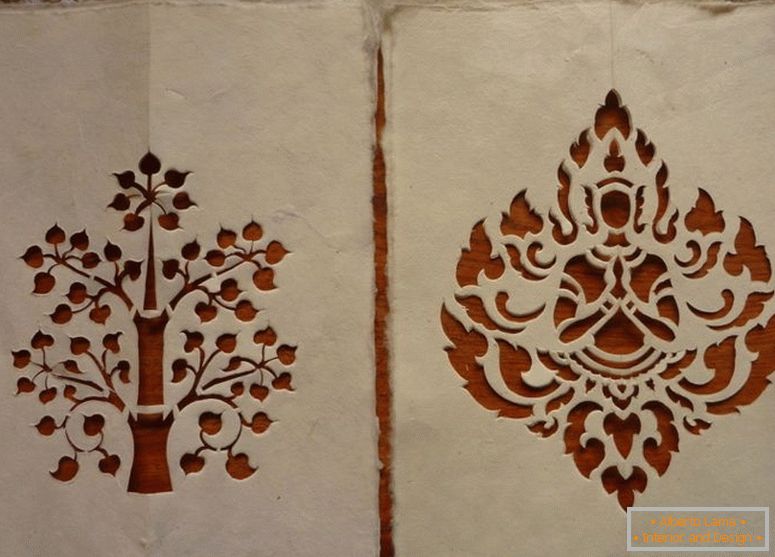
- Accuracy and brevity - especially in the presence of a large number of parts, for example, excessive infatuation with the application of a stencil drawing can be transformed into graffiti;
- type of ornament - it should be remembered that each room should have its own individual ornament, otherwise your masterpiece may be completely tasteless;
- the absence of too small details - during registration, difficulties may arise with staining, and their appearance from a distance may be distorted and represent the usual spots of paint;
- the smallest number of jumpers and lines - will help make the drawing most understandable and neat.
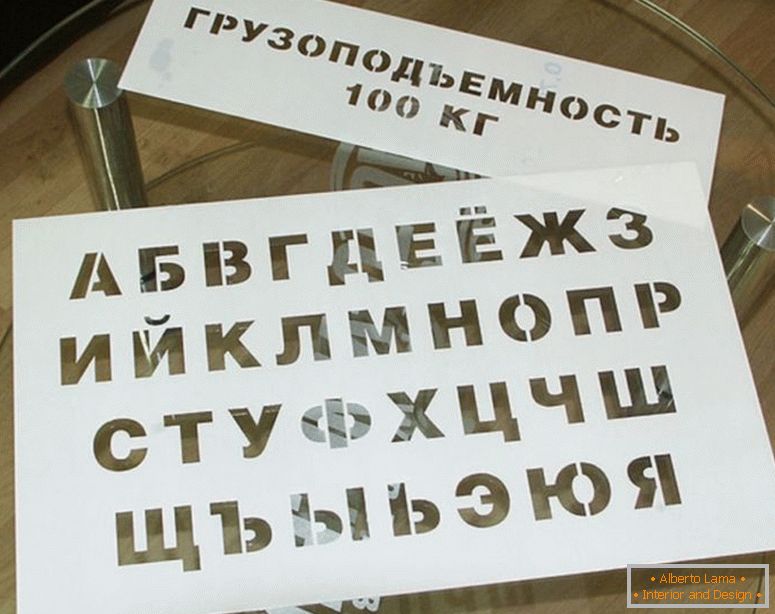
For the initial use of such ornaments, a small amount of stencil from paper to decorate the walls, as well as an ornament for the places near the switches, is perfect.
Also, an uncomplicated ornament near the mirrors or the table is perfect.
Stencil yourself
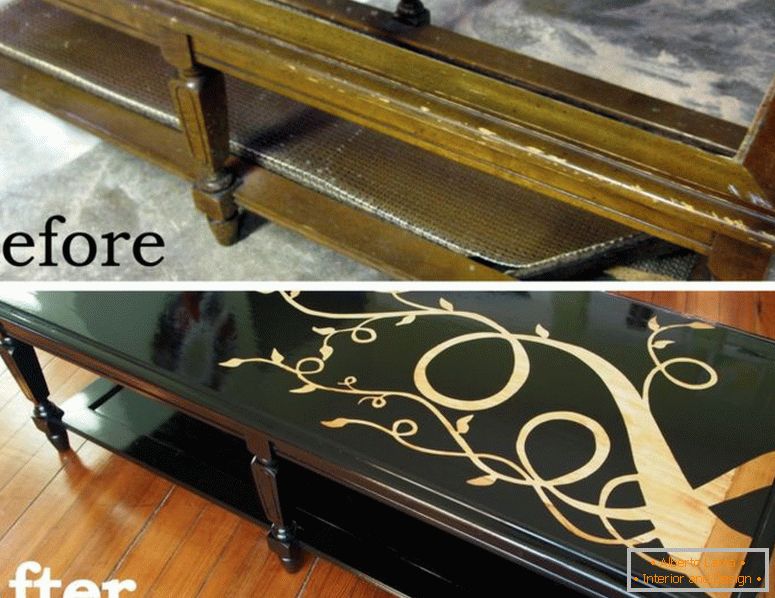
Nowadays it is not difficult to get ready-made ornament, however, the stencil made at home is especially actual.
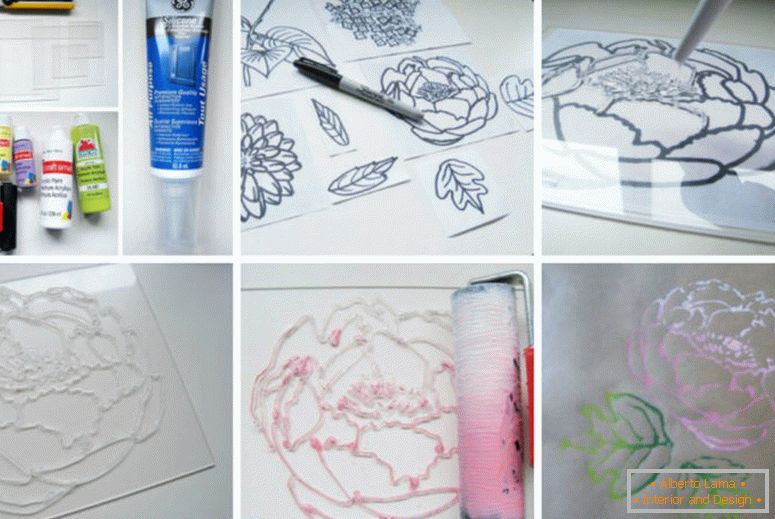
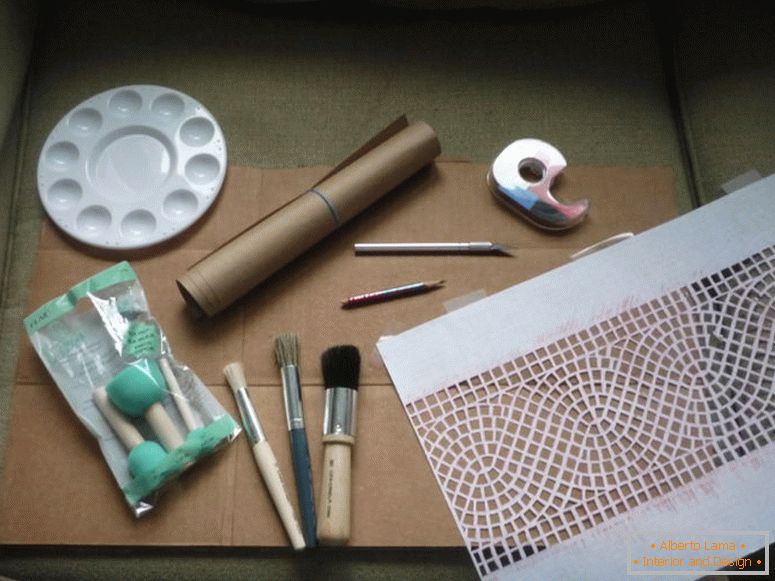
You will need:
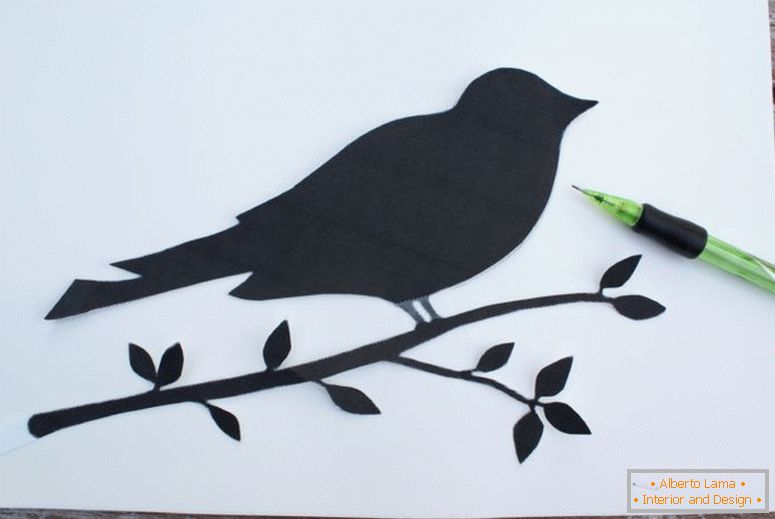
- the original version of the required figure;
- film, cardboard or plastic;
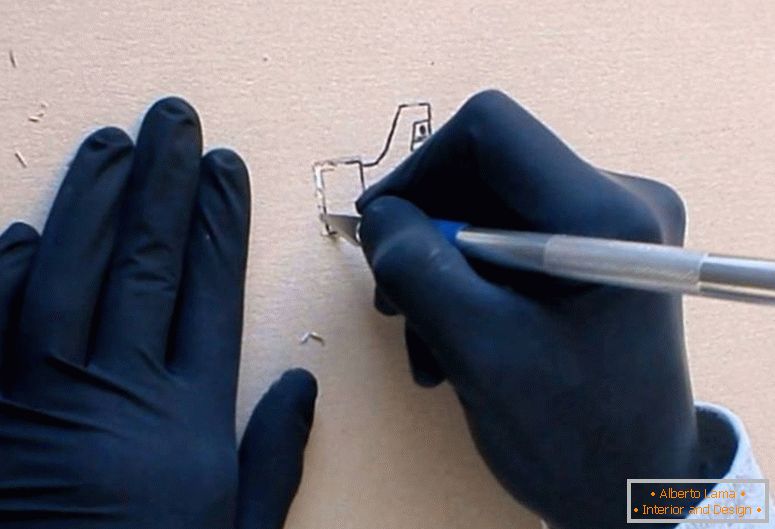
- sharp blade;
- pencil or marker;
- Scotch;
- A surface on which it is convenient to cut out a pattern, for example, glass.

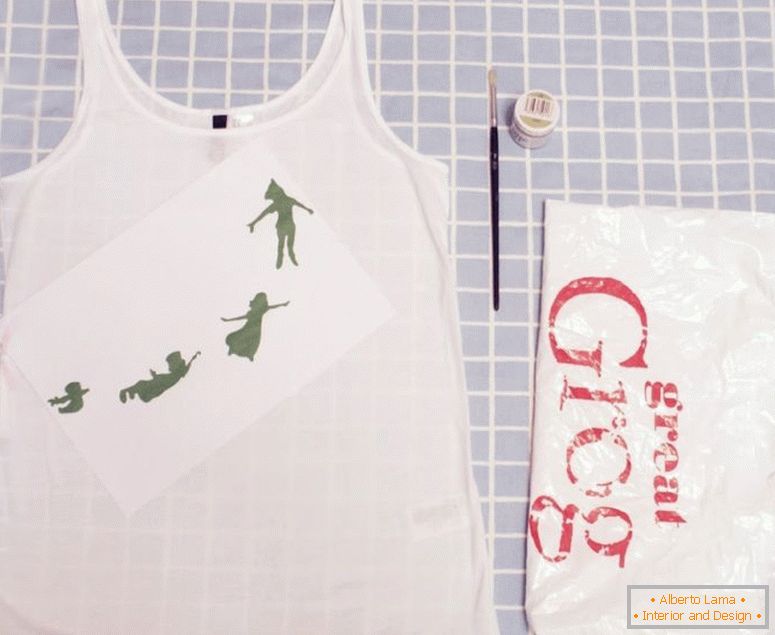
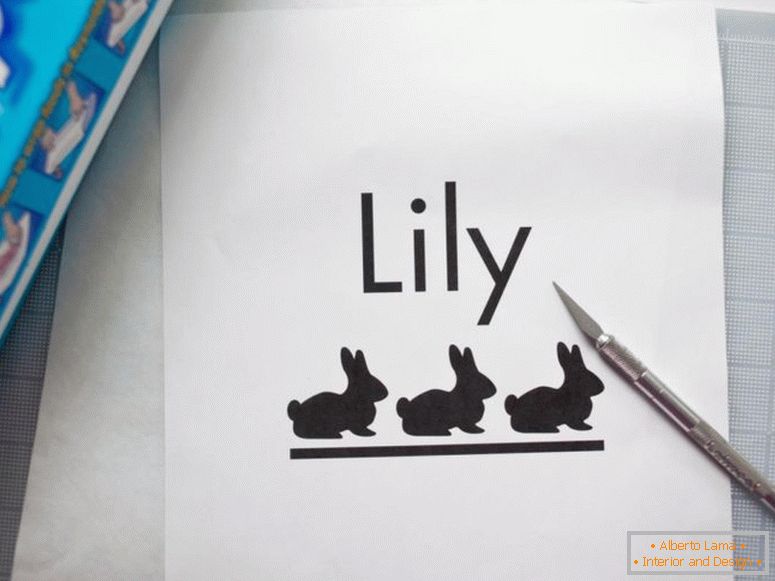
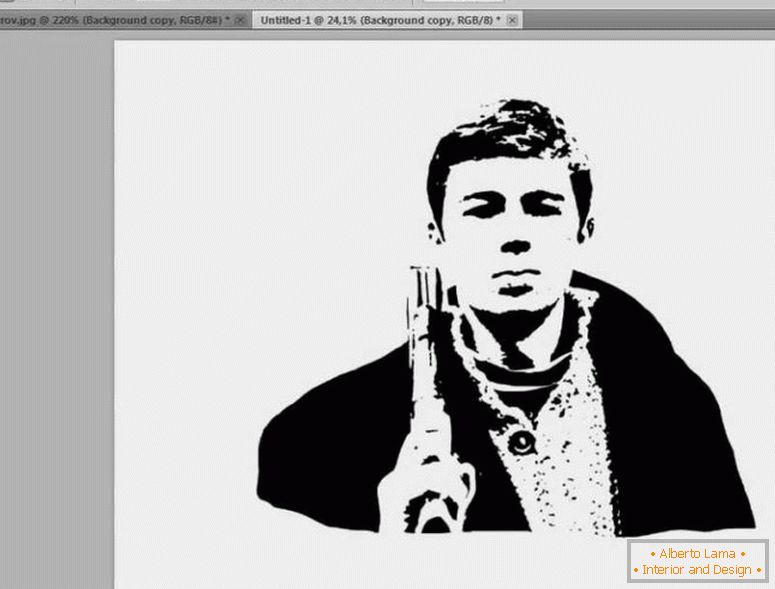
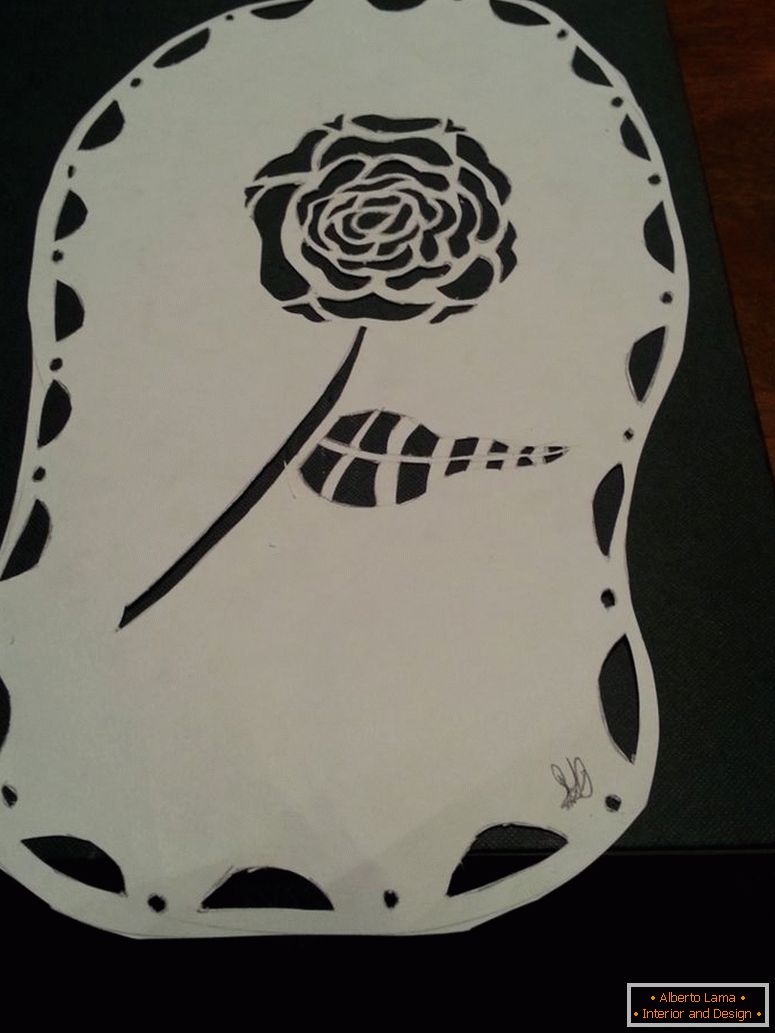
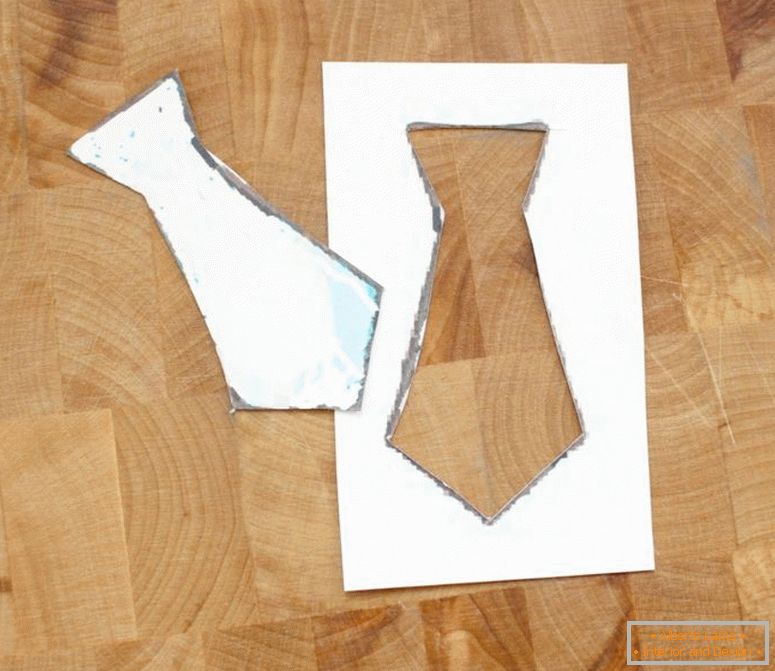
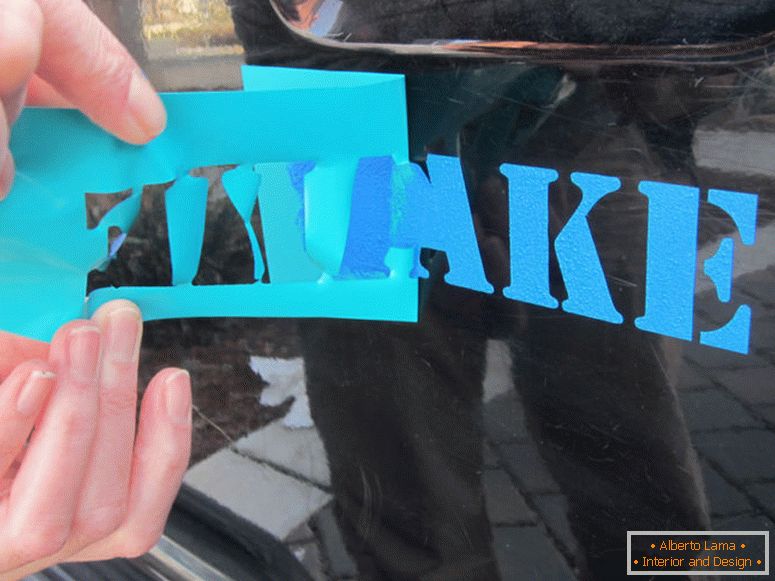
After you were able to finally decide on a suitable pattern, we proceed directly to the creation of the masterpiece itself, it is necessary first to make a stencil decor. It is also important to determine the stencil material.
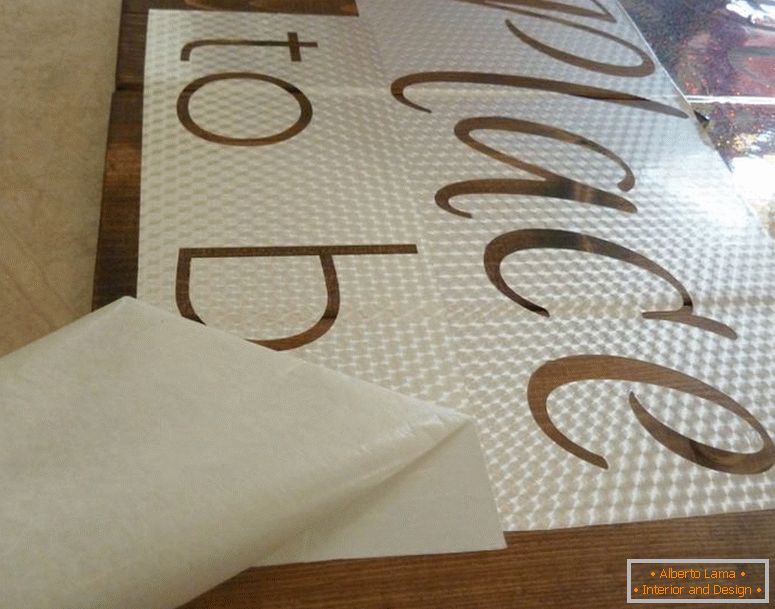
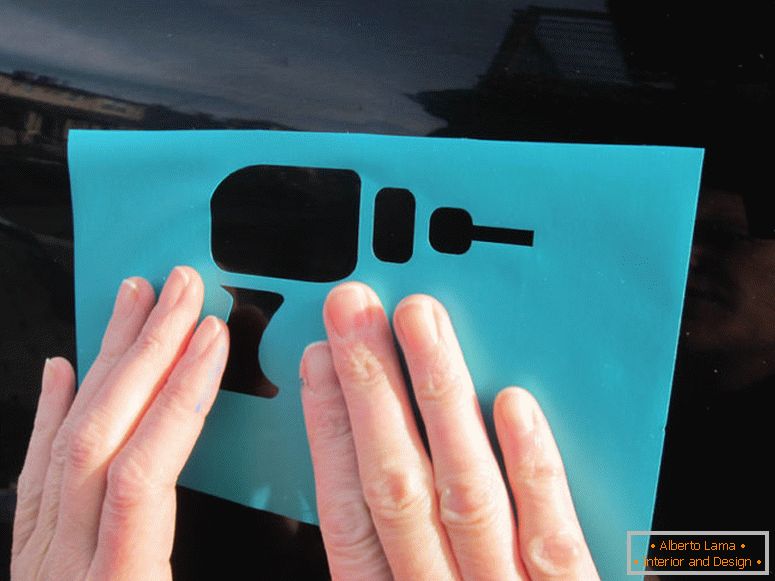
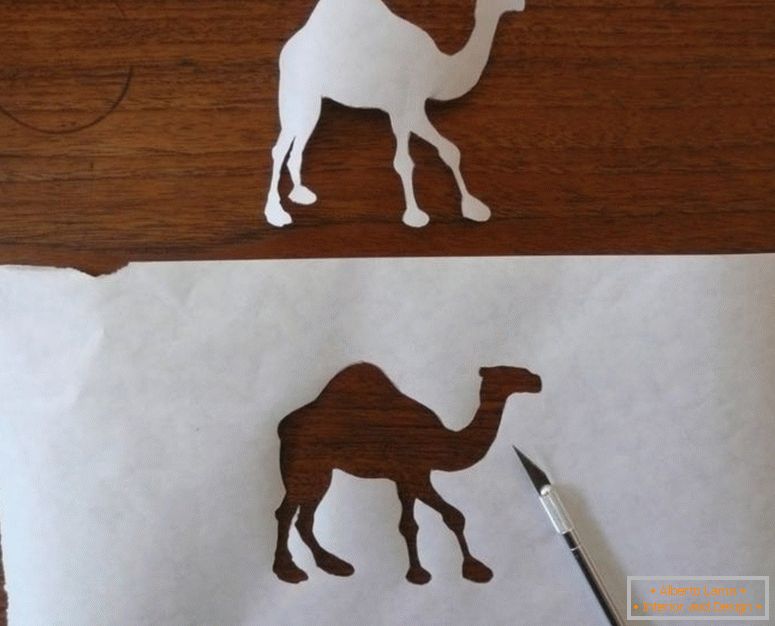
To transfer the ornament to the selected material, you need to use paper for copying or transparent plastic, and, to keep your drawing always in one position, it's worth sticking it on staples or scotch tape.
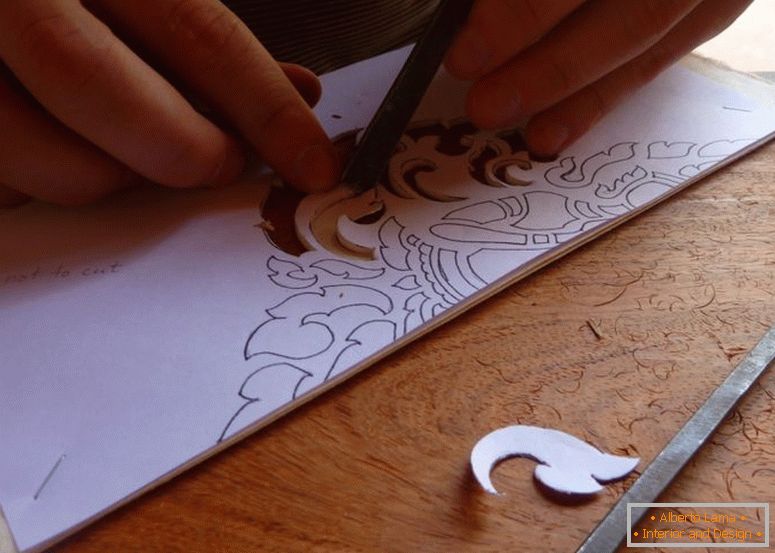
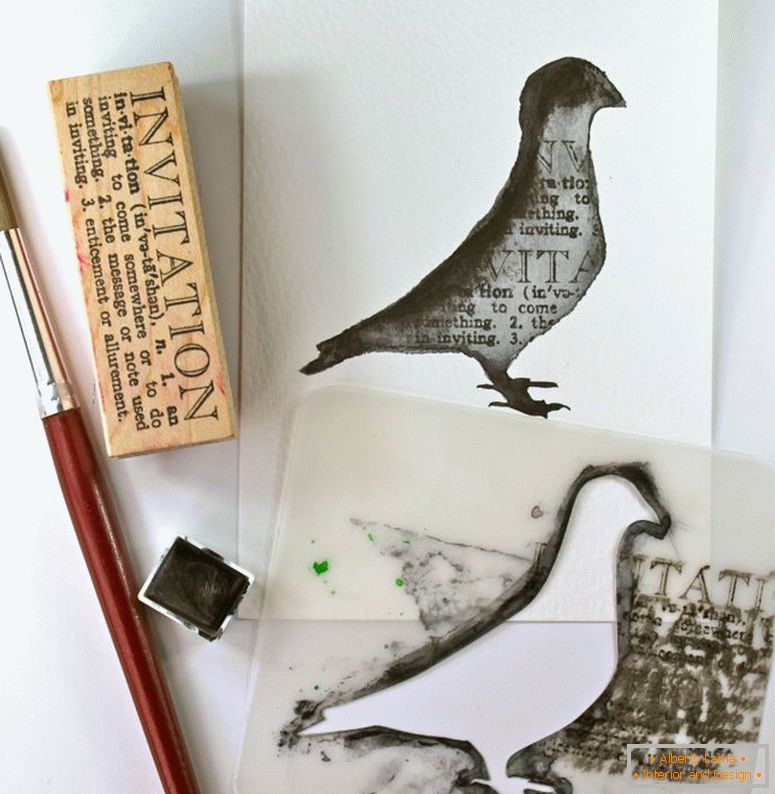
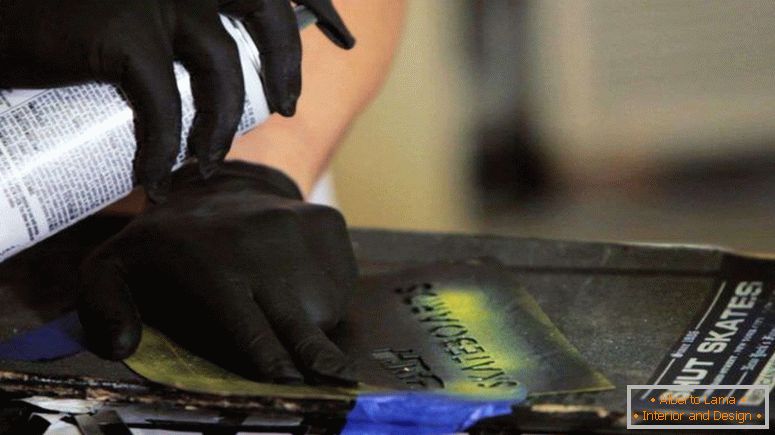
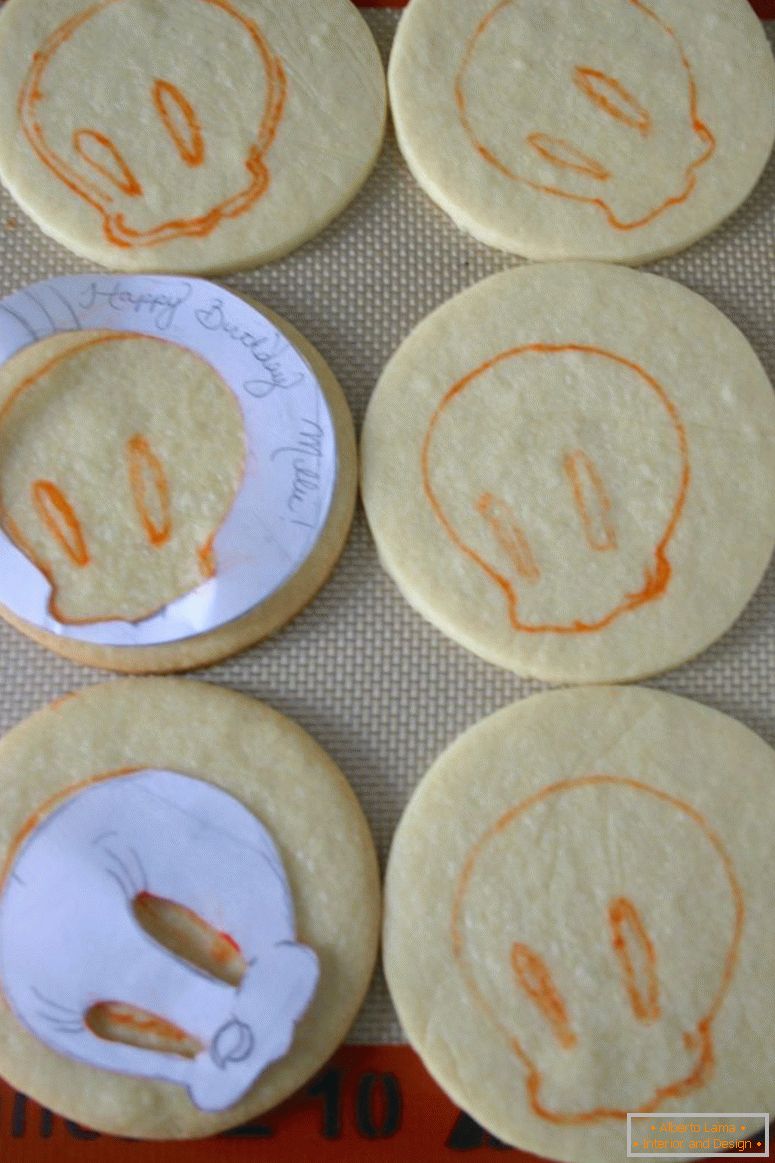
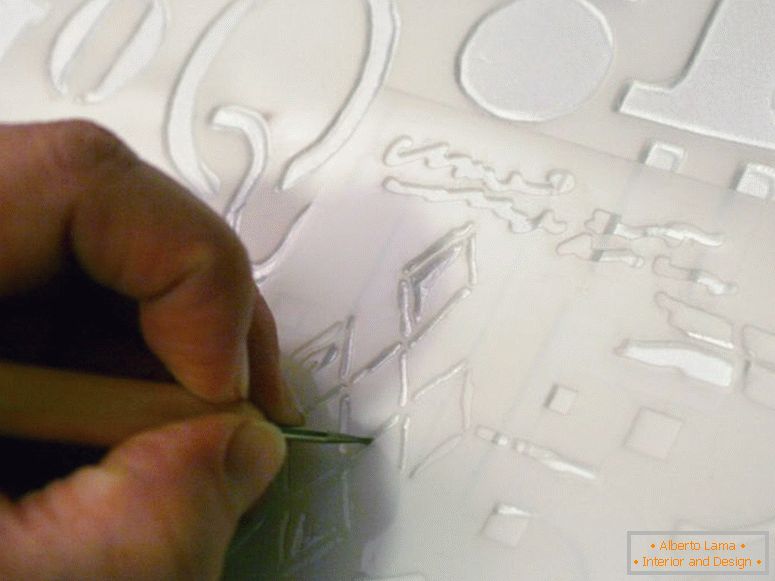
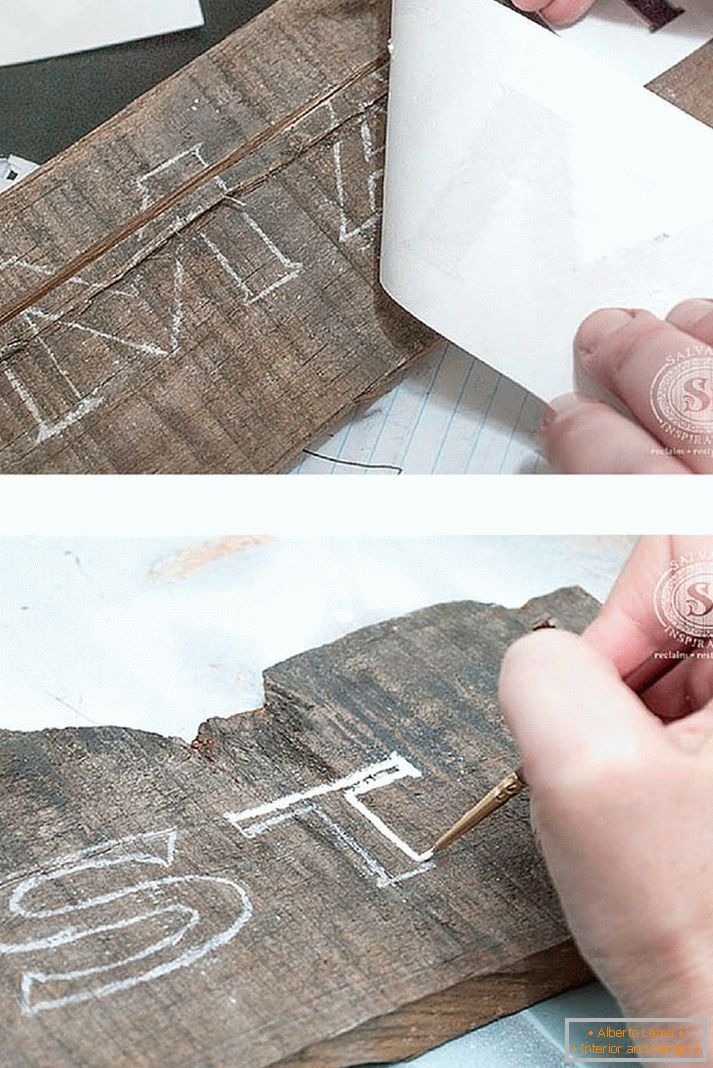
Next, carefully, without extra slices and burrs, we begin to cut out the picture.
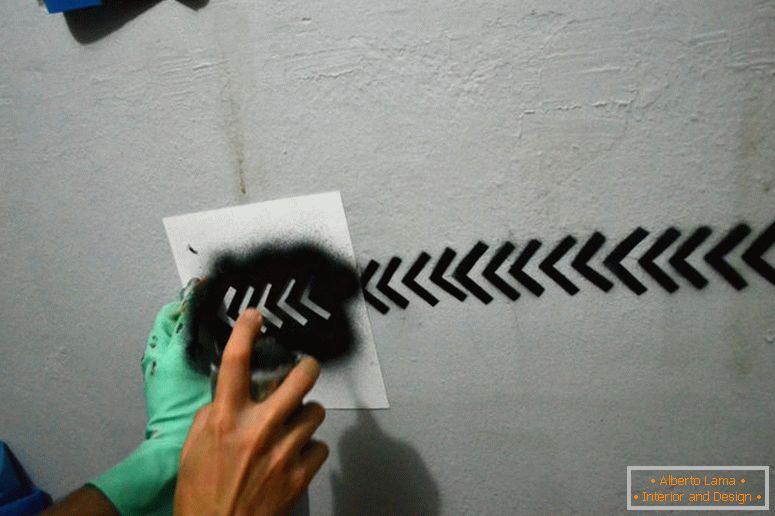
Carefully prepare the working surface for the ornamentation. It is enough to remove dust and possible dirt. Next, we apply the necessary marking, using the level for a much even application.
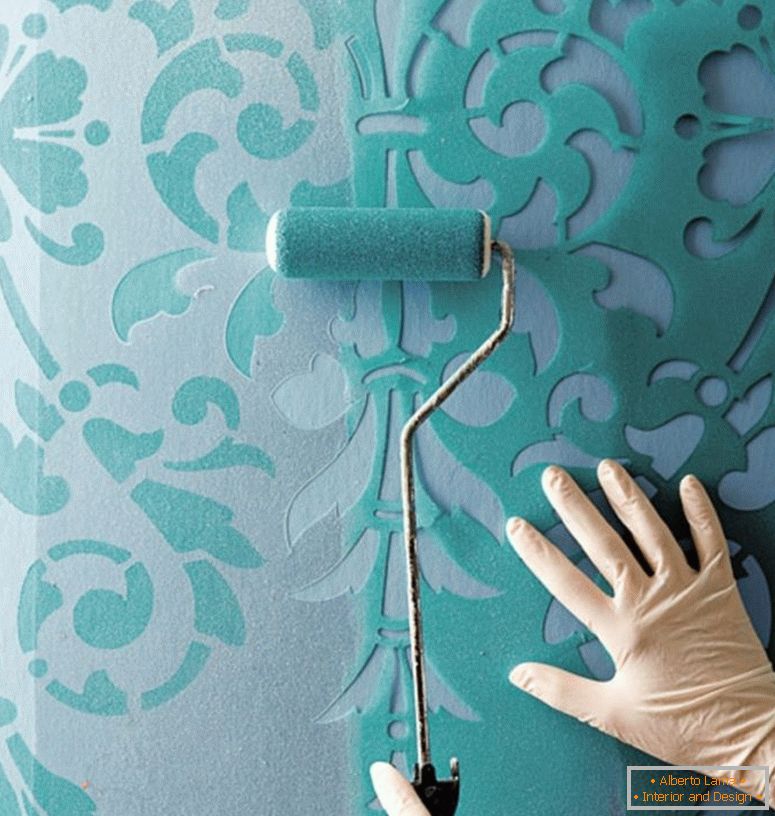
To fix the stencil on the wall, the so-called aerosol glue is perfect. It leaves no traces and is able to be sprayed evenly and firmly pressed against the surface.
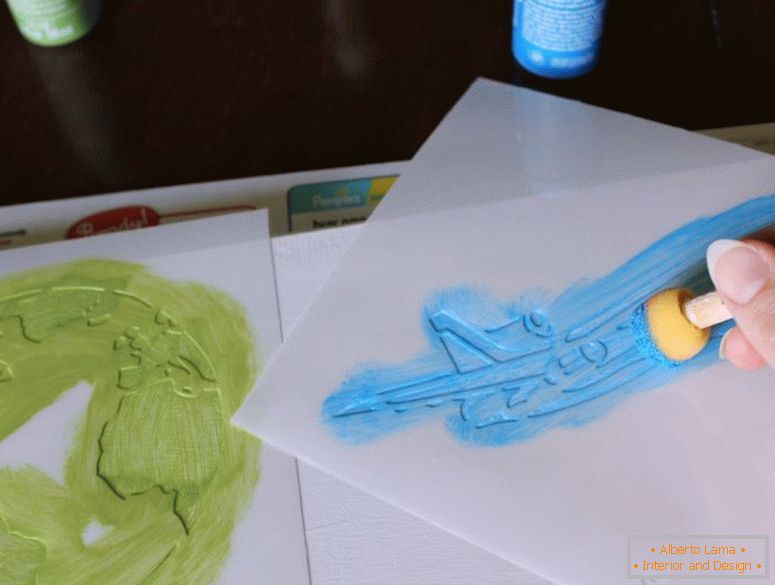
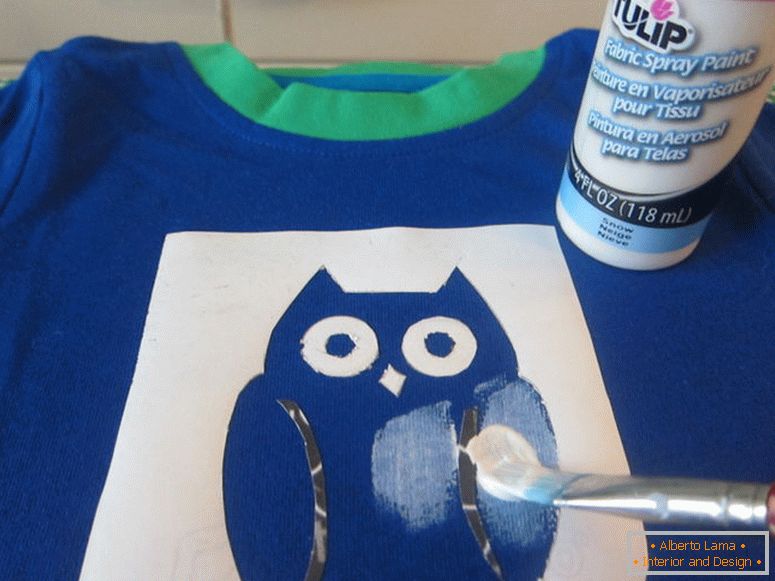
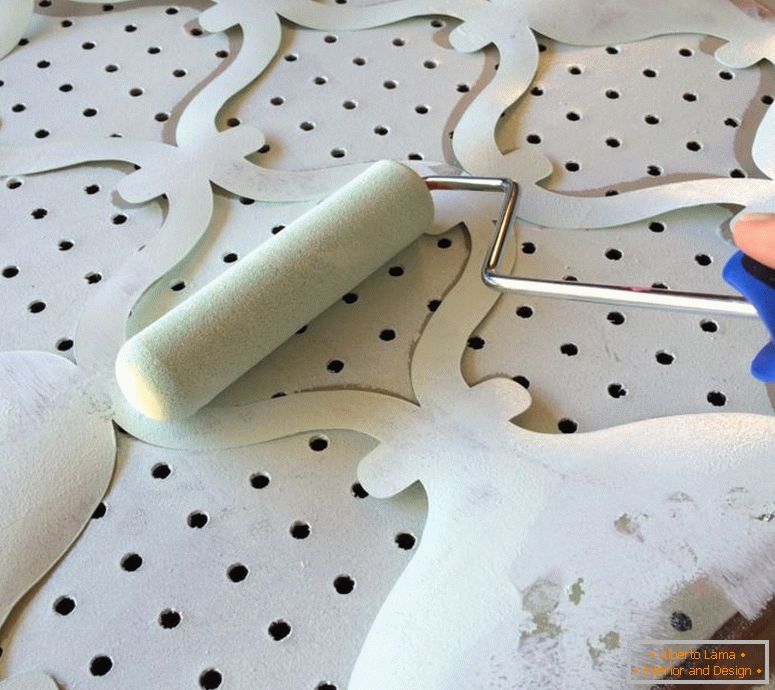
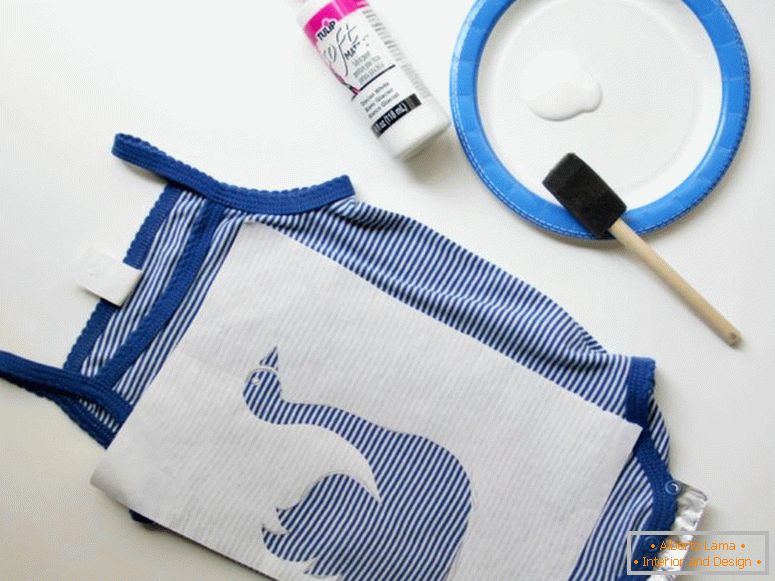
The staining process also has several distinctive features. Used exclusively acrylic paint, so it dries quickly and is great for all types of surfaces. Paint during operation should be used in the least amount so that there is no possible leakage.
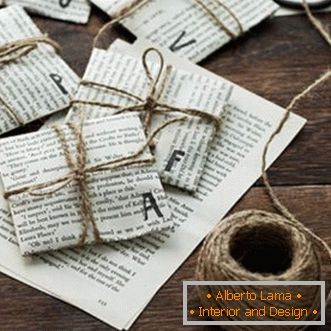 Decor of the rope - photos of fashionable novelties in the interior
 Decoupage of plates - an interesting master class with step-by-step instruction and photo examples
 Rug in the bathroom with your hands - detailed instructions for beginners (55 photos of ideas)
In order for the drawing to be sufficiently saturated, it is necessary to apply the paint for several times, and also after removing the stencil, it will be necessary to draw some places with a fine brush.
In order for the drawing to be voluminous, you will need an acrylic putty, which should also be applied in several layers. Without waiting for a complete drying, the stencil must be removed so that the ornament is not broken or damaged. Then, after a short period of time, the pattern can be painted and toned.
With all the necessary requirements, you not only can create a real work of art, but you will be satisfied with the results.
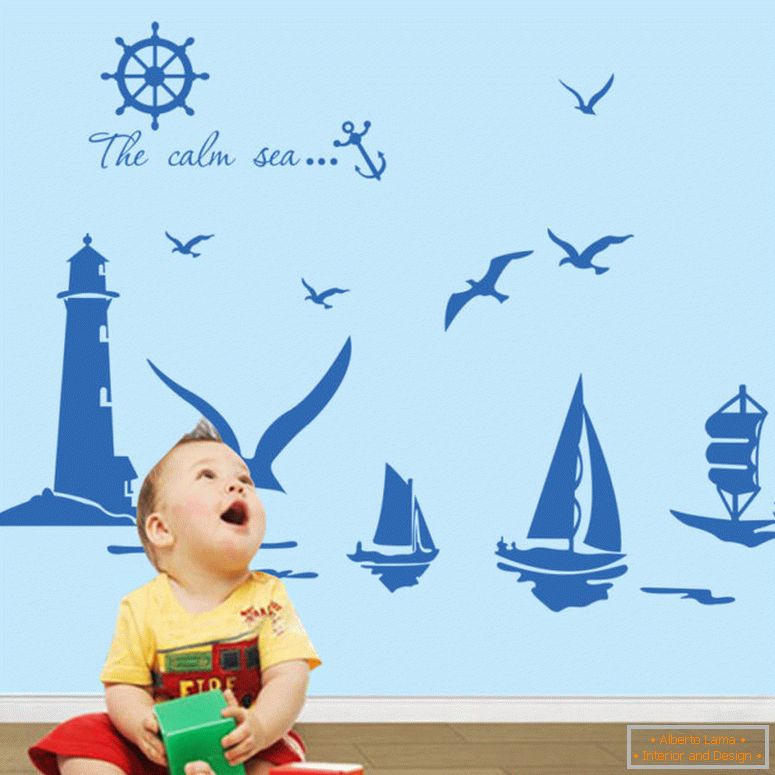
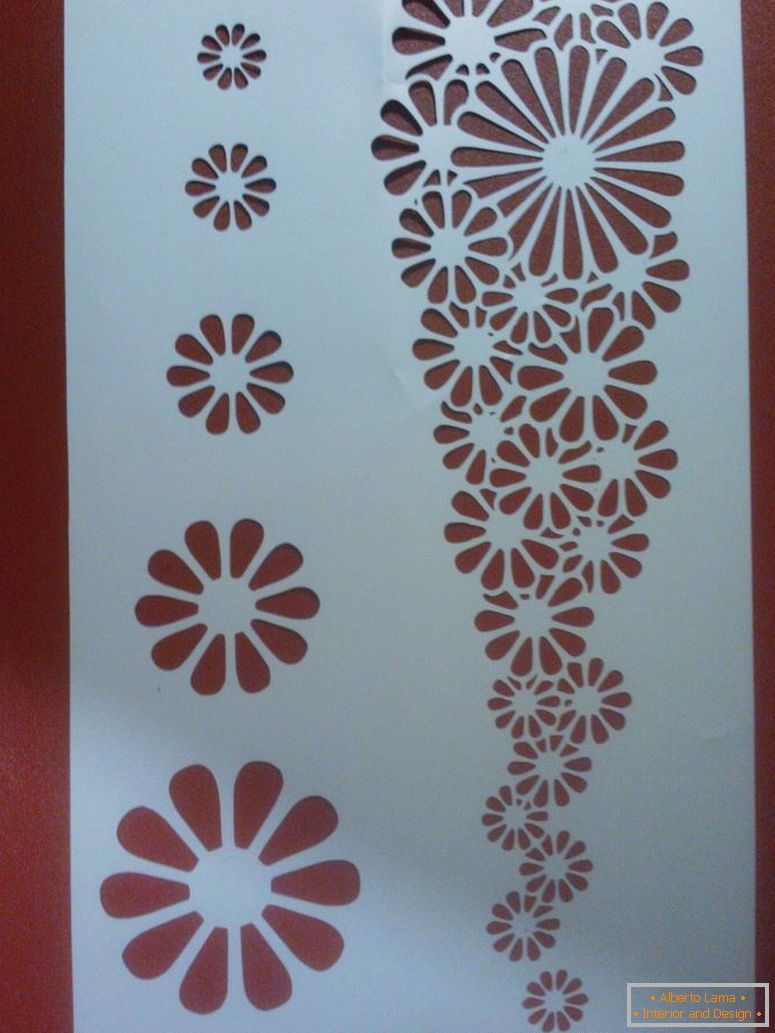
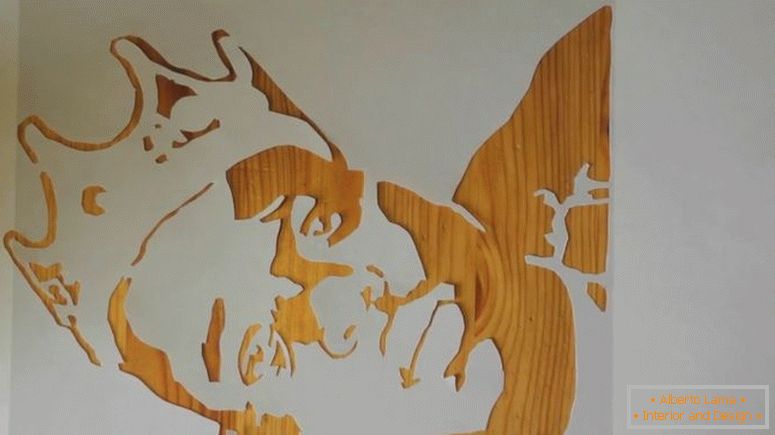
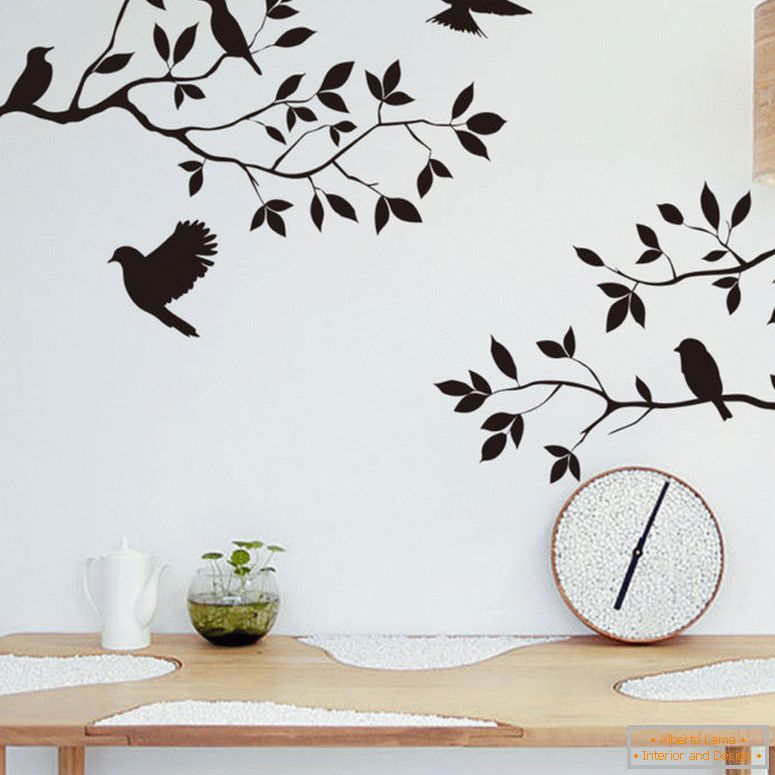
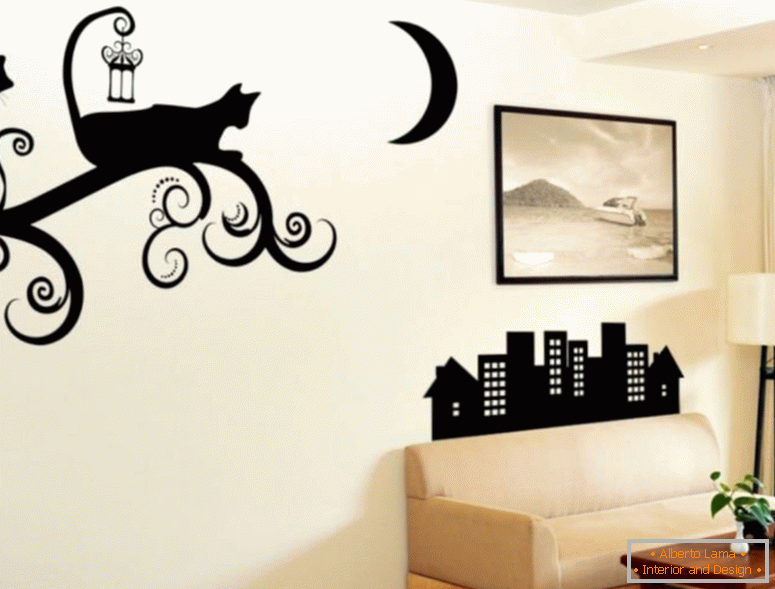
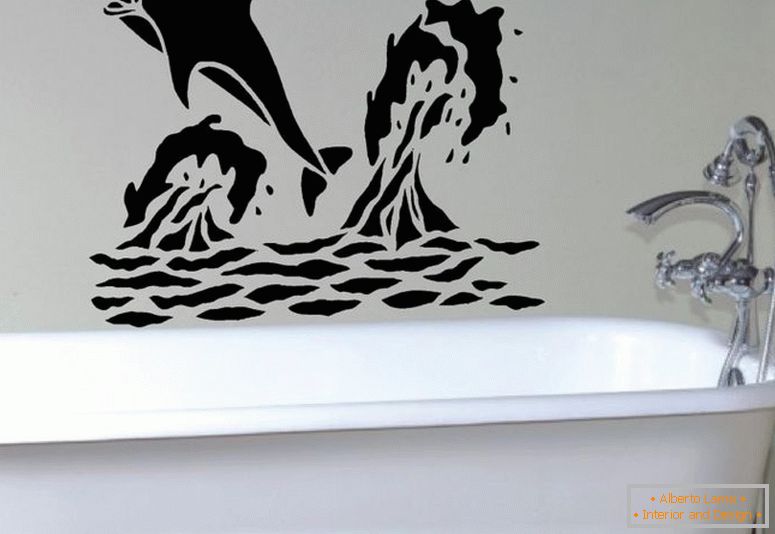
Photo examples of ready-made stencils

 Necklace with your hands - the best master class with photo examples
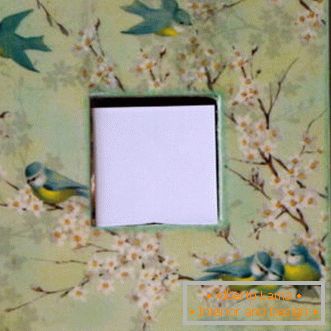 Decoupage by yourself - step by step instruction with photo and description
 Rugs with their own hands - photos of the best variants of beautiful rugs in the interior

 Stands under the hot - how to make their own hands? Step-by-step instruction with photo
 The dream catcher - a master class with step-by-step instructions
 Salted dough pieces - how to make your own hands? Instruction with photo ideas.