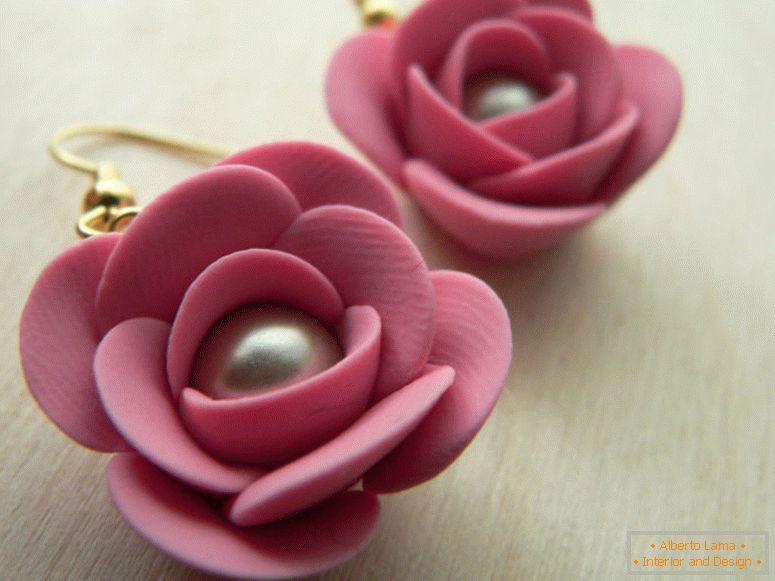
In each family there are special festive dates, which are celebrated according to a special, for example, anniversary, birth of a child, wedding. And at such festive events it is customary to decorate the room with flowers.
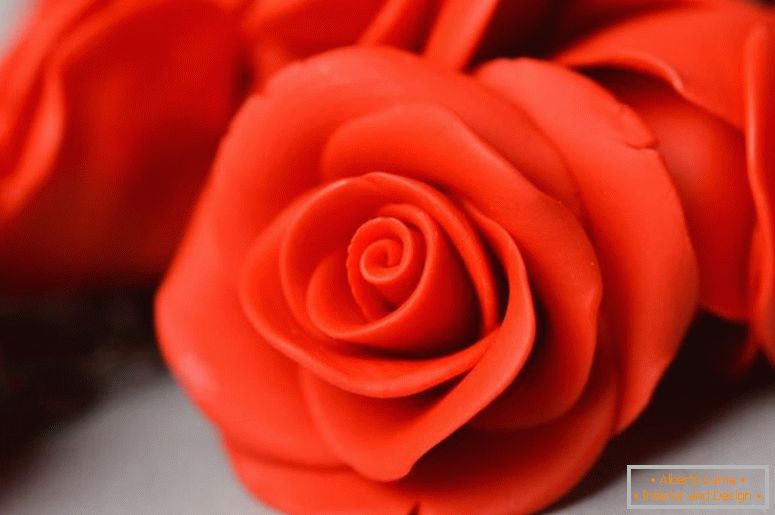
However, fresh flowers as decoration are inconvenient, because they quickly fade away, but artificial flowers will rejoice throughout the solemn event. And, what could be better for a decor than a rose, especially made by own hands? And as a supplement to the gift, flowers are usually used. However, the flowers received as a gift will, at best, please you for a week. Solve this problem in our time, you can, because now there are a lot of materials in the stores, from which you can make a beautiful bouquet yourself.
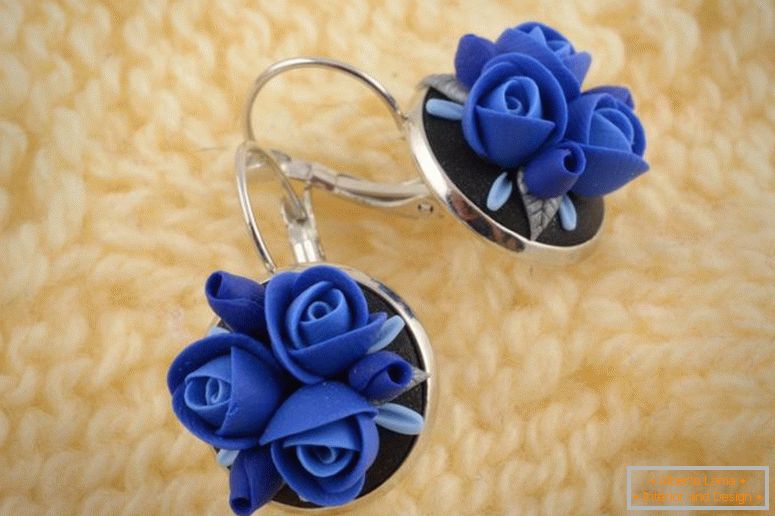
An excellent solution can be a rose from a polymer clay master class, which is worth a look. Gradually, having learned to work with this unique material, you can sculpt fantastic flowers, and each your bouquet will become original.
Table of contents of the article:
- Inventory and material
- Similarly fastened leaflets
- Photo of finished products of roses from polymer clay
Inventory and material
In order to make a rose you will need:
l - Polymer clay (this may be a conventional clay that needs to be baked, or a special self-hardening clay);
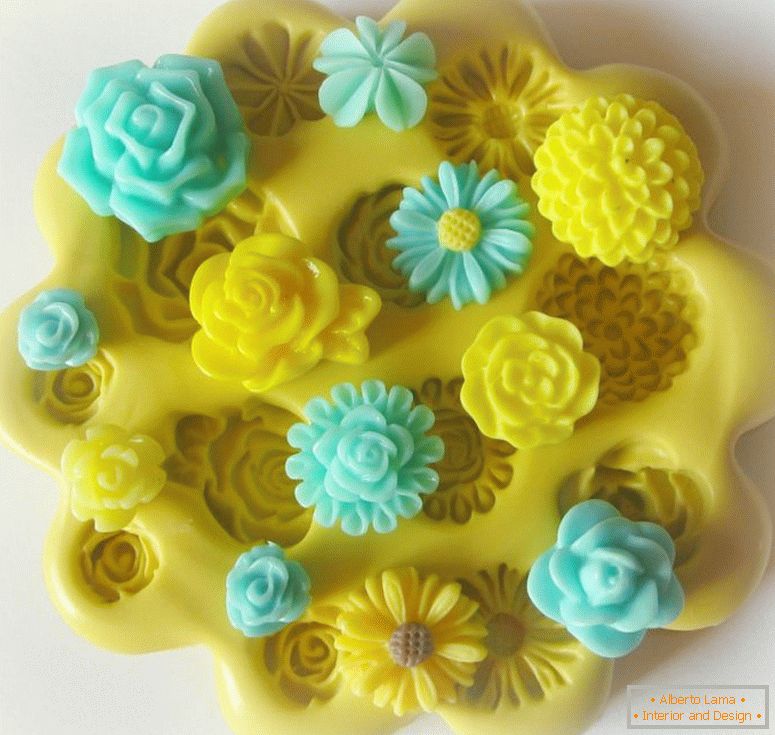
l - Mold (a special template for leaflets and flowers);
l - Copper wire;
l - Floral tape;
l - Clay PVA;
l - Wet wipes.
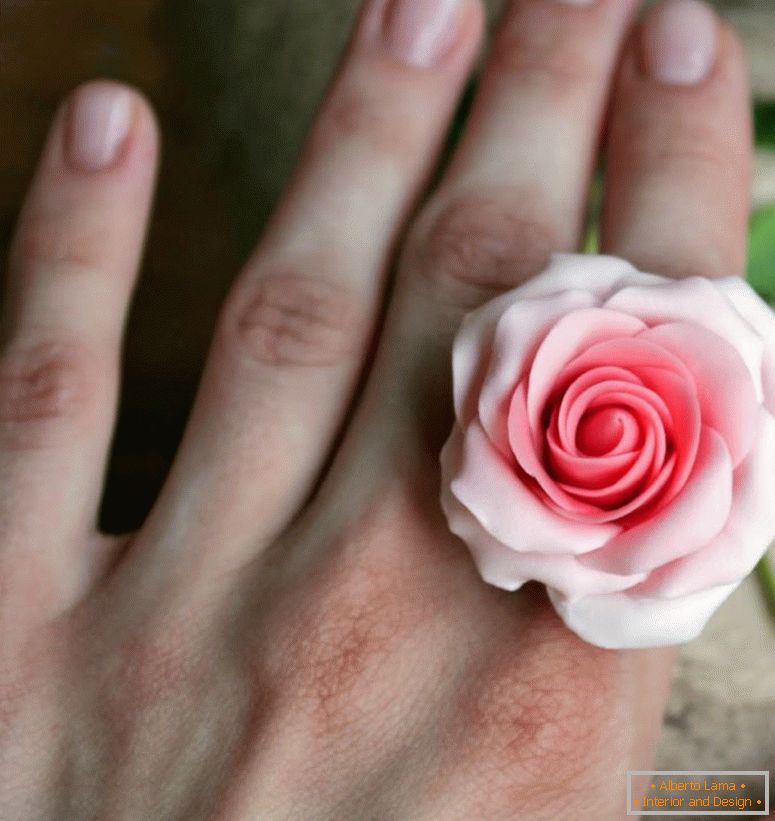
Instructions on how to make a rose from polymer clay
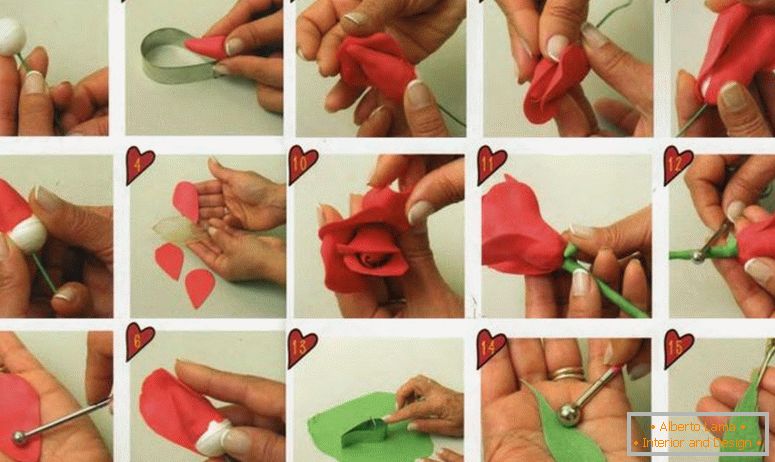
A step-by-step instruction on how to make a polymer rose begins with the fact that white clay is mixed with red clay. Then the resulting clay is kneaded by hand, until it reaches a uniform consistency. Now that the clay has become pliable, it will be more convenient to work with it. Further from the prepared material balls are formed. Their number on average should be from 9 to 12, but if you want to get a more magnificent bud, you can make 15 balls.
Of these balls, petals will be made. Since such material as clay can quickly dry out, the blanks should be covered with wet wipes, otherwise they may form cracks. Now droplets form from the finished balls.
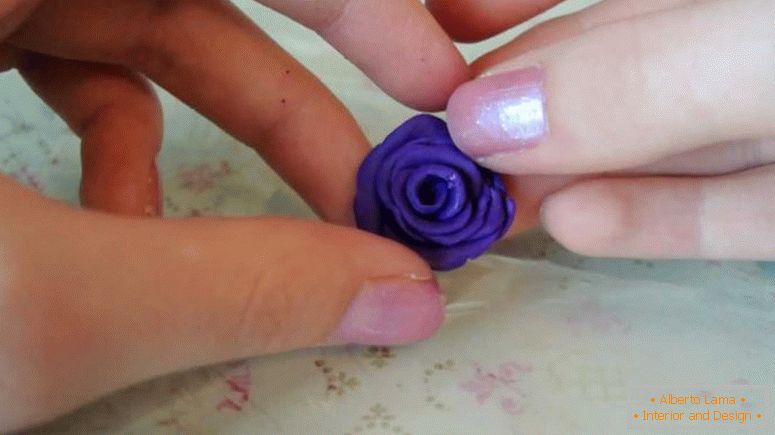
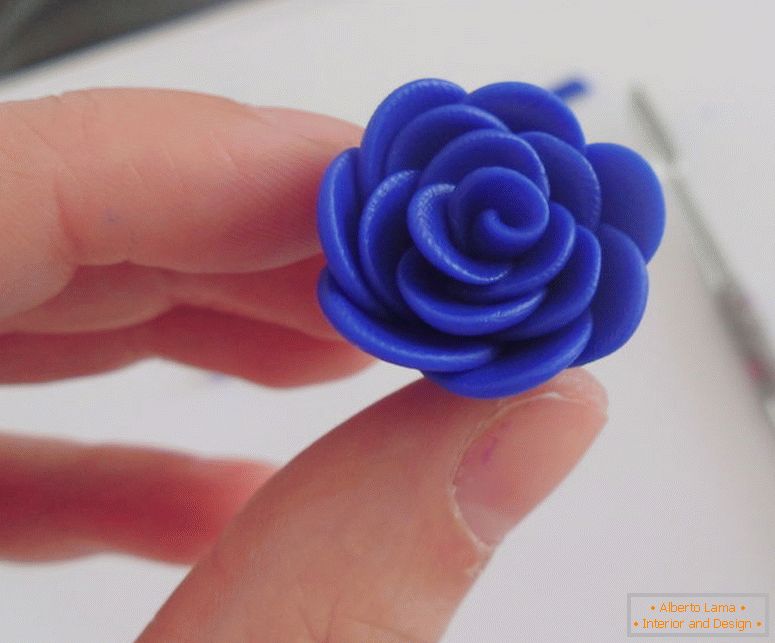
Next, droplets roll out with the thumb on the palm until they turn into flat cakes. In this case, it should be borne in mind that the petals should be as thin as possible, so that the buds will become light and will look natural. Then the flower is collected. In order for the middle of the flower to become dense, because it will hold the entire flower, it is necessary to fold the first petal into a tight spiral. After that, all other petals are simply applied to the base in a circle, while the petals are lapped. When forming a bud applying the petals, one needs to bend them slightly, so that the bend is outward.
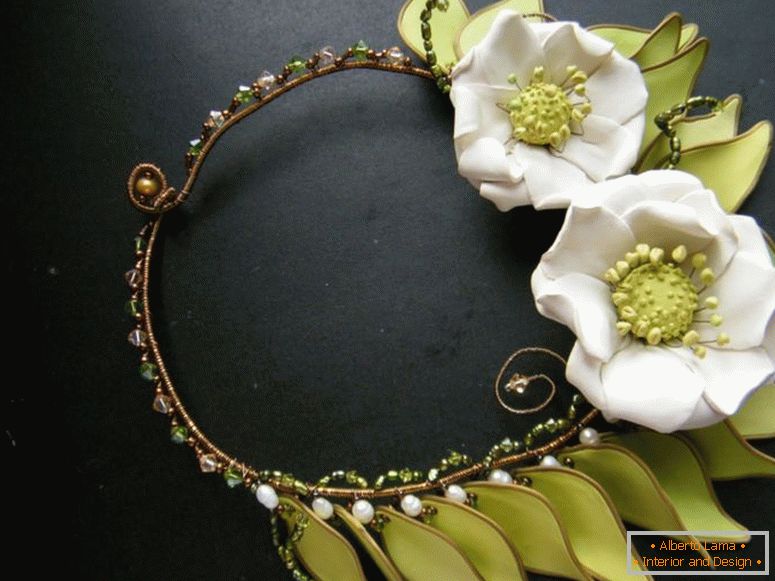
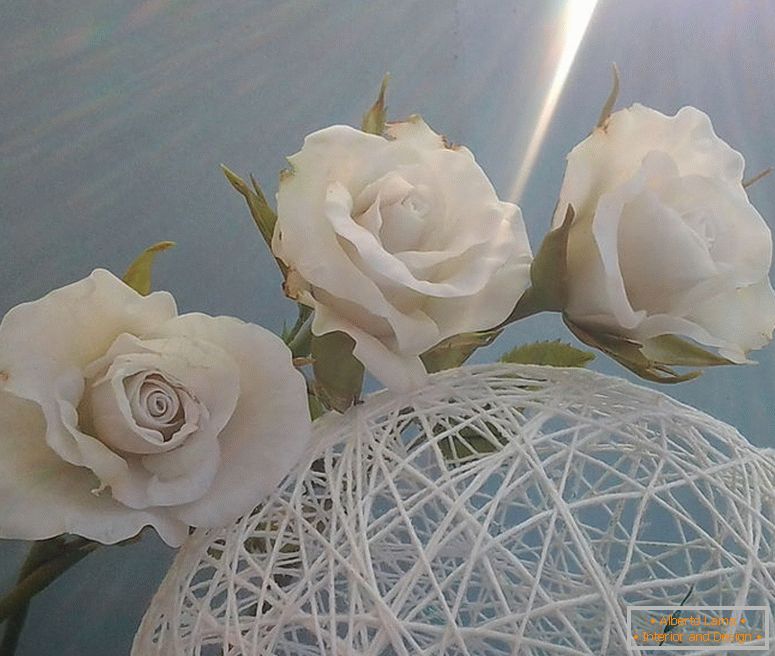
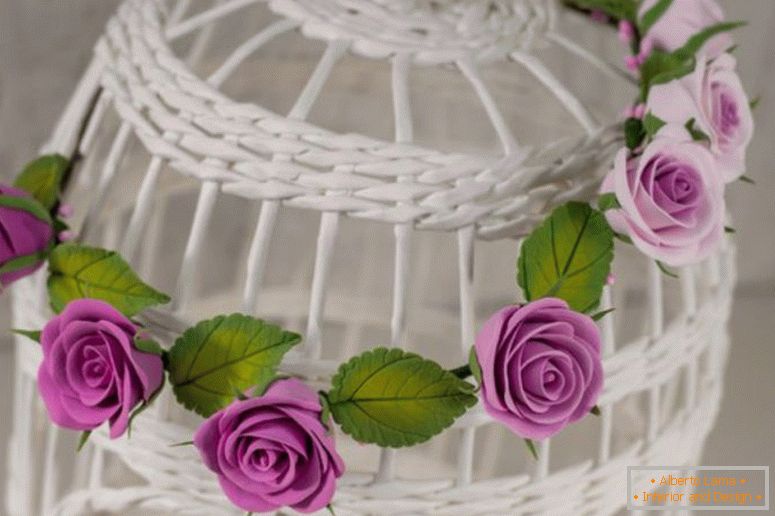
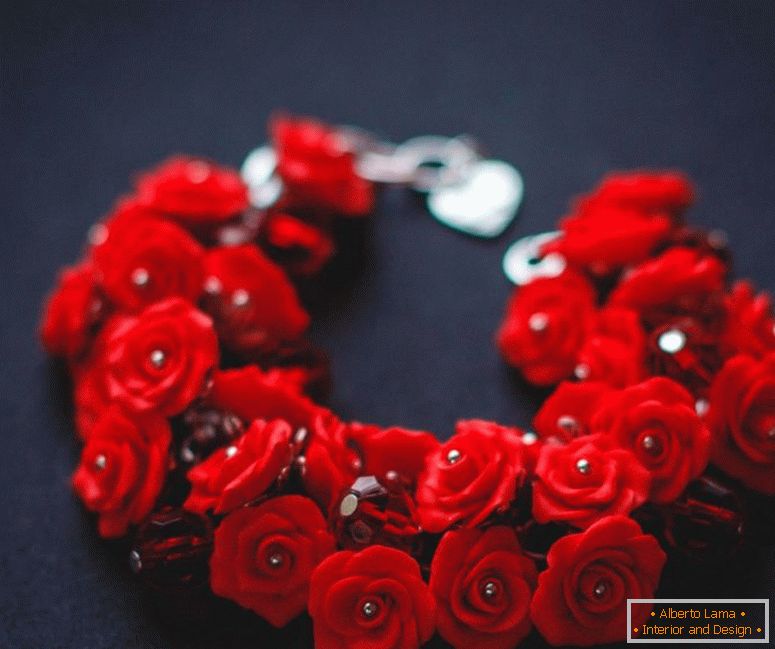
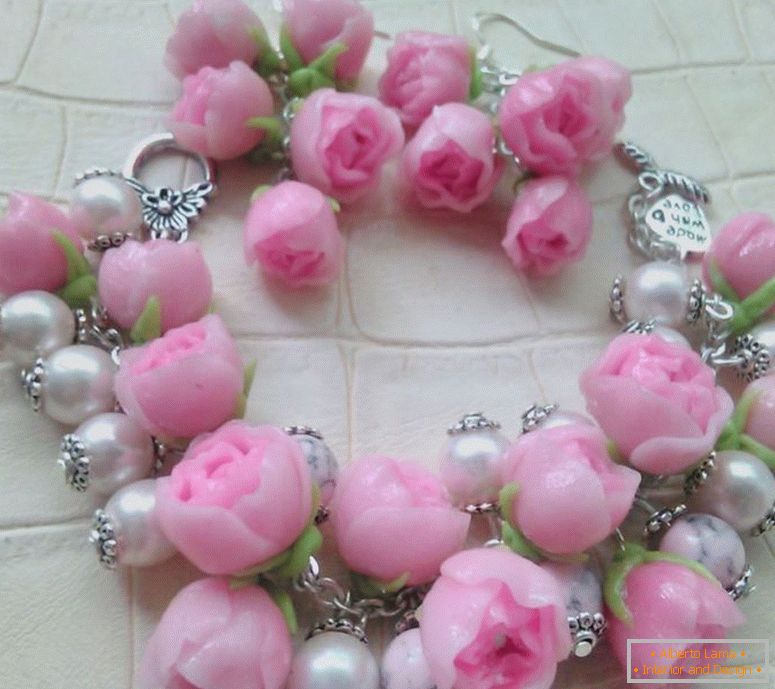
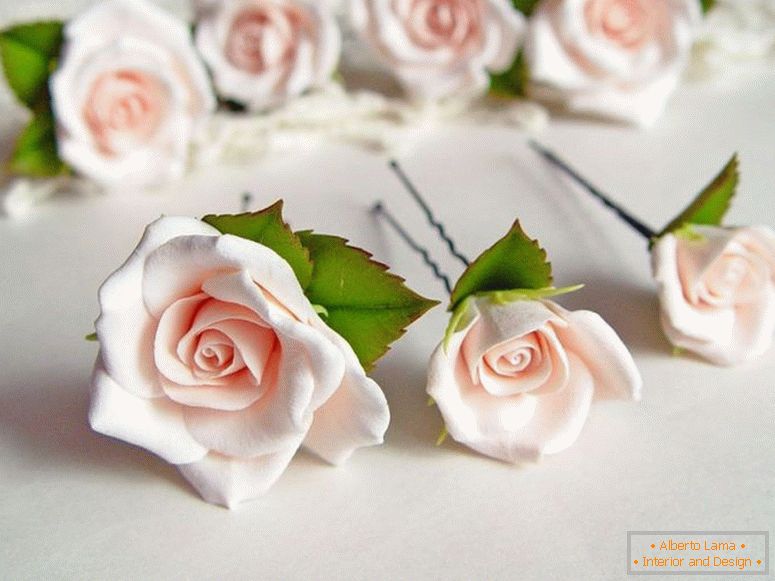
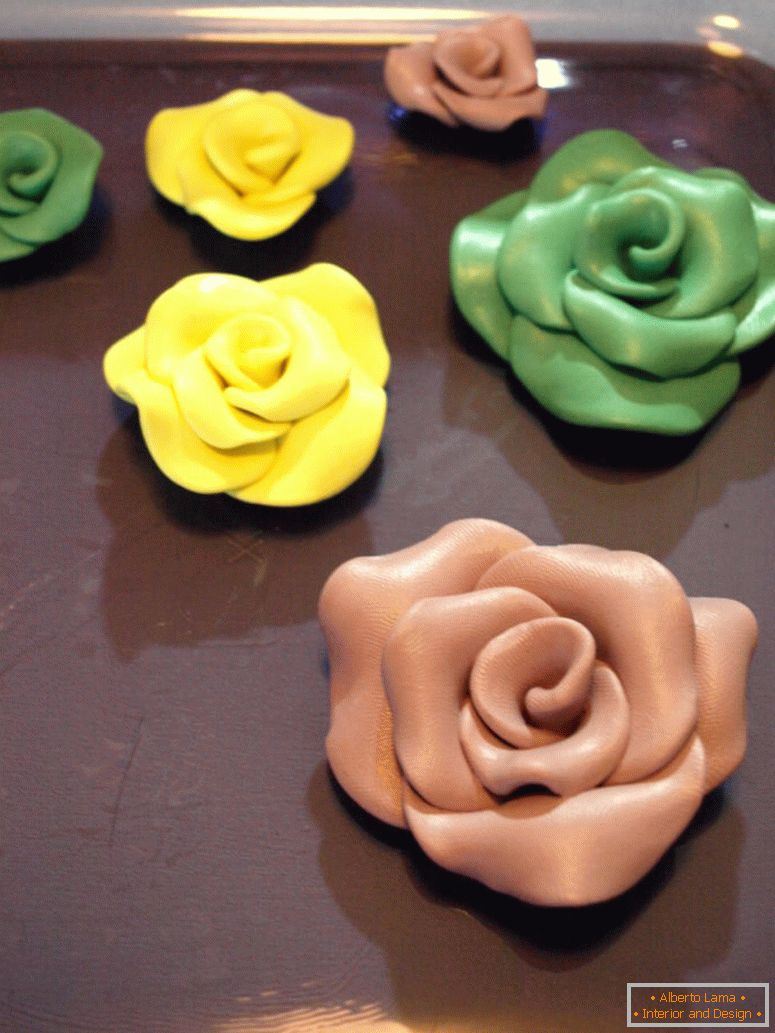
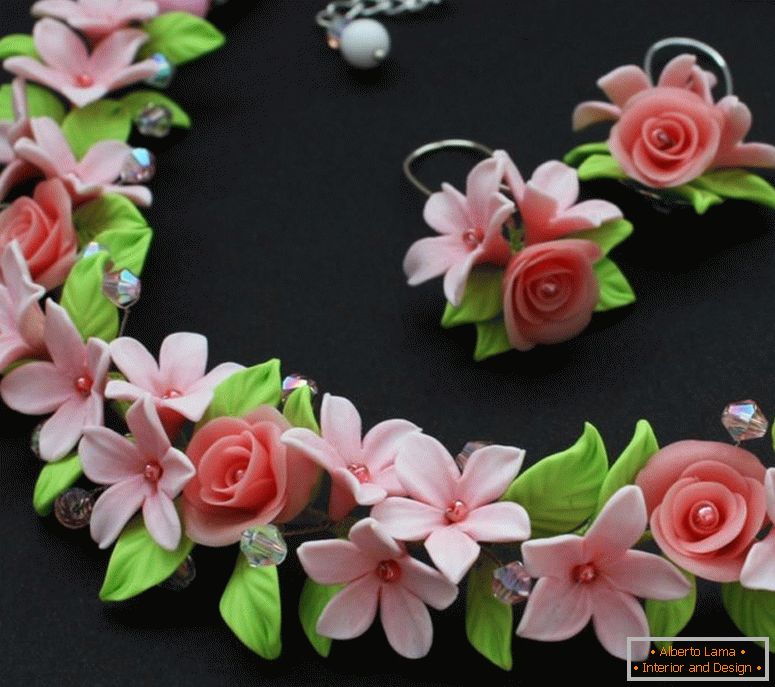
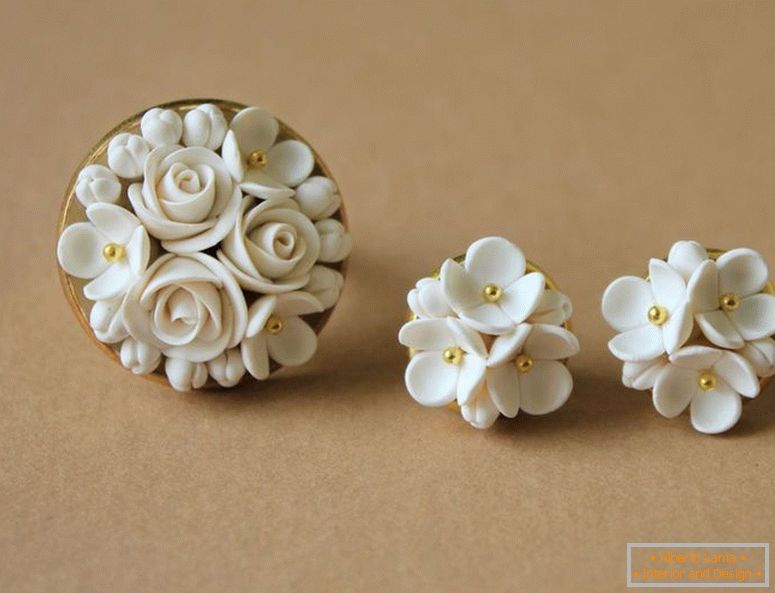
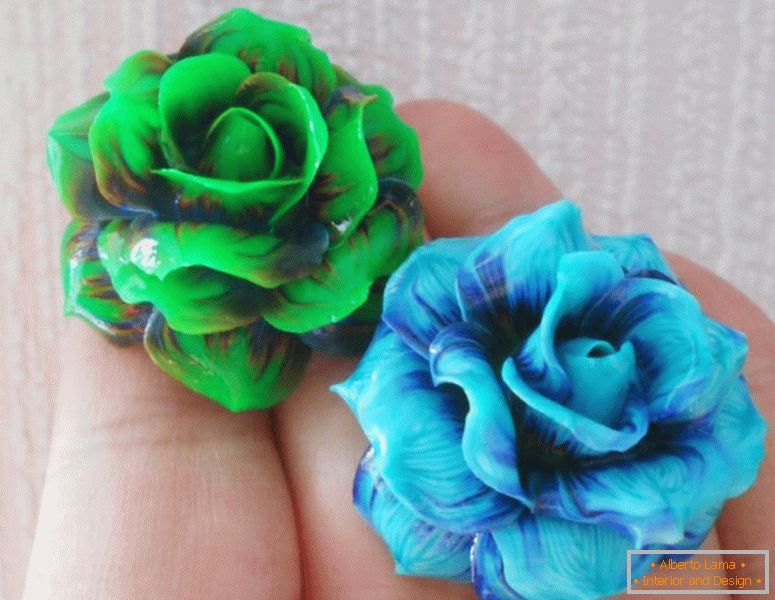
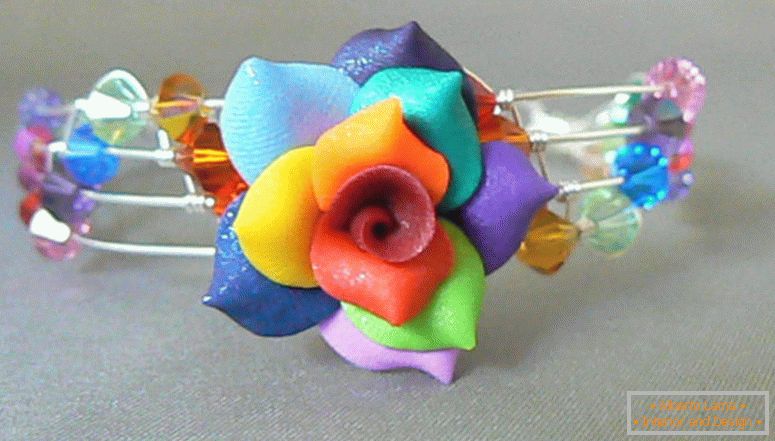
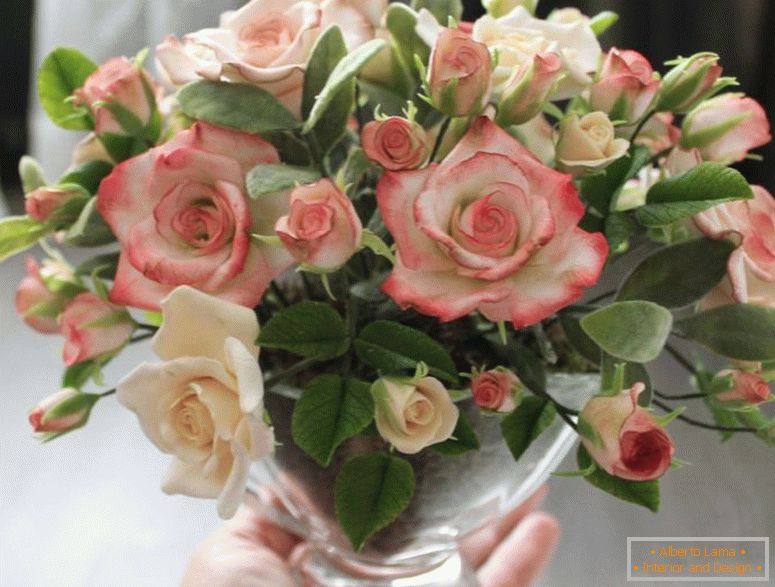
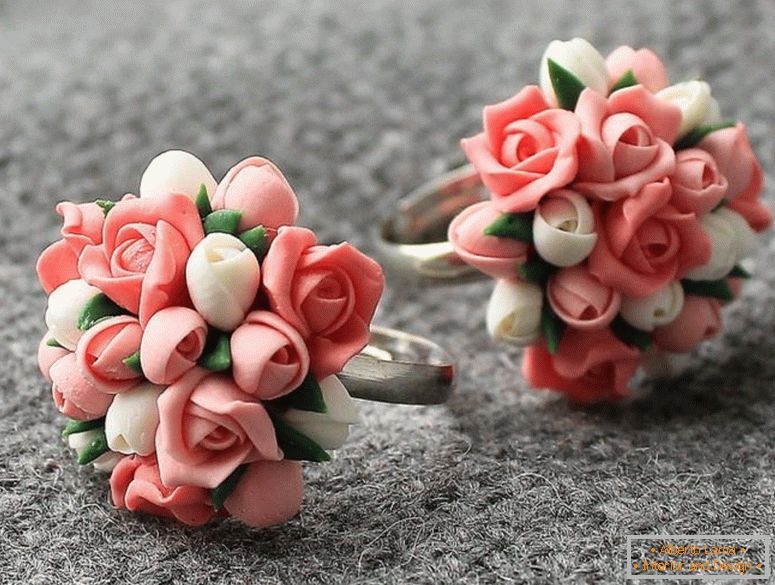
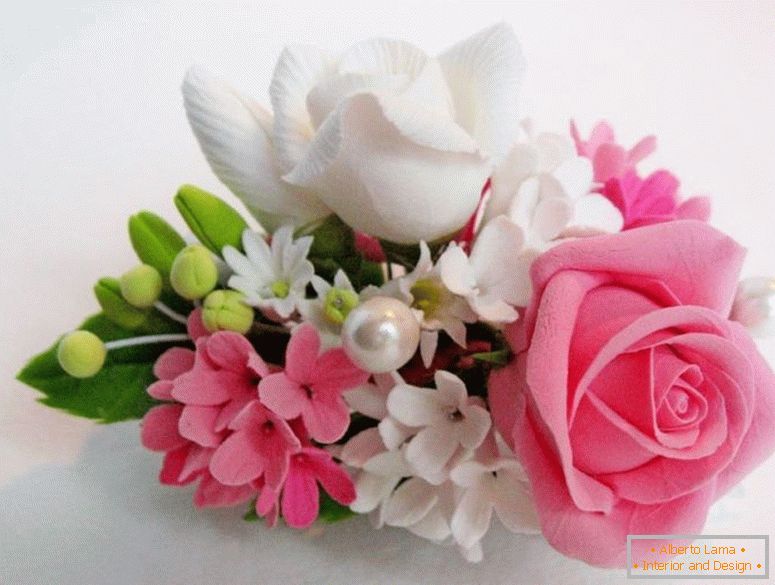
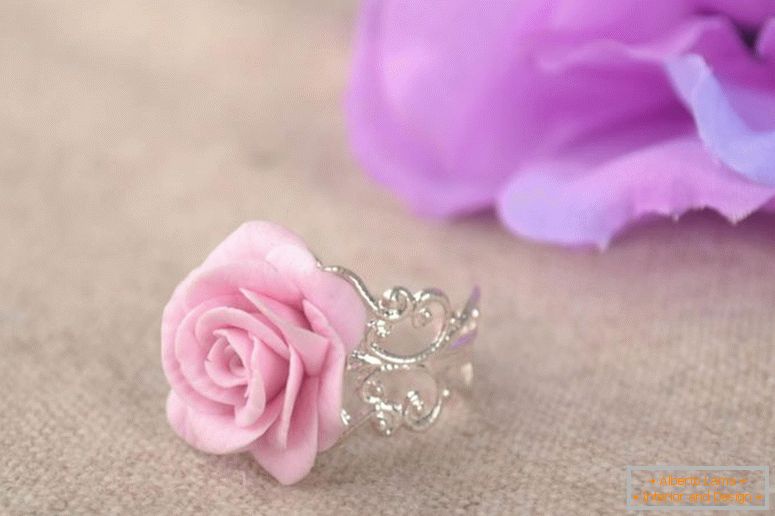
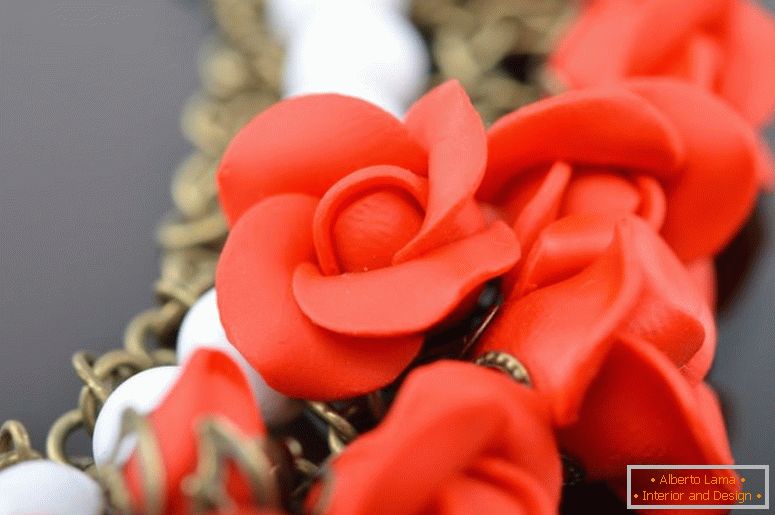
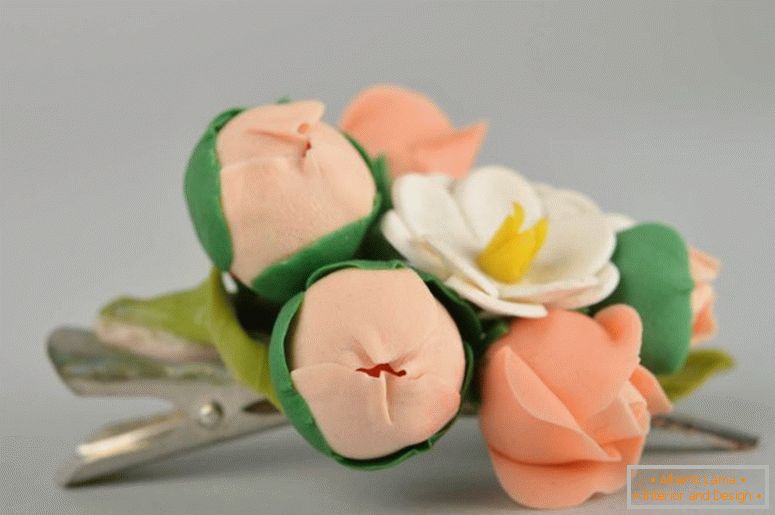
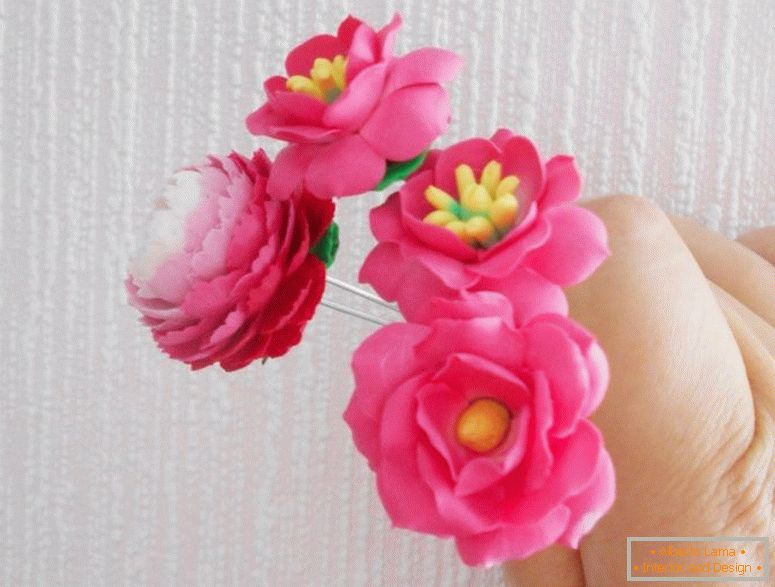
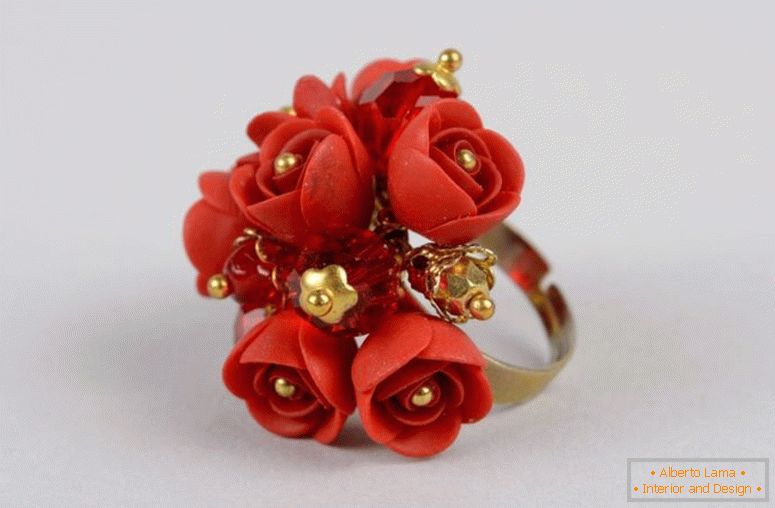
Similarly, the other buds are molded. The finished result can be seen on the photo of a rose from polymer clay.
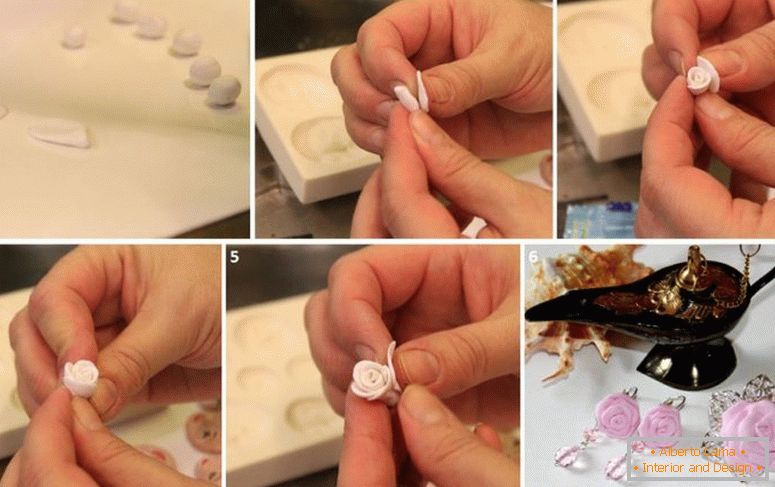
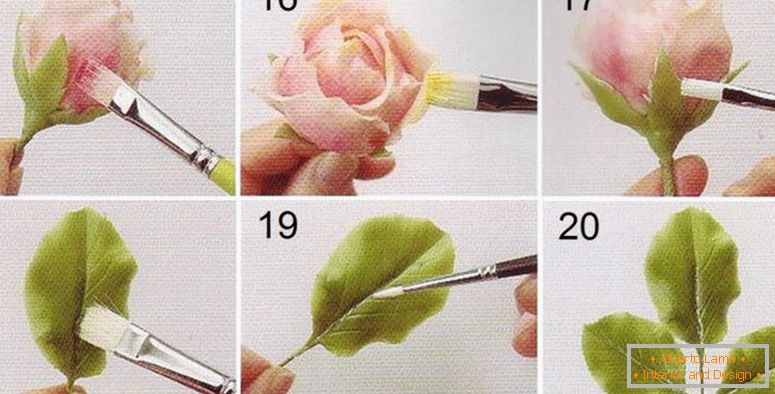
Next, you need to make a leaflet for roses. For this, the green polymer clay is taken, with its hands it is kneaded, and droplets are formed from it. Now you have to roll the droplets on the stencil.
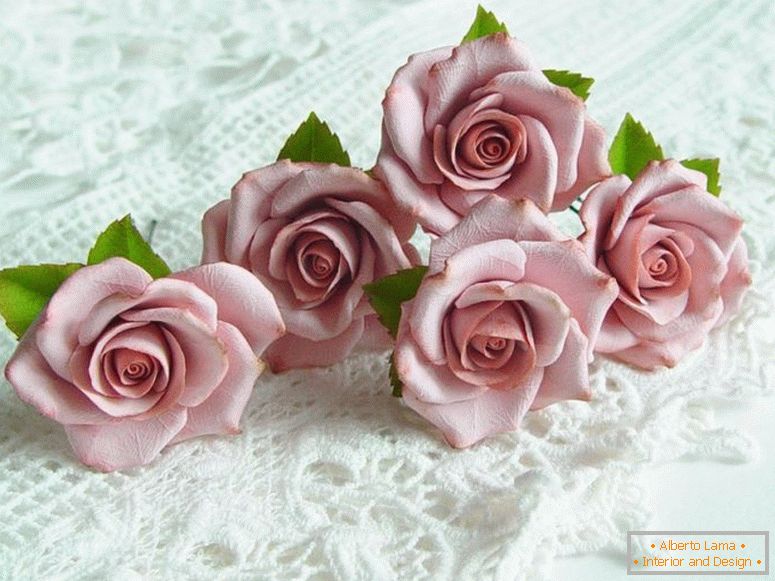
Then, when all the necessary preforms are ready and sufficiently hardened, you can begin to collect the bouquet.
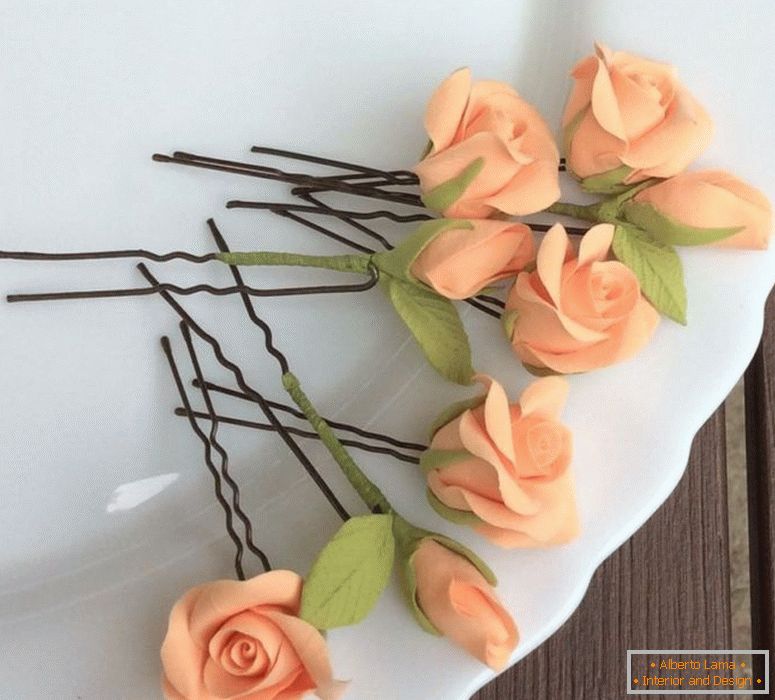
Next, the wire is taken, one end of it is dipped into the PVA glue and a bud is put on the wire.
Similarly fastened leaflets
Now you need to wrap each wire with a green ribbon for floristry. After that, all the blanks are combined in a bouquet and wrapped in a green ribbon, so we get the stems, and most importantly, this design will be more stable.
 Decor of the rope - photos of fashionable novelties in the interior
 Decoupage of plates - an interesting master class with step-by-step instruction and photo examples
 Rug in the bathroom with your hands - detailed instructions for beginners (55 photos of ideas)
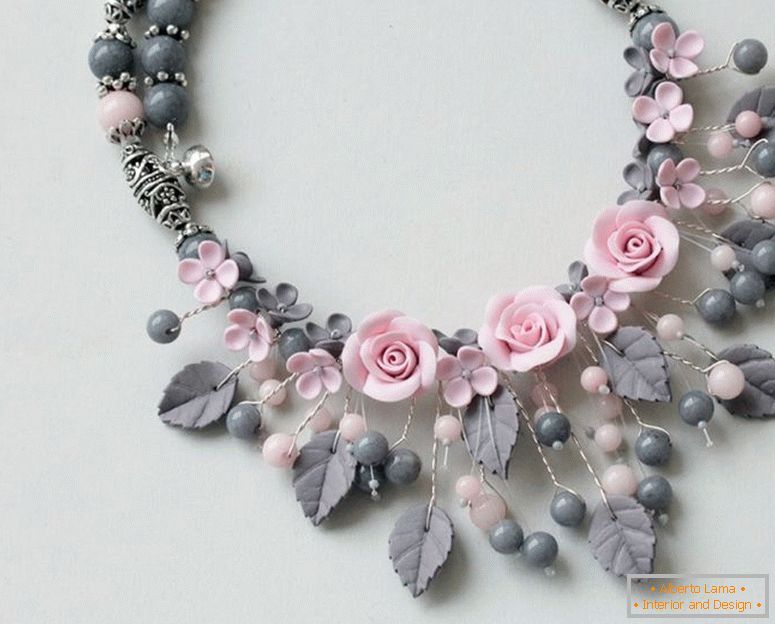
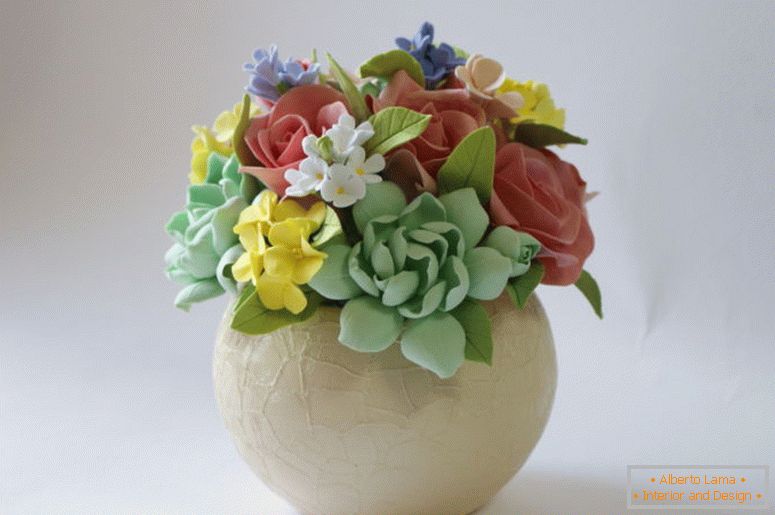
A ready-made bouquet of roses can be put in a beautiful vase, pre-decorated with bright ribbons or bows. Also, the bouquet can be put in a glass bottle, which can be pre-decorated using the "decoupage" technique.
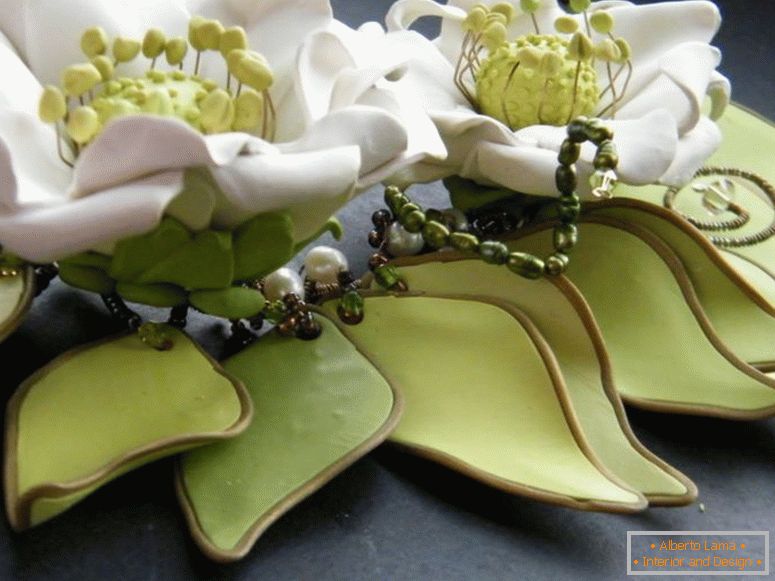
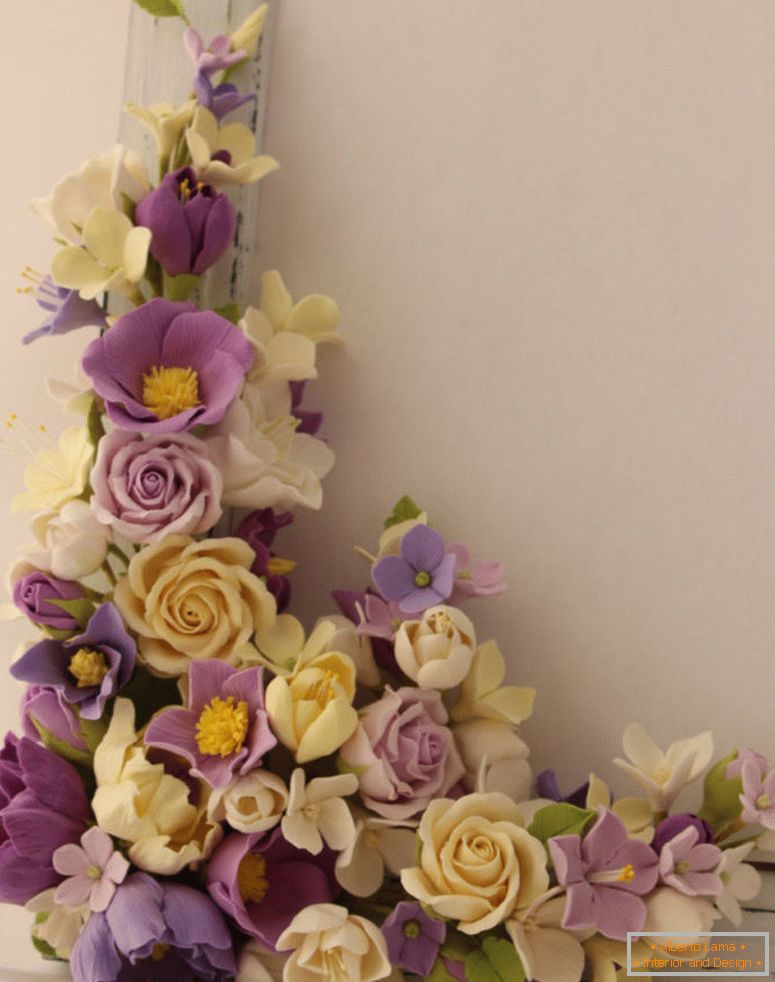
Those who already have some experience working with polymer clay, you can try to create more interesting patterns of roses, for a more sophisticated technology that will require you to have certain skills.
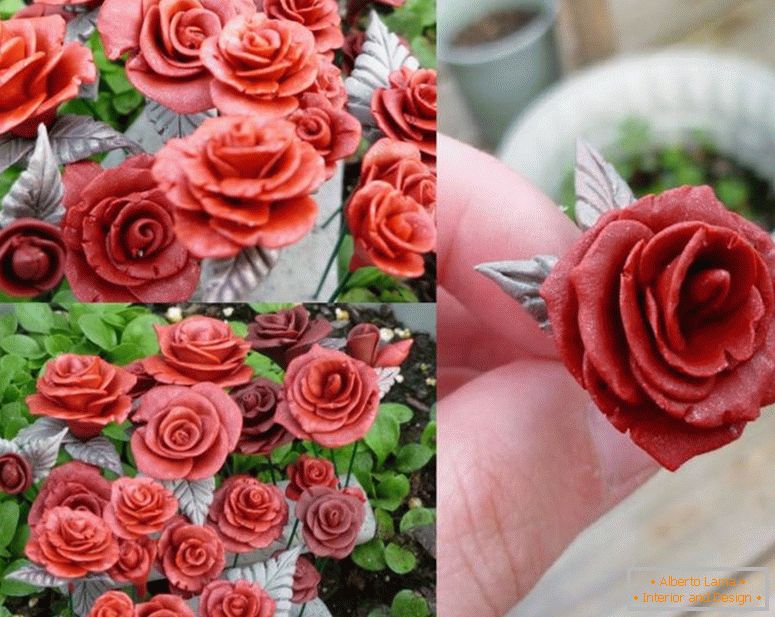
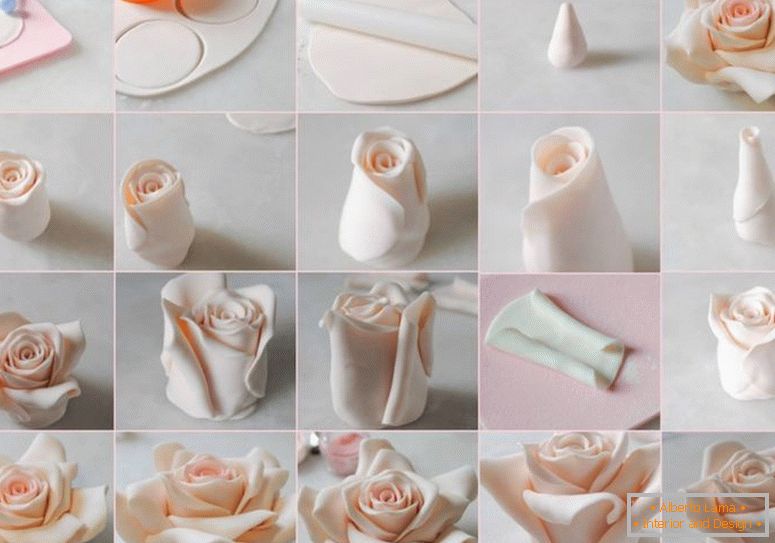
In order to make a more complex variant of the rose, it is necessary to roll the clay of the desired color into a thin cake beforehand carefully coating the working table with petroleum jelly. Then, using the mold, you need to cut out the blanks of the petals.
Next, you need to lift the petals with a small roller. At the next stage, you need to glue the middle of each petal with glue and bend them in the center, and join the overlap. It is important to consider that the core of the flower should be more dense. After this, the next layer of the flower is fixed in a similar way. Leaflets are made with the help of a mold of a larger diameter.

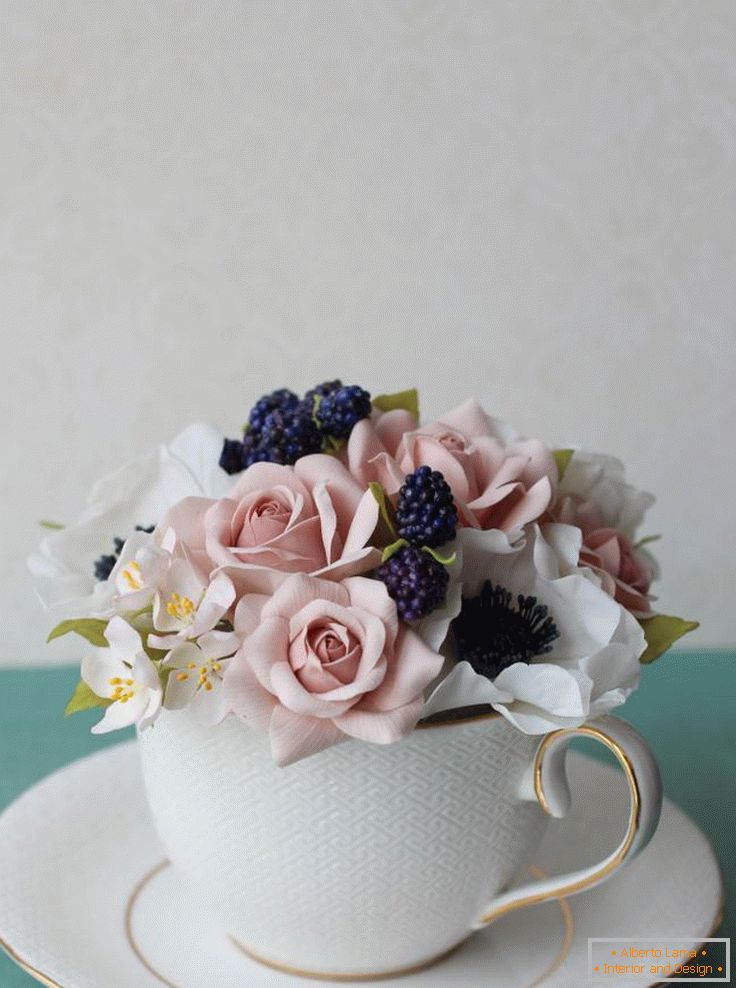
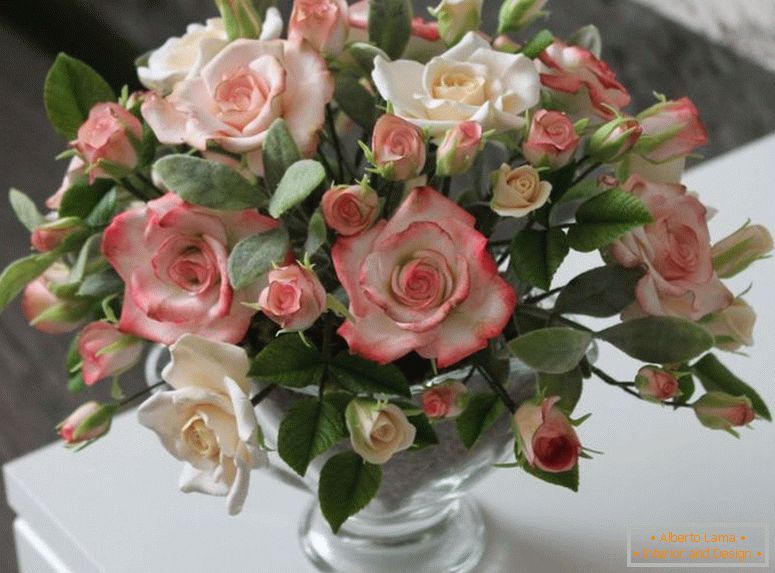
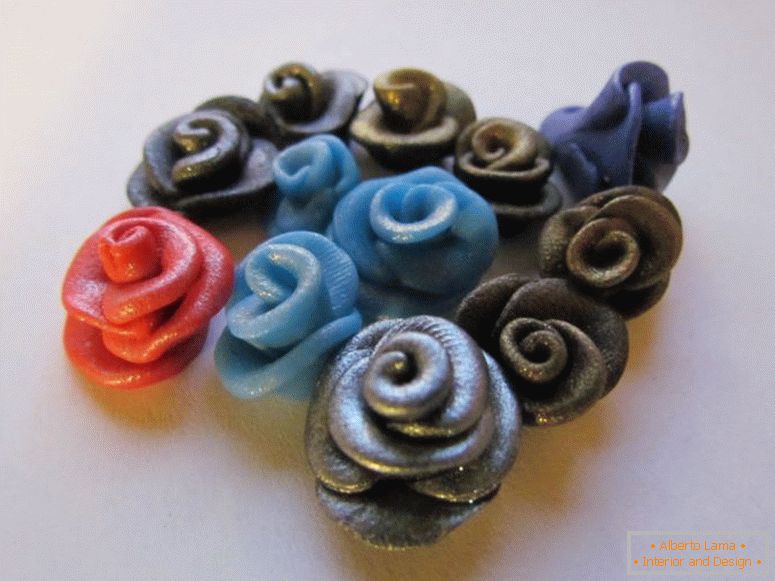
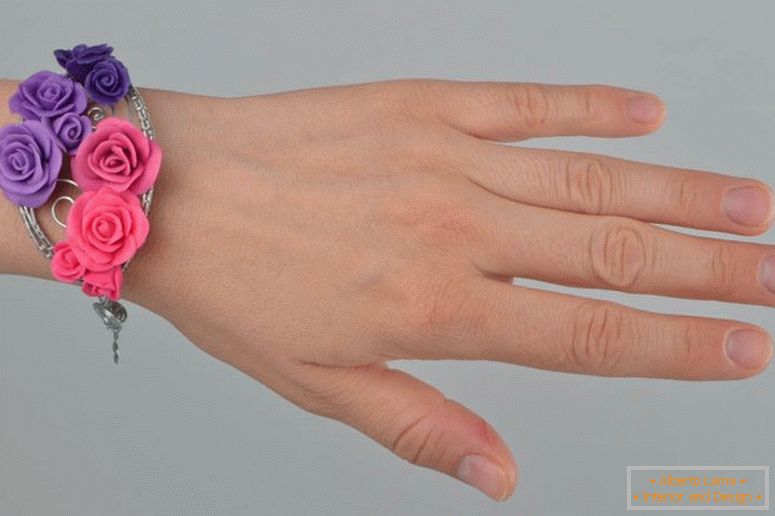
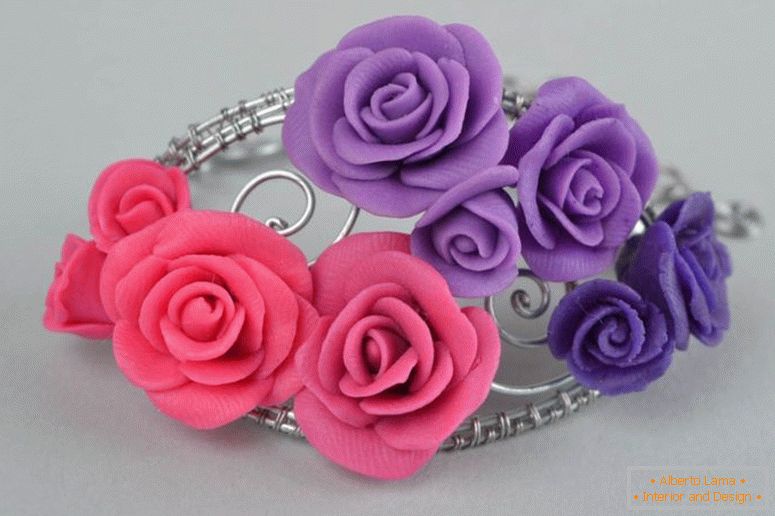
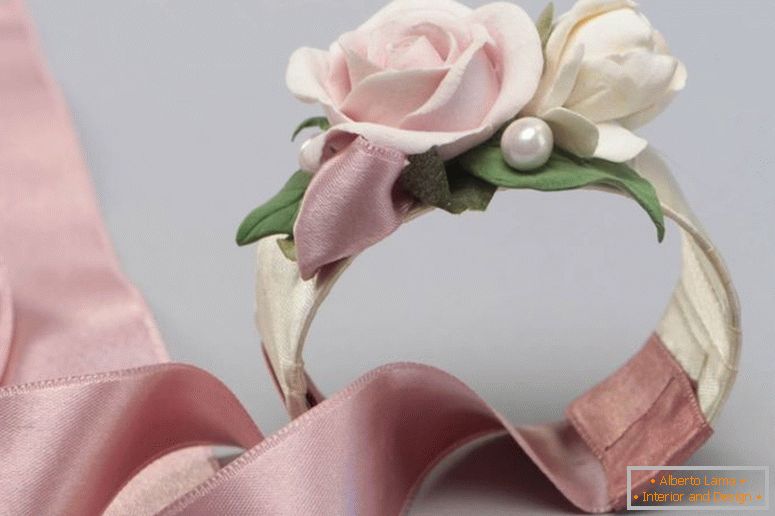
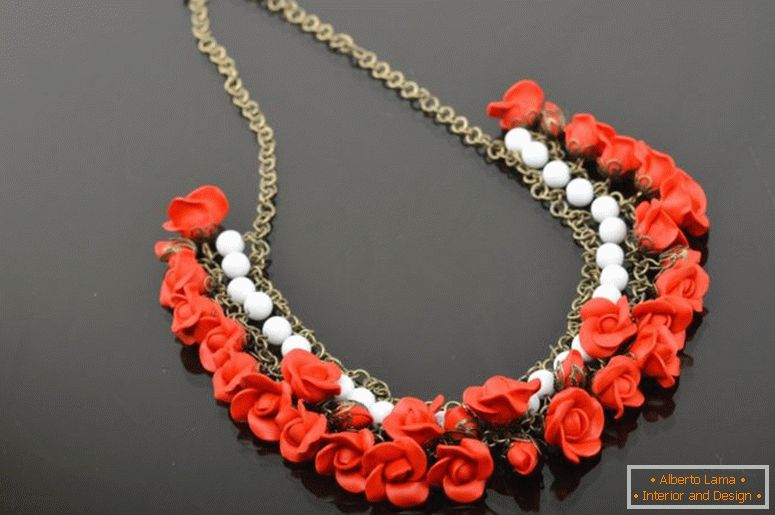
Photo of finished products of roses from polymer clay
 Necklace with your hands - the best master class with photo examples
 Decoupage by yourself - step by step instruction with photo and description
 Rugs with their own hands - photos of the best variants of beautiful rugs in the interior

 Stands under the hot - how to make their own hands? Step-by-step instruction with photo
 The dream catcher - a master class with step-by-step instructions
 Salted dough pieces - how to make your own hands? Instruction with photo ideas.
