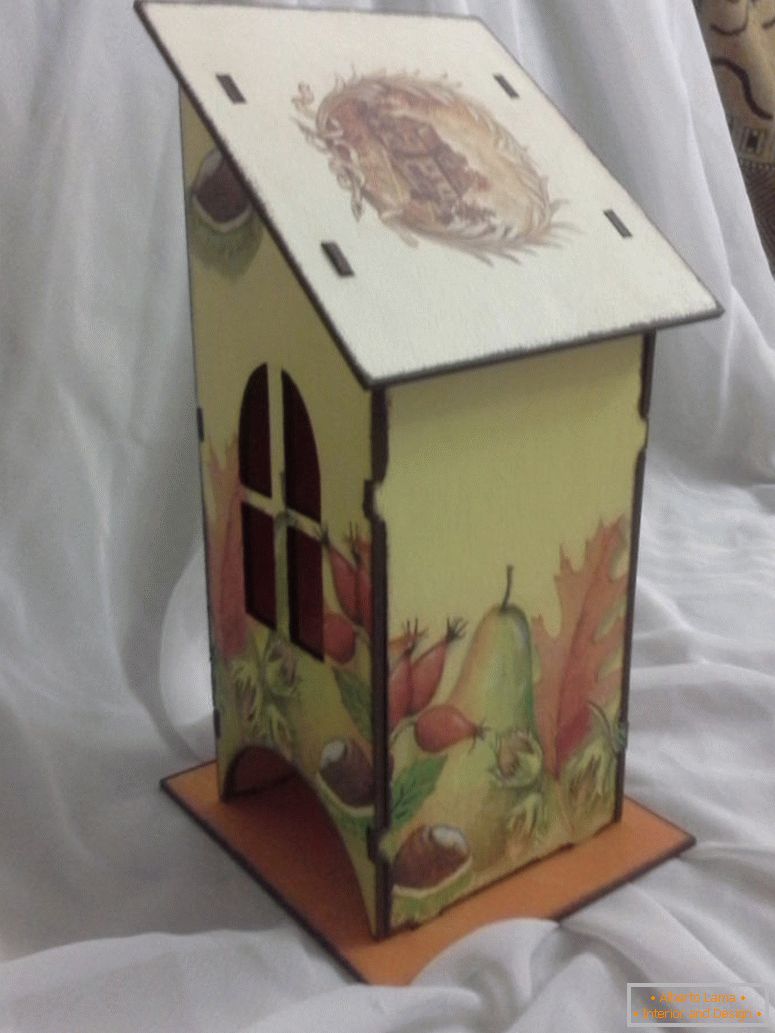
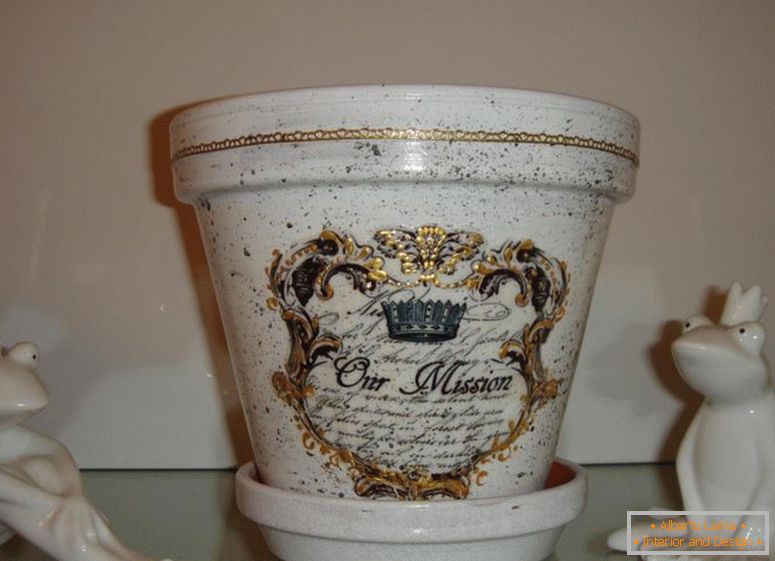
Decoupage is an application made of paper, napkins, fabric. For them, choose a variety of surfaces, like stone, metal, wood, making things look stylish and modern. Many people wonder how to make decoupage with their own hands. However, not all of this can. Although, there is nothing complicated in this, in fact.
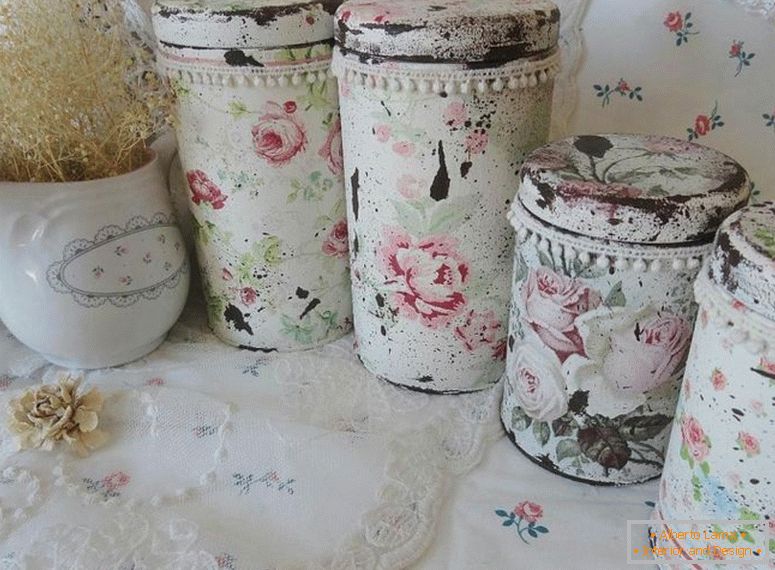
Table of contents of the article:
- Styles and photos of decoupage by own hands
- Victorian
- Shebby-chick
- Simpl-City
- Decoupage of bottles with their own hands
- Decoupage of furniture items
- Decoupage - step by step instruction
- Photo how to make decoupage with your own hands
Styles and photos of decoupage by own hands
Victorian
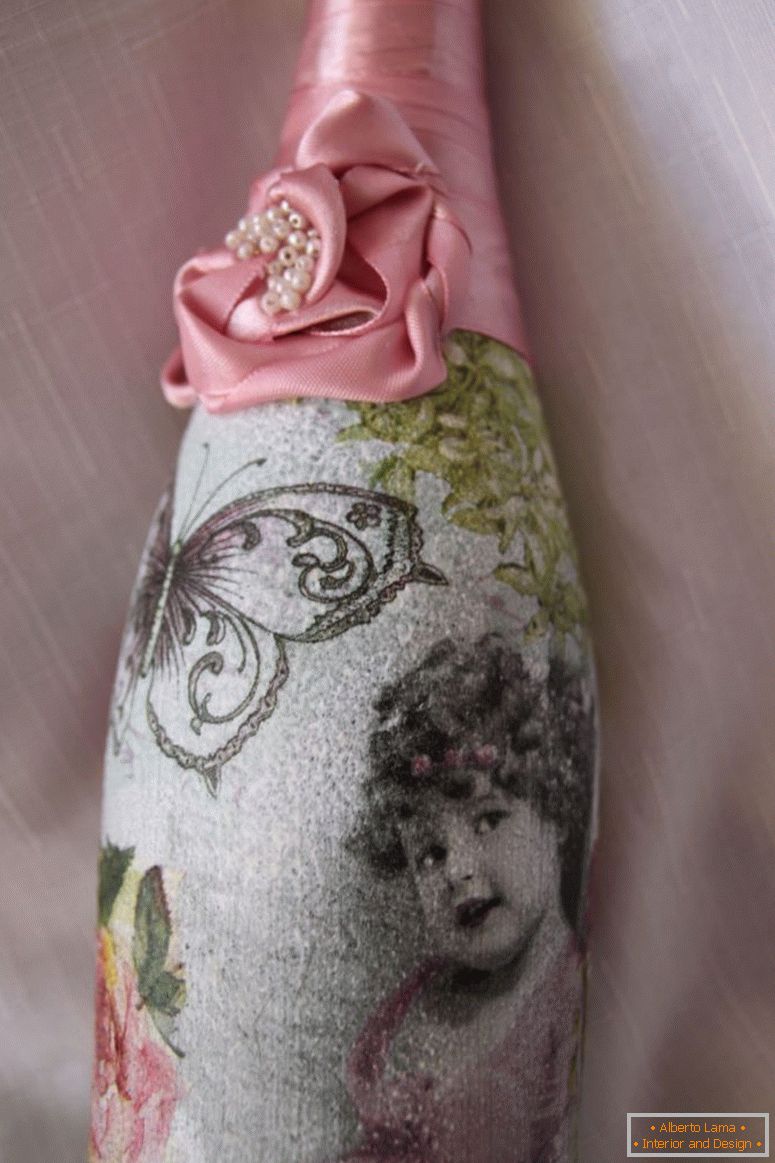
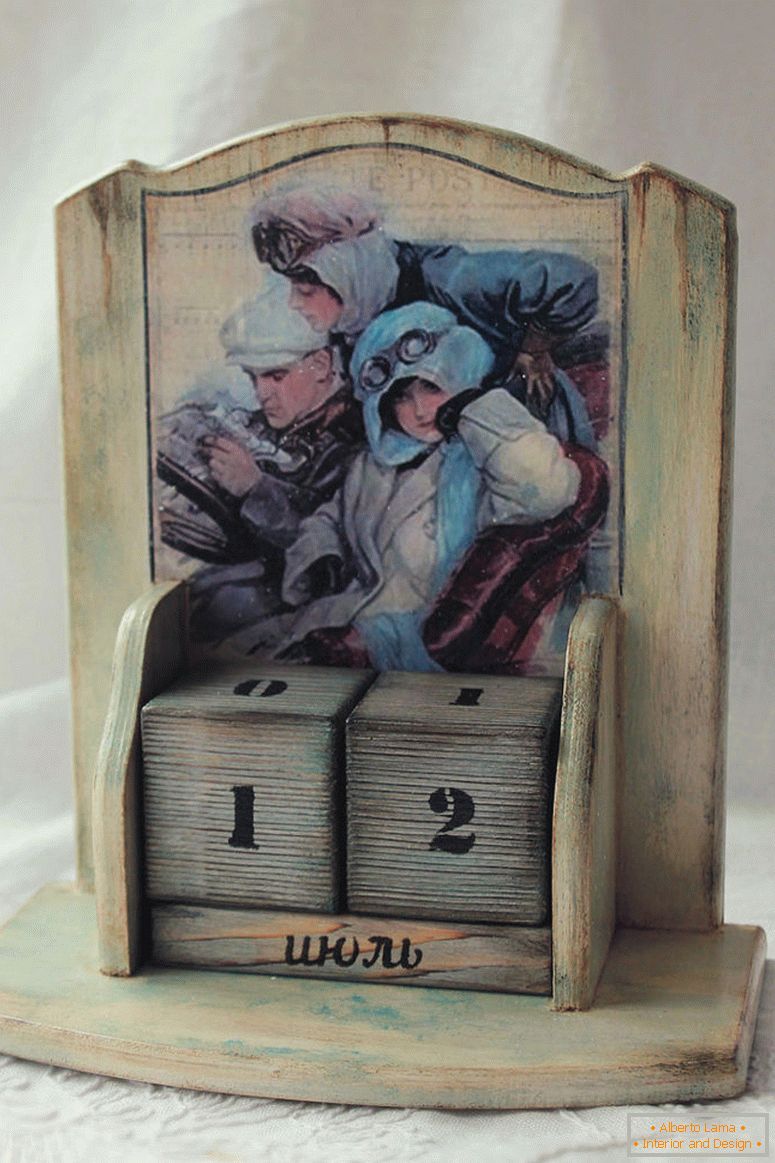
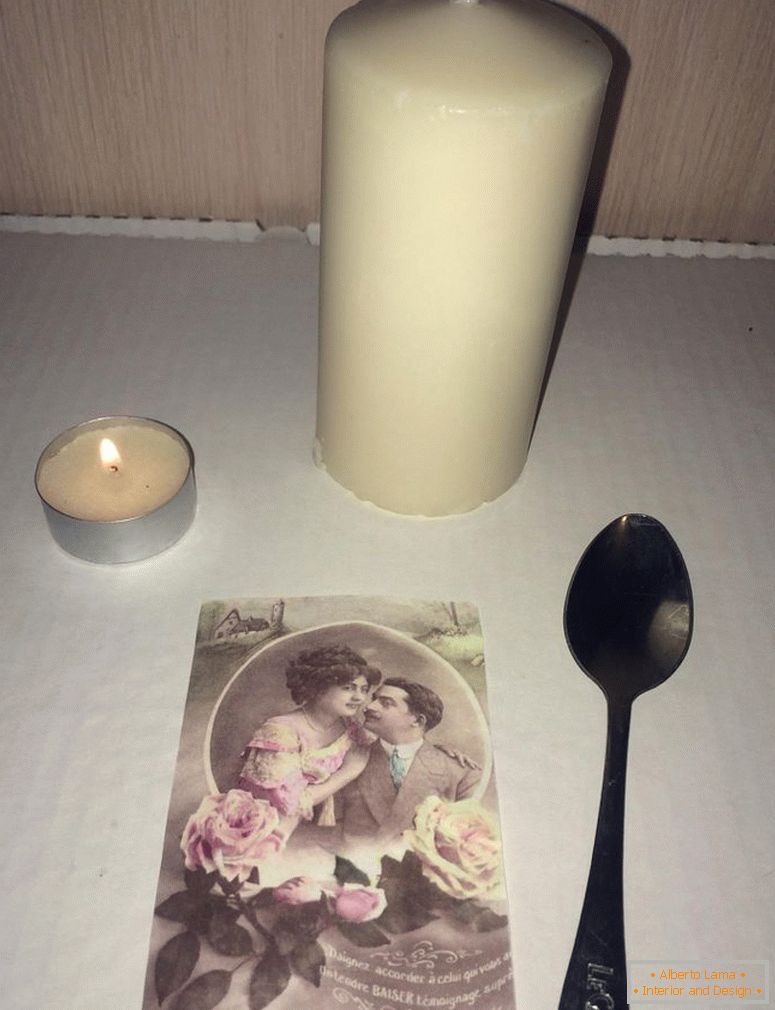
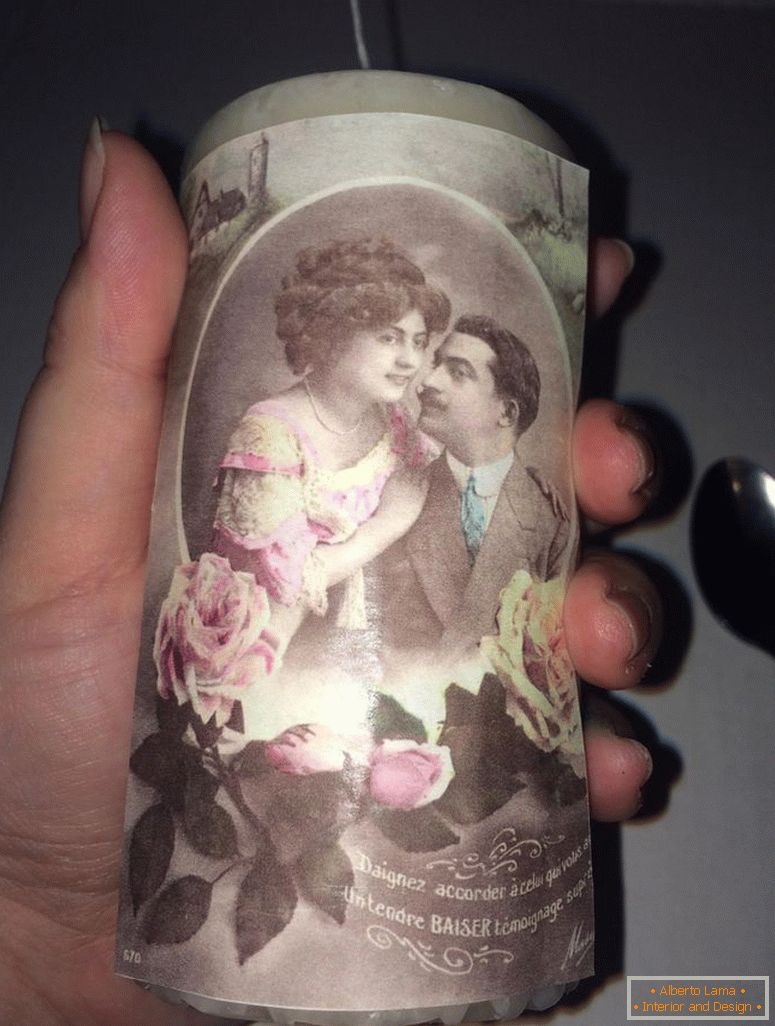
It combines luxury with tenderness. Acceptable are angels, pink-cheeked girls, huge flowers. From the color range use gentle tones, for example, cream, pink, dark green, brown, the color of gold.

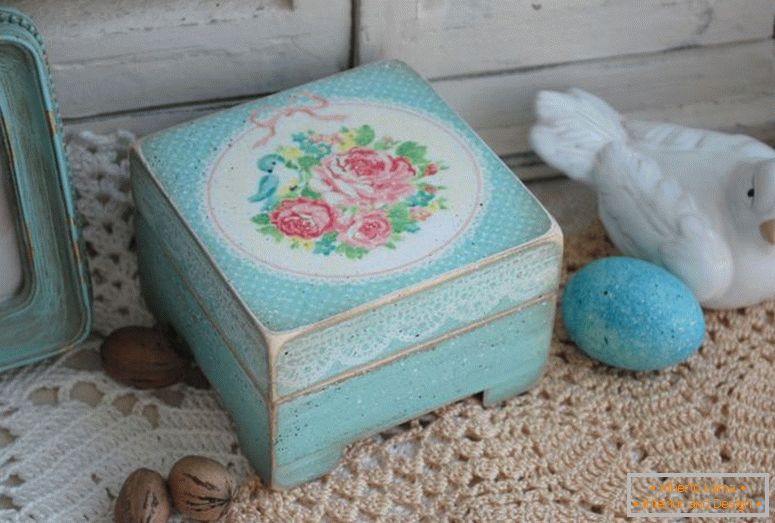
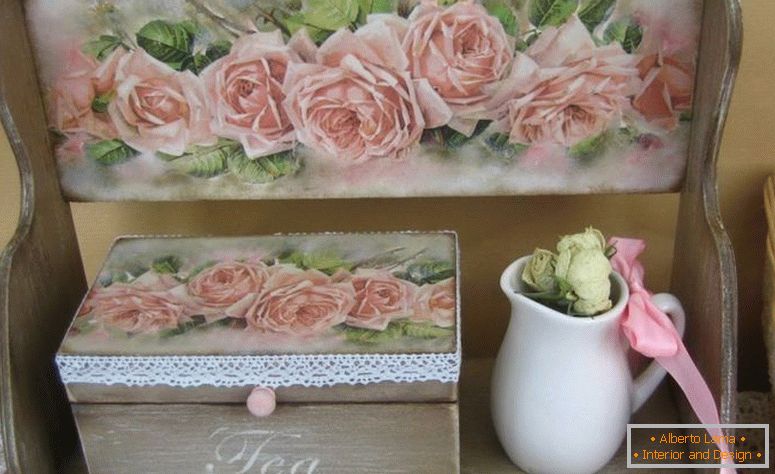
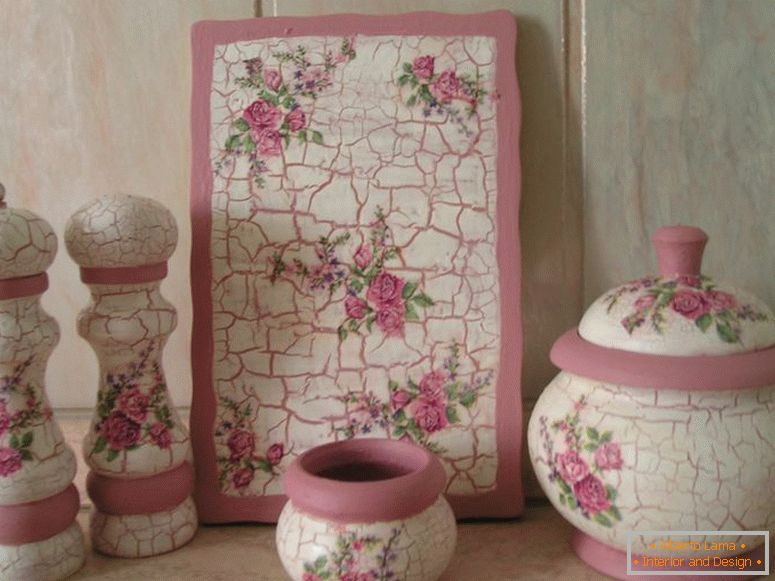
Shebby-chick
Relatively younger direction, in comparison with the rest. Here, like the Provence, the antique style is used using different methods. At the same time, products should fit in any interiors. Shades are applicable like crimson / pink, scrambled and other tender and light. The very same decor is decorated with bouquets, roses.
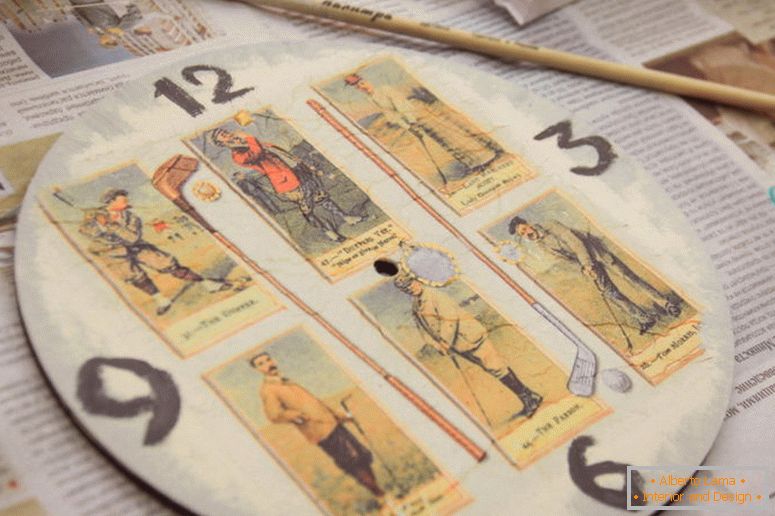
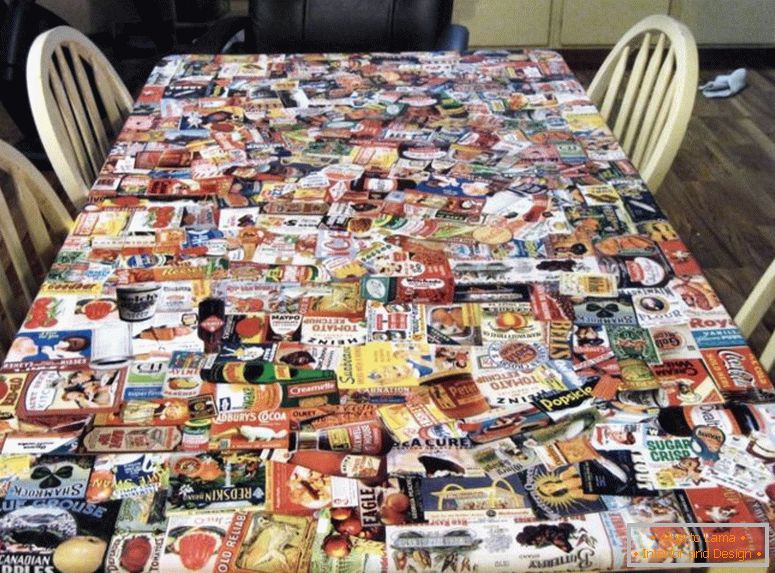
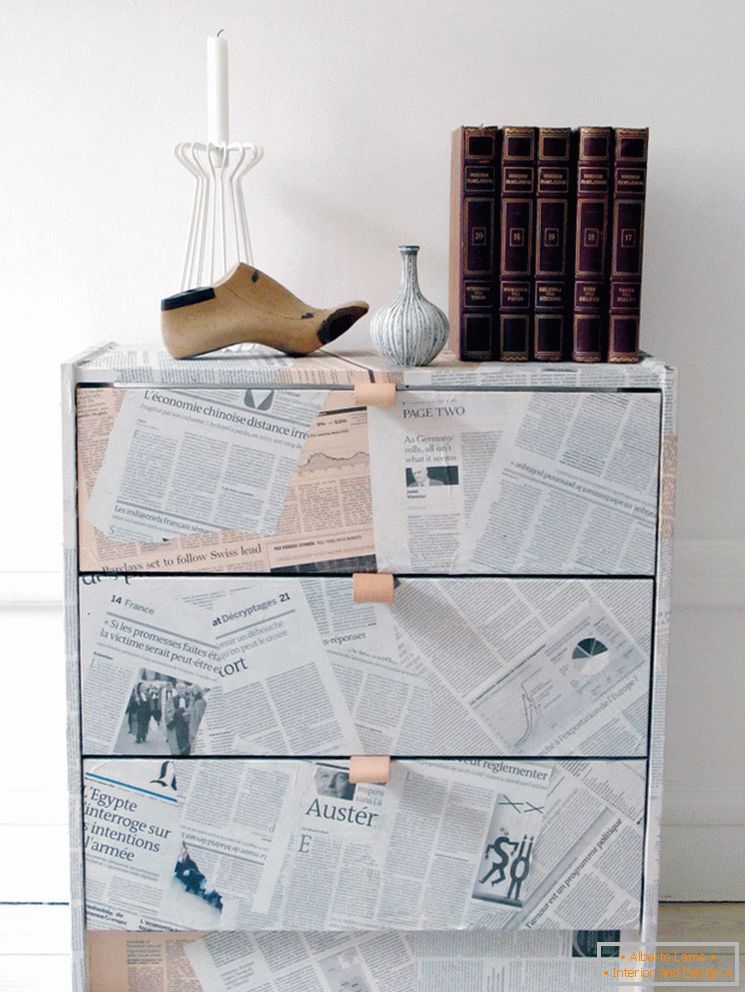
Simpl-City
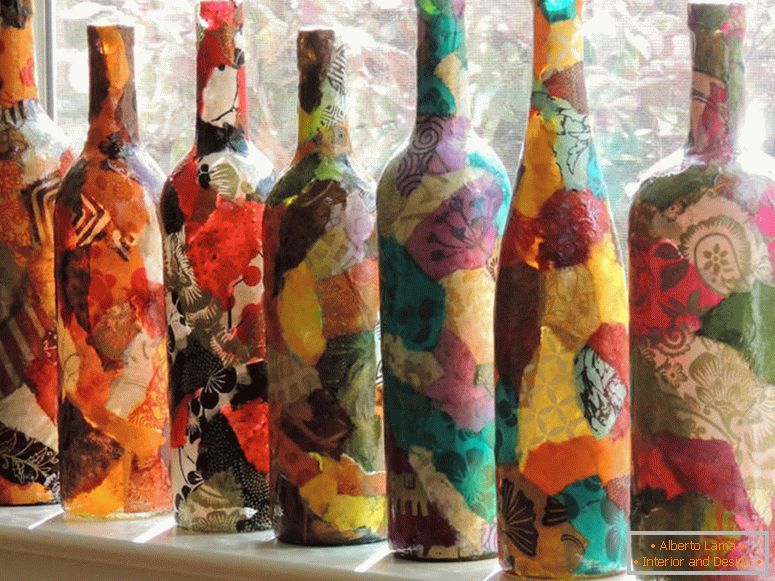
Refers to the simplest and most spacious styles, in which you can realize bold fantasies. Materials can be the most unusual and at the same time the simplest, for example, newspapers.
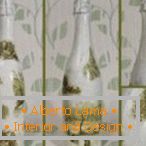
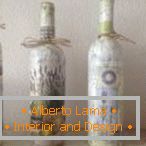
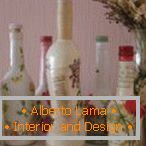
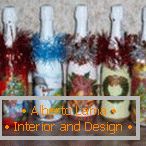
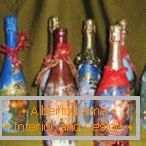
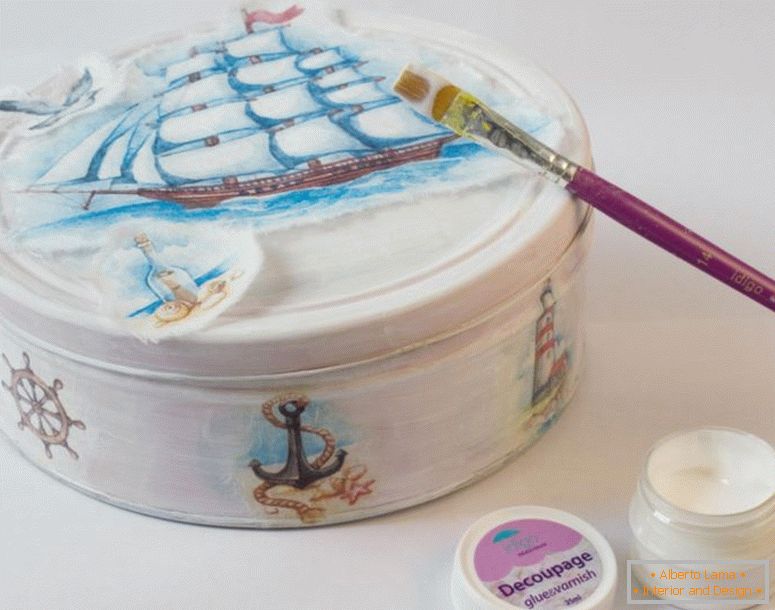
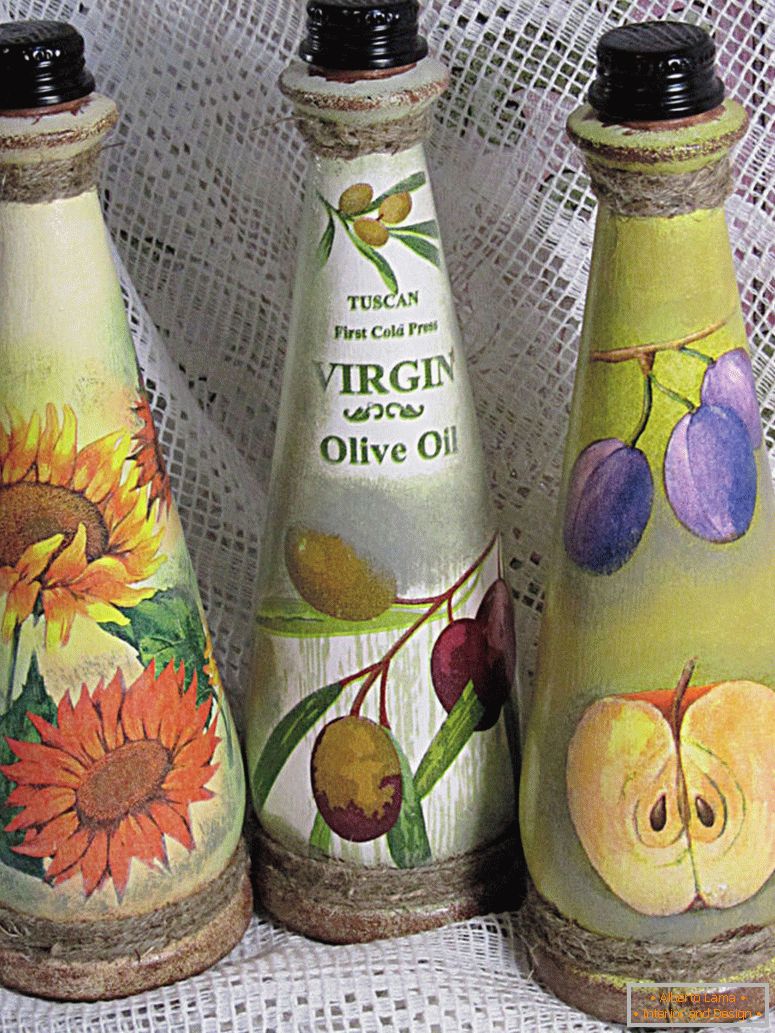
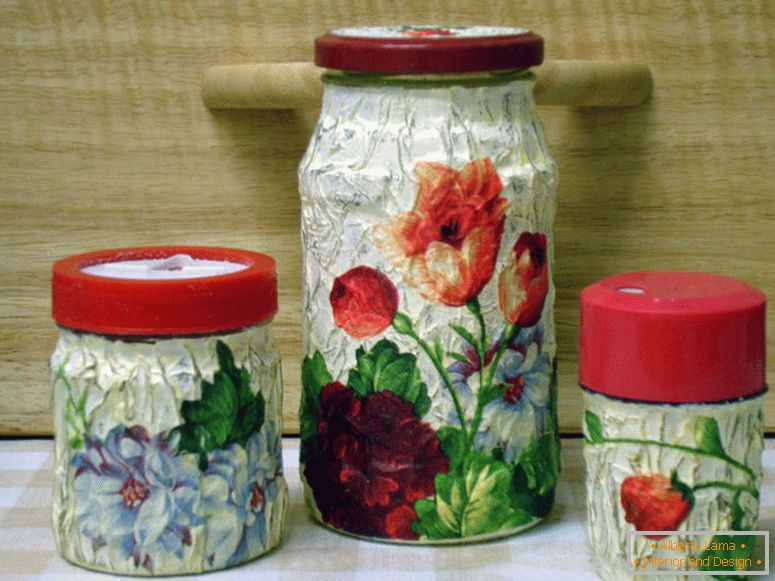
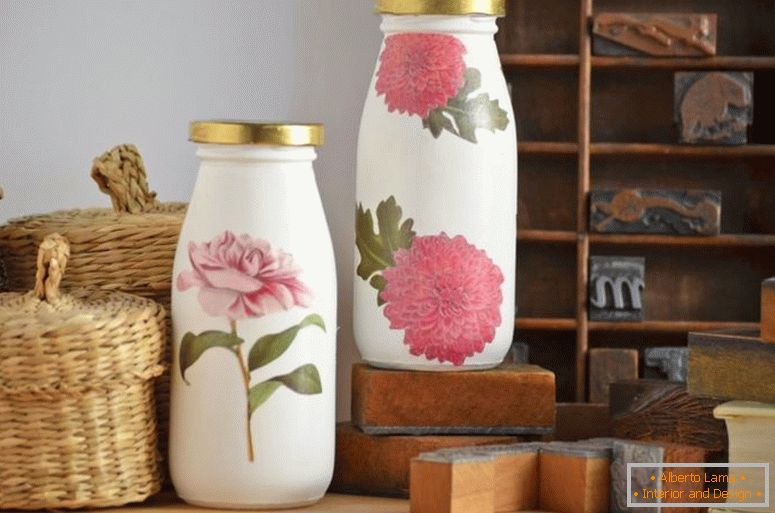
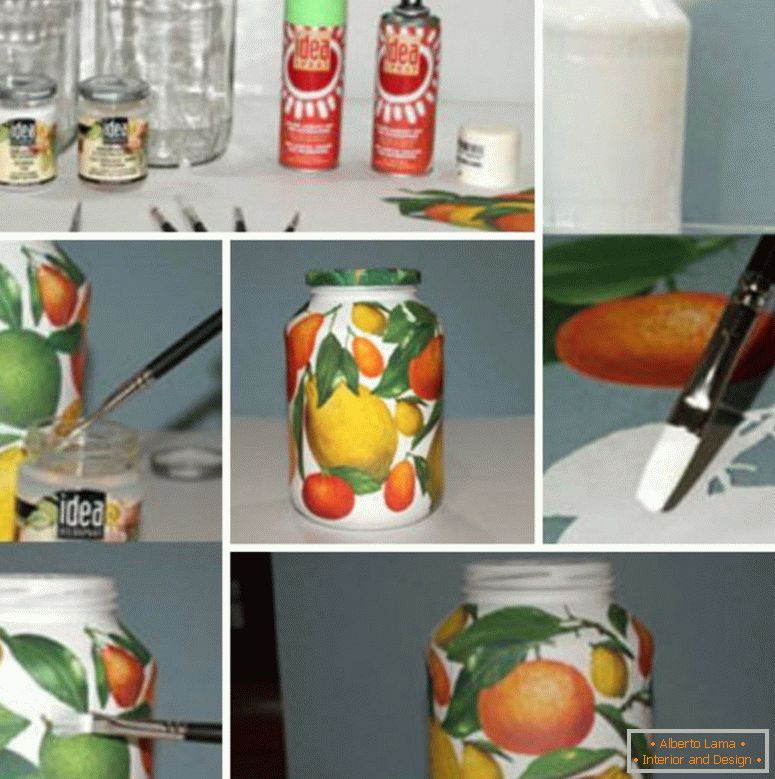
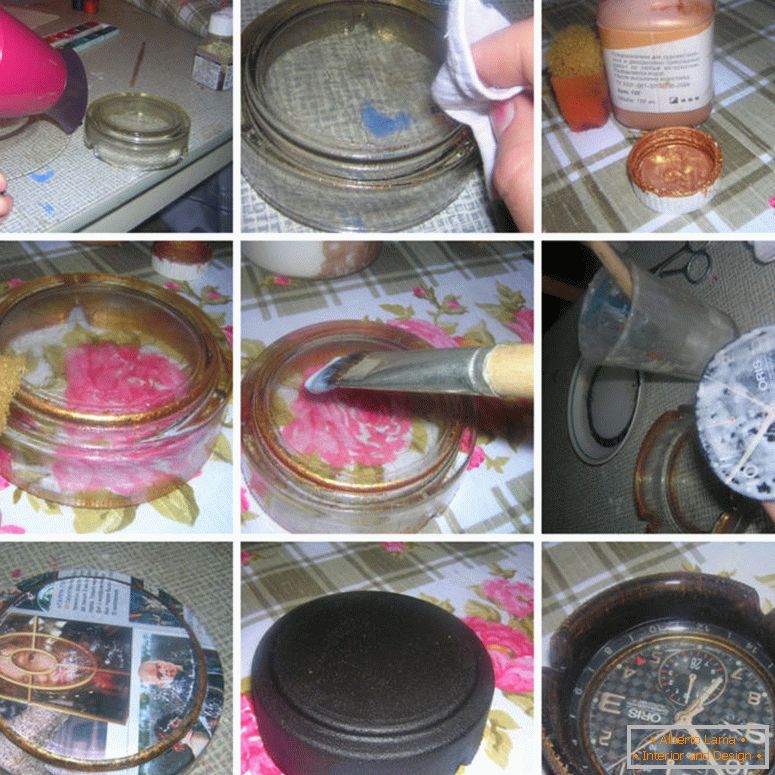
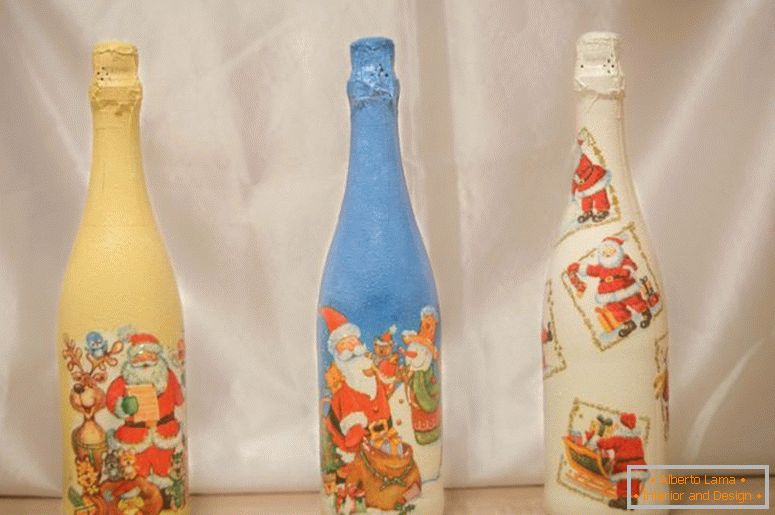
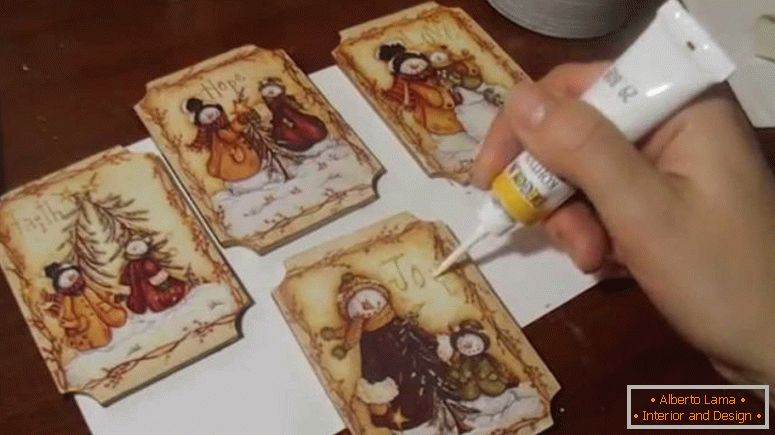
Decoupage of bottles with their own hands
To make such a splendor, you need to prepare: a bottle, acrylic paints and varnish, alcohol, make / buy a sketch in advance, decoupage varnish and a picture for it.


The manufacturing process is as follows:
- Bottles should be degreased and thoroughly dried.
- The paint is poured into the mold.
- The sponge is dipped in paint and applied by two layers on the surface of the bottle.
- You wait until it is completely dry.
- Next, you need to collect a deep dish in the water and wet a prepared sketch in it, after which the workpiece is gently applied to the surface of the bottle.
- The glue should be diluted with water in a proportion of 2: 3.
- The picture is glued directly to the bottle with a brush with glue.
- Stick to the edges, moving from the center.
- Using a sponge you should go through a different tone of paint on the part of the bottle that is free, so that the transition between the picture and the bottle is smoothed.
- To speed up the drying process, you can use a hairdryer.
- Then it is necessary to put still a layer of paint and again to dry with the help of a hair dryer.
- Your bottle will be more interesting, it is recommended to add volume in a dotted manner using the outline, after which the bottle should dry out.
- Adhesive tape is glued to the bottle (right around the neck).
- The surface is covered with varnish for fastening, which also dries dry.
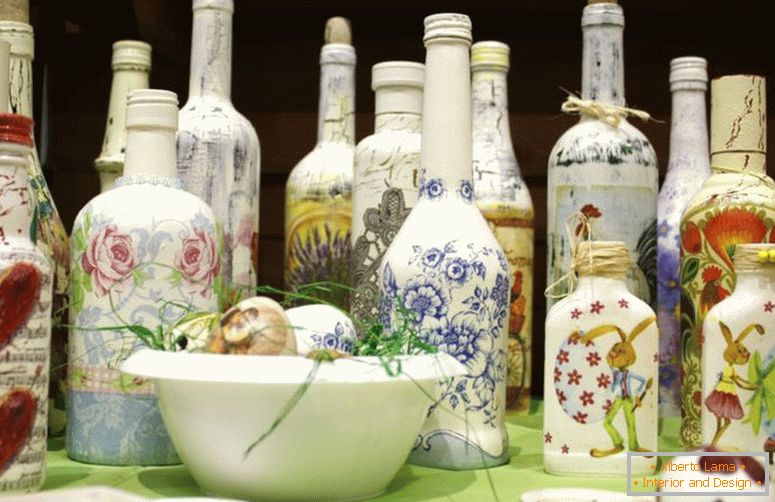
Having become acquainted with the master class of decoupage with your own hands, you will make a real masterpiece of art!
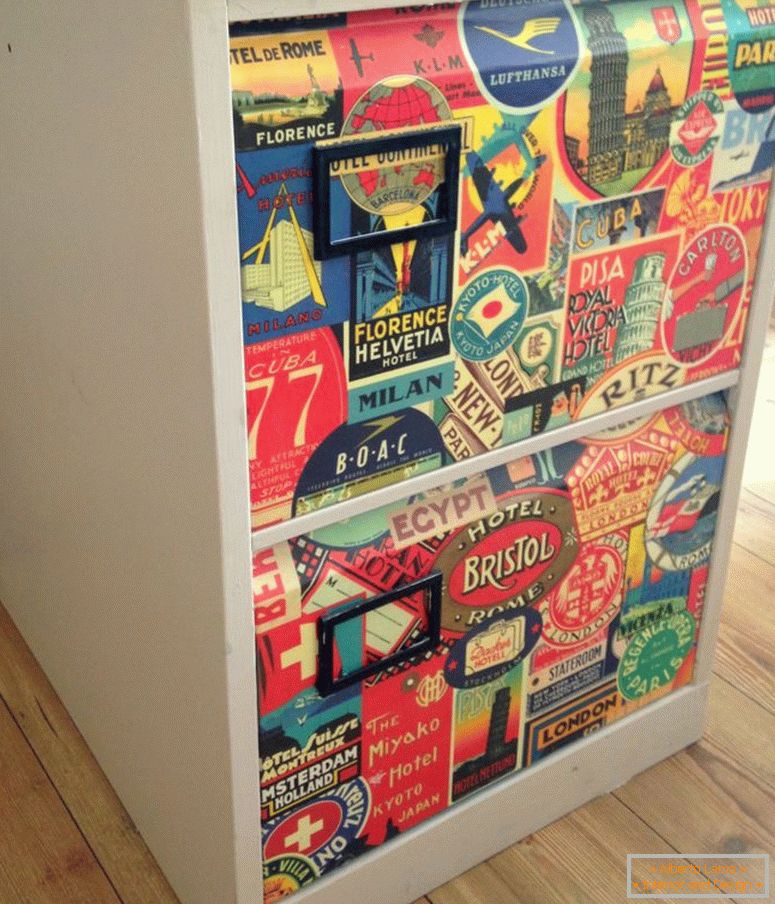
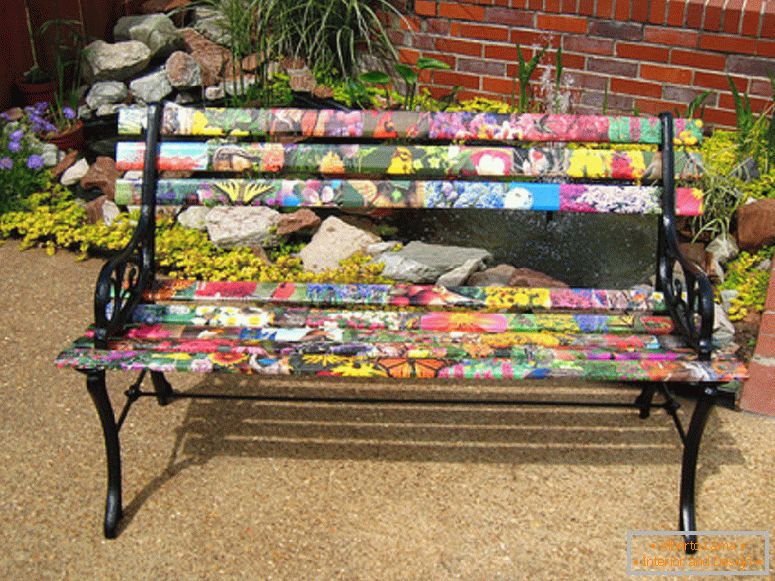
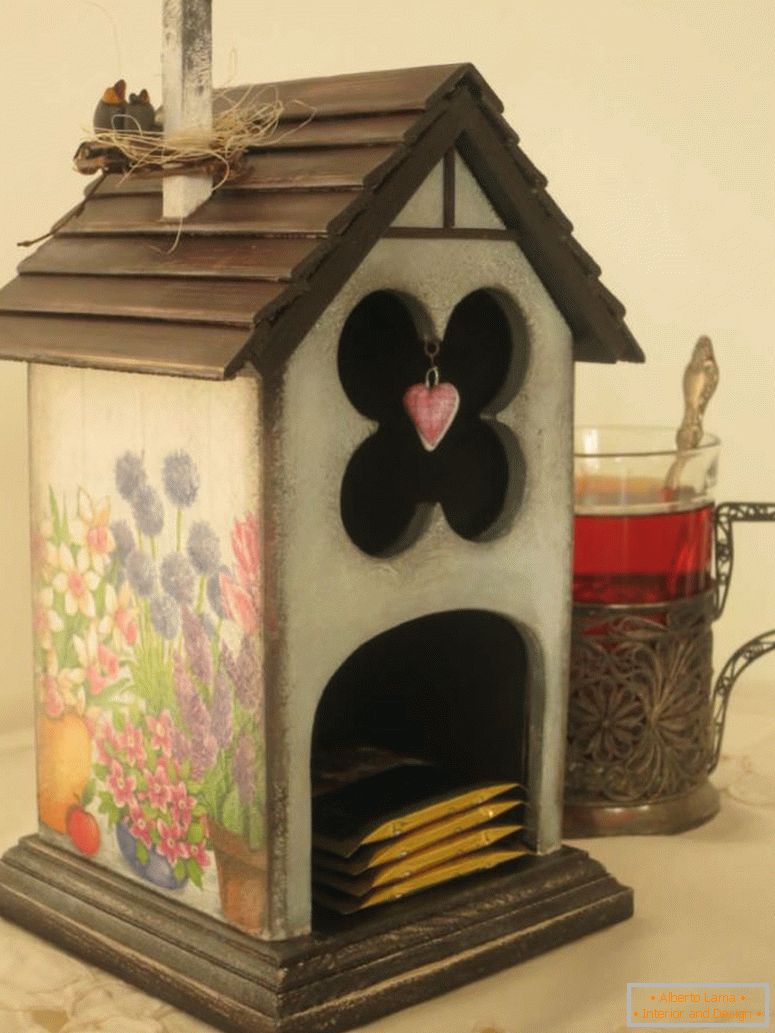
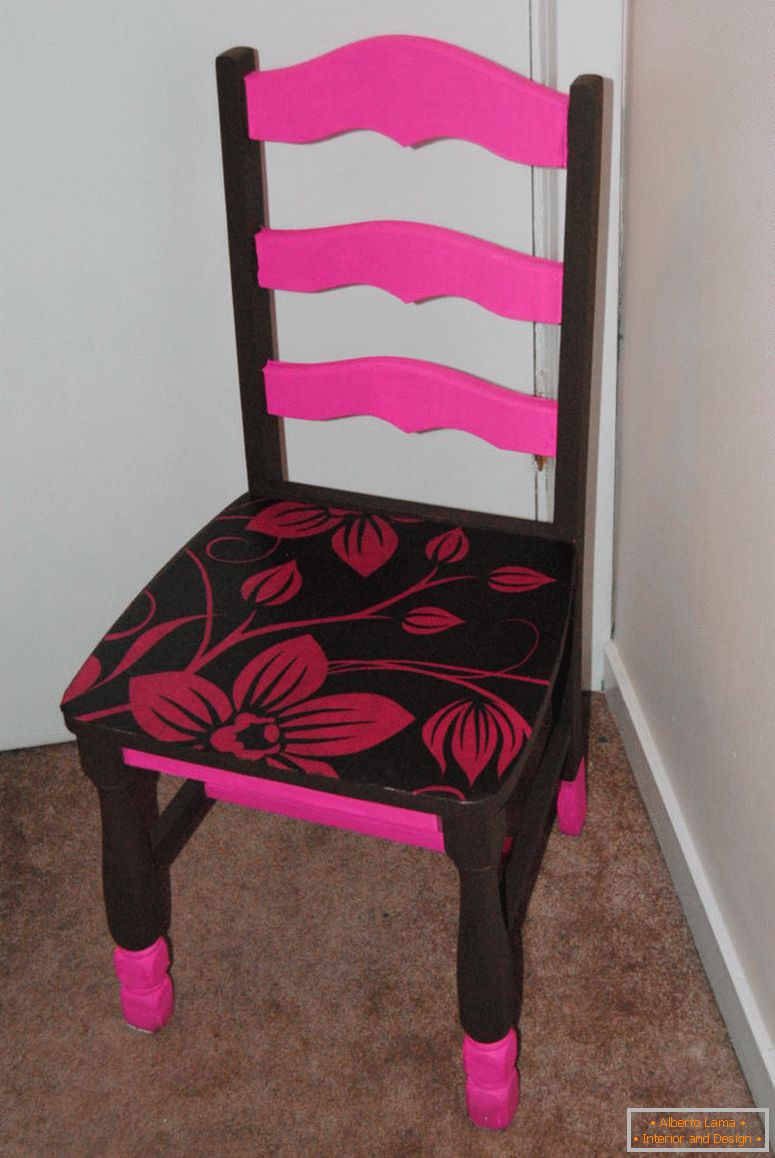
Decoupage of furniture items
To do this, prepare: a stool, a napkin, a single-piece type of glue, as well as a two-part varnish, a paraffin candle, a gold patch, a water-based varnish, decoupage glue, acrylic paints, synthetic brushes of various sizes.
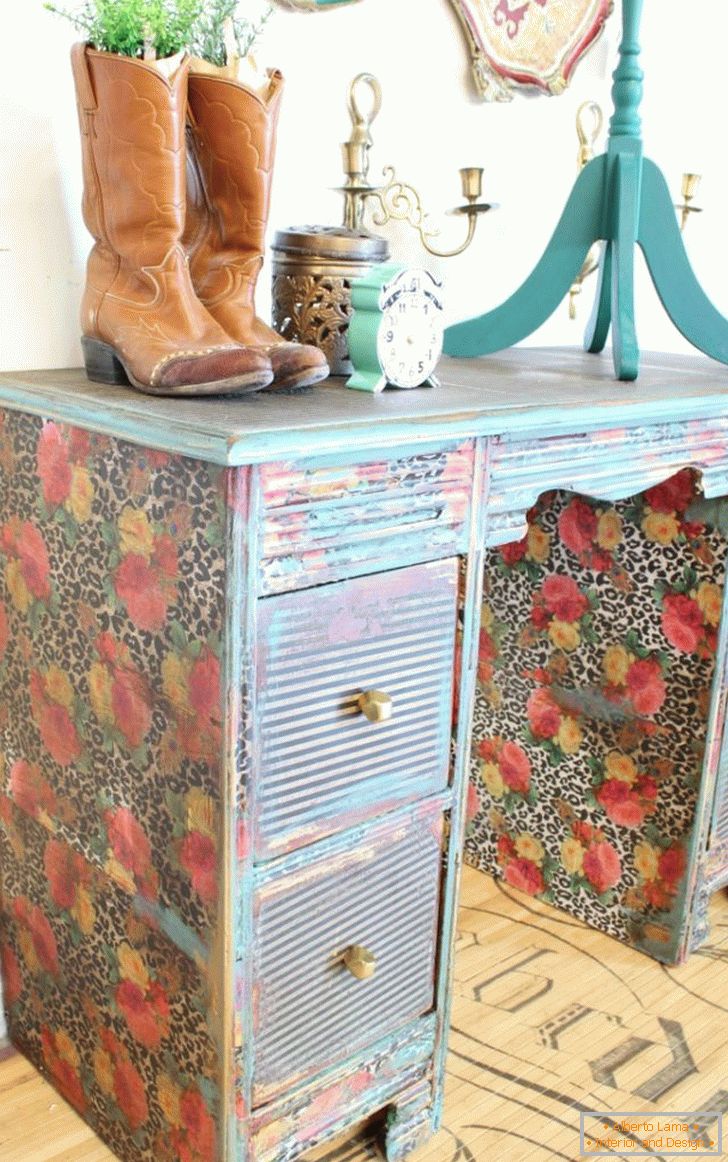
Decoupage - step by step instruction
- The stool is primed with PVA.
- Then plastered fine-grained nazhdachkoy.
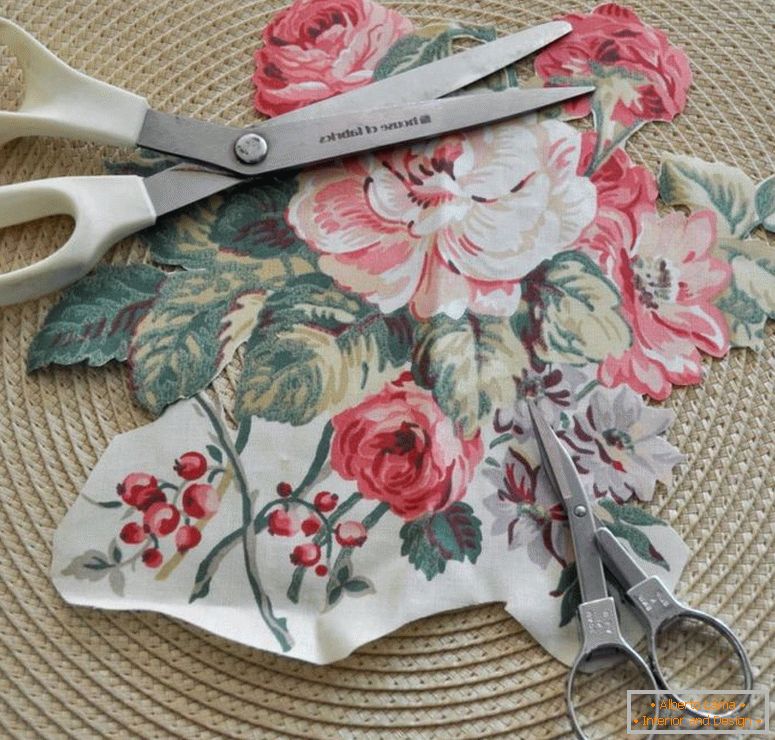
- Take a napkin, in which you should separate the white layer, which is not needed in this task, from the color one.
- Glue can be diluted with water only if it is heavily thickened. In other situations, you should not do this.
- The work needs to be done very carefully.
- Moving to the edge (from the center) you need to glue a decoupage colored napkin, while it is important to very clearly draw its edges.
- The brush should not be dry, but on the glue pack it should be noted that it can be used on hard surfaces.
- In one of the cells, a single-component lacquer is poured, you type it with a brush. The applied layer should be average. Not too thick, but not thin.
- Apply it in the same direction once, no more.
- After about ten minutes it will dry until you have time to prepare the paint, mixing it to make the structure homogeneous.
- Apply it carefully. When everything is ready, dry with a hair dryer, turning on the average power at a distance of twenty centimeters.
- The varnish is poured into the palette from the first can, then your masterpiece is covered with it, and wait until it dries.
- The candle is unevenly rubbed on the legs of the product.
- Then you should wet the sponge in the water and apply the paint on the legs of the furniture, choosing a color that is darker than the wood.
- Then a more light version of the paint is applied than this, again, with a sponge.
- The stool should be turned on its side, zadekorirovat as other legs, and wait until they dry.
- Bolts are also worth painting, so they do not spoil the look.
- The two-part lacquer should be a thick consistency, it should also be applied, perpendicular to the previous layer.
- The lacquer is dried with a hairdryer, maintaining the optimal distance.
- The brush is dipped into the lacquer, then it is applied to the places, which should be highlighted in gold.
- The hands must remain clean and dry.
- Sweat patal gold color should be put paper (clean white sheet), then the cut is cut into strips and glued to the desired areas.
- Using a strip of cloth, bitumen is applied to some "gold" areas and wait until it finally dries.
- Bitumen is collected by a sponge, then some cracks are rubbed. And voila!
You can also do absolutely any new year's decoupage with your own hands and much more. Here, no one limits you in manifesting your own fantasies and creating extraordinary masterpieces.
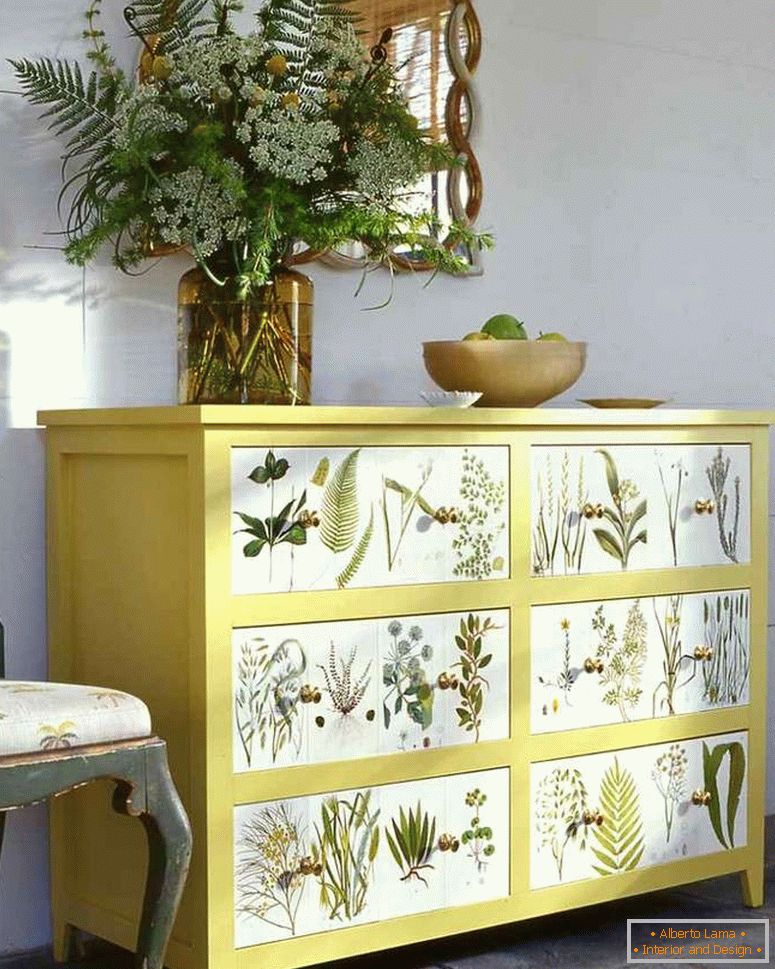
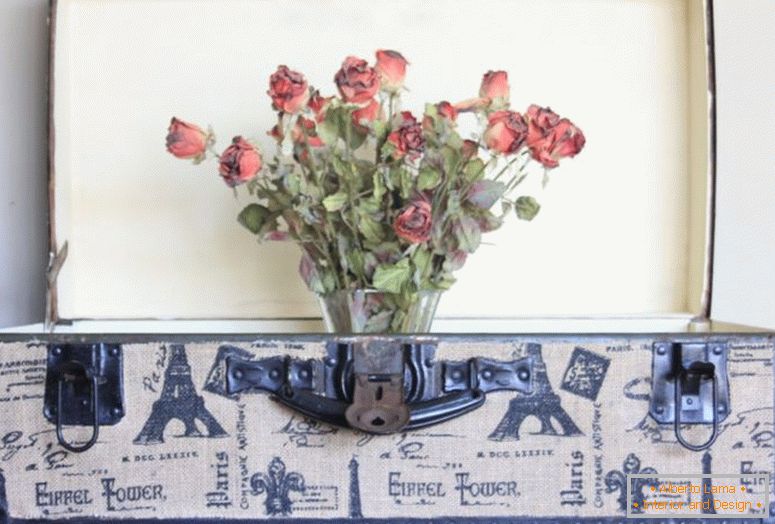
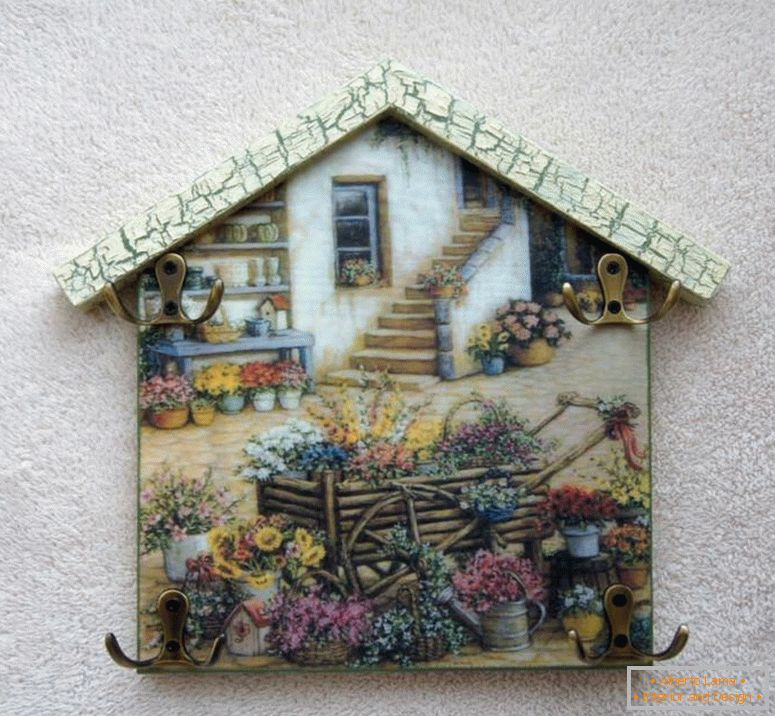
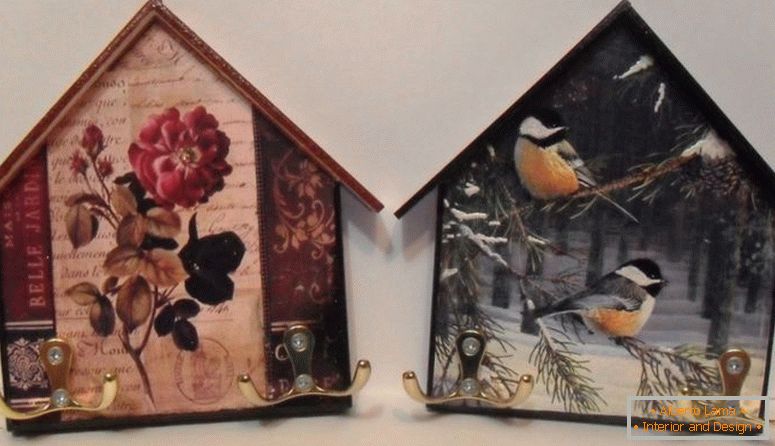
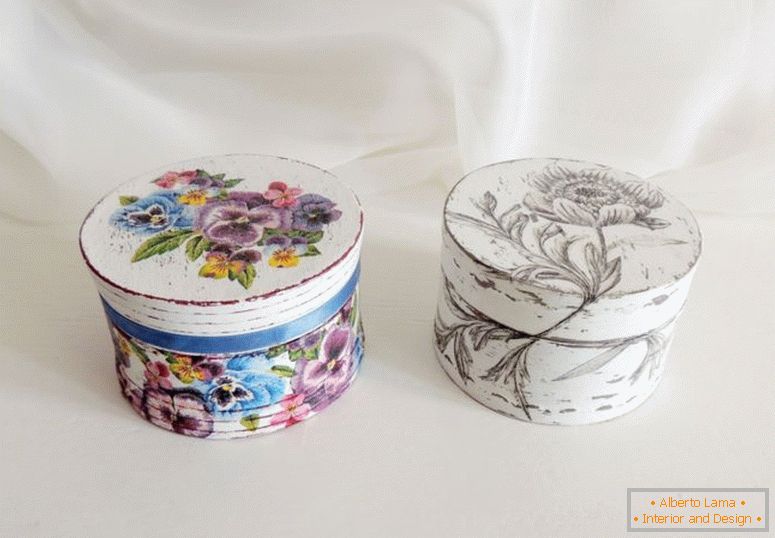
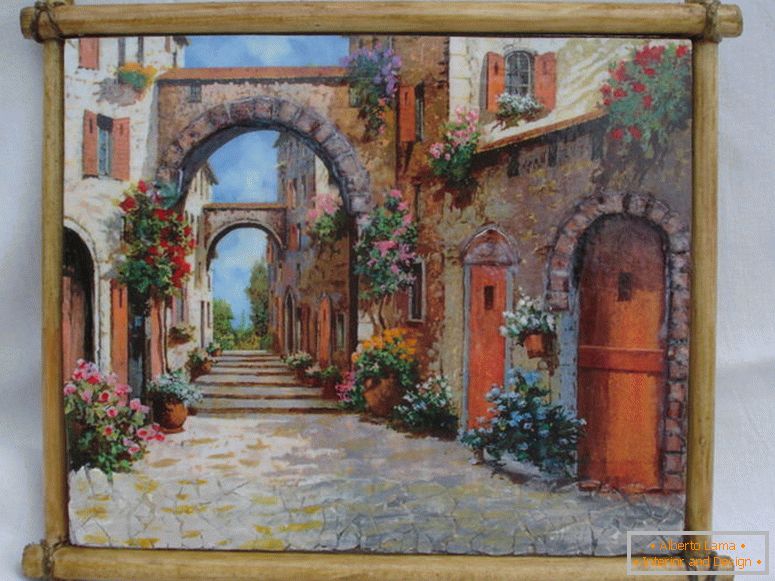
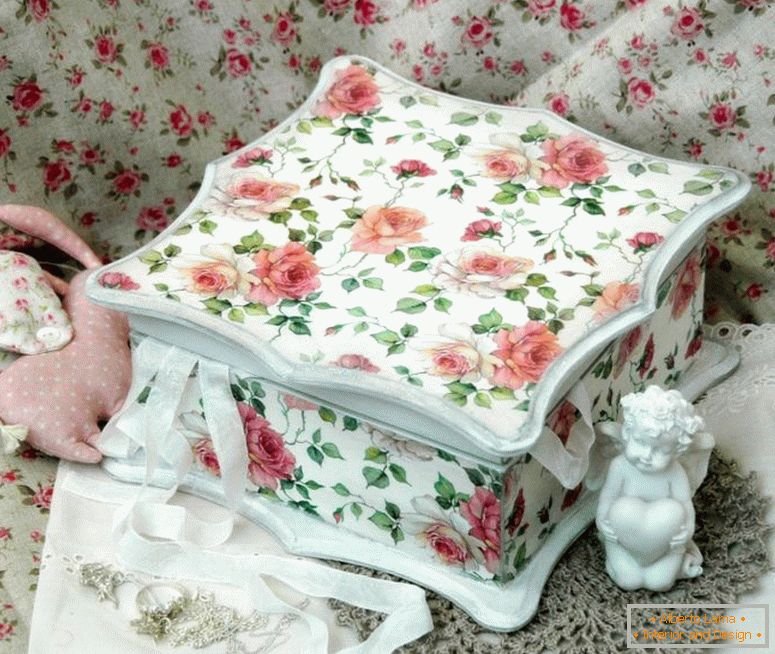
Photo how to make decoupage with your own hands


 Decor of the rope - photos of fashionable novelties in the interior
 Decoupage of plates - an interesting master class with step-by-step instruction and photo examples
 Rug in the bathroom with your hands - detailed instructions for beginners (55 photos of ideas)
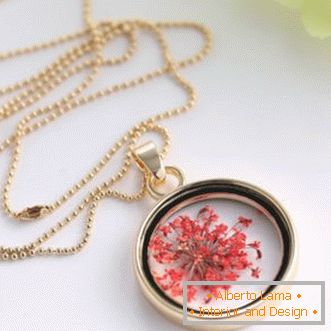 Necklace with your hands - the best master class with photo examples
 Rugs with their own hands - photos of the best variants of beautiful rugs in the interior
 Stands under the hot - how to make their own hands? Step-by-step instruction with photo


 The dream catcher - a master class with step-by-step instructions
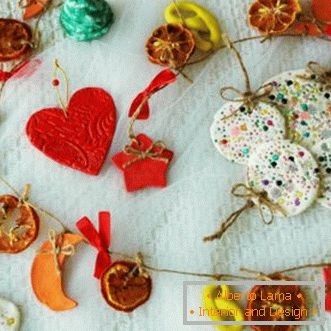 Salted dough pieces - how to make your own hands? Instruction with photo ideas.
 Weave from newspaper tubes - step by step instruction for beginners, with photo


