Today people have at their disposal more photos than ever in history. So why not decorate your home with them? Family or other close to the heart of the photos on the wall will make the interior of your house more lively, cozy and memorable. But for this you need to familiarize yourself with the secrets of creating stylish compositions. In this article, you will learn how to beautifully hang photos on the wall, and see the best examples of gallery design in the photo rooms.
Photos on the wall: step-by-step design of the room
At first glance, it might seem that for a beautiful room decoration photos are enough to buy a collage or the right number of frames, and that's the end. However, a poorly thought out scheme not only does not bring you joy, but can even turn into a constant source of irritation. With a little more effort, you'll make the pictures on the wall look like a real work of art.
The basic steps for this are:
- Decide exactly where you want to hang photos on the wall. The most suitable rooms for this are the hallway, the corridor, the living room and the dining area.
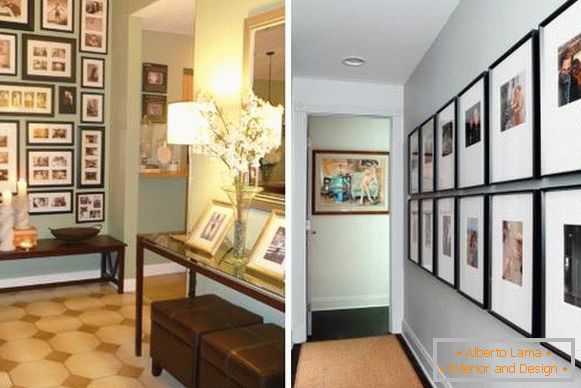
Also read: Modern ideas for the hallway with a photo 2016
2. Determine the boundaries in which the collage or collection of photo frames will be placed. The area of this area should be in harmony with the individual interior details. For example, it can match the size of the window, the width of the sofa or carpet on the living room floor.
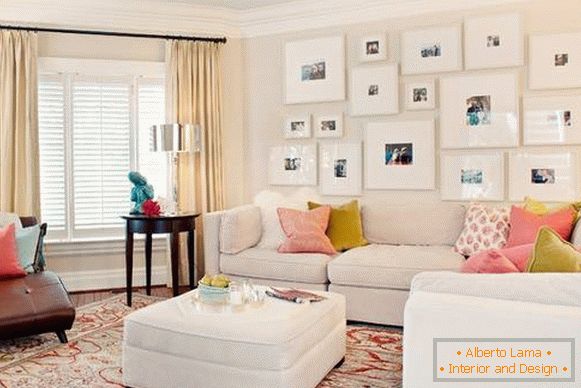
3. Choose the frame design and type of scheme: will it be symmetrical or asymmetric? In both cases, the size and shape of the role frames do not play - you can play with them as much as you like. In this case, in a strictly symmetrical scheme, it is recommended to compare frames of the same color and design, and asymmetric - to balance by visual weight and hues relative to the center.
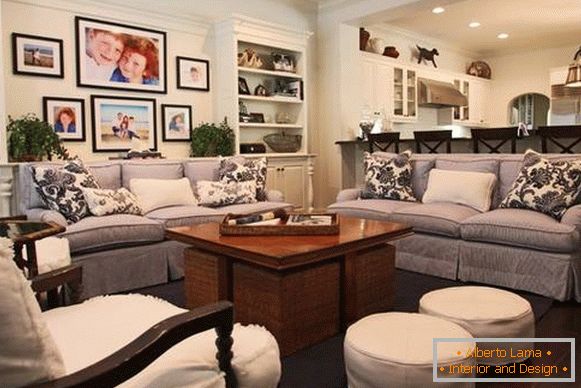
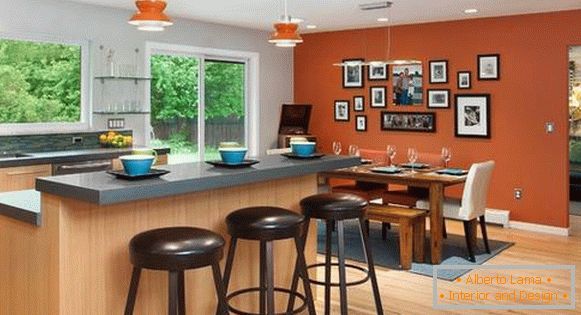
4. Draw a scheme for hanging photo frames on the wall. At this point, we will dwell in more detail.
How to hang a frame for photos on the wall with your own hands
To the first time beautifully hang photos on the wall, use a simple trick. Spread a large sheet of paper on the floor (or glue several sheets of scotch tape). Lay out the photo frames on this sheet, moving them until the composition completely satisfies you. Circle the contours of the frames with a pencil, then use the buttons or needles to attach the sheet to the wall to finally make sure of the result. If you do not need to make any changes, mark the placement of photos with nails and remove the sheet.
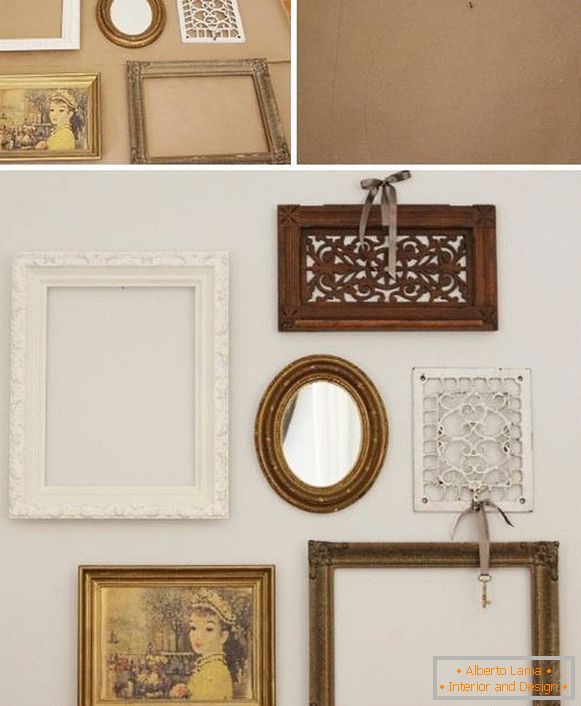
For greater clarity, you can even cut out the outlines of the paper frames, as shown in the photo below.
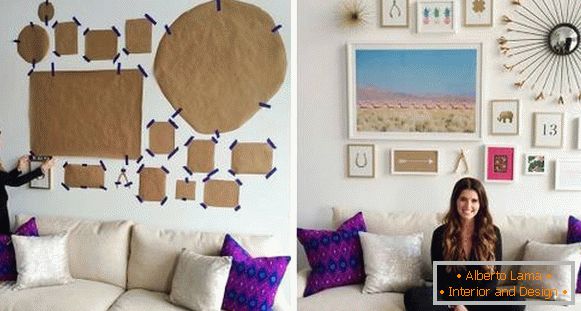
Several ready-made useful schemes for creating a photo gallery on the wall can be found in our article: How to decorate a wall in a room with your own hands.
How to beautifully hang photos on the wall - ideas with photos
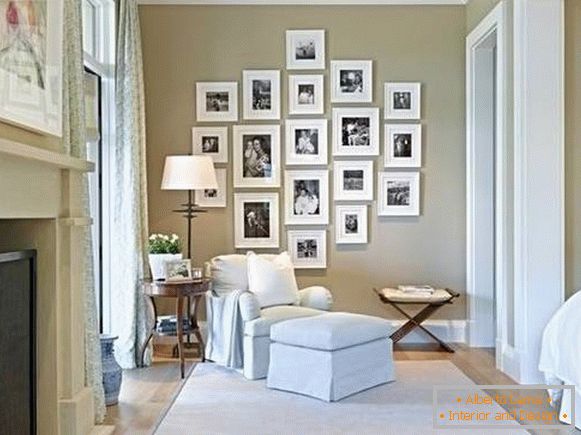
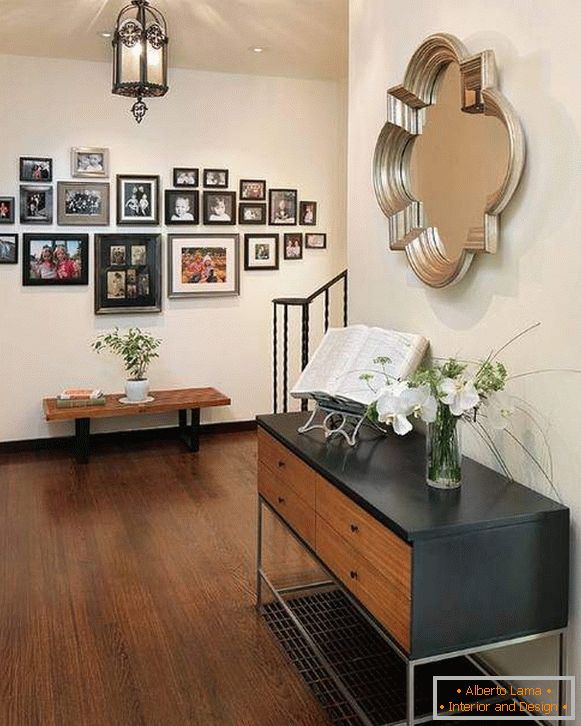
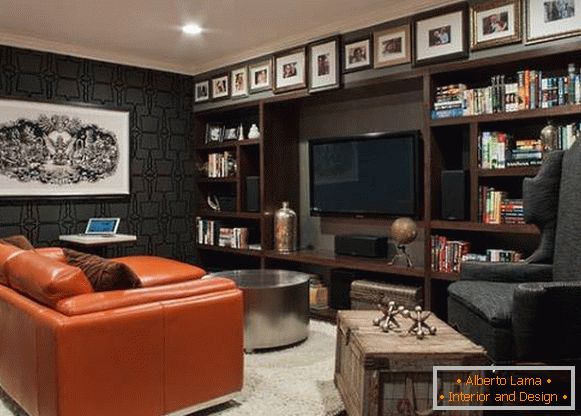
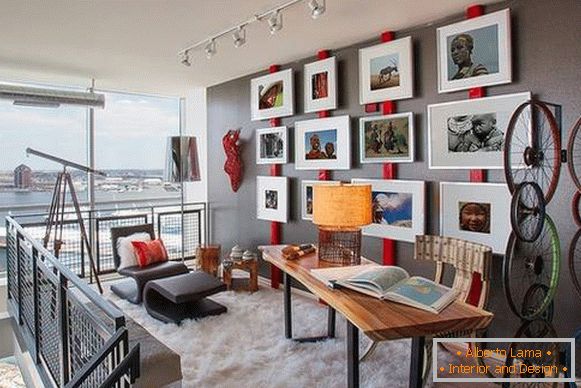
Whichever scheme to hang photos on the wall, you did not choose, try to combine all its parts into a single whole with the help of a common element. They can produce color photographs, frame material or image size. For example, photos of different sizes will look gorgeous together if they are all black and white.
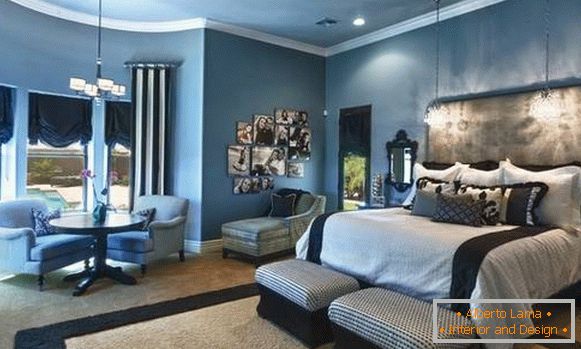
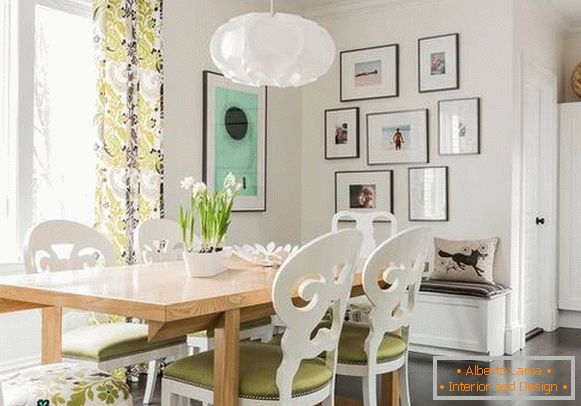
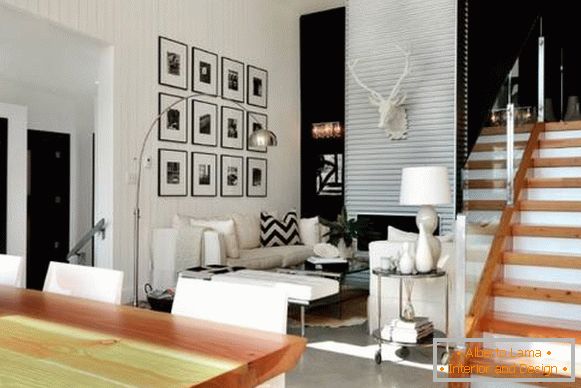 Also read: 5 reasons to buy a picture + selection 60 photos
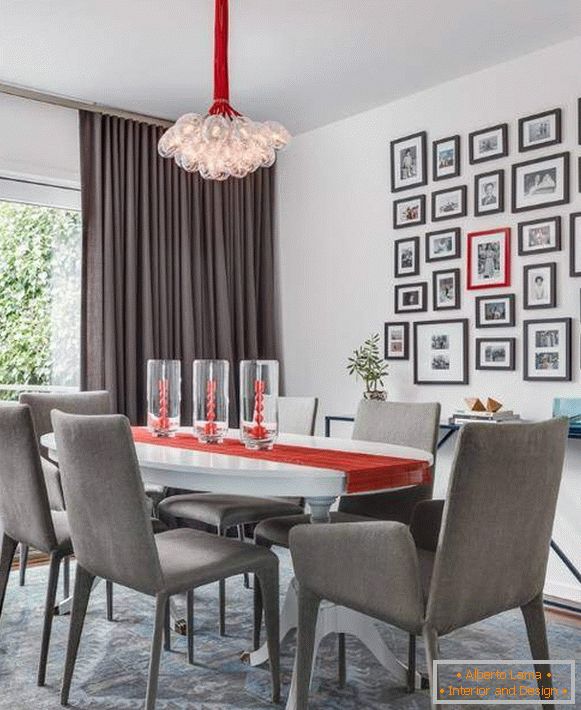
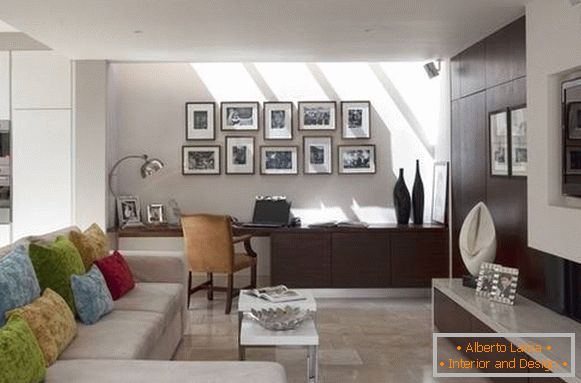
If you want to go complicated, but also more interesting way, and combine completely different frames and photos, then remember the need to visually balance the composition in the center and that the frames should be located at approximately the same distance from each other.
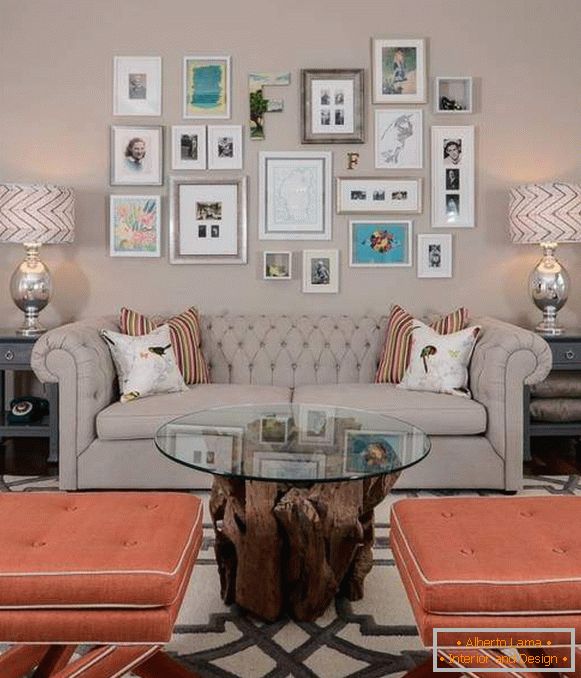
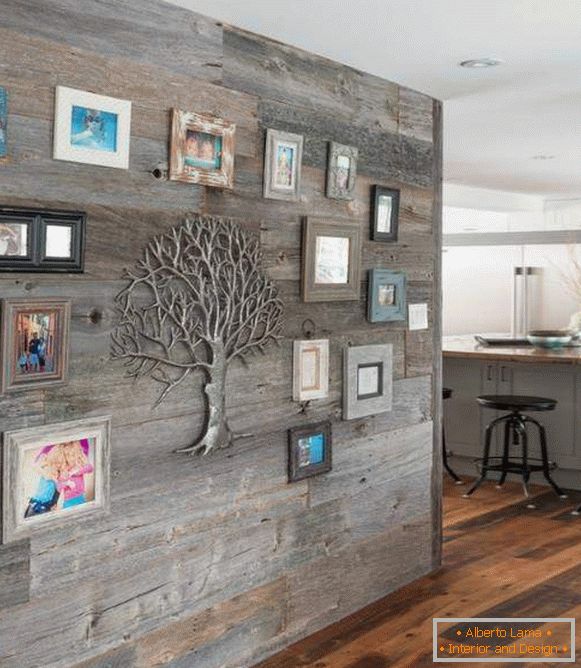
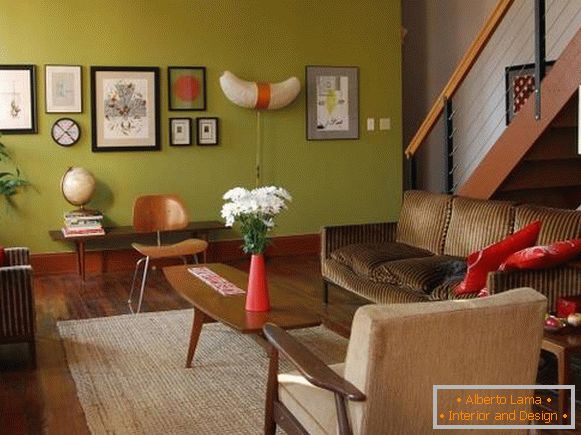
7 original ways to hang a photo on the wall
Want to learn how to beautifully hang photos on a wall without frames? Or how to decorate a wall with lots of photos without having to drill many holes? About the most creative ways to design a home photo gallery - read in the final part of this article.
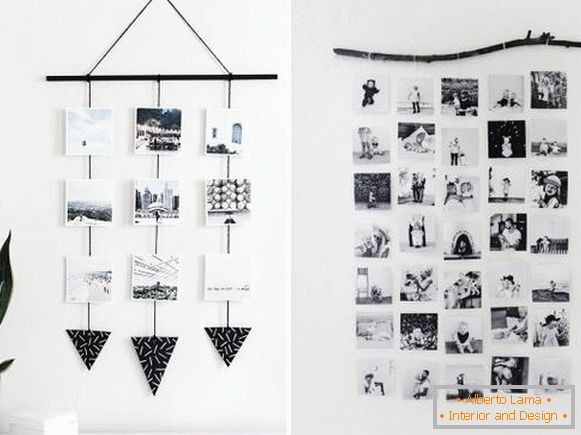
- Use threads and twigs
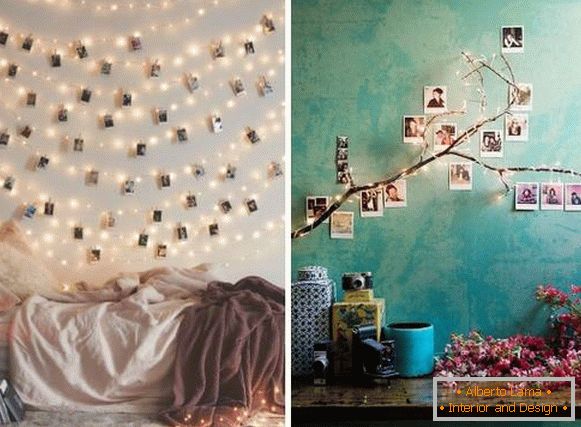
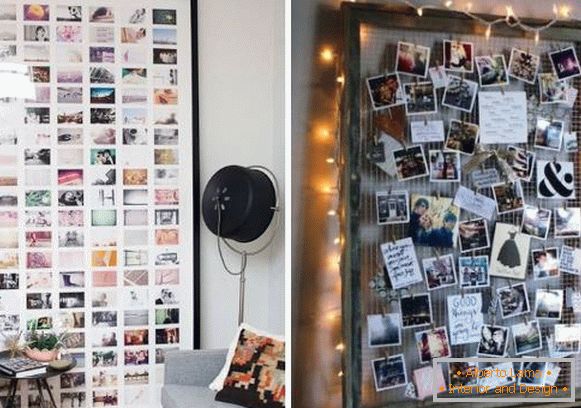
2. Add coziness and warmth with light
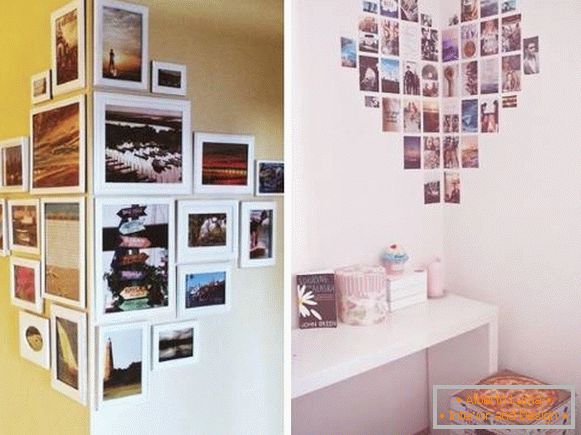
3. Place the photo frames on both sides of the corner at the junction of the walls
4. Secure the photos to a special substrate
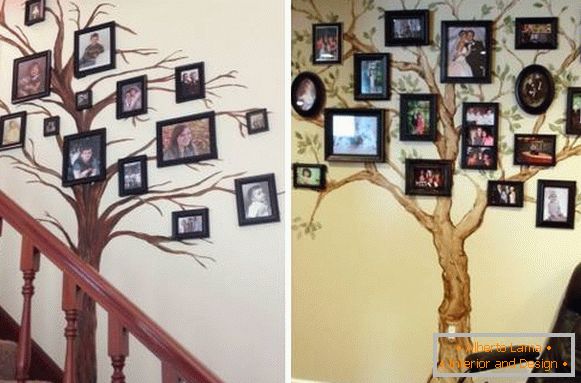
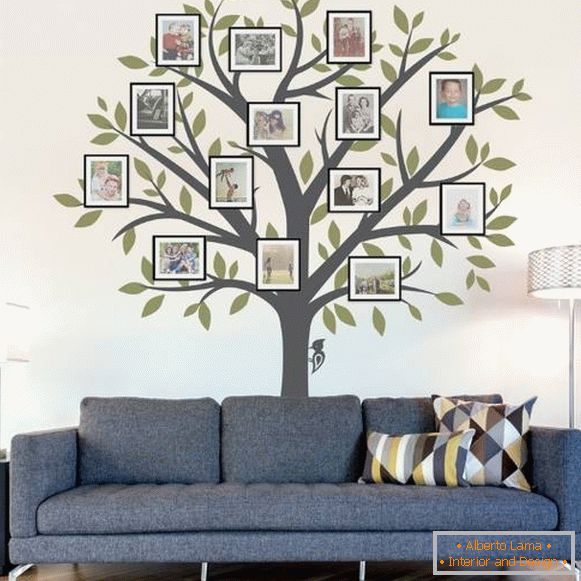
5. Create a beautiful family tree on the wall
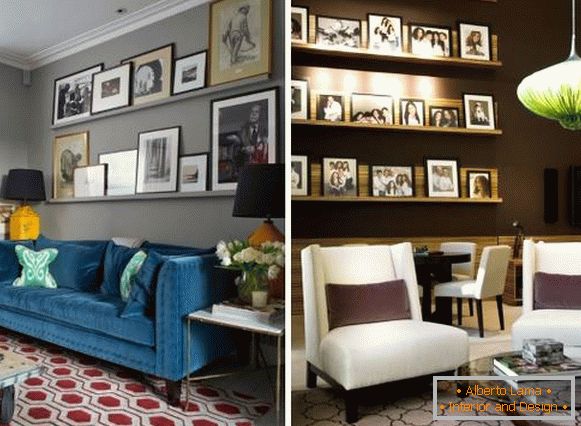
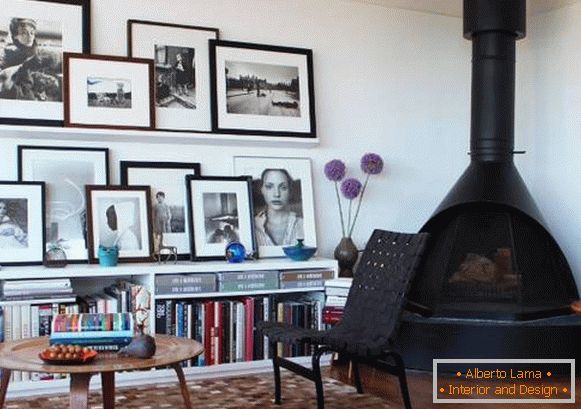
6. Put the photos in a row on the floating shelves
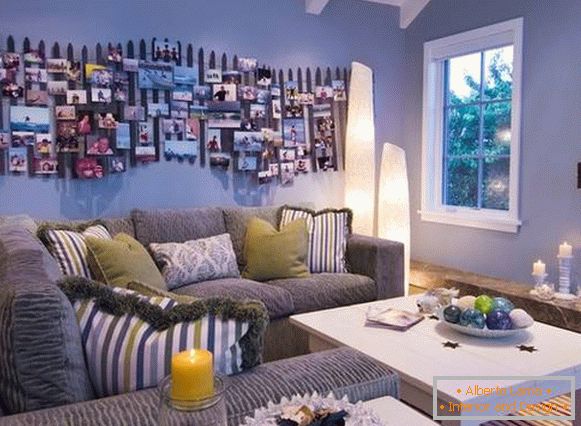
7. Use clothespins and other improvised materials
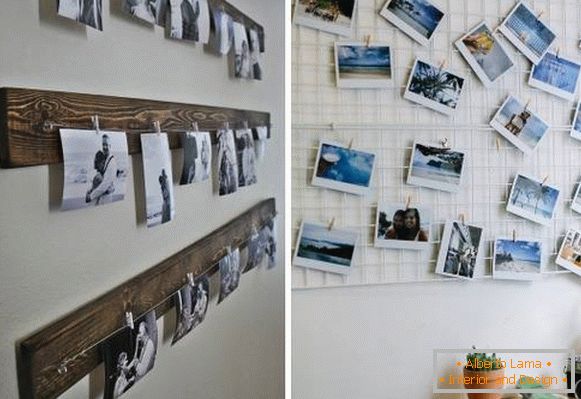
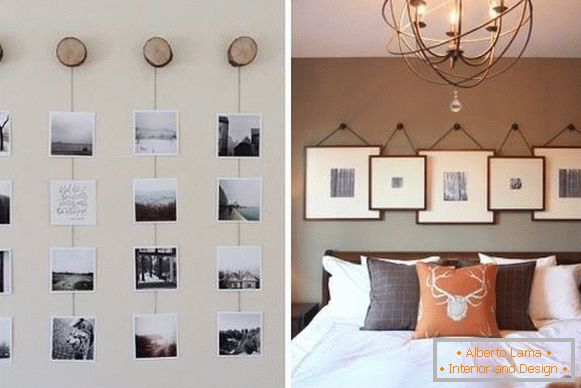
Which method did you like the most? Tell us in the comments!


