This year UNESCO officially declared the year of the world. In this light (sorry for the pun), it is worth paying special attention to the coverage that we receive from various sources, like computer monitors and screens of telephones and televisions. As a result, these permanent sources, operating around the clock, can affect our sleep. If you have trouble sleeping or you notice that it's not easy for you to fall asleep - be aware that the cause may be light emanating from electronic appliances or bright home lighting.
Along with the habit of disabling all screens two hours before sleep (this is not always easy), using candles for muted, soft lighting before going to bed can help get rid of the impact of hard, bright top lighting that can cause insomnia.

In addition, candles are a great way to relax and release steam. There is something very relaxing in the soft flickering light emanating from the candlelight. Some may consider them unfashionable interior detail, but you can "modernize" the candlestick and thus not only enjoy the soothing effect of the soft candle light, but also add to the interior another beautiful piece of decor.
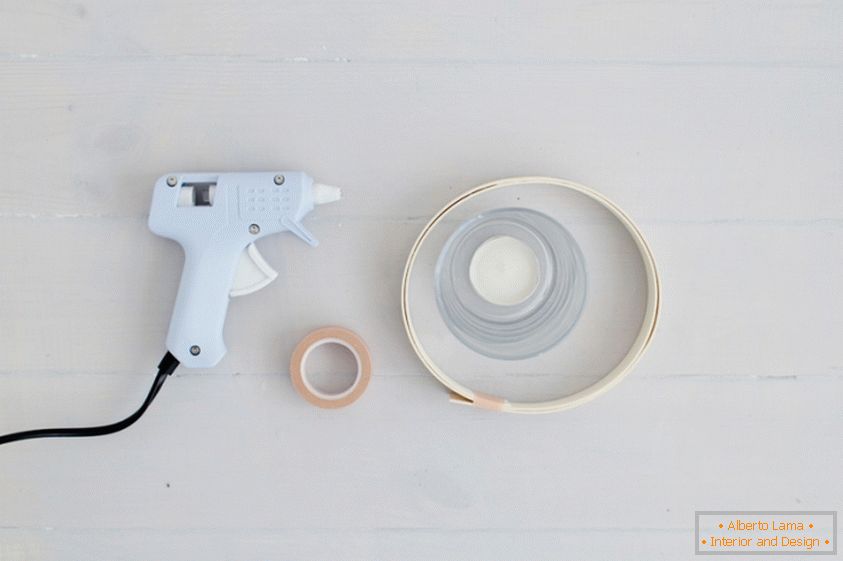
You will need:
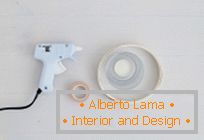
- Glue gun
- Glue stick
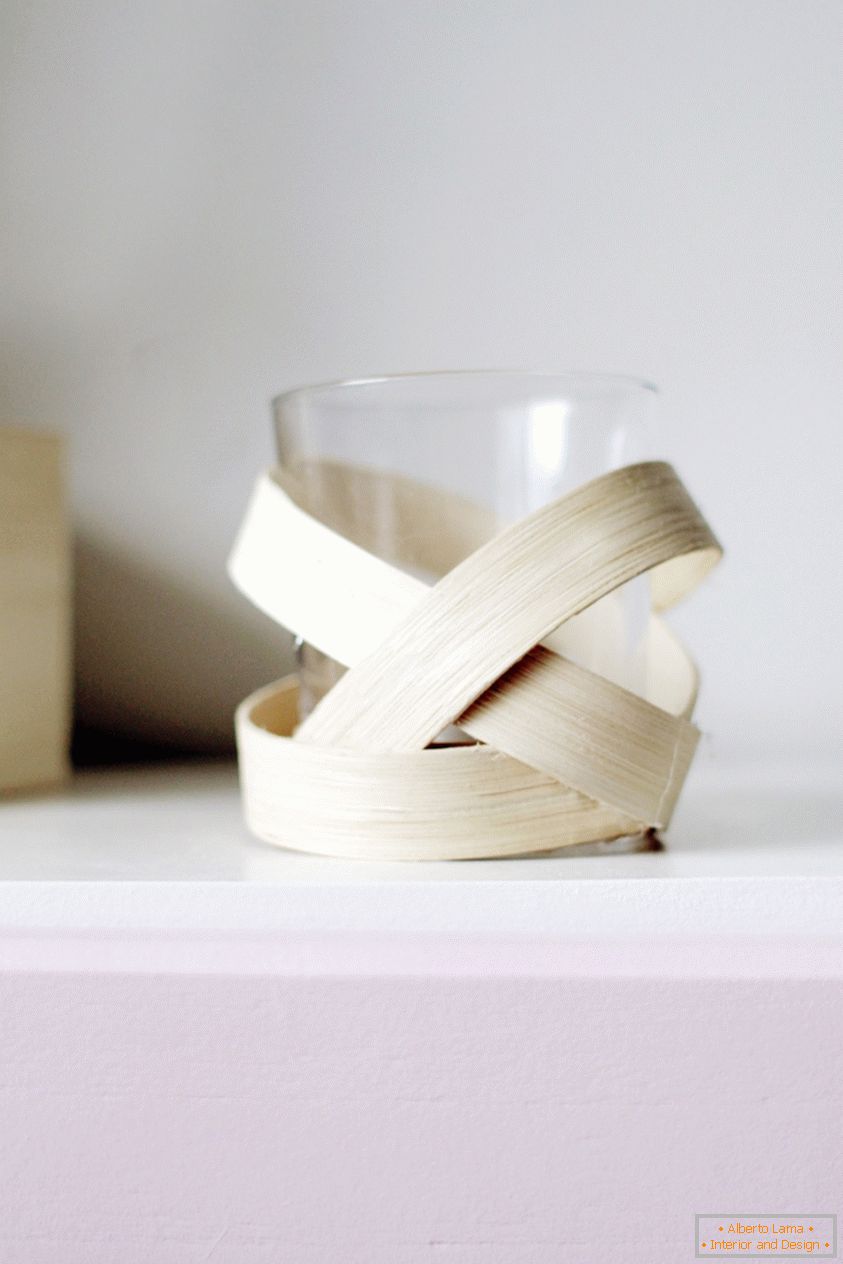
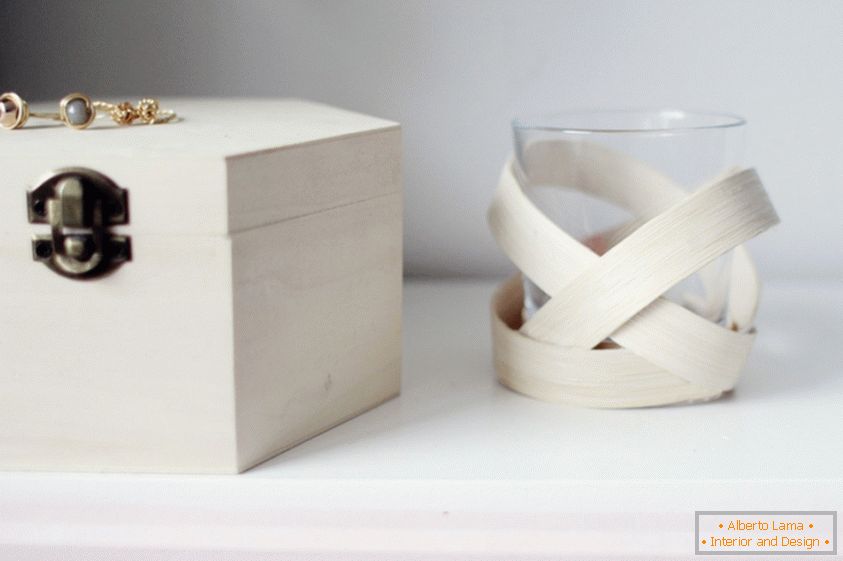
- Reed veneer
- Masking tape
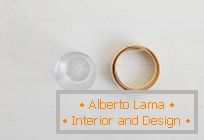
- Glass beaker
- Tilight candle
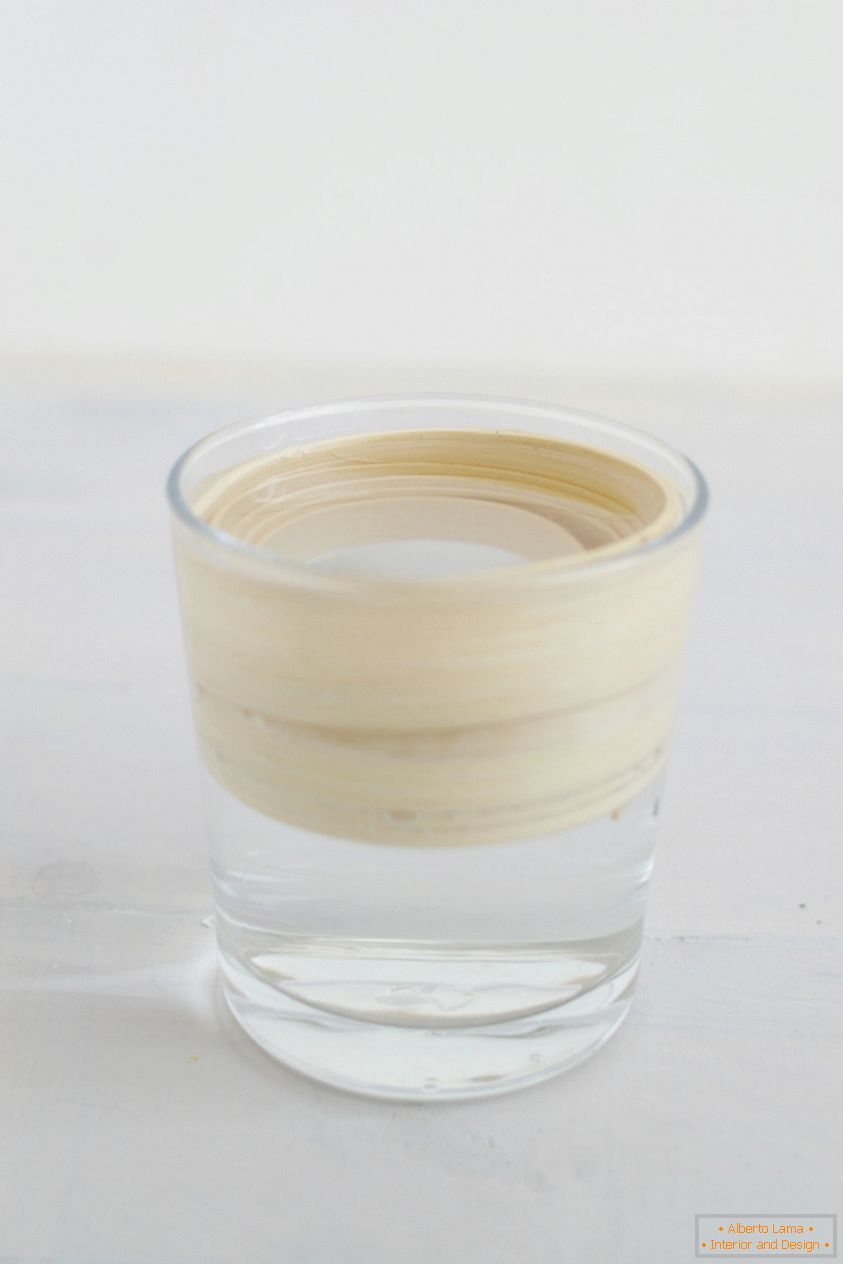
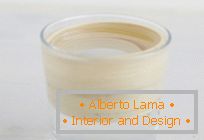
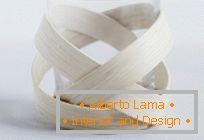
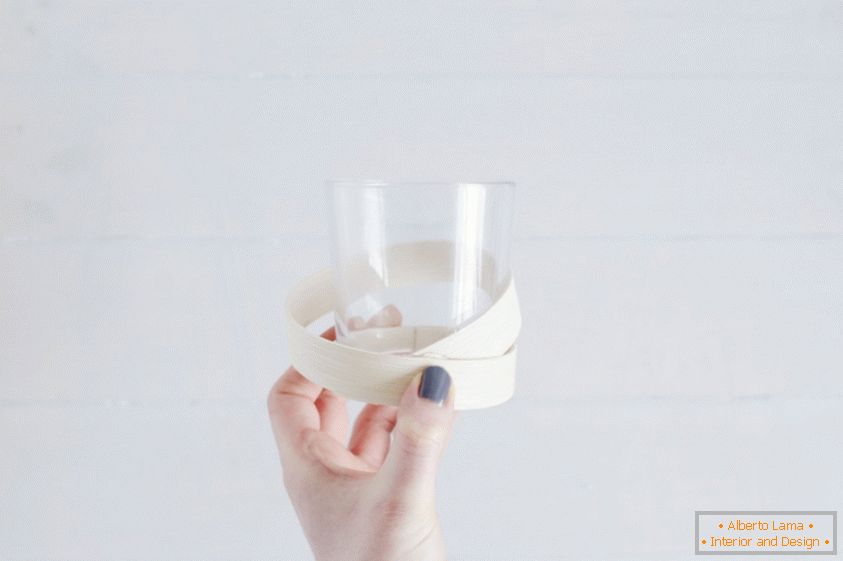
1. Soak the veneer in warm water. Fold it in a ring and place it inside the glass so that the ring is small. Leave on for half an hour, and then drain. Leave the veneer in the glass for another half an hour to dry.

When you get the cane veneer from the glass, it will be rolled into rings with a diameter corresponding to the diameter of the glass.
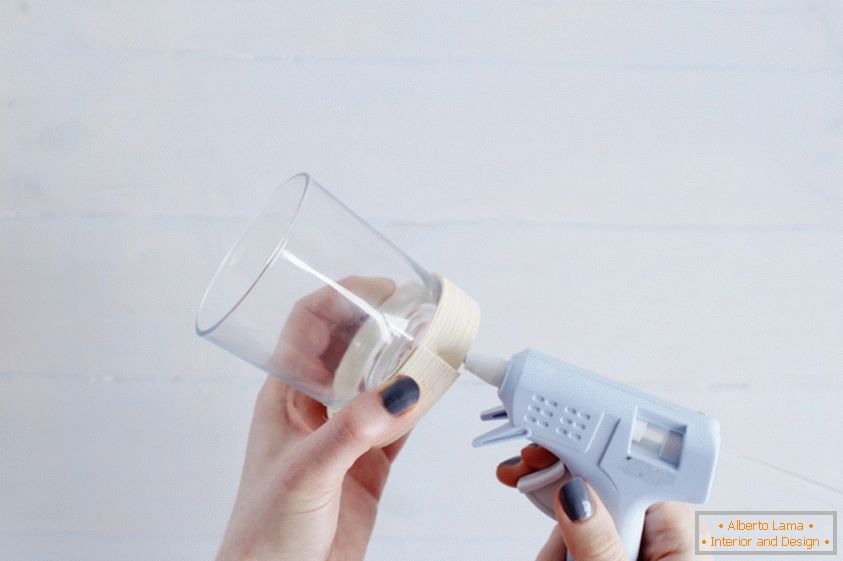
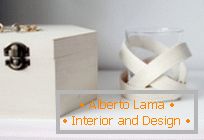
2. Measure and cut a piece of veneer, sufficient to wrap around the bottom of the glass + 2, 5 cm. Using an adhesive gun, fasten this piece around the bottom of the glass.
3. Cut two more pieces of veneer, equal to 1.5 circles of the glass. Using glue, attach the edge of one of the obtained pieces to the edge of the segment wrapping the bottom of the glass, and let the glue seize.
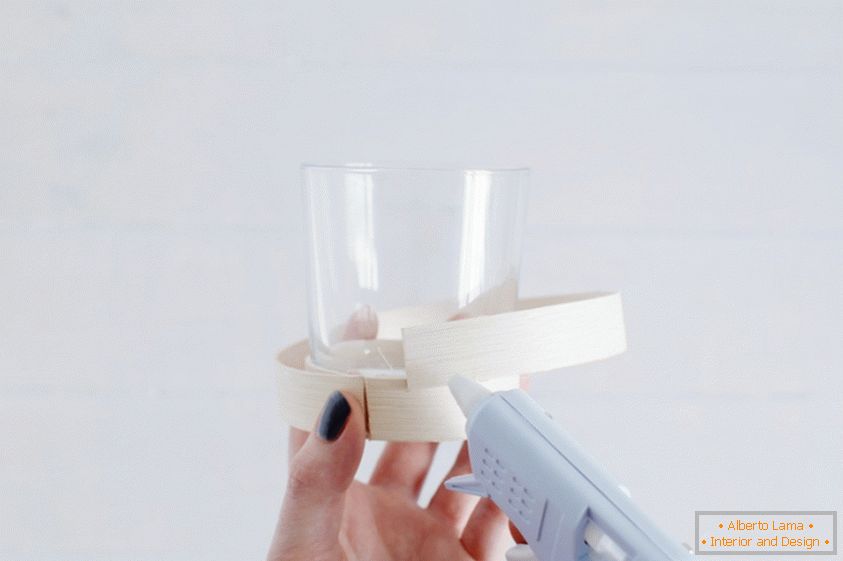
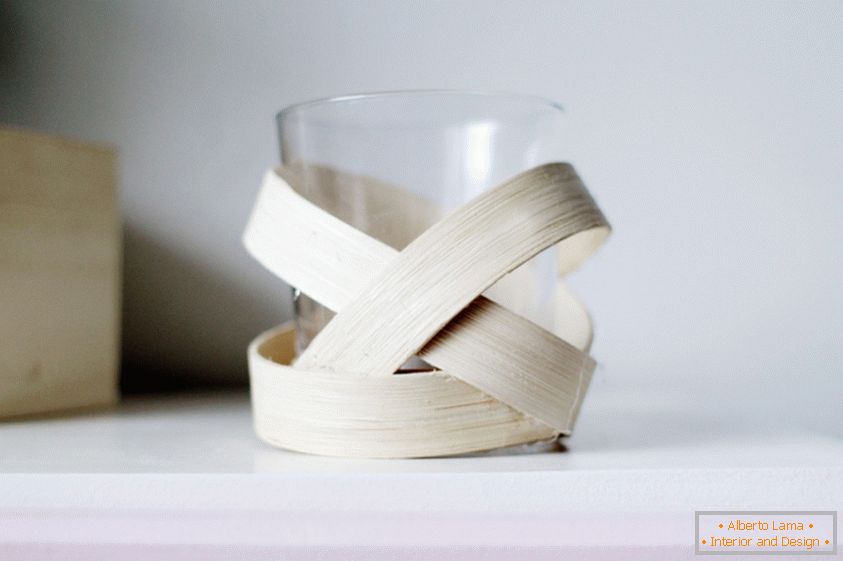
4. Apply a little glue to the free edge of the last piece.
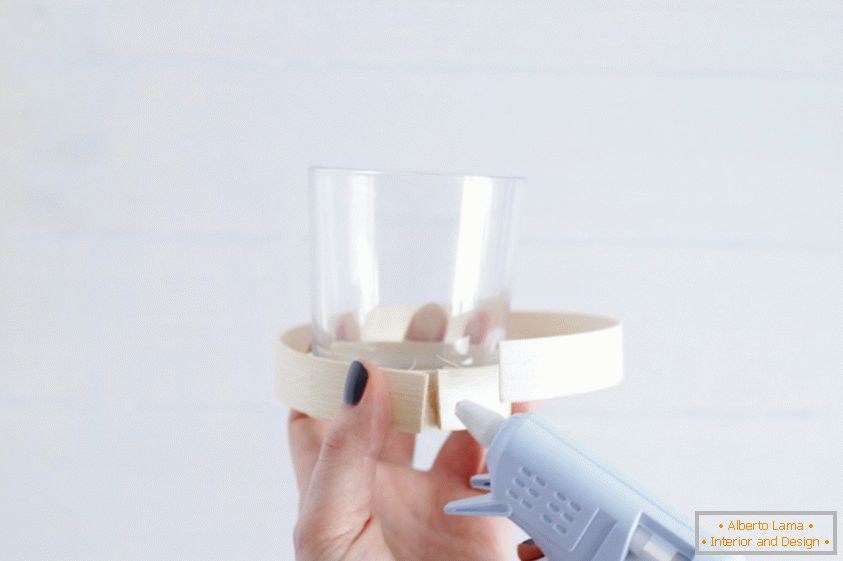
5. Fill it with the edge glued to the glass to get a free loop and secure it in one place.
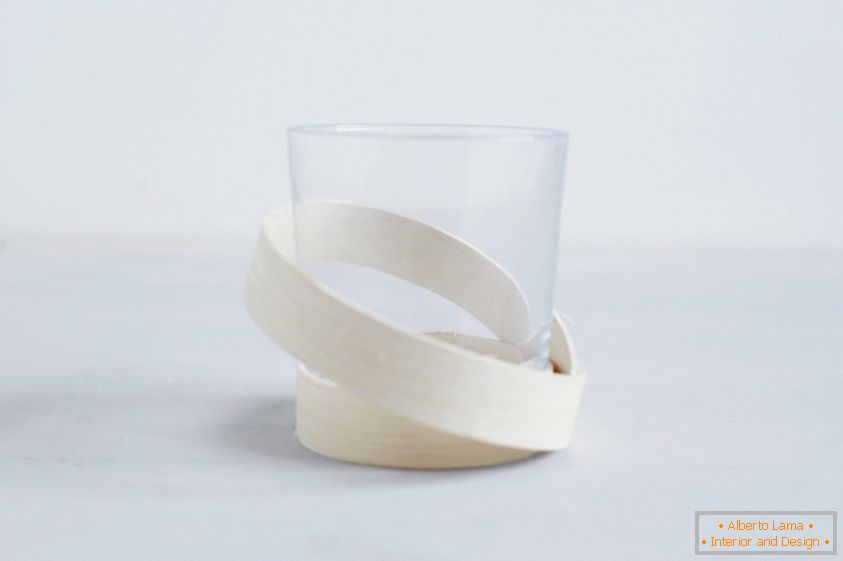
6. Repeat the previous three steps to create other loops on the other side of the glass. Places of securing veneer to the glass can be glued with a masking tape until the glue seizes.
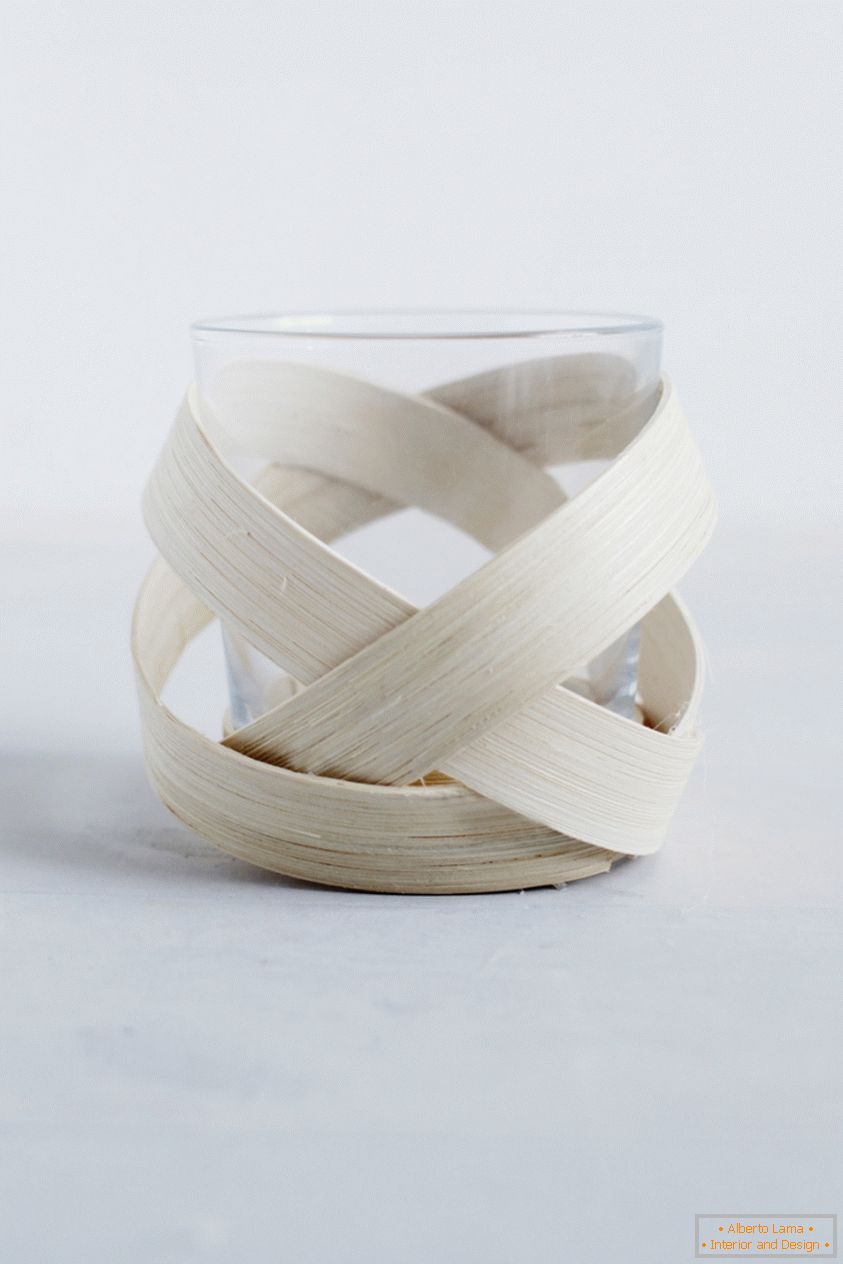
Now light the candle and relax!