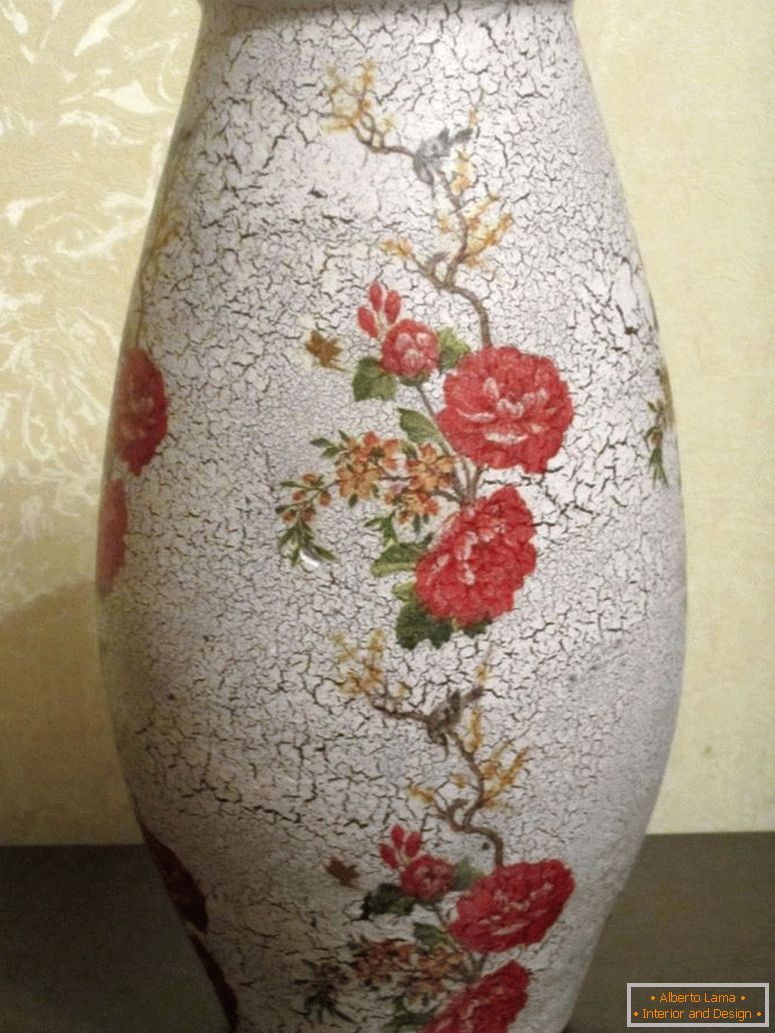
Things made by themselves were always appreciated. The history of its development began in the Middle Ages. In Germany, the furniture was decorated with carved pictures. In the 17th century, all Europe "infected" with this technique. She was fond of kings. Now decoupage again in vogue. Decoupage of napkins - is an addition to the traditional technique.
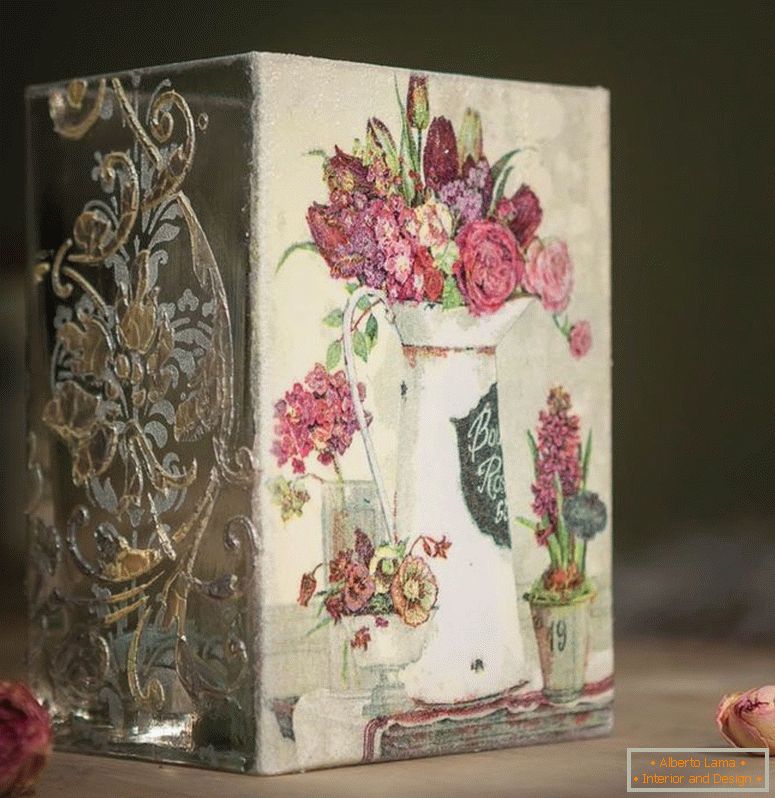
It does not require a lot of investment. There are even special shops where everything you need to produce can be bought. Napkins for different tastes are in online stores.
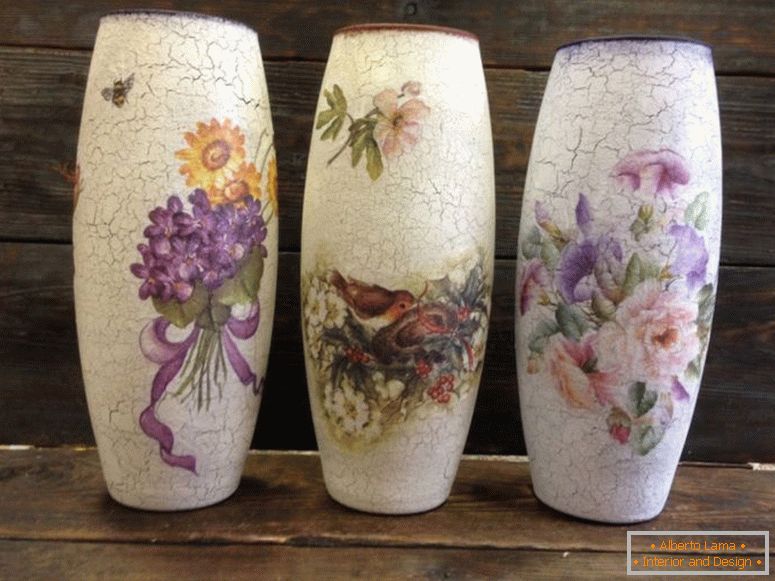
Not every one of us is a master. But this work can be done by anyone, even a child. It is enough to show a little patience. We offer decoupage vases for beginners.
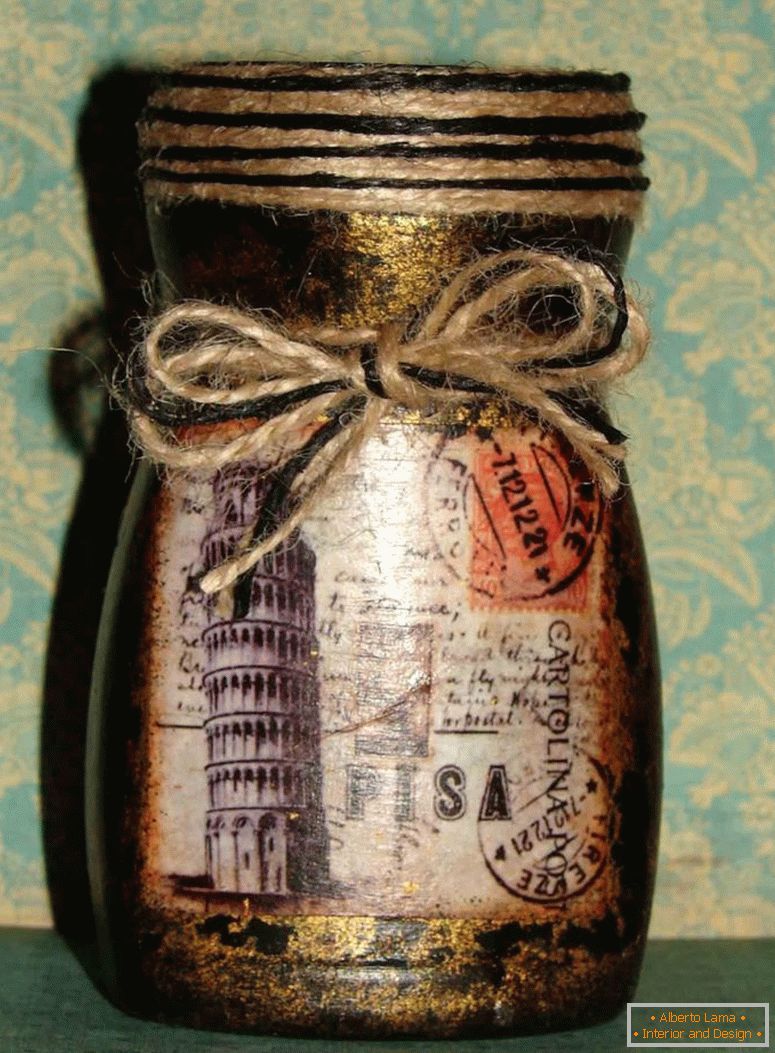
What is decoupage? This is a technique for decorating various objects. The application of the picture, ornament, pattern is done and varnished. Finished work resembles painting.
So, decoupage of vases, master class. Tools that we need: a glass vase, water, cotton threads, a brush, aerosol paint, scissors, building filler, a syringe, a patterned napkin, PVA glue and a toothpick.
First step. A napkin, moistened with alcohol, wipe the vase to degrease it. You can wash with soap. Cover the surface with an aerosol paint. And on the upper and lower edges of the vase, we apply a thicker layer. Here are the main motifs of the napkin. Next, a thin layer of spray paint on the remaining part of the vase. We achieve the effect of airiness. You can also apply a thick layer, but the result will be different.
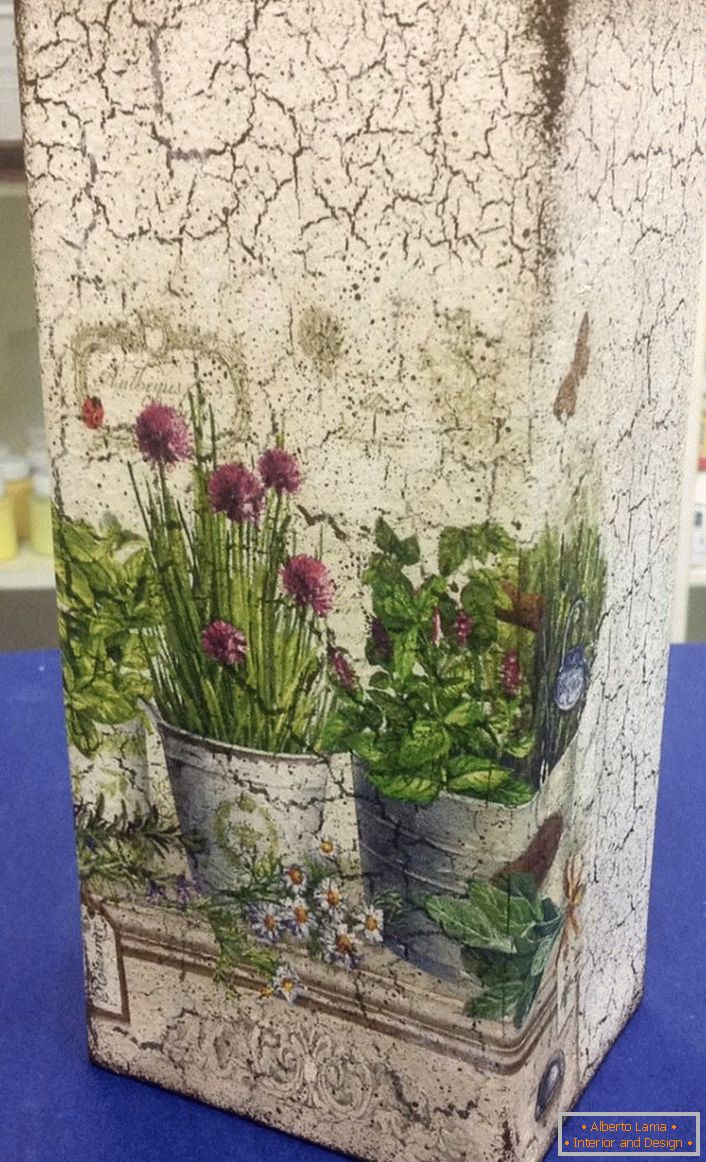
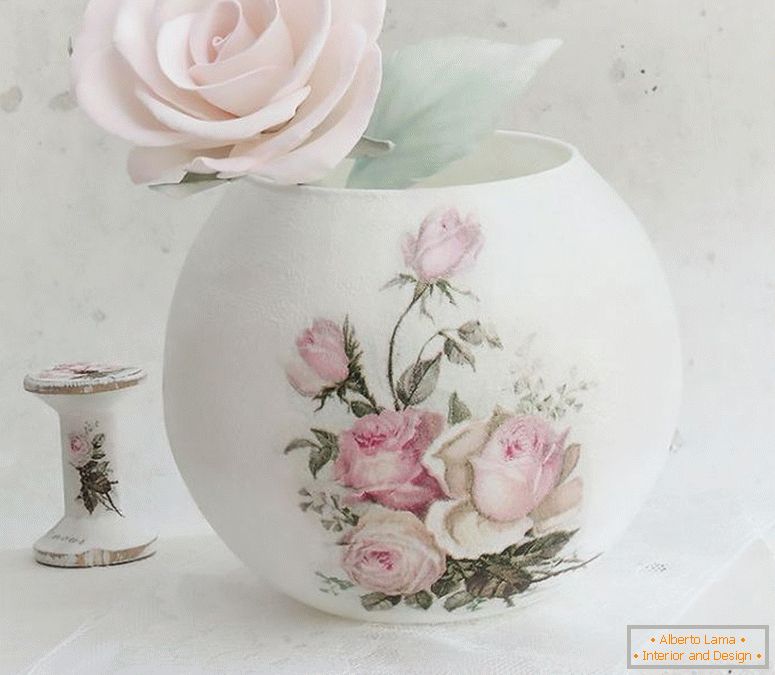
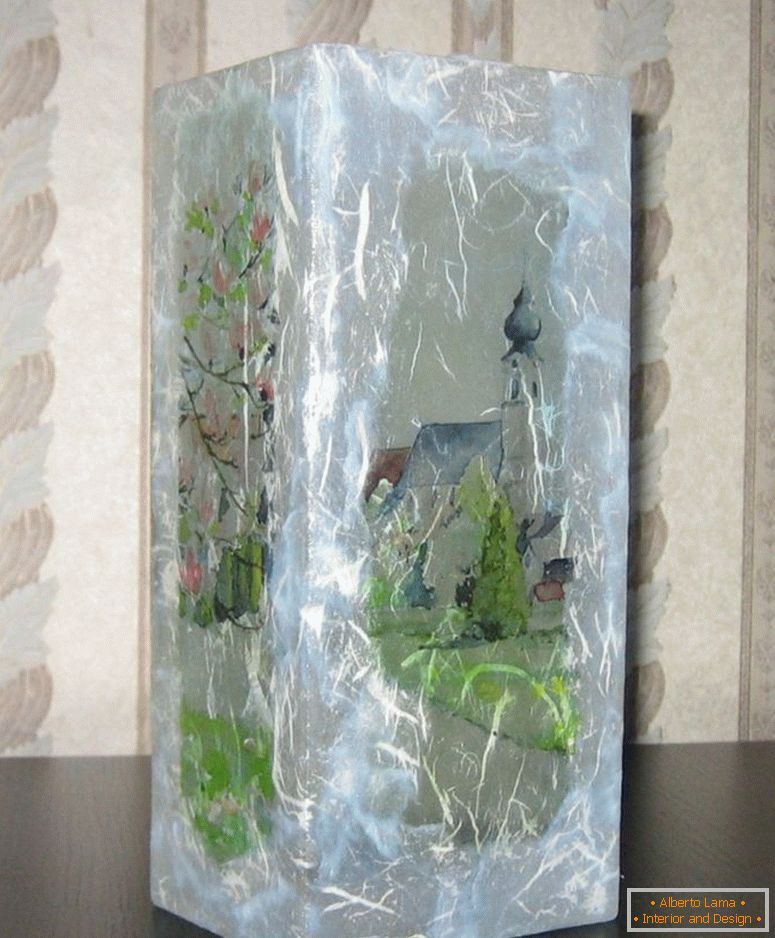
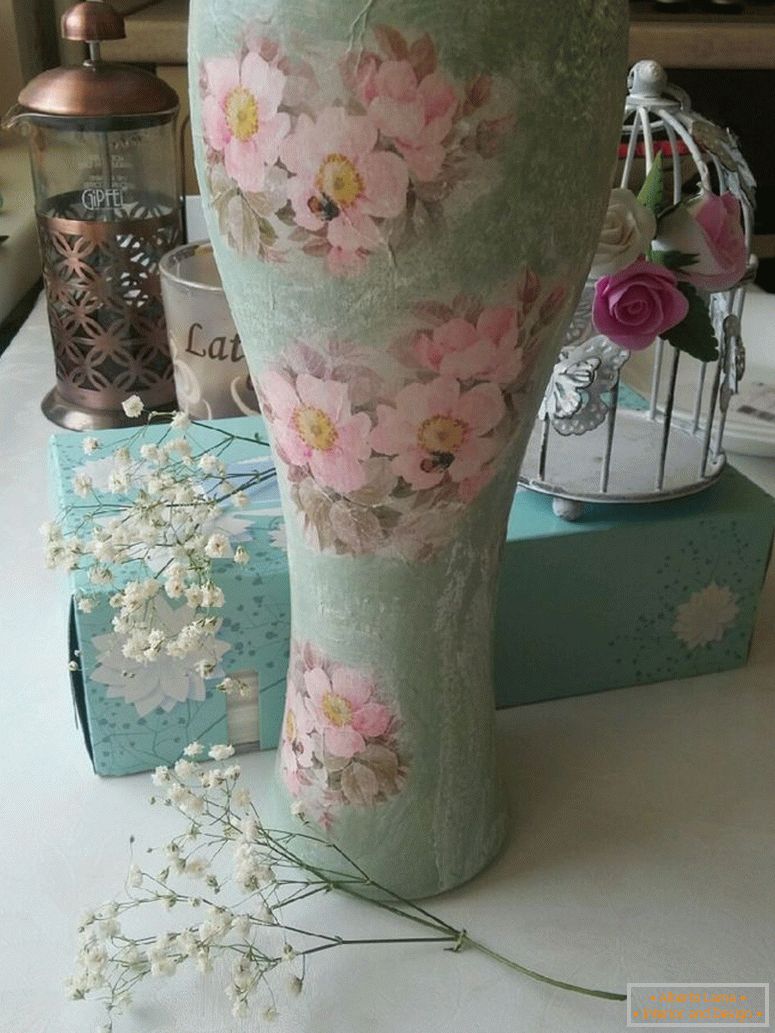
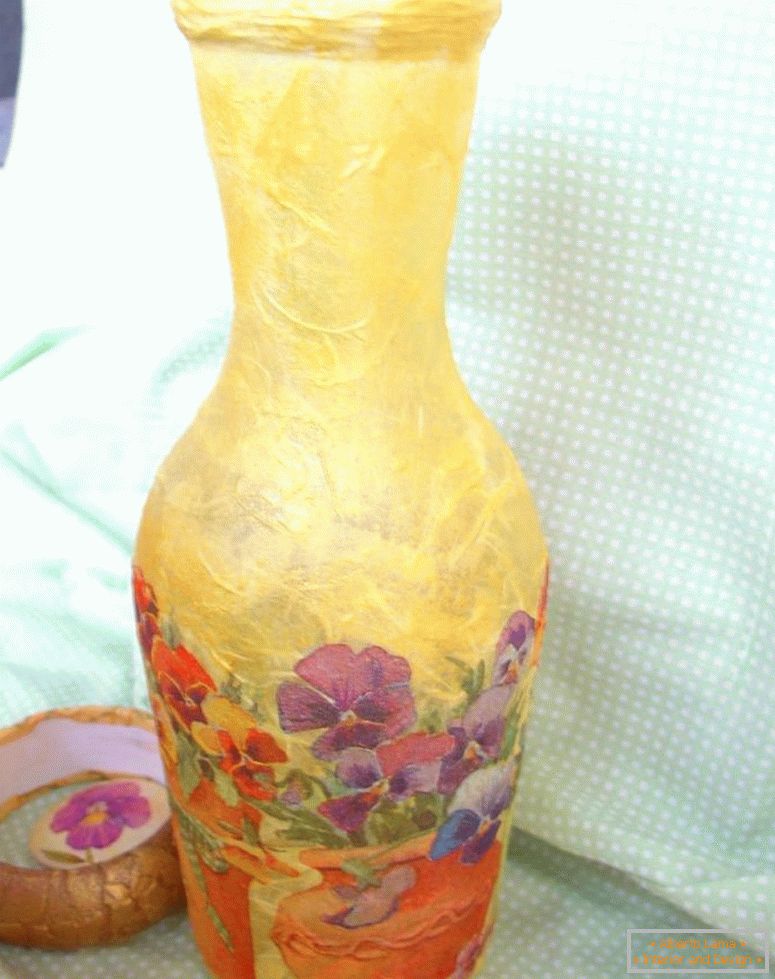
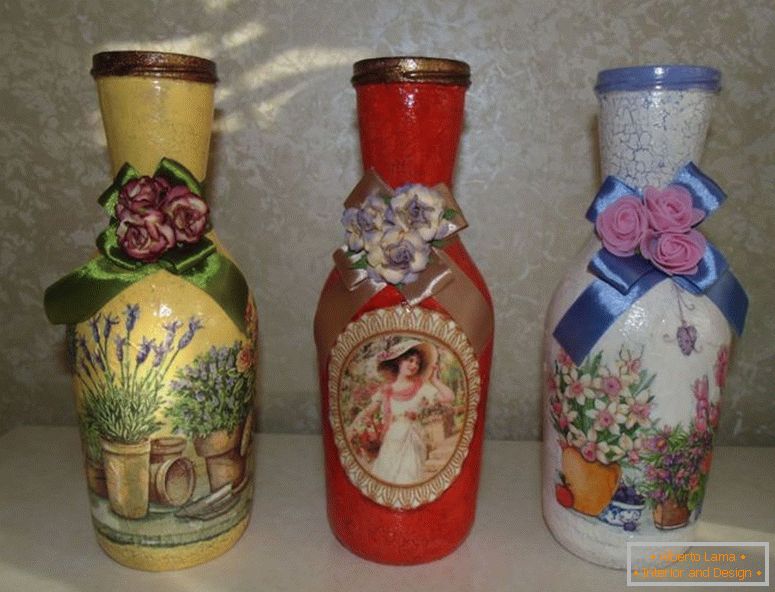
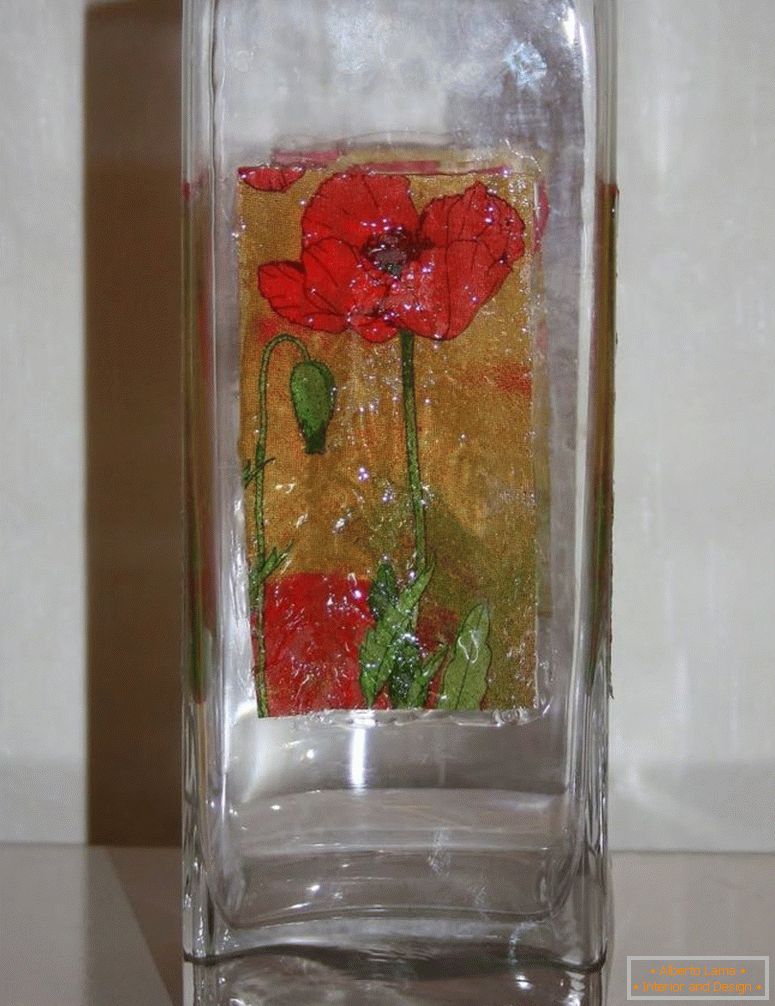
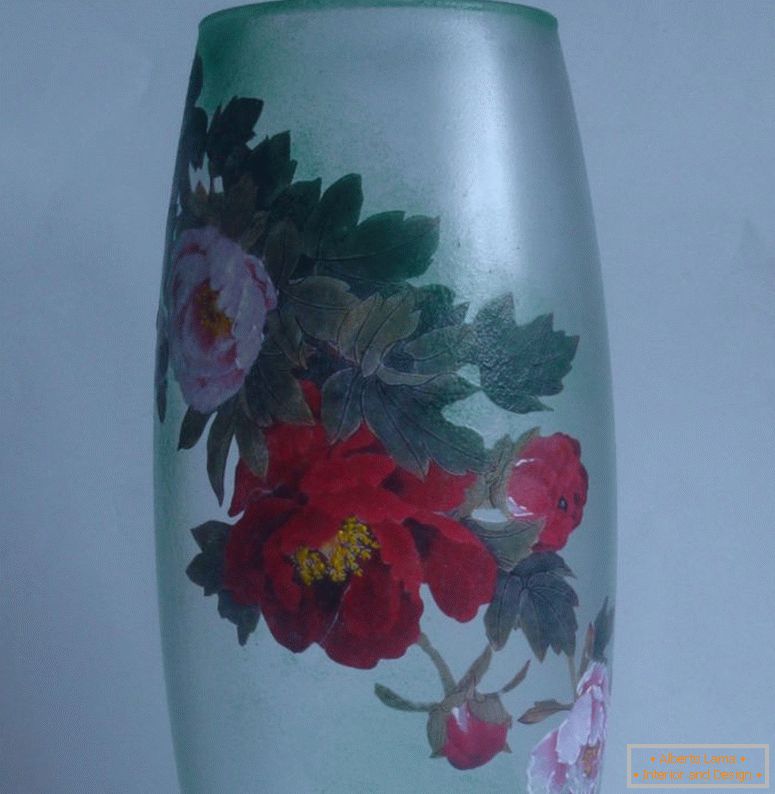
The second step. From the previously selected napkins we cut out the motives you liked. They can be different: flowers, birds, patterns, etc. You need two parts of the picture. One will stick the vases on top, the other - from below with the help of PVA glue. We leave the middle empty. At the edges of each motive, it is better to make small incisions so that there are no irregularities. See the photo of the decoupage of the vase.
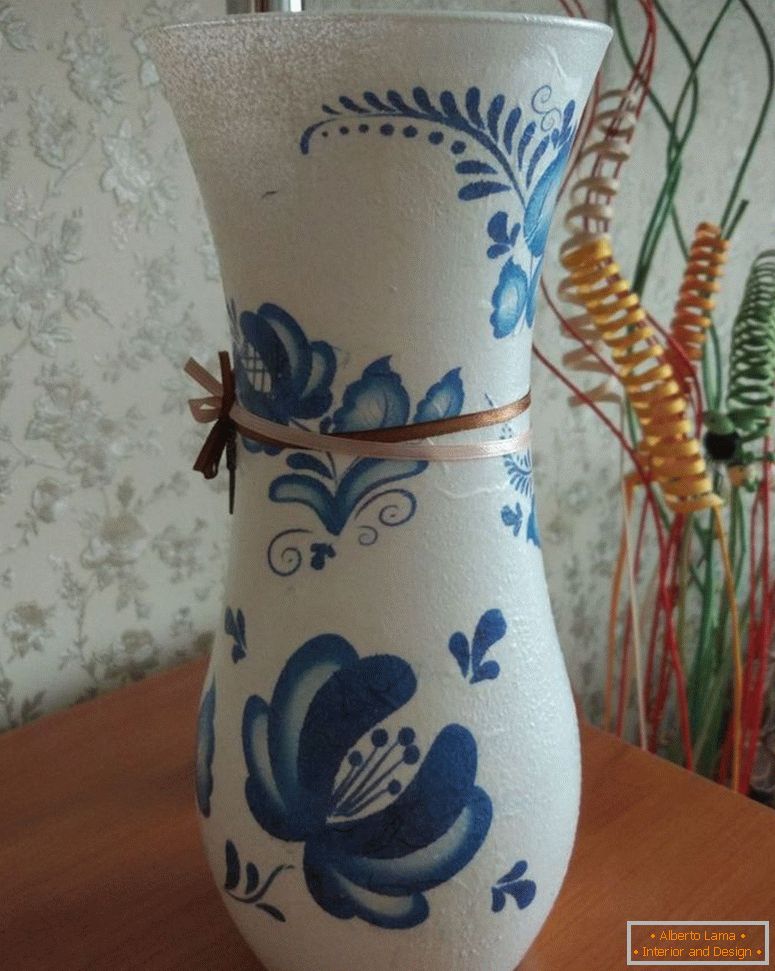
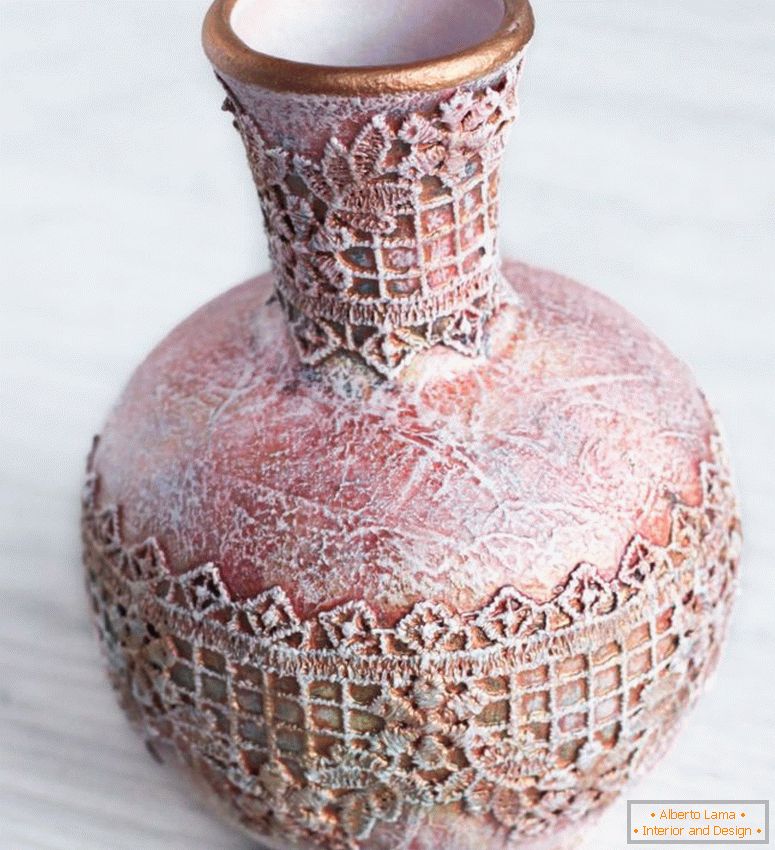
The third step. We lay thread patterns. First you need to cut the thread length of about 13-15 centimeters. Then, wet it well in water, holding the tip. Then we do the same operation, but instead of water we have PVA glue. Excess glue must be removed. You can do this with a brush. We hold the thread with two fingers of the left hand, we begin to lay the curls. The thread should lie well, as it is soaked in water and glue. But that it lay evenly, it is necessary to correct the patterns with a toothpick, which we hold in the right hand. After the end of this part of the work, you need to go through the toothpick again. We give all the patterns a good dry
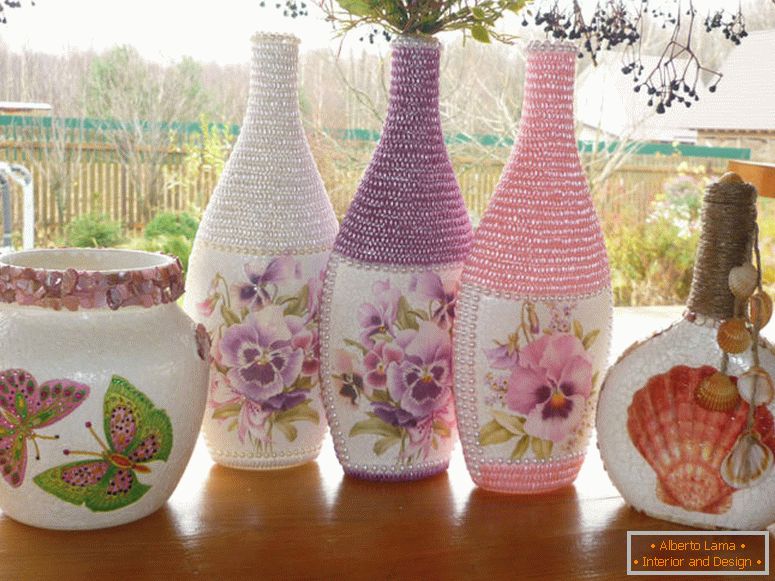
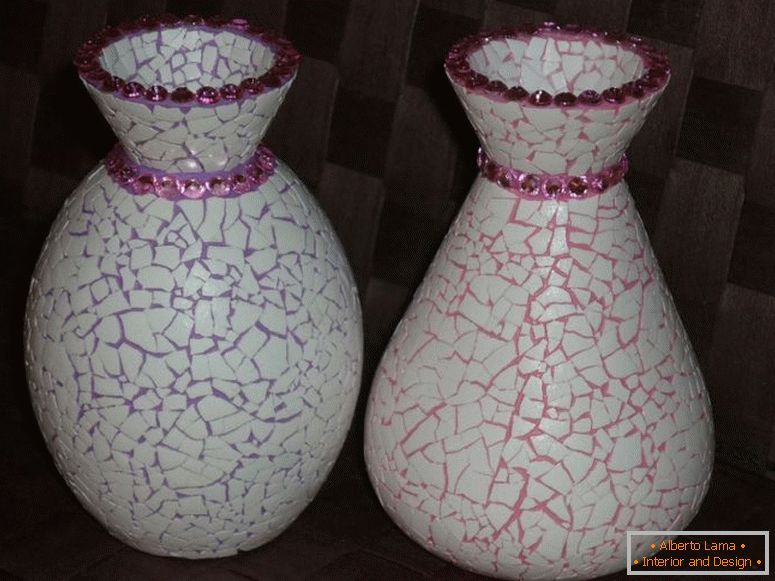
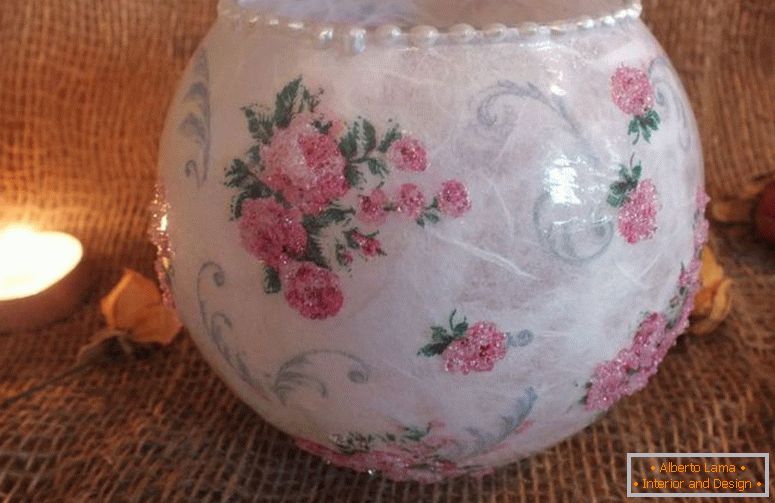
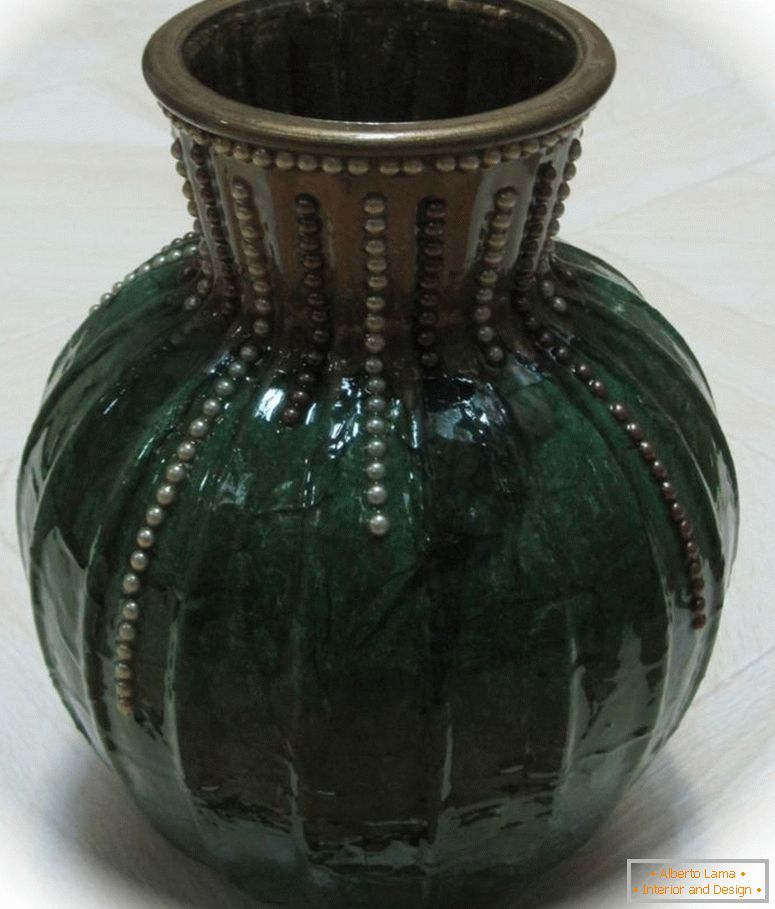
The fourth step. In the medical syringe we type the putty in a small amount, we make three-dimensional dots. You can simply paste small beads, or halves of them.
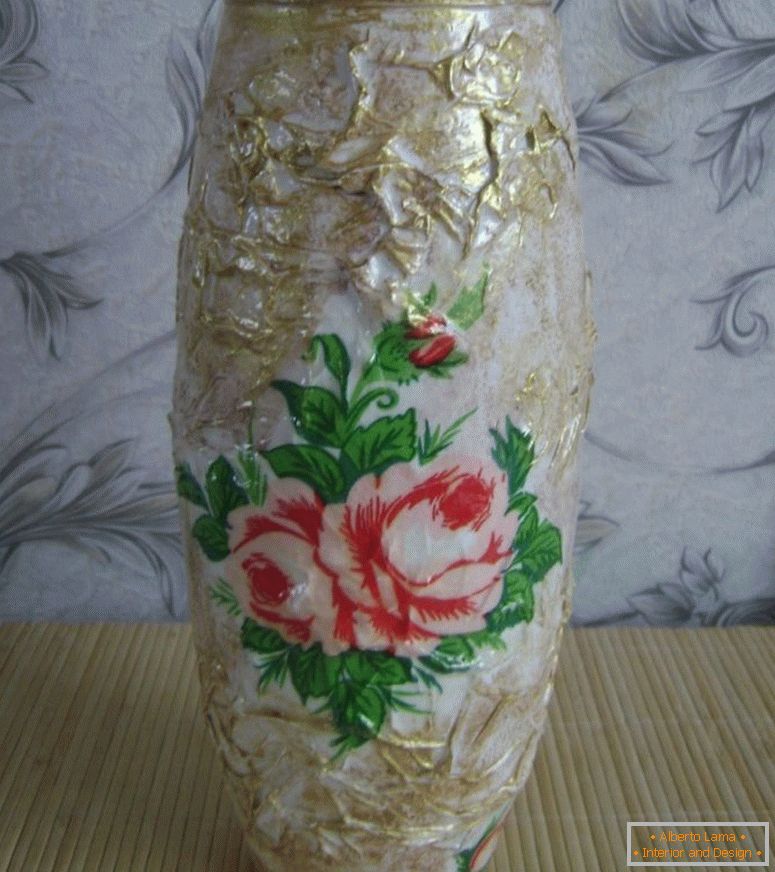
Fifth step. Spray the whole surface of the vase with an aerosol varnish. You can do this several times.
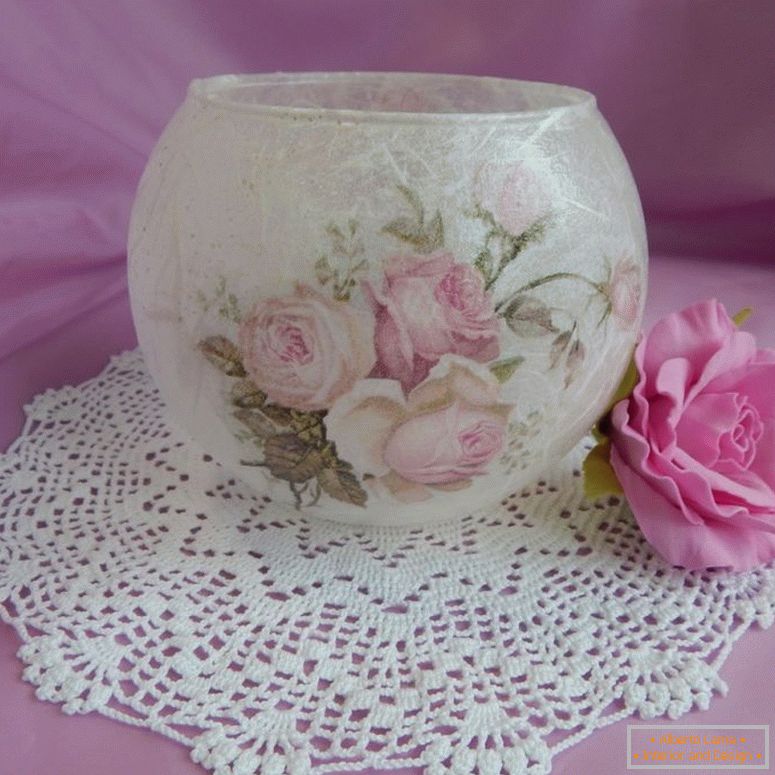
Now, our unique handmade work is ready. You can give it to relatives, friends, or decorate your house. Vase will fit into any interior. And if the work has brought you pleasure, you have rested your soul, you can seriously study this technique. It is possible that over time this activity can bring you income!
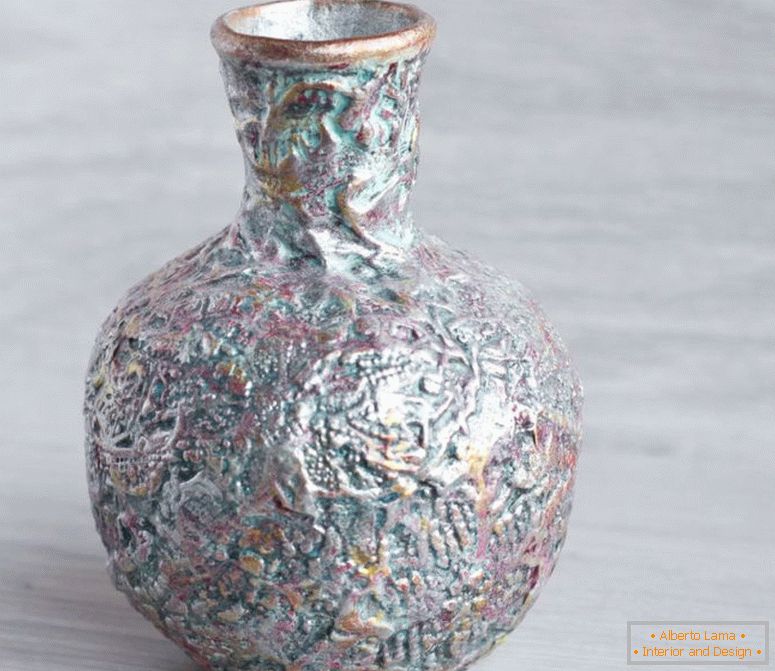
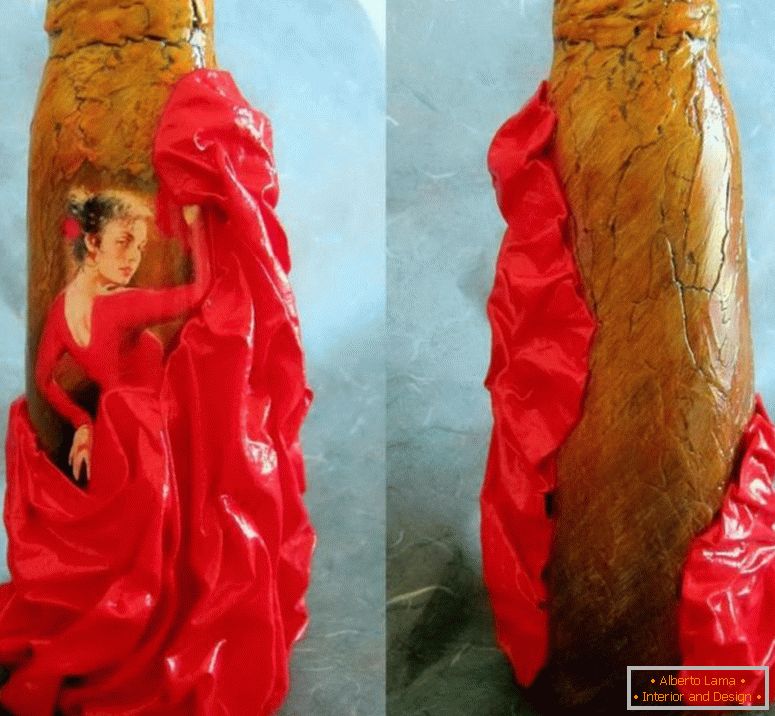
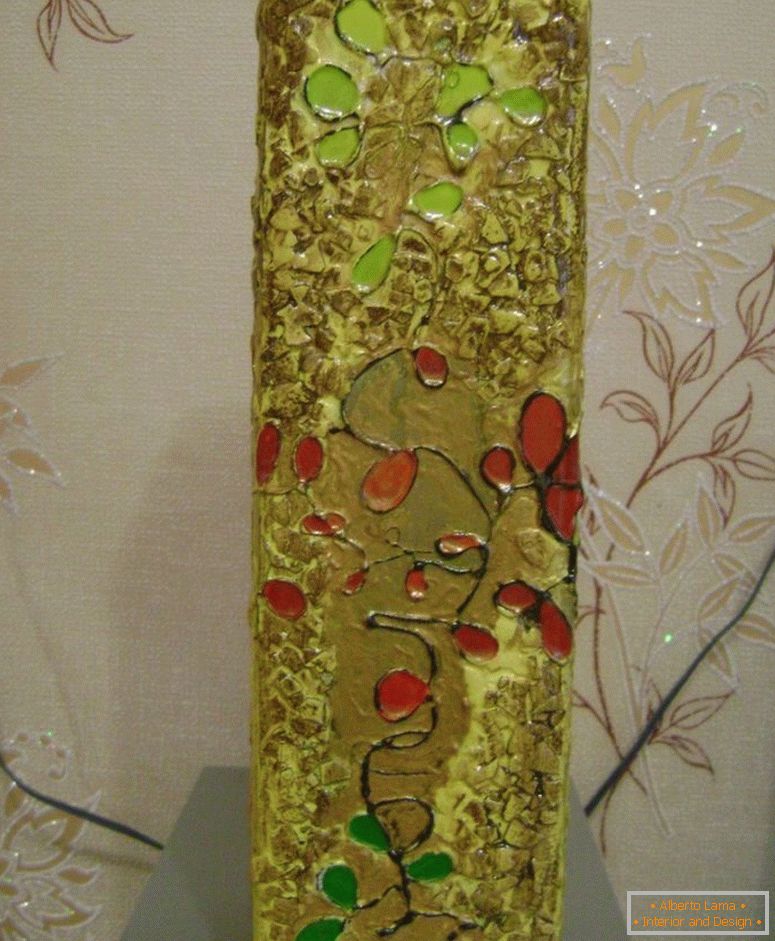
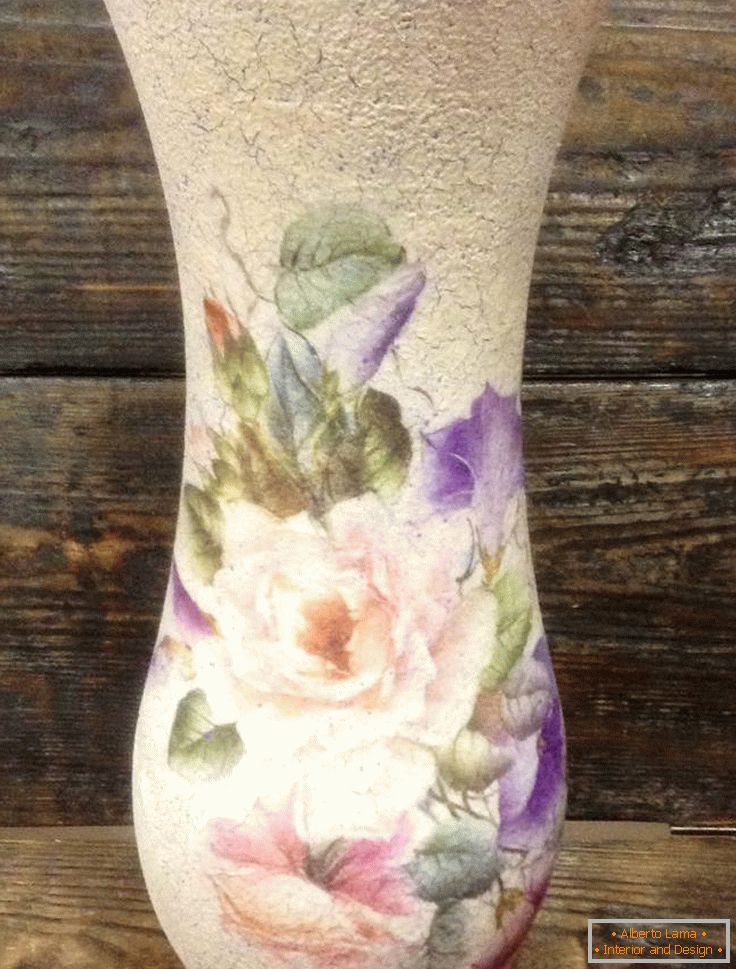
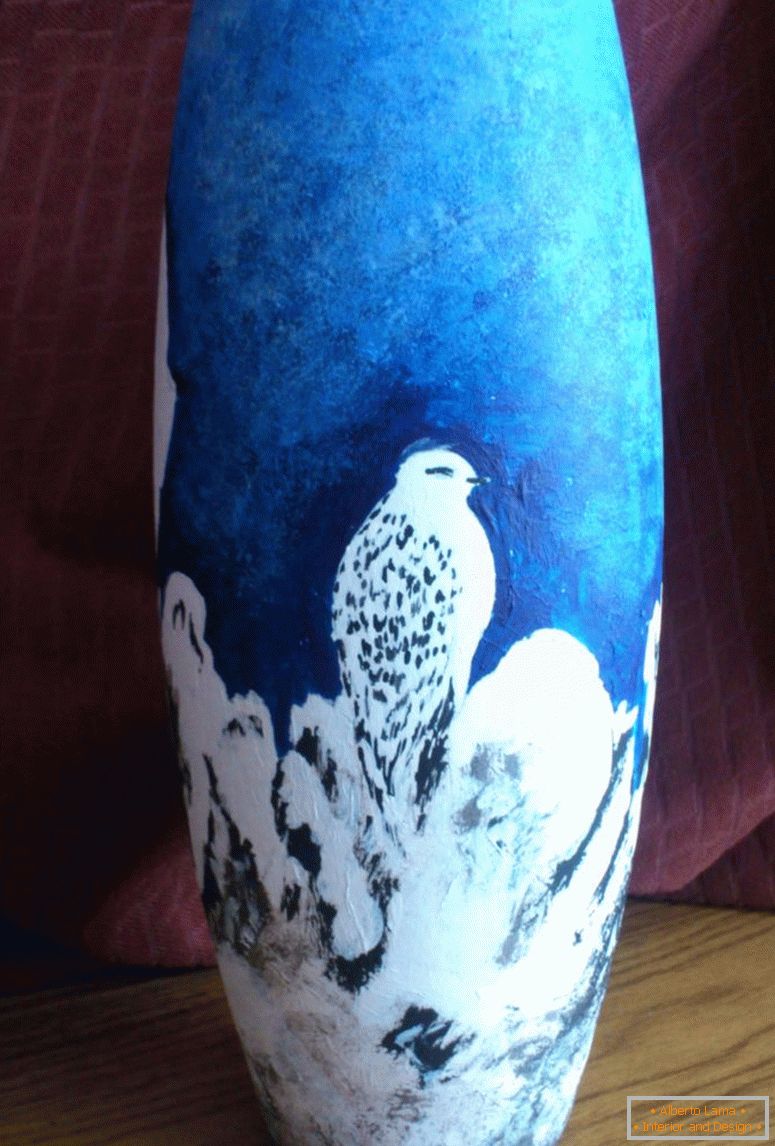
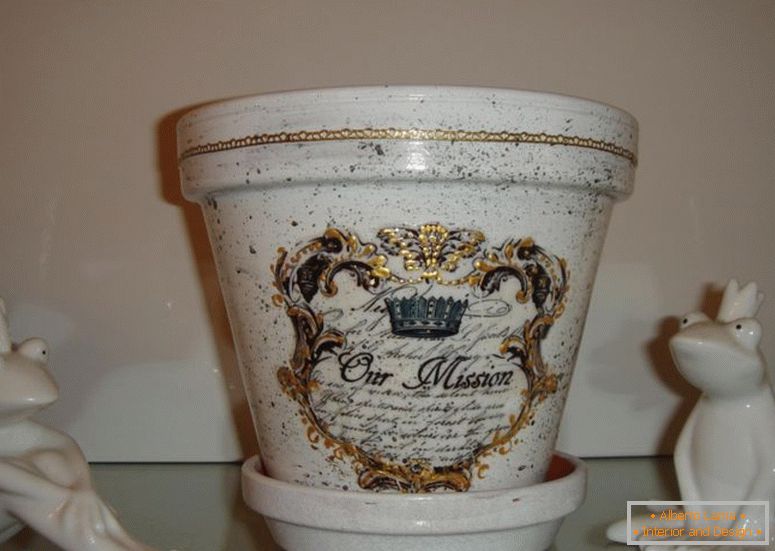
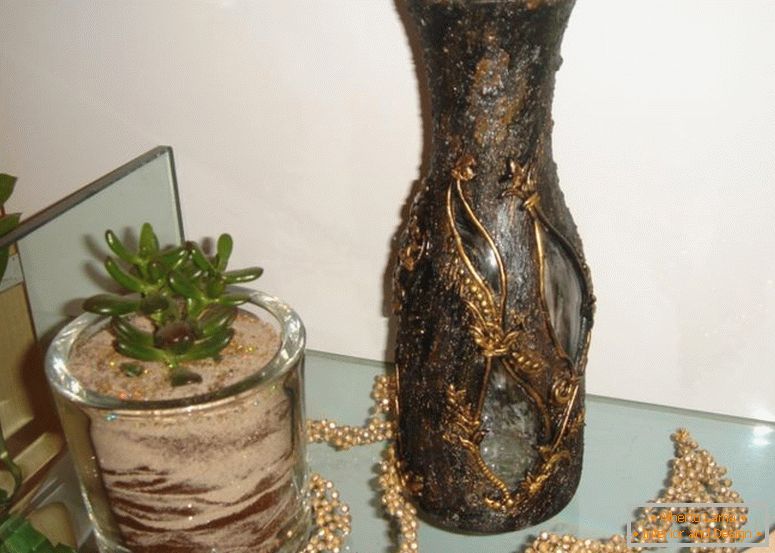
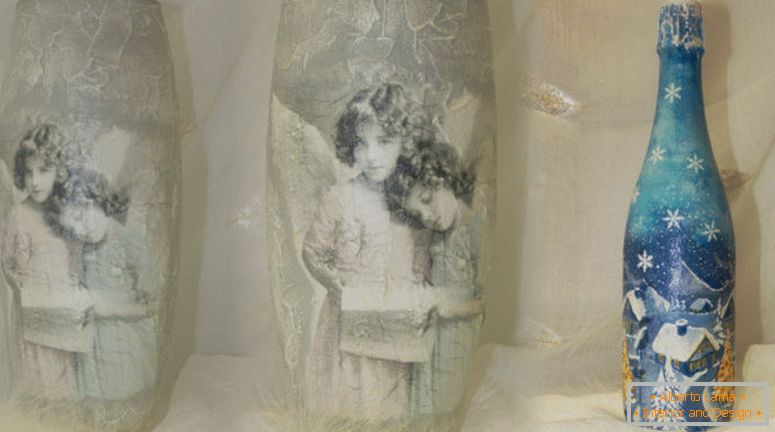
Photos of the best ideas for a beautiful decoupage of vases
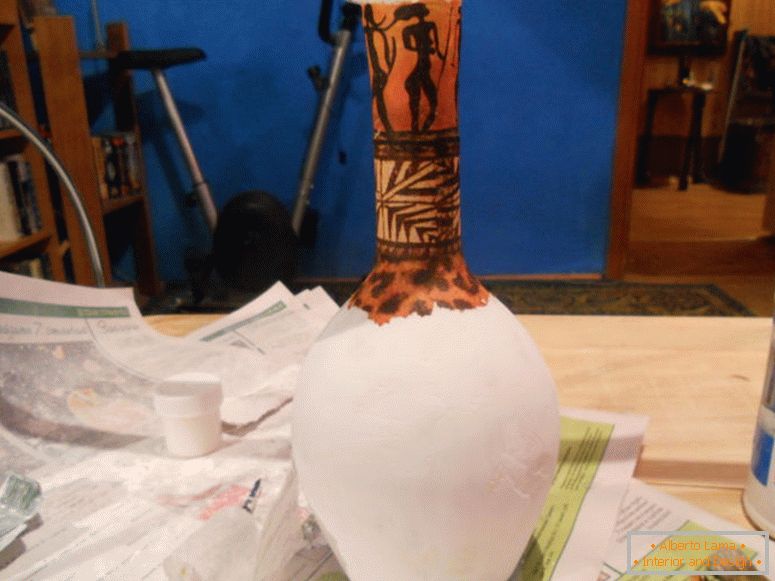
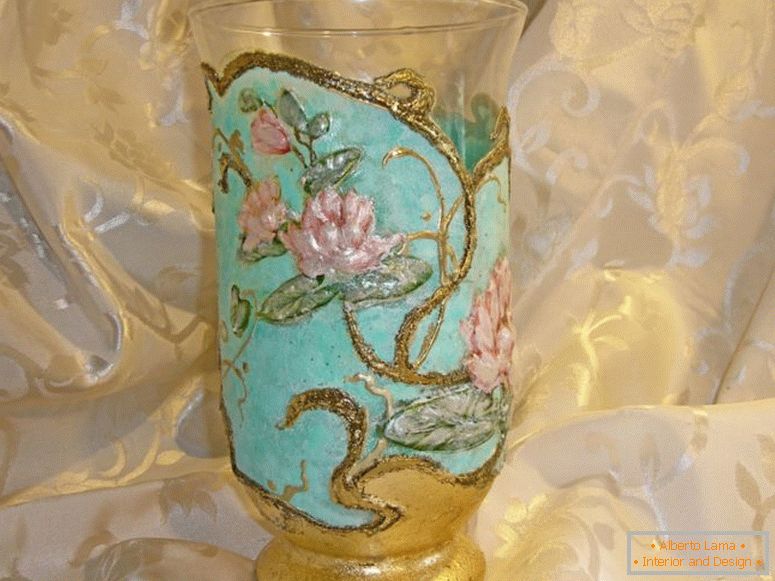
 Decor of the rope - photos of fashionable novelties in the interior
 Decoupage of plates - an interesting master class with step-by-step instruction and photo examples
 Rug in the bathroom with your hands - detailed instructions for beginners (55 photos of ideas)
 Necklace with your hands - the best master class with photo examples
 Decoupage by yourself - step by step instruction with photo and description
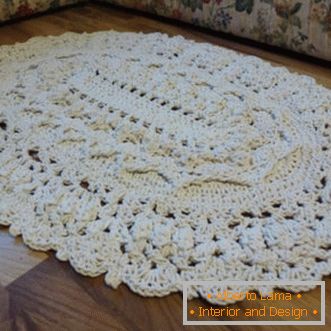 Rugs with their own hands - photos of the best variants of beautiful rugs in the interior
